
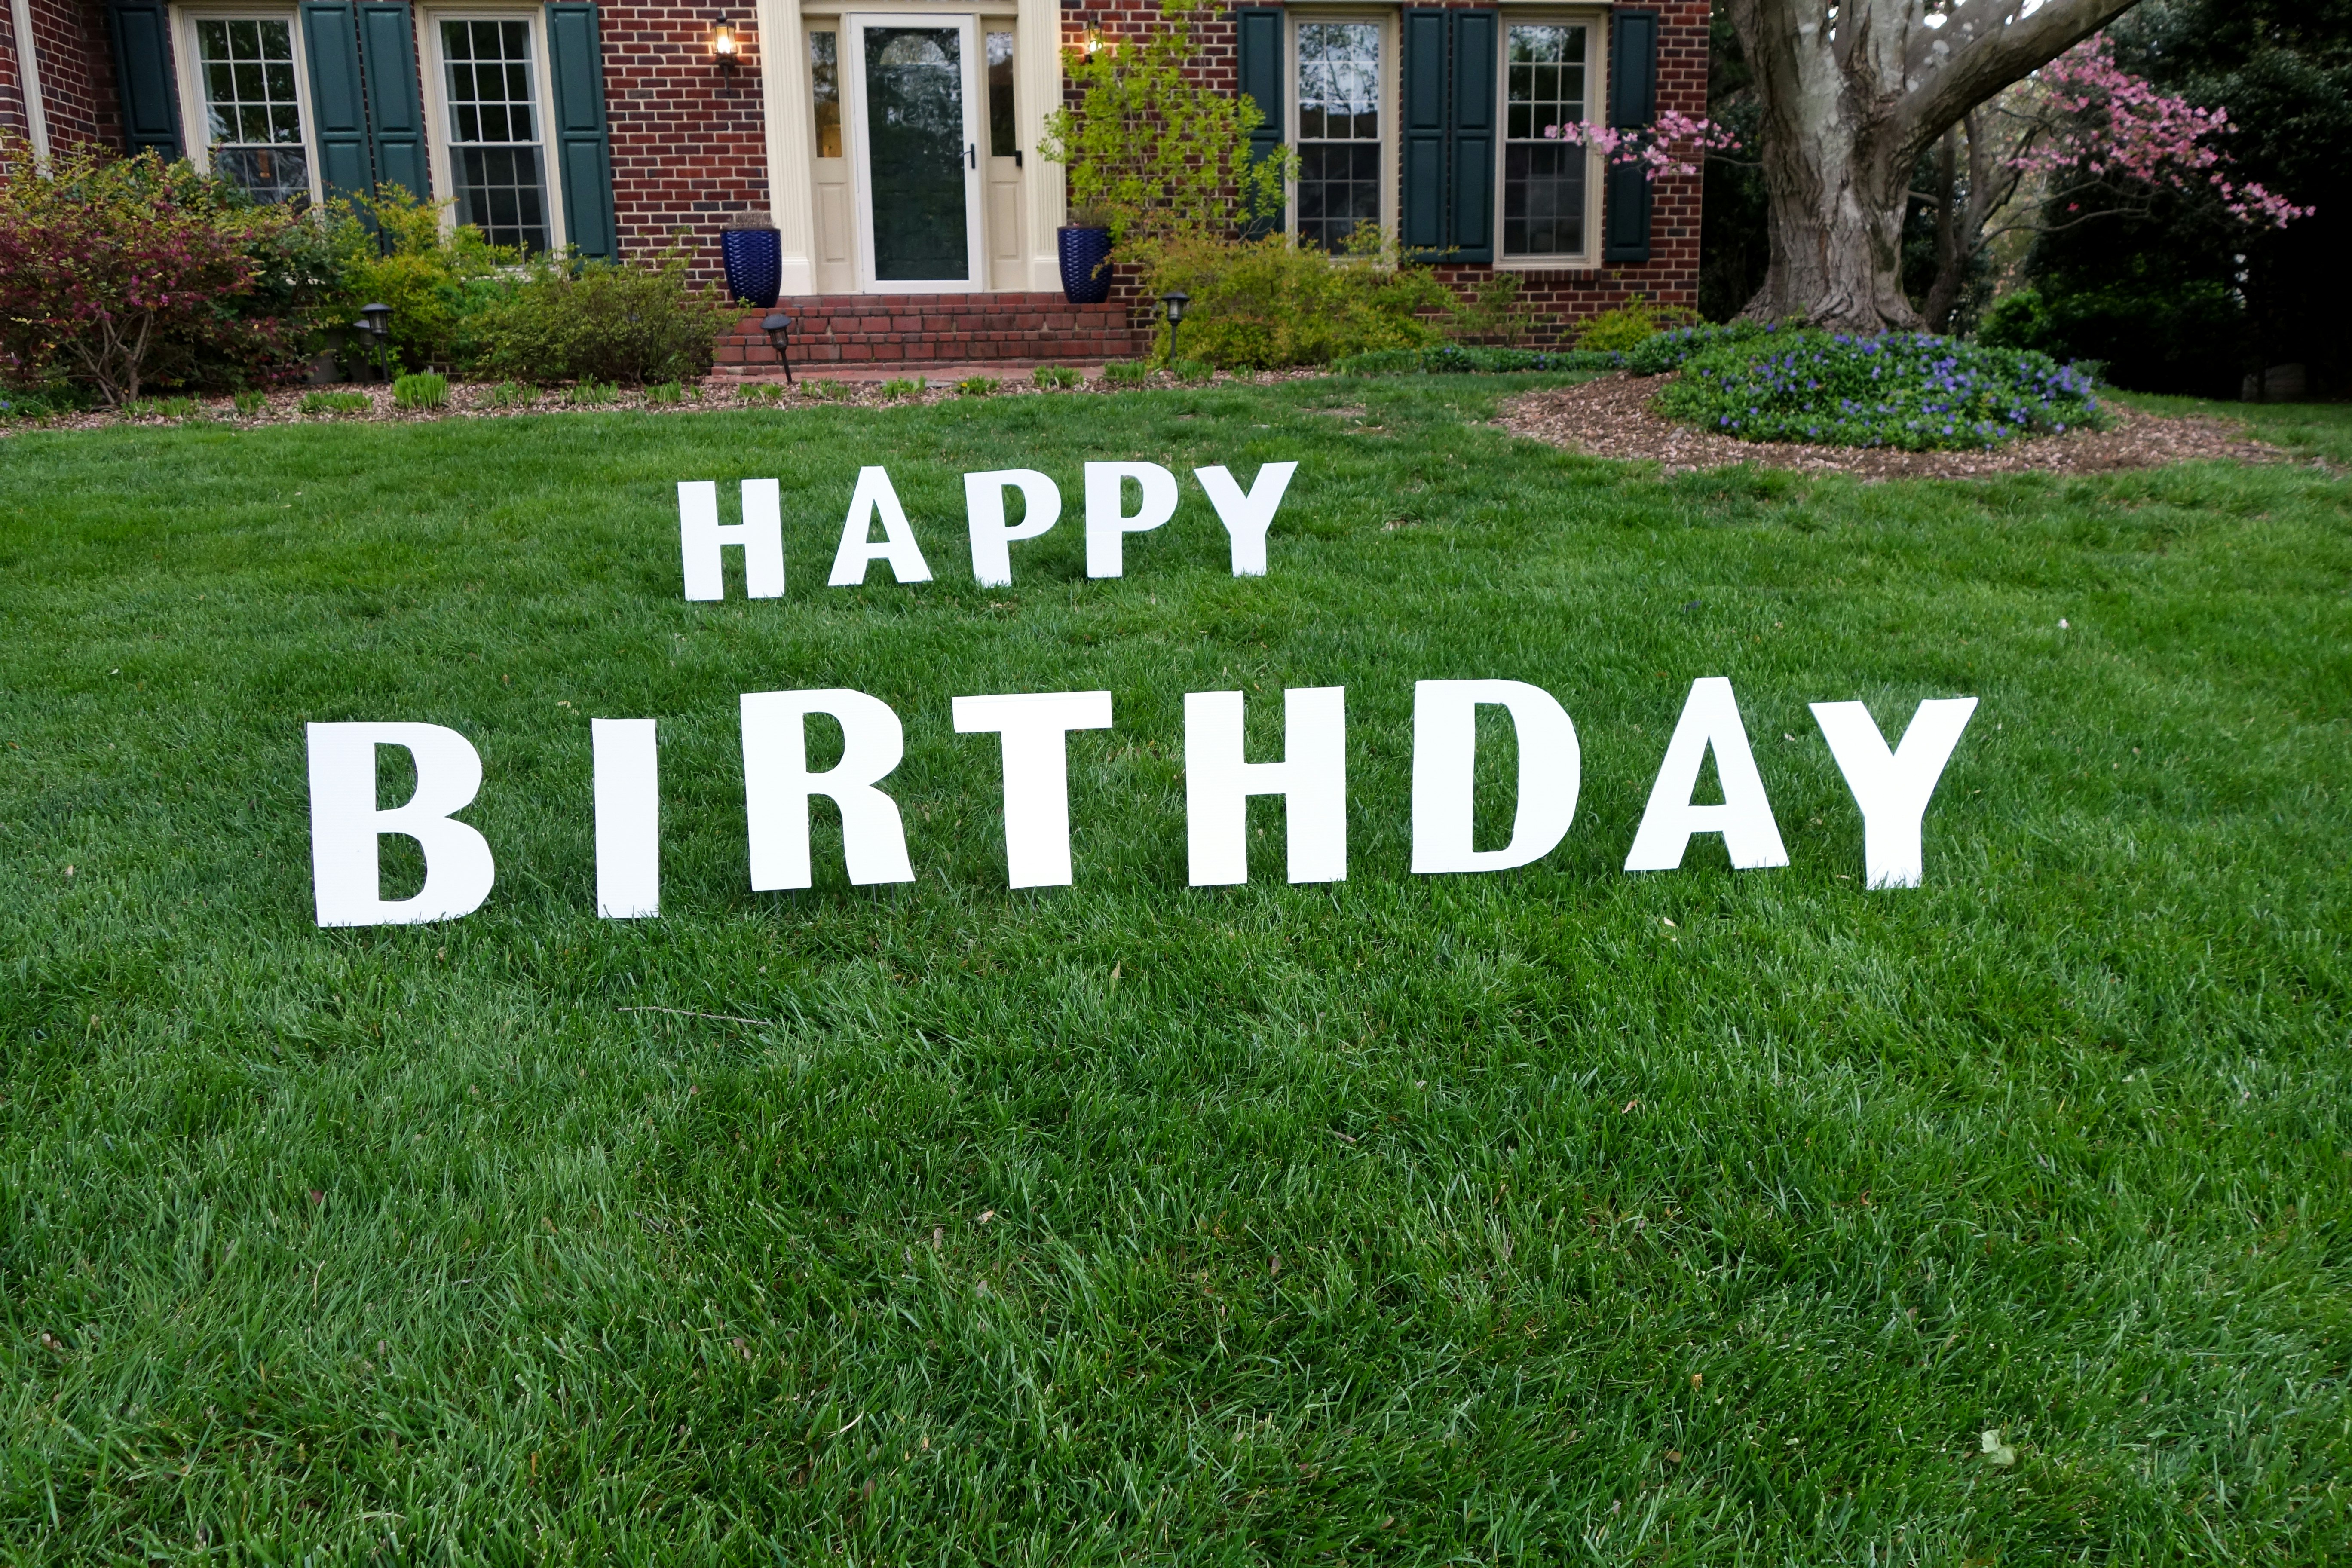
How To Make DIY Yard Signs
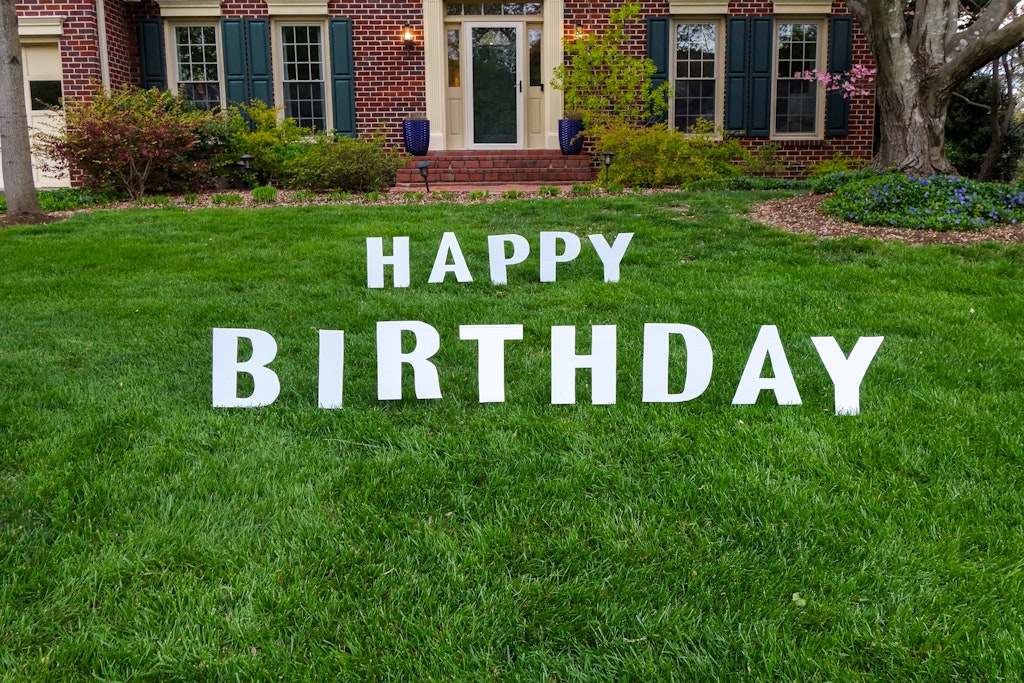
Learn how to make these DIY Yard Signs. These large DIY yard signs for birthdays are great for other celebrations too like graduations, retirements, the list goes on and on. All you need is a few supplies to make these custom yard signs to celebrate any occasion.
You can spray paint these any color if you would like, but we really liked leaving them white. The contract of the white letters against the grass looked great and saved us a step. If you want to make larger DIY yard signs you can use the free download letter and number templates for the Large Marquee Letters & Numbers.

Supplies For DIY Yard Signs
- Paper or card stock to use as template letters and numbers
- Scissors or Die cut machine
- Thick Cardboard or a Self Healing Cutting Mat (to place under the corrugated plastic while you’re cutting it)
- Pencil
- Corrugated Plastic Sheeting – I found that this corrugated plastic sheeting is the best material for DIY yard signs. It’s like all weather plastic cardboard.
- Utility Knife – Make sure it has a sharp blade. I like our Scotch Titanium Retractable Blade Utility Knife.
- Hot glue gun and glue sticks
- Landscaping staples – can also be found in home improvement store or garden center. We used 6″ landscaping staples. Make sure you get enough. We used two for letter’s like “H” and “A” and 1 per letter for the “Y”, and “i”. They are sold in large quantities so you might just want to go for the 100 pack if you might add extra signs in the yard or have other projects down the road.
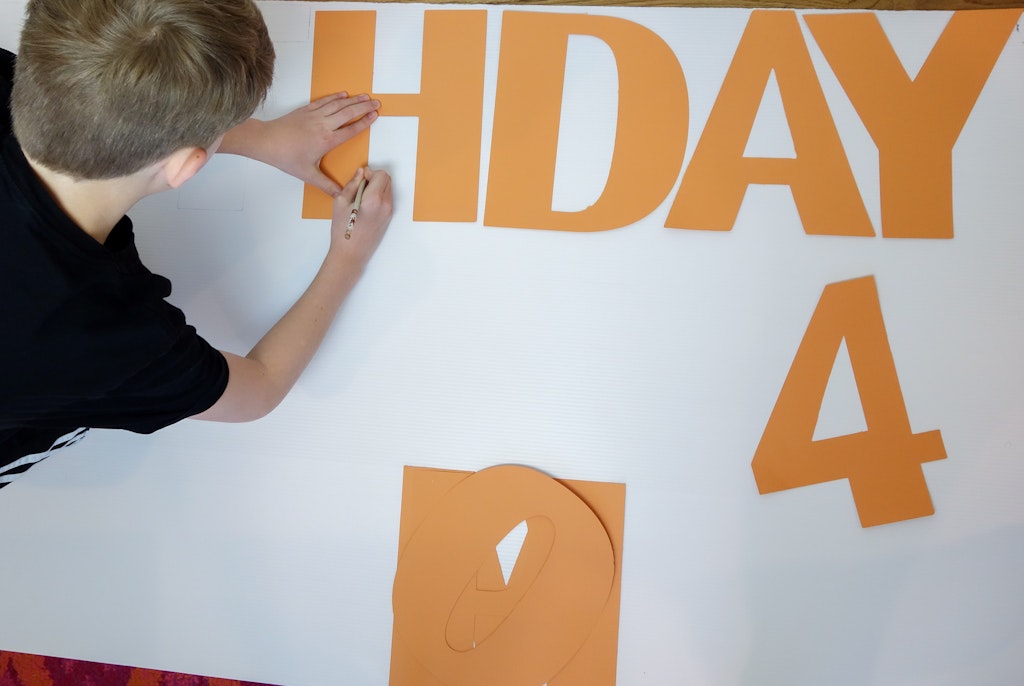
DIY Yard Sign Stencils
We used our silhouette cameo to cut out letters that we sized to fit on our 12 x 12 cutting mat. I would think of your widest letter you’re using and size the font based on that letter. For us, the “M” in the birthday boy’s name was the biggest letter.
We found a font size that worked with that letter then used the similar font size for all of the other letters to keep them consistent.
If you don’t have a silhouette or a cutting machine don’t fret! You can print out these 8.5″ x 11″ templates, cut them out with scissors and use them as stencils for your signs. The 8.5″ x 11″ size will still stand out great in the yard. (You can find templates for both the 8.5″ x 11″ and the 11″ x 17″ at the end of this post)
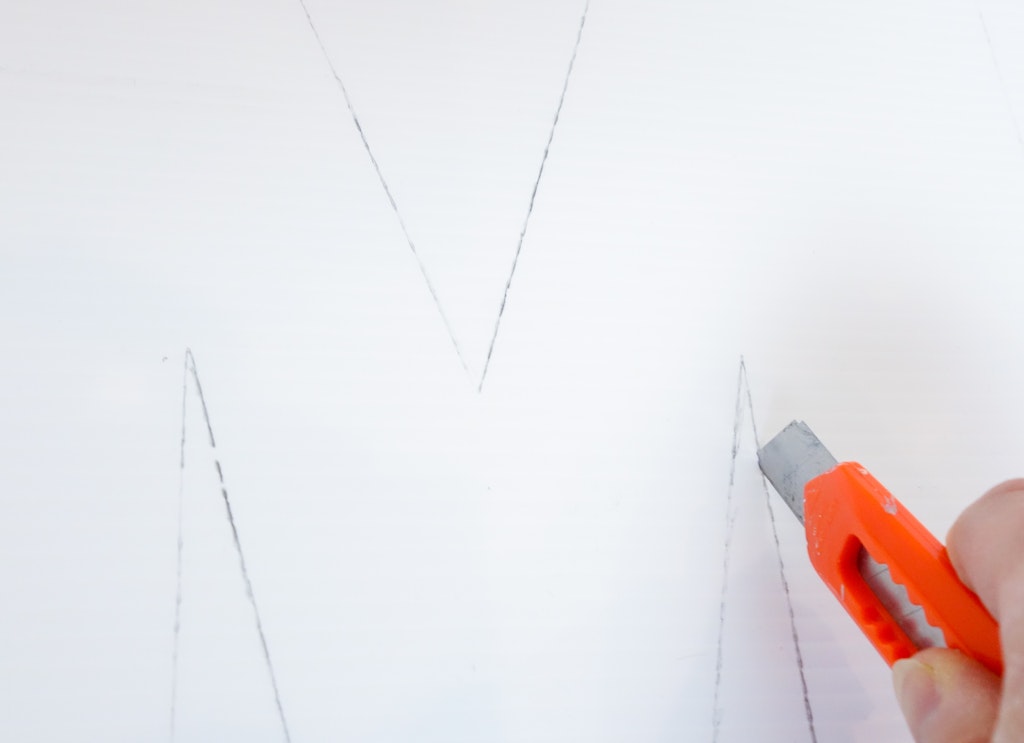
Cutting Out DIY Yard Sign Letters
We found our corrugated plastic sheets at the Home Depot. We purchased the 36″ x 72″ and were able to squeeze 23 different 12″ letters and numbers. Of course it depends on what letters and numbers you’re using. I would suggest cutting out your templates first then estimating what size panel or how many panels to purchase.
Use your utility knife to carefully cut out each letter. You might want to cut the sections of the board up to more easily cut out the letters. Hold on to the excess corrugated plastic to use later.
Attach The Landscape Stakes To The Yard Signs
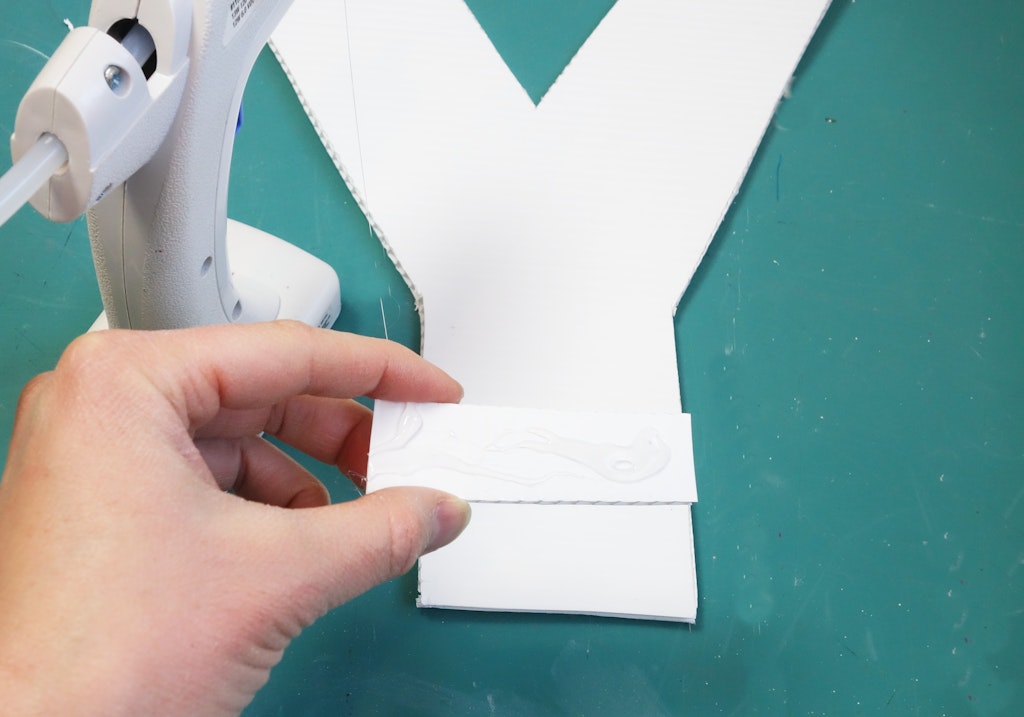
Once all of the letters are cut out flip over the letters and numbers to add a strip of corrugated plastic on the back.
Make sure you cut perpendicular to the lines on the plastic so you can see the holes on the top and bottom of the strip. Cut a 1/2 inch strip to add to the bottom of the each letter and number.
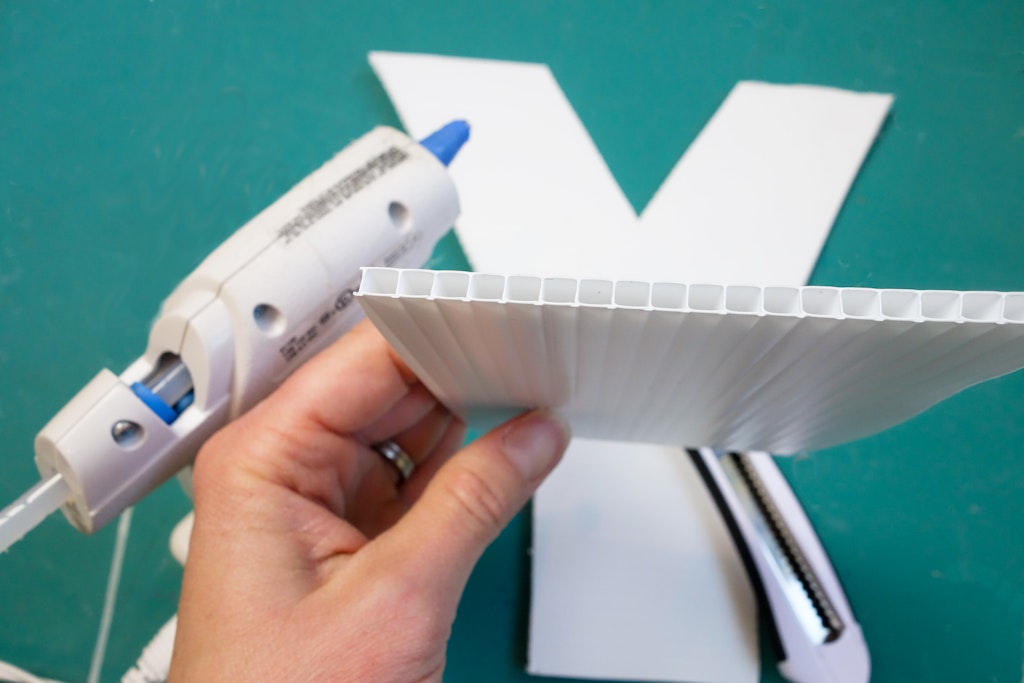
Secure the strip with hot glue.
Add landscaping stakes through the strips at the bottom of each of the letters and numbers.
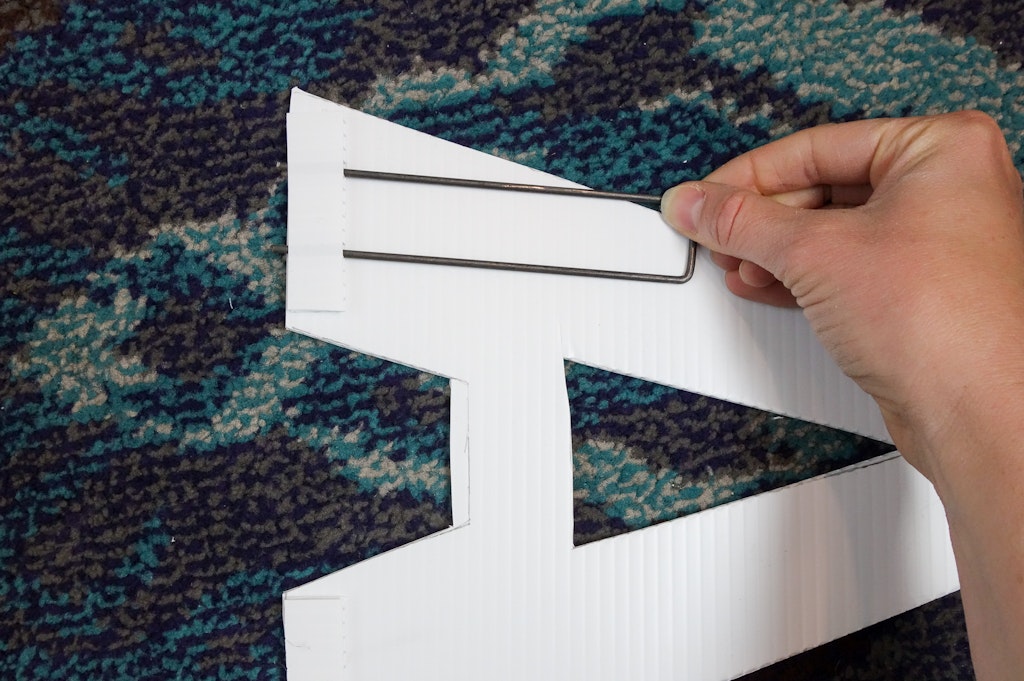
Hold the top of the landscaping stakes so they don’t slide up and push the stakes into the ground.
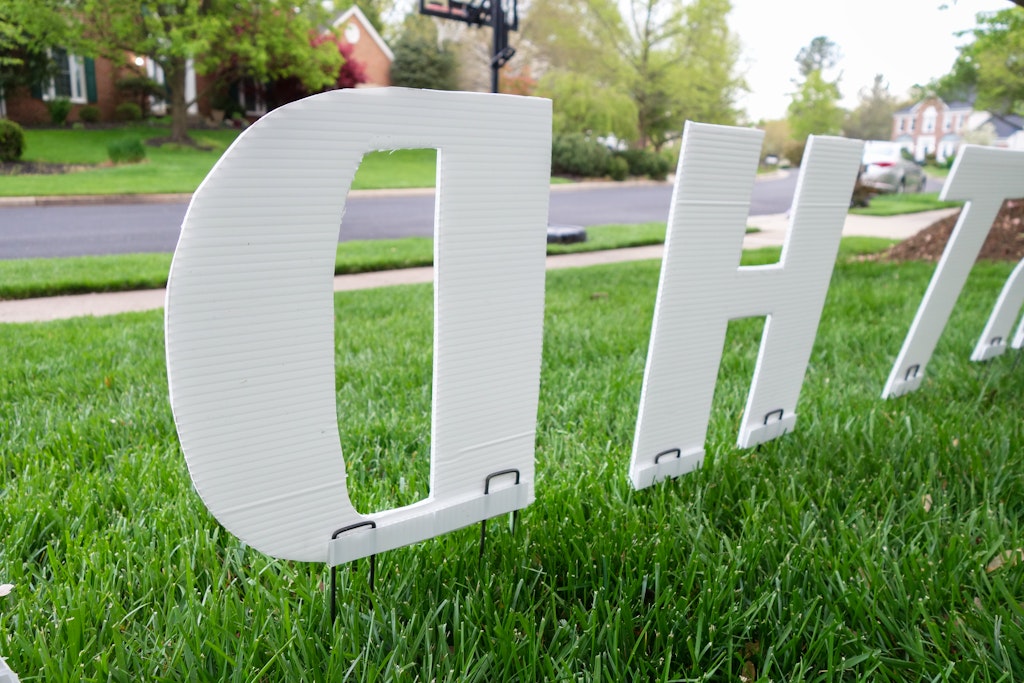
Place the signs in the yard to surprise the birthday boy and girl, graduate, retiree, the list goes on and on. Now you know how to make these DIY Yard Signs for any special occasion.
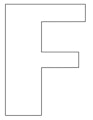
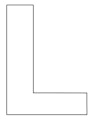
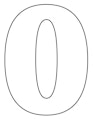
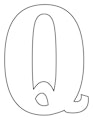
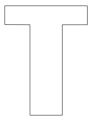
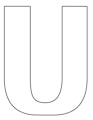
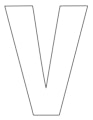
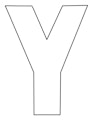
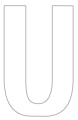
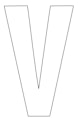
8.5″ x 11″ Yard Sign Templates


If you’re looking for 11″ x 17″ printable templates you can find those below….


This is so helpful! Thanks! Do you know if you’re able to paint this plastic sheeting?
Yes! We’ve used spray paint on it before and it worked great!
Thank you so much for sharing this! With the help of this post, I just made a personalized birthday message for my SIL who is celebrating her 50th birthday next week. All I need to do is add the yard staples to the letters. They turned out great! Due to Covid, we had to cancel the family party, so I’m going to go to her house early in the morning and decorate. We painted our letters with Rustoleum spray with a layer of their glitter spray on top in her old college school colors, purple and gold. I also purchased some pink flamingos on Amazon. I can’t wait to surprise her!
Oh my goodness I love it! She will be so excited to wake up to your birthday surprise. Good luck my dear 🙂
Hi! So helpful! Trying to do a sweet 16 theme for my daughter – any ideas ?
Can you use acrylic paint on the Corrugated Plastic Sheeting? For example, I cut out a shape of a rabbit with the sheeting then paint it with realistic colors (cartoon-like)? Would I need a primer
I would be worried about the acrylic paint being water resistant if you’re using it outside. You could test a small section of the plastic tho!