

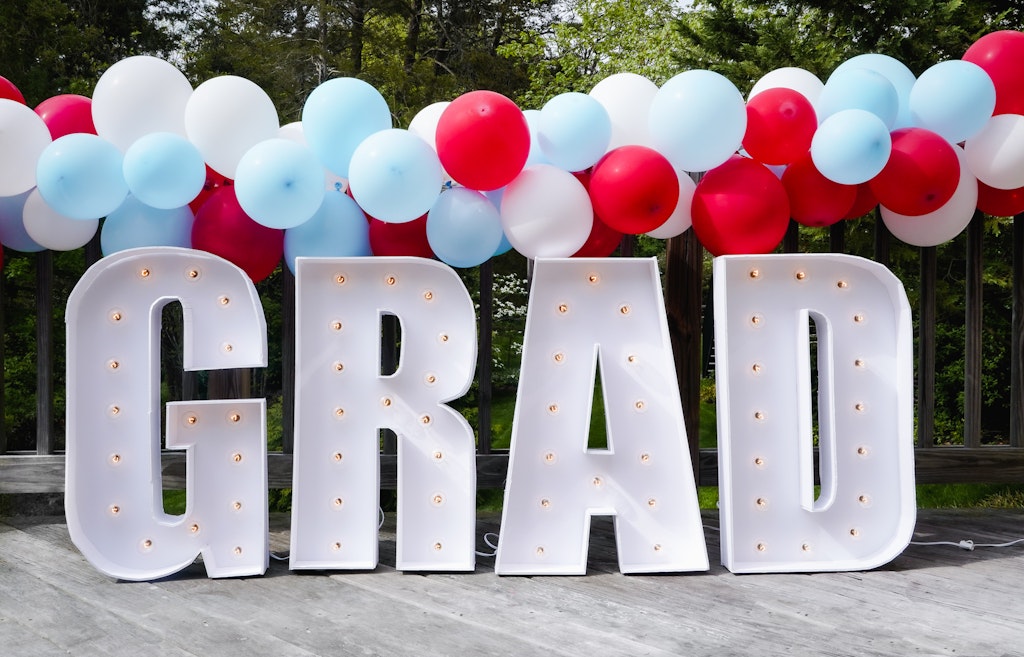
DIY Marquee Numbers And Letters Tutorial
These super easy DIY marquee numbers or letters are perfect for so many different occasions. Milestone birthday parties, graduation parties, New Year’s Eve parties, Halloween parties, Christmas parties, oh my!
We made these giant 16″ marquee numbers for my 40th eeek I know 😉 birthday recently and I loved how they turned out.
If you love the idea but are short on time. We also found an option on Amazon to order pre-made marquee numbers and letters. These are only 8″ tall but done. Totally up to you!
If you’d like to make your own oversized GIANT marquee numbers hop on over to our tutorial.
If you’re celebrating a big birthday, you should definitely also check out these DIY Birthday Yard Signs.
This is a tutorial using pre-made numbers or letters.

With a few supplies and a little time, these came together pretty quickly and added a lot of fun to our recent birthday shindig.
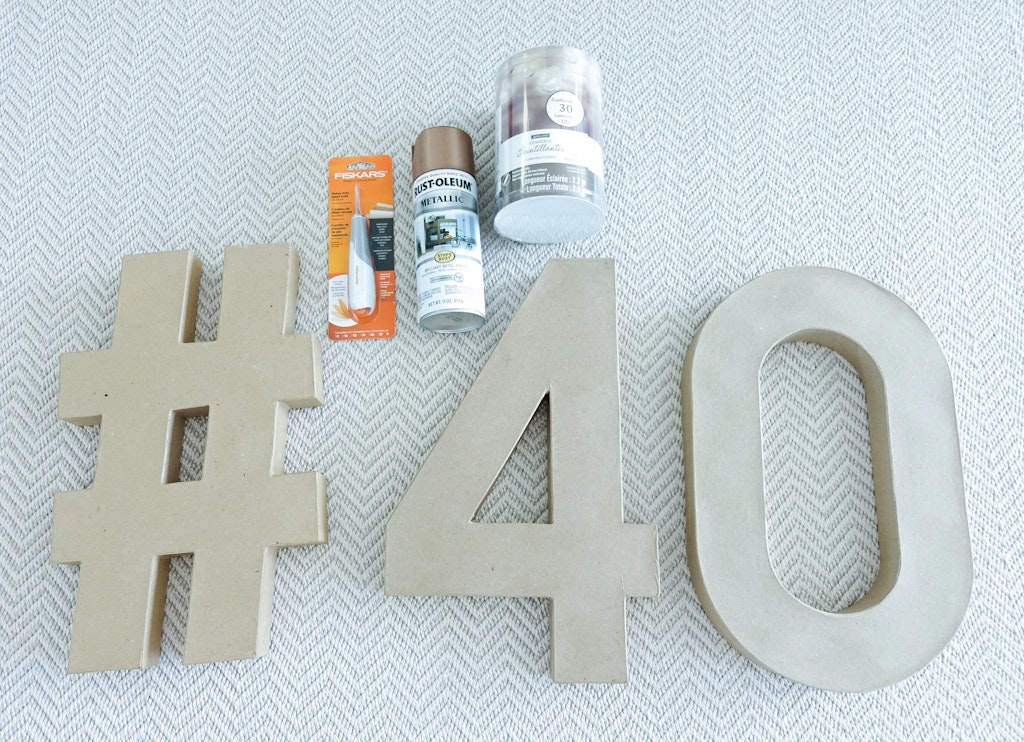
DIY Marquee Number Supplies
- paper mache/craft numbers or letters we used the 16″ ones from Hobby Lobby
- battery powered lights – we used one string per large marquee number. If your numbers or letters are smaller you could probably get away with only using one string of lights
- batteries
- 3m command strips ( not necessary but might be helpful if you want to connect the letters together or attach the battery pack to the number)
- x-acto knife or craft knife
- we also used a power drill and a 1/4″ drill bit to drill the holes in the numbers for the lights to go through but you could make slits with your craft knife instead
- spray paint
- black electrical tape (to cover over any extra bulbs)
- glue gun and glue sticks
- ruler
- pencil
I found these numbers at Hobby Lobby, but it looks like Michaels also carries the letters online and in some stores. We also picked up a craft knife to cut off the top of the numbers and make cuts for the lights to go through.
We found the strings of lights at Michaels. They were luckily 50% off at the time but you can usually find a coupon online if they are full price when you need them.
You could use any type of battery powered led lights, but these worked perfectly. They have little glass globes on top that mimic real marquee signs.
The glass part popped off of the LED light so you could easily stick the led through the back of the paper mache number then reattach the glass. This allowed us to hide the wires behind the letter.
We found similar ones recently at the Target Dollar Spot too. I’m sure around the holidays there will be lots of different options available.
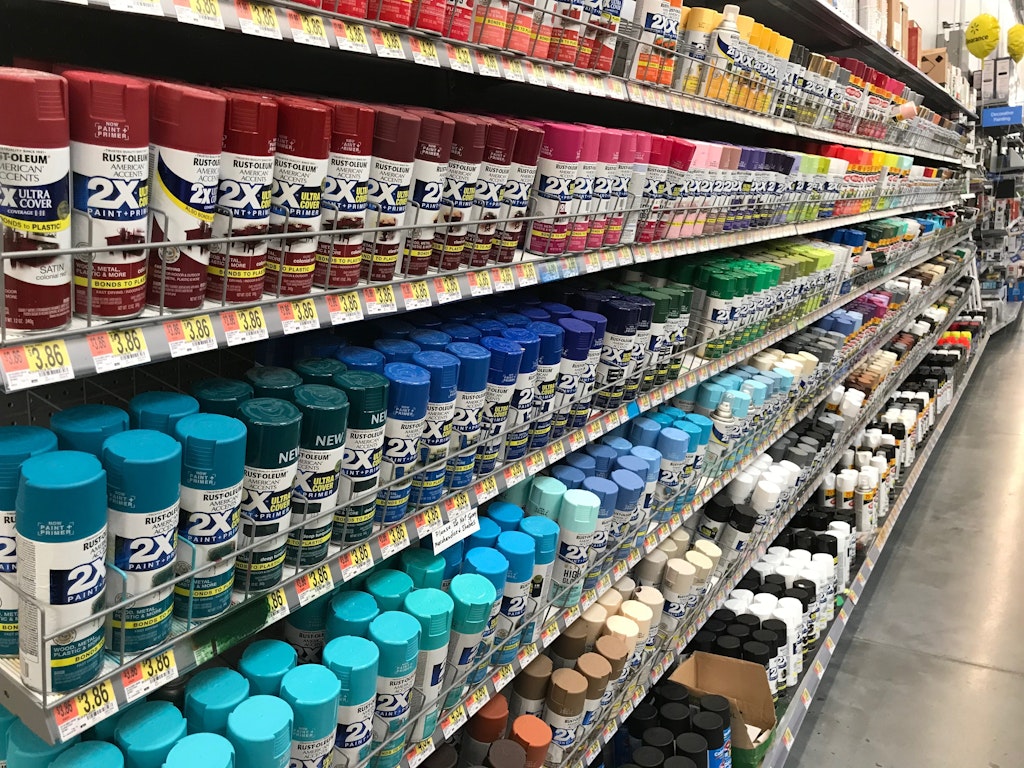
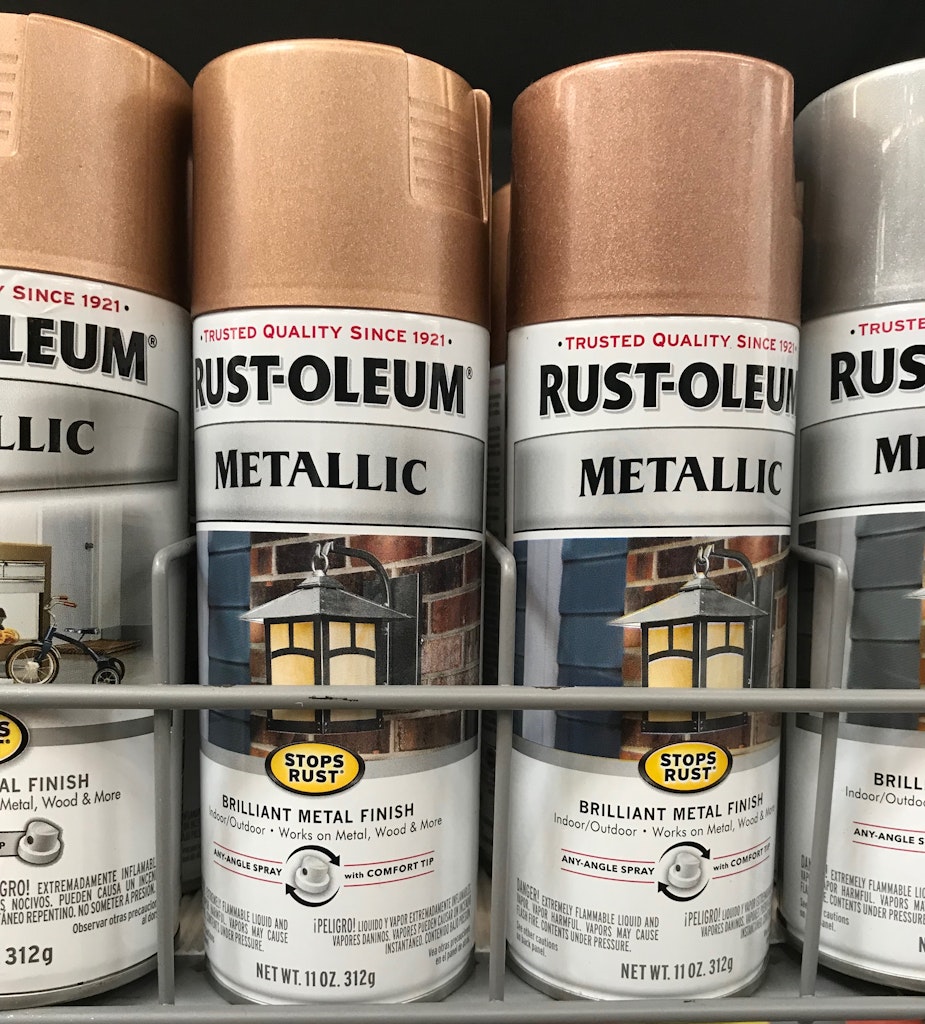
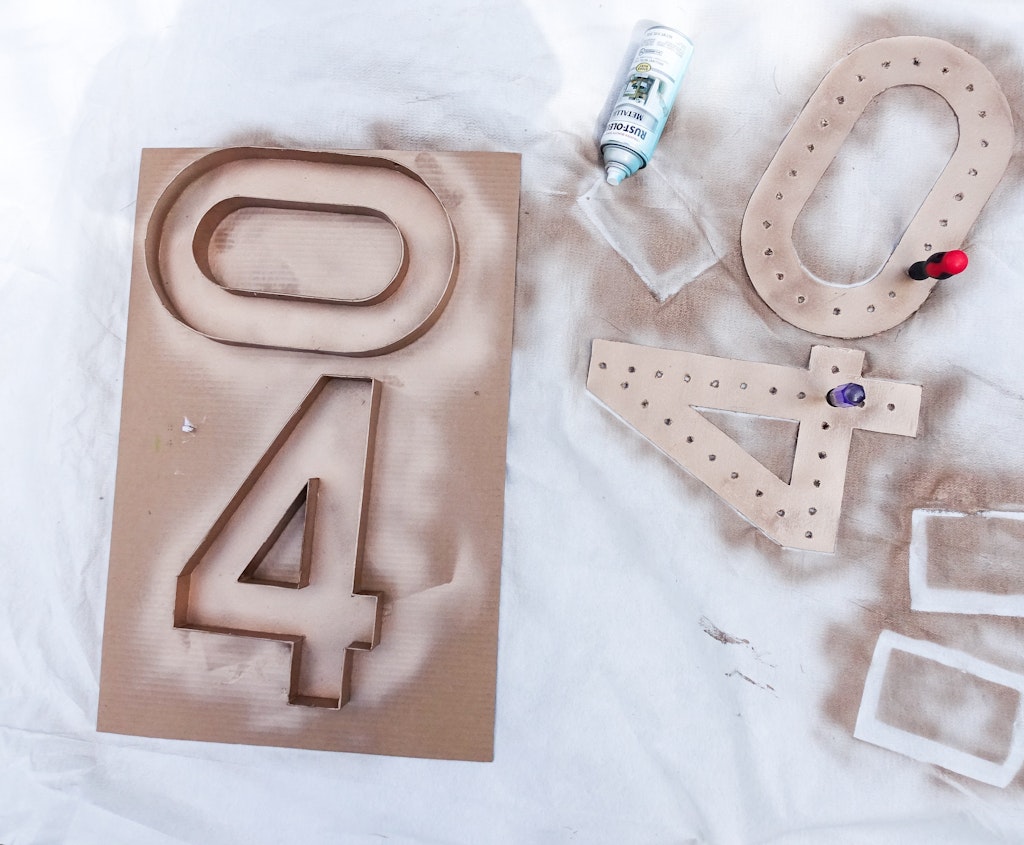
We picked up our spray paint for the project during a trip to Walmart and were blown away by the color options available. We chose this coppery, gold metallic color from Rust-oleum. The craft stores usually carry a selection of spray paint as well.
How To Make The Marquee Numbers
1. Using your craft knife, carefully cut along the top edge of each of the numbers or letters. You’ll reuse this piece so try to cut as close to the seam as possible.
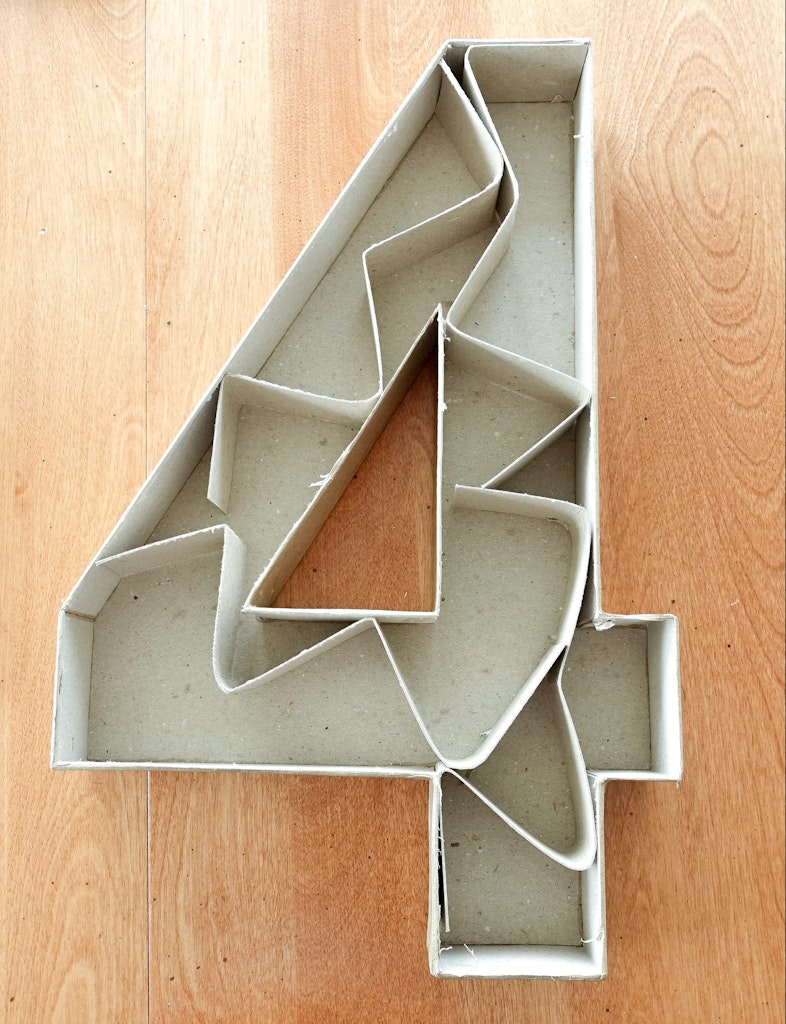
2. Remove the top of the number or letter and set aside. Next, remove any loose cardboard from the center of the number and set aside. You’ll need this again later.
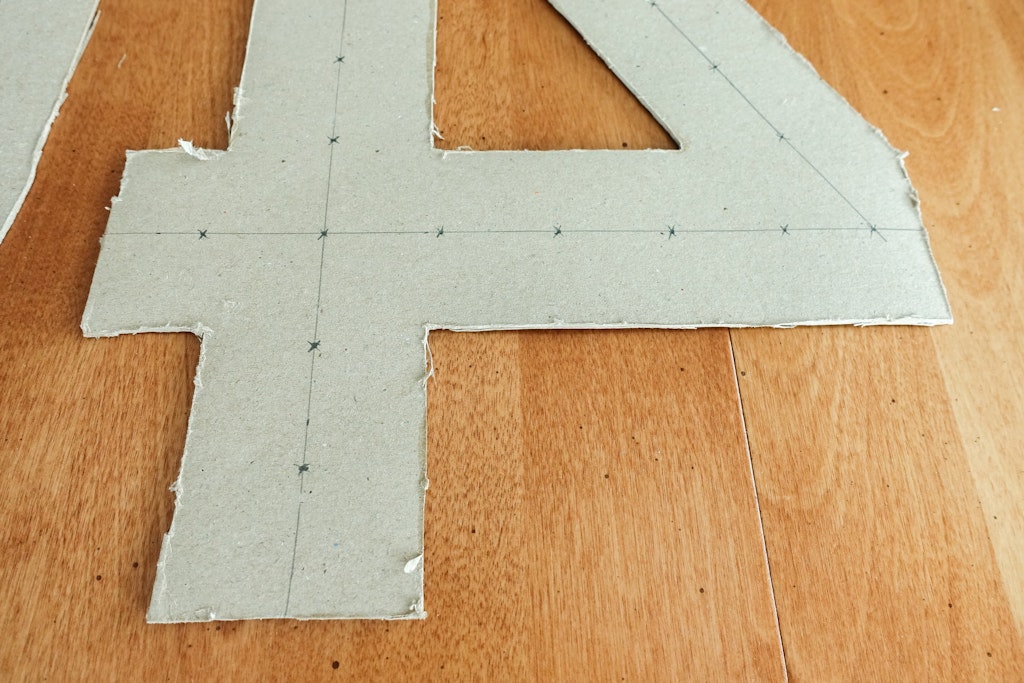
3. Using your pencil and ruler, map out where you would like the lights to go. Count how many bulbs there are on your string of lights and try to evenly space that number (or less) on your number.
We used one string of lights per number since our numbers were so large, but you can space out the lights however you want. Start from where the lights would intersect since we wanted them to line up perfectly and worked our way out from there.
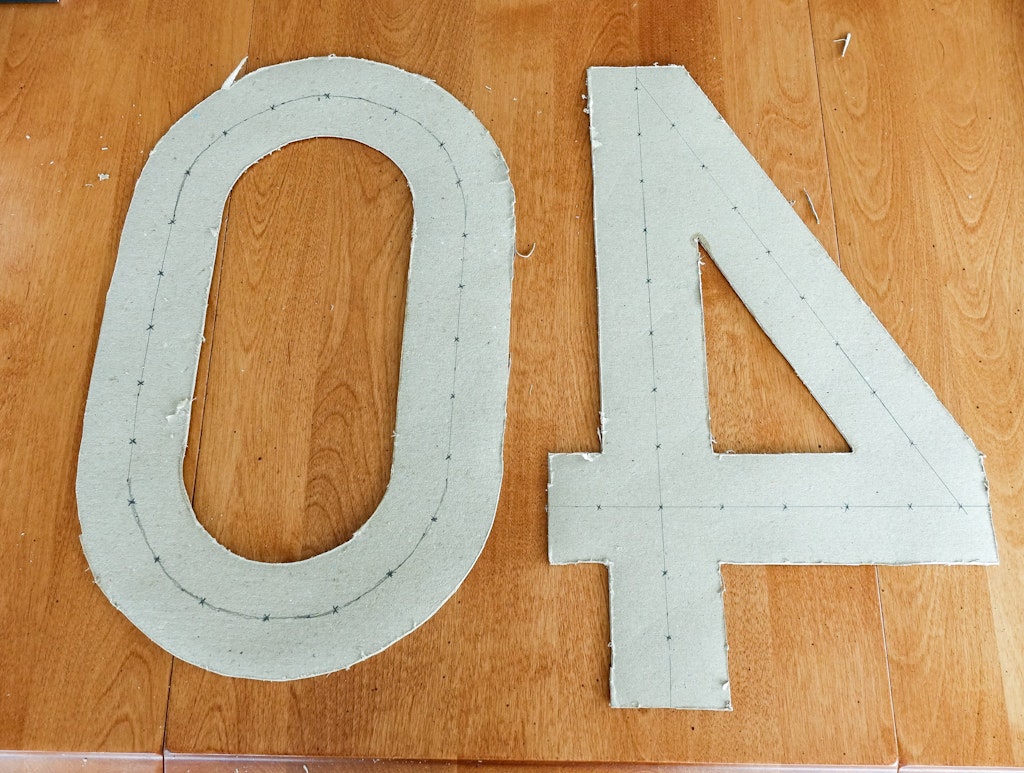
4. Mark each spot where you want a light with an “X”. Using the power drill to drill your holes, place the number on a scrap piece of wood or stack of cardboard, something that can you can drill through the thin number layer into and not ruin.
If you’re not using the drill, make small slits in shape of an “x” with your craft knife on top of each place you’ve marked.
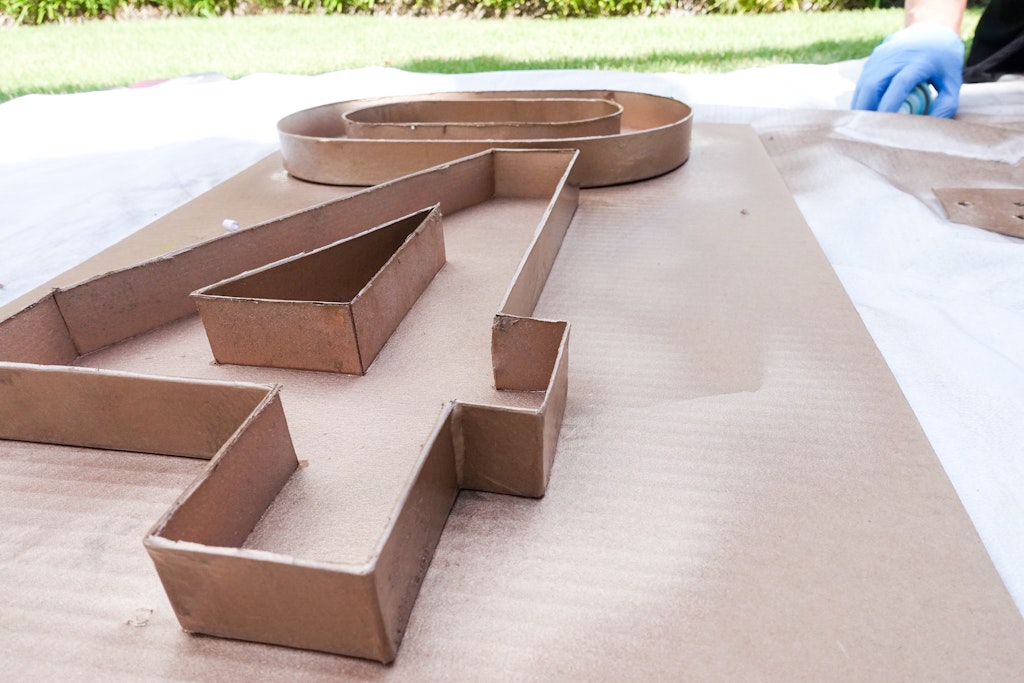
5. Now it’s time to spray paint! In a well-ventilated area. We headed outdoors.
Place down a drop cloth or some large sheets of old cardboard and lay both the top layer and bottom layers of your marquee numbers.
Painting The DIY Marquee Numbers
6. Spray a thin layer of spray paint over all of your pieces.
We used screwdrivers to poke through the holes of the top layers and into the ground to keep them from blowing away while drying.
Allow the numbers to dry according to the spray paint package directions and apply a second coat. Once they are dry to the touch it’s time to put in the lights!
Light ‘Em Up!
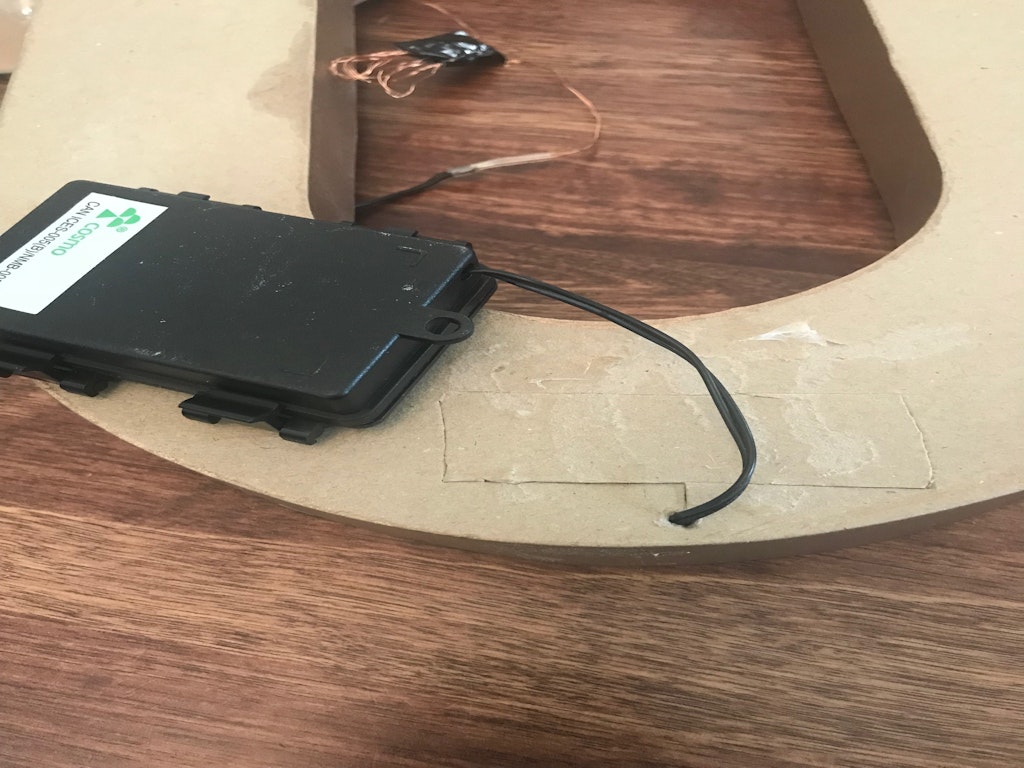
7. Cut a small hole in the bottom back of each of the marquee numbers. This is where you’re going to feed the string of lights through and leave the battery pack on the back of the number.
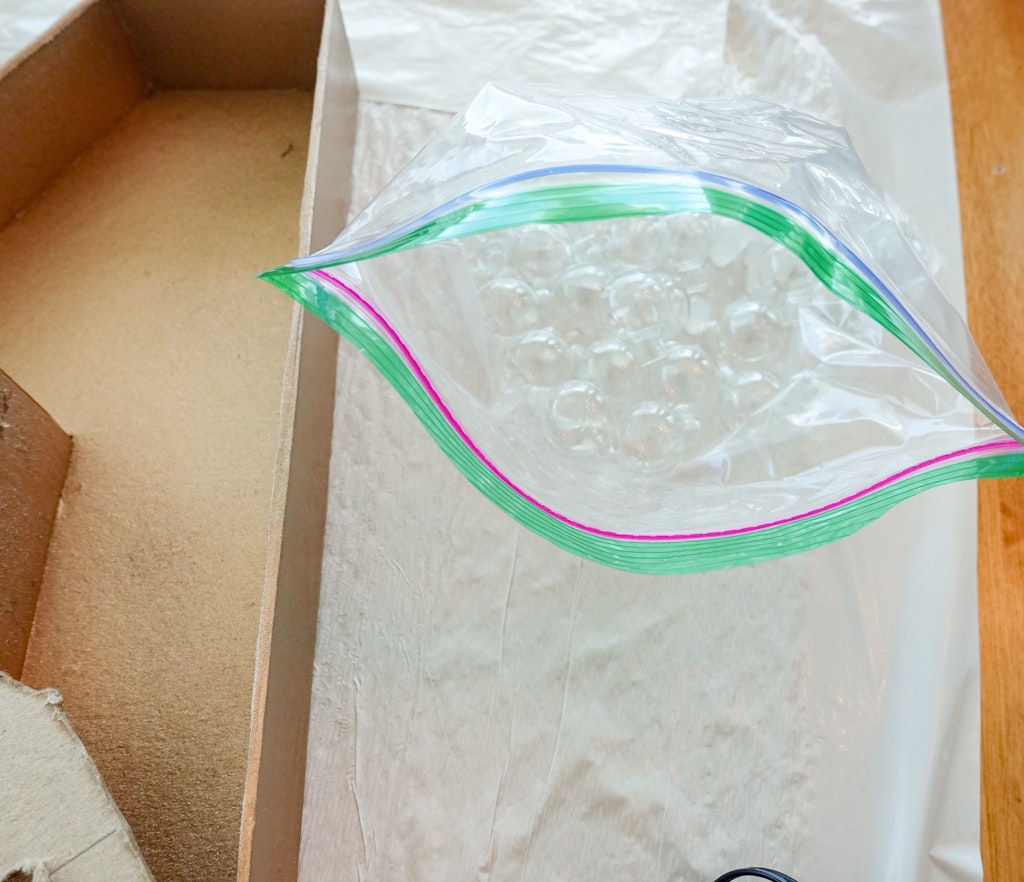
8. If you’re using lights similar to ours with the glass bulb on top, pop off all of the tops and set them aside.
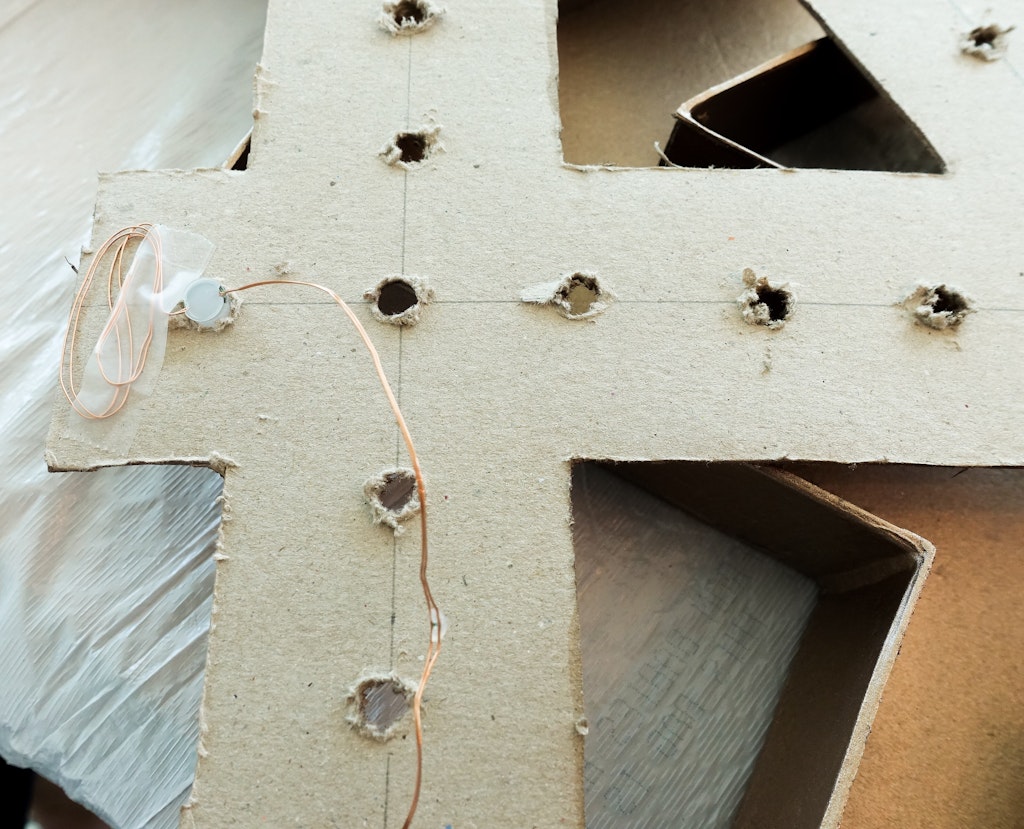
9. Tape down the end of the wire to the back of the number. Pop the LED light through to the front of the number.
Work your way around the number adding all the LED lights through the holes that you’ve made.
If you made the holes using your craft knife, you might want to fold back the corners toward the back of the number before popping in the LED lights. This will keep the extra cardboard won’t show through to the front.
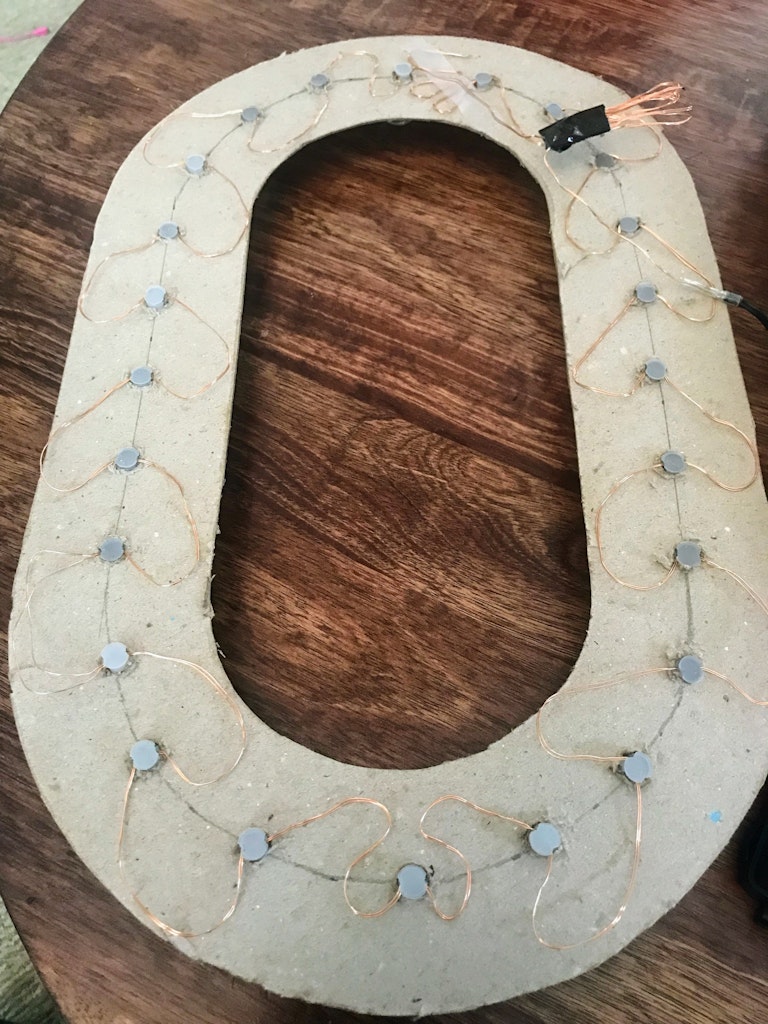
10. Cover any extra bulbs on the string that you aren’t feeding through to the front of the number with black electrical tape.
Now they won’t shine through to the front.
11. Flip the top of your number over and replace all of the glass bulbs on top of the LED lights.
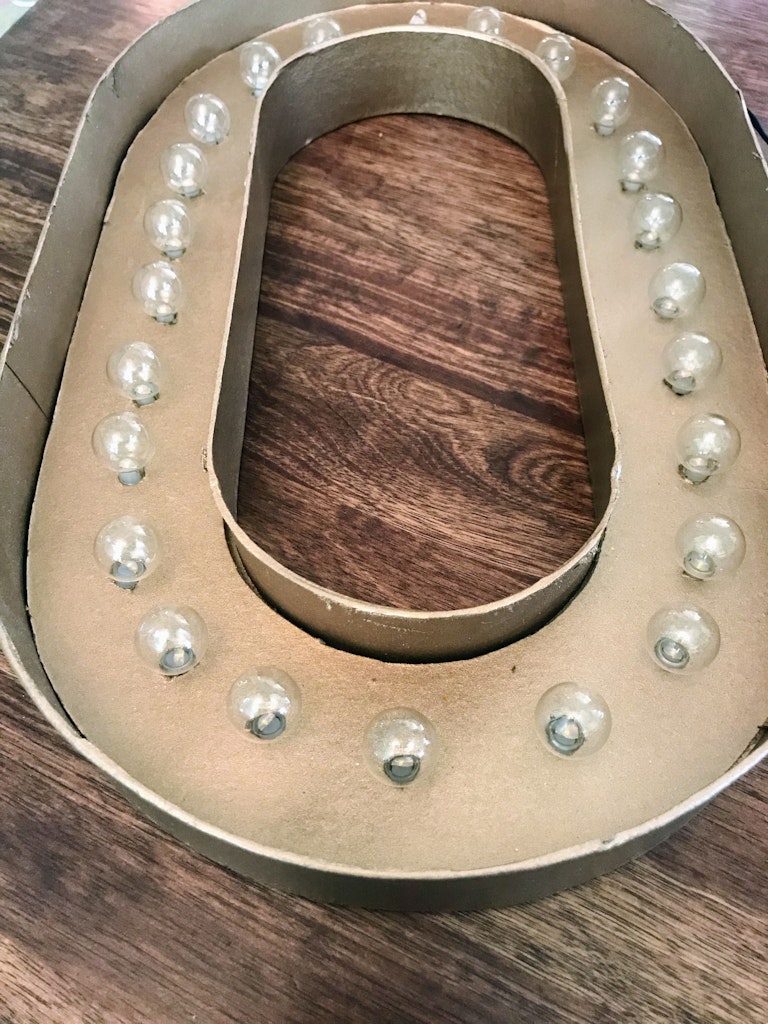
12. Press the top number (with all of your lights in it halfway down into the back of the number.
We propped them up against the wall at the event space. For a party at home, you could prop them up on your mantle.
Ours didn’t stand up without being propped up so keep that in mind when figuring out their placement at your event.