

DIY Large Marquee Letters And Numbers
I made a smaller version of these DIY marque letters for a birthday party a few years ago. This is an affordable way to make oversized marquee letters and numbers for your next party.
They are perfect for milestone birthday parties, graduation parties, theme parties, so many options. The marquee letters are made out of foam core board you can find at the dollar store or Walmart. Once you’re done with the letters, the strings of lights can be reused for other projects.

Supplies You’ll Need For Oversized Marquee Letters And Numbers
- White Foam Core Board – I used 7 20′ x 30′ boards for this project, but the number will depend on what word you’re spelling. You’ll need one board per letter and a few extra for the edging. If you line up your letters or numbers to hug one side of the foam core board, you can probably use some of the extra for the edging pieces. I didn’t realize this until after I cut out the letters and trashed my extra pieces.
- access to a printer and white printer paper
- clear tape
- pencil
- scissors
- utility knife or Xacto knife
- hot glue gun and glue sticks
- ruler – I have a 3″ x 18″ clear craft ruler that was super helpful for this project
- globe lights with removable bulbs
- something to poke holes into foam core. I used a drill but that isn’t necessary. You could use a sharpened pencil if you needed to then wiggle it around while it’s poked through to make the holes wider.
How To Make Your Marquee Letter & Number Stencils
You can choose your own font or design for this project as well. If you choose to do that, make sure that you save the page setup as a custom 20″ x 30″ size before saving it as a PDF.
Print Your Marquee Letter Stencils
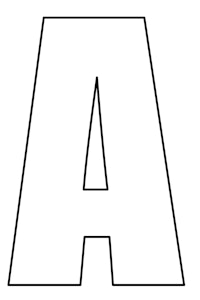
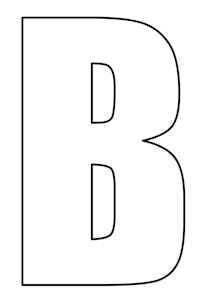
To print the pages out you’ll need to use Adobe Acrobat. If you don’t have the program, you can download a free version to use. I have included files with A-Z and 0-9 in the font i used for my signs.
Click on the letter or number you want to print to download the file.
Then open the file in Acrobat and go to print the file.
Your print screen should look similar to this. Choose the POSTER option for page sizing and handling. It might change the overall size of the “poster” to accommodate for the actual printer paper once assembled.
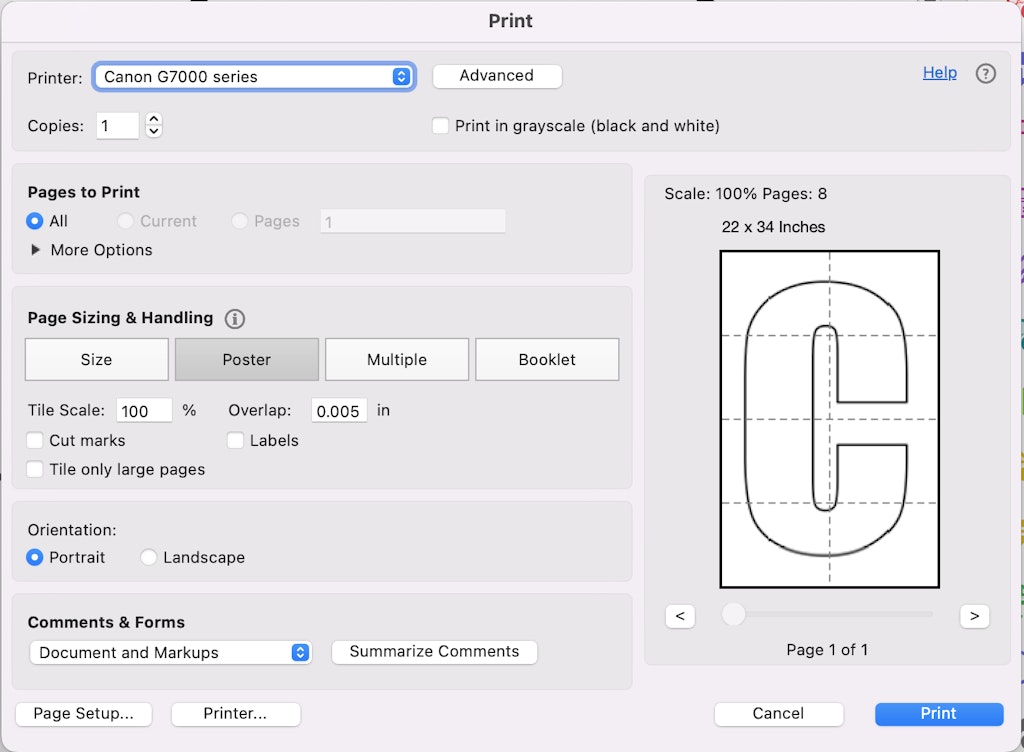
I would suggest printing one letter or number at a time and store them in separate piles.
This will make assembling the letter more simple. You might need to trim some of the edges to have the letters line up correctly.
Assemble Oversized Marquee Letter Templates
Tape together each marquee letter or number.
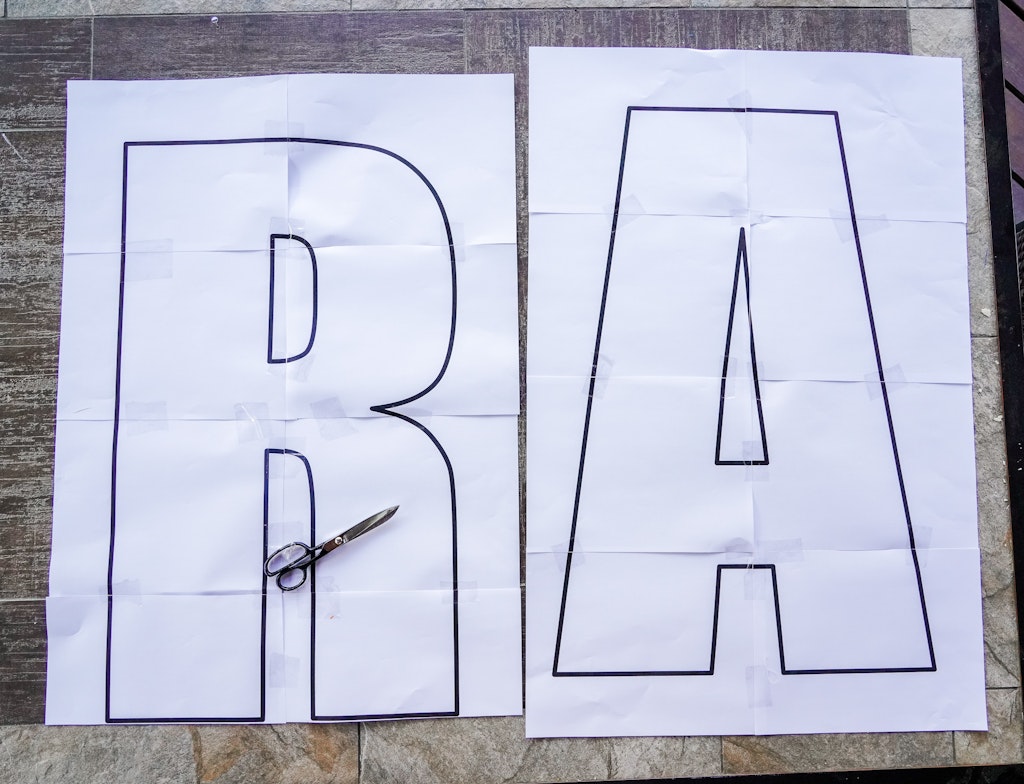
Cut out each stencil.
Place the stencil on top of a piece of foam core board and trace it using a pencil. Take advantage of any straight edges by lining the stencil up with the edge of the foam core board.
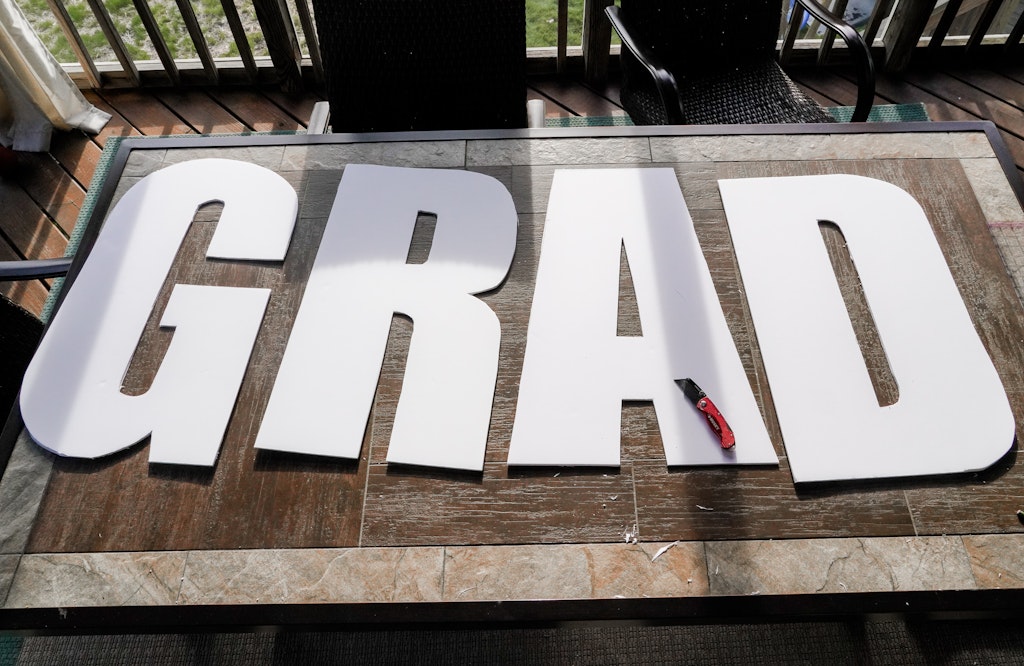
Cut Out Your DIY Marquee Letters Or Numbers
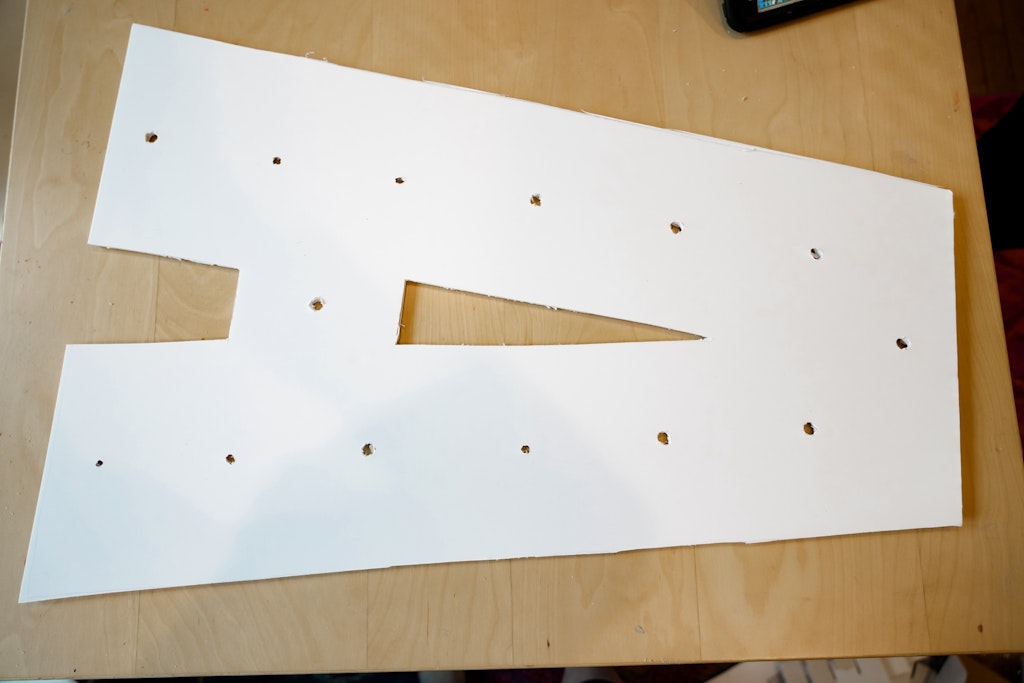
Use a utility knife to cute out each letter from your foam core boards. I used one foam core board per letter.
If you have sections left over that are 3″ thick or more, save them and set them aside.
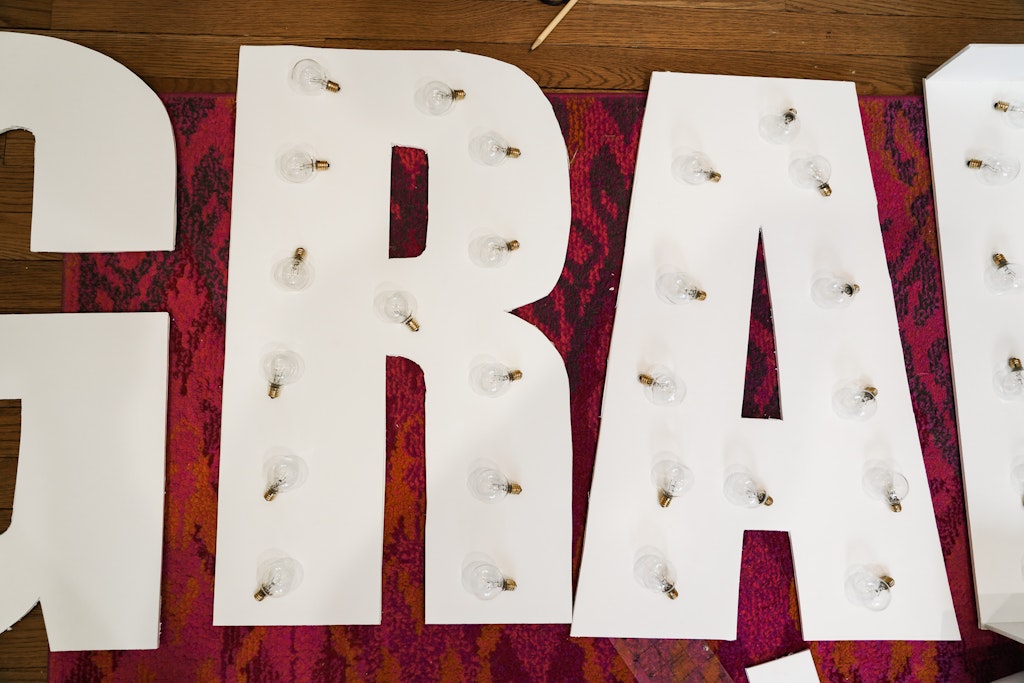
Plan Out Marquee Light Placement
I used one strand of lights per letter. You can definitely use less bulbs per letter and get two letters per strand, but this was easier for me since i wanted to use almost as many lights as there were on one strand.

We place the bulbs around on the letters to get an idea of where we wanted them and how many we should use.
Once you have a general idea of how many lights and where you want them, flip over the letters to so the back is up.
You can eyeball this part if you want but I’m happy that we measured a bit and planned.
I started most of the bulbs 1.5″ from the bottom or top then spaced the bulbs about 4-4.5″ apart along the center of the letters.
We had to shift a few in or out to help round the curves of some of the letters.
Just make sure in your planning to not space the holes farther than the distance that two bulbs are on the string.
Mark where you want to poke your holes.

I pressed the pencil into each of the spots we marked for the holes to make a small indent.
This helped to show where each hole should go on the the front side of the letter when I flipped it over.
Mark those spots with your pencil to have them show up better.
Now it’s time to poke the holes. I set the letter on a scrap piece of wood and used a power drill to poke the holes. You can also poke through with a sharpened pencil or a nail then wiggle it around to make the hole wide enough to fit the part of the bulb you screw in.
Make The Edges Of The Large Marquee Letters
Once you’ve poke all your holes, it’s time to add some dimension to the letter.
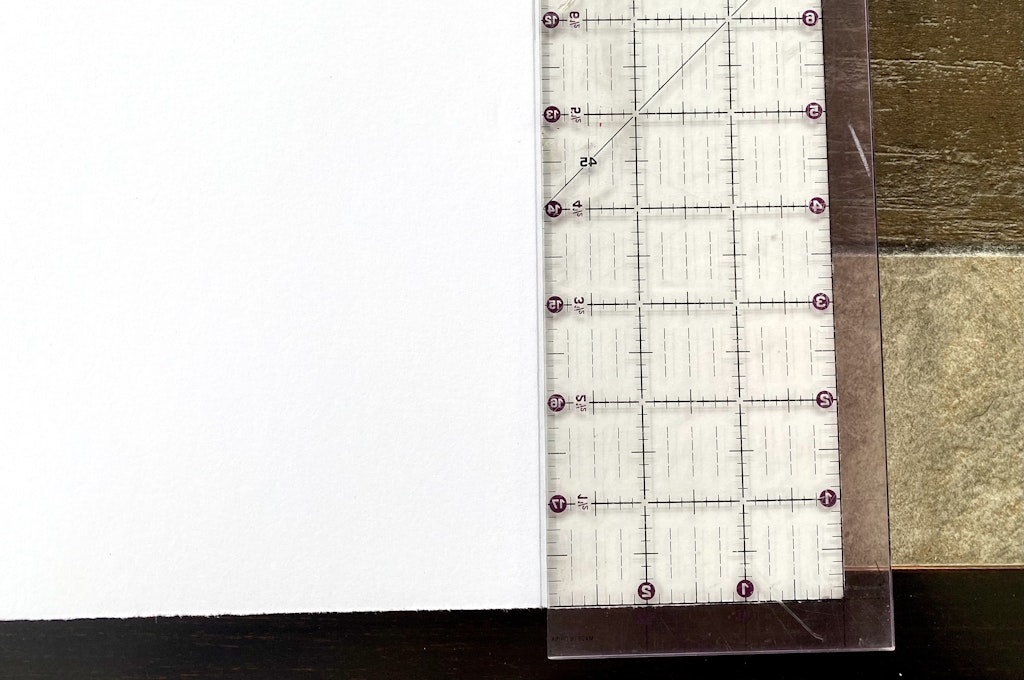
Measure and cut strips of 3″ wide foam core board using your utility knife.
You’ll need varying lengths, but I started by cutting them the length of the long side of the foam core board, 30″.
This is where the 3″ ruler comes in handy.
Hold the section up to the edge of your letter and mark where you’ll need to make a cut for the length to match the edge of your letter.
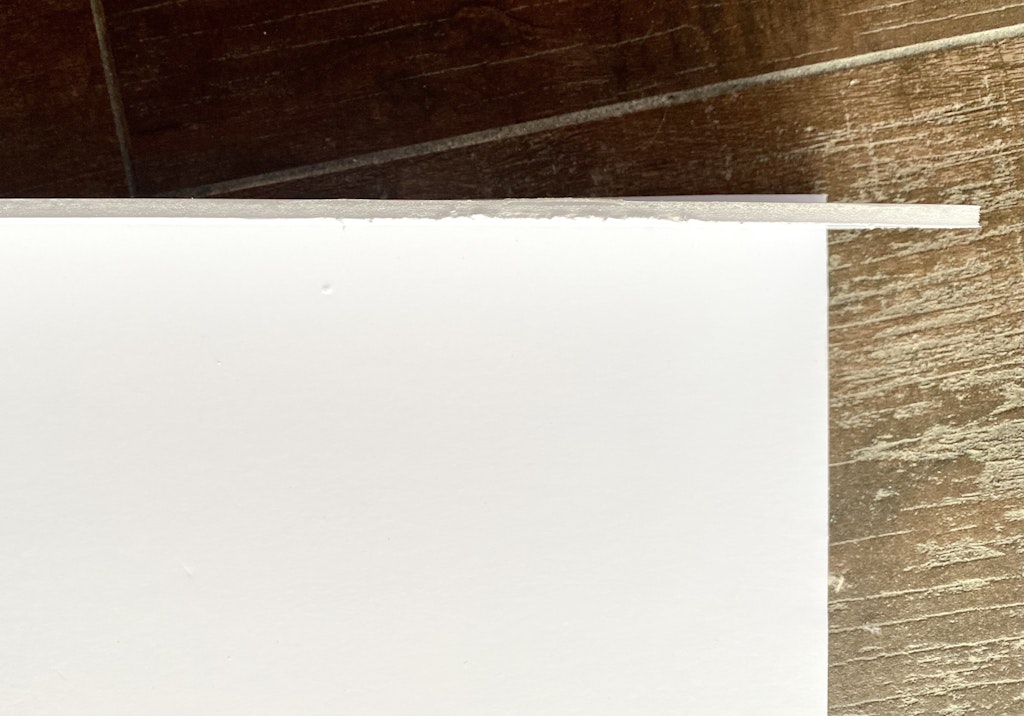
Hot glue the thin edge of your 3″ strip to the front edge of your letter to create a 3″ lip outlining the letter.
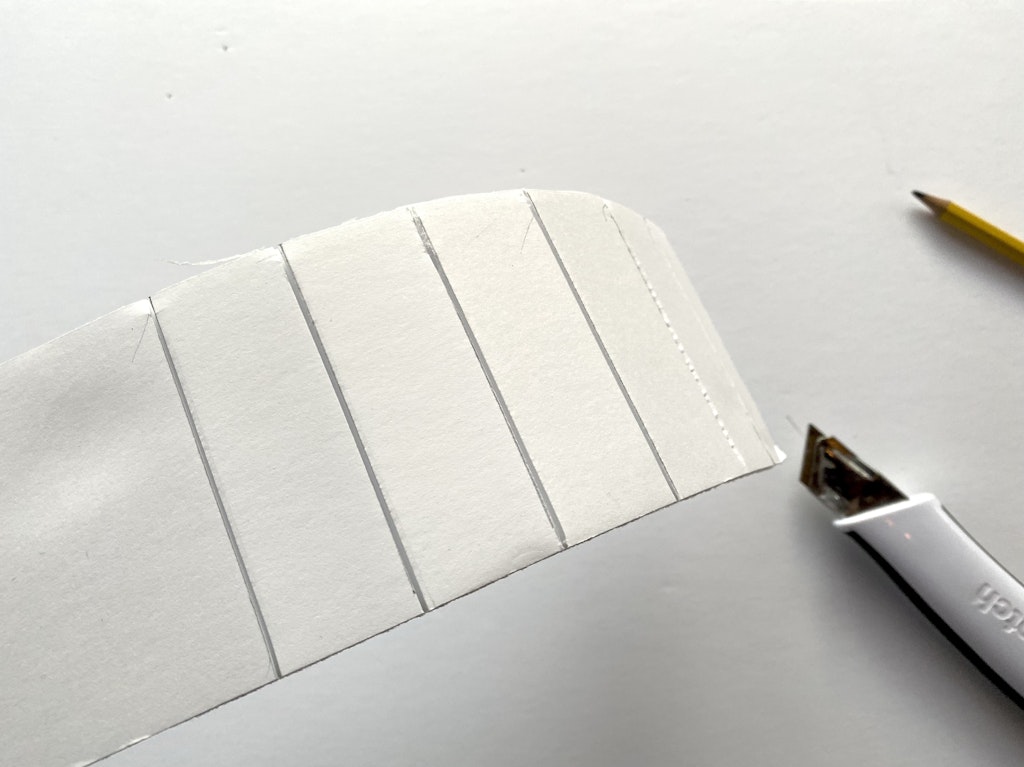
To make the edges for the curvy sections of your letters and numbers I drew lines an inch apart (1/2 inch apart for really curvy parts).
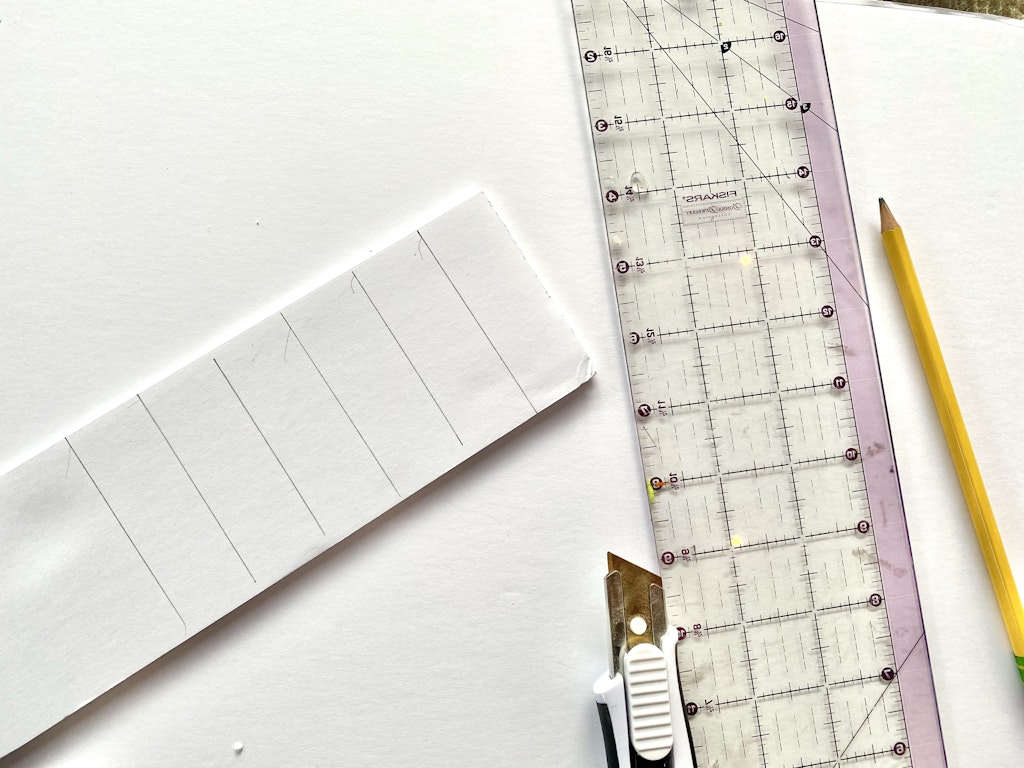
Use your utility knife to score the lines. Don’t cut all the way through.

Carefully snap along the lines to allow the piece to bend. The paper on the opposite side should remain in tact.
Line the curved strips along the curved edges of the letters or numbers and glue them down.
Light Up The DIY Marquee Letters
Carefully poke the light bulbs into the holes from the top down. Connect the light strand to the back of the letter.
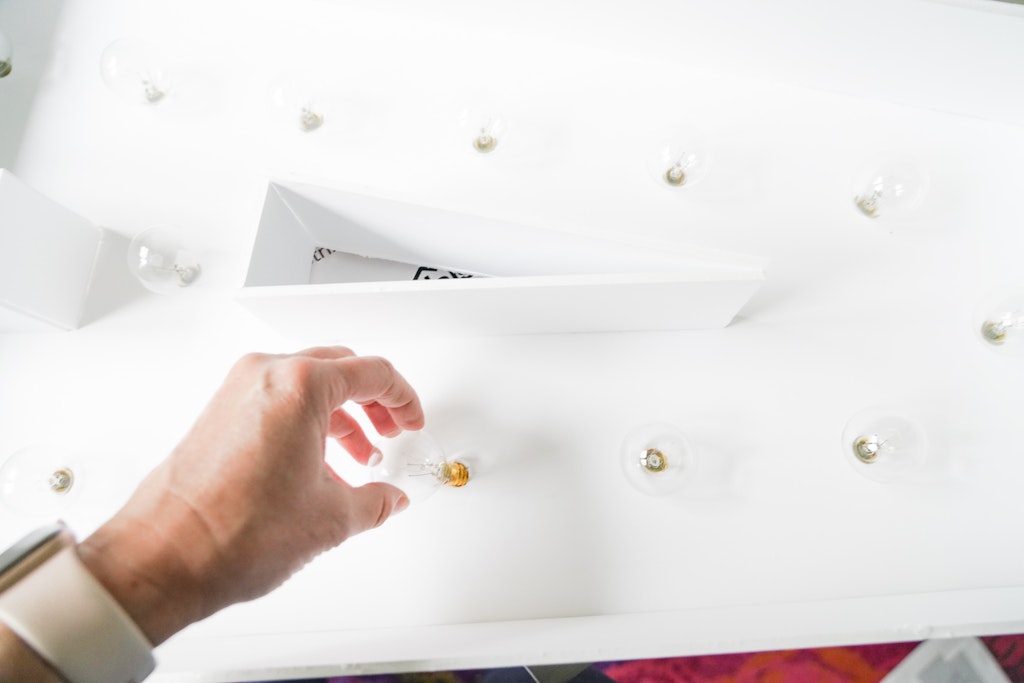
Plug in your letters and gaze in awe at the amazingness. 🙂

Download Free Large Marquee Letter and Number Templates


hello I am using a Mac computer and I can’t get my computer to pop up to print in poster format
I’m away from my Mac right now but I’ll walk ya through when I get back 🙂 it might not be working if you’re not opening the pdf in Adobe to print
the files are working for me currently on my Mac. You click on the file and it downloads to your computer. then open the file using Adobe Acrobat (you can download a free version to use). When you go to print the file choose “poster option”.
Thank you so much for posting this and the printable letters! I am at the part of poking holes for the bulbs. Was it safe for the screw part of the bulb to be touching the foam board when plugged in. Did you have any issues with that?
I poked the blub all the way through the foam core and it screwed all the way into the base on the other side. So non of the screw part was touching the foam core in was just sitting in the hole fastened together. I haven’t had any trouble with it, but you could always use LED lights too if you’re concerned. Maybe something like these from Target would work – https://shopstyle.it/l/bMzj3
I’m so glad I found this post! Do you have any suggestions on how to support the letters if they are placed outside for a few hours? I dont want them to blow away or fall over!
This is great! Thank you for all the detailed instructions. I was able to download the files. Would you be able to add the “&” symbol? Thank you!
Any chance you have an ampersand or and sign?
Where did you get the lights from
lights were from Target
Hi, what size are the letters? How do I make it to 4ft tall?
I love this idea! Awesome instructions, suggestions on where to buy and photo inspiration! This will make a great addition to the party. Did you have any trouble with the letters standing up on their own? Thanks again!
You are awesome!!! Thank you super so much for this information and downloads!!!!
Okay made these to spell “NOONIEPALOOZA” and they were EPIC. A little time consuming but did $13 letters with a strand of lights for each letter under $200. Thank you for the tutorial! But now… how do I store them??