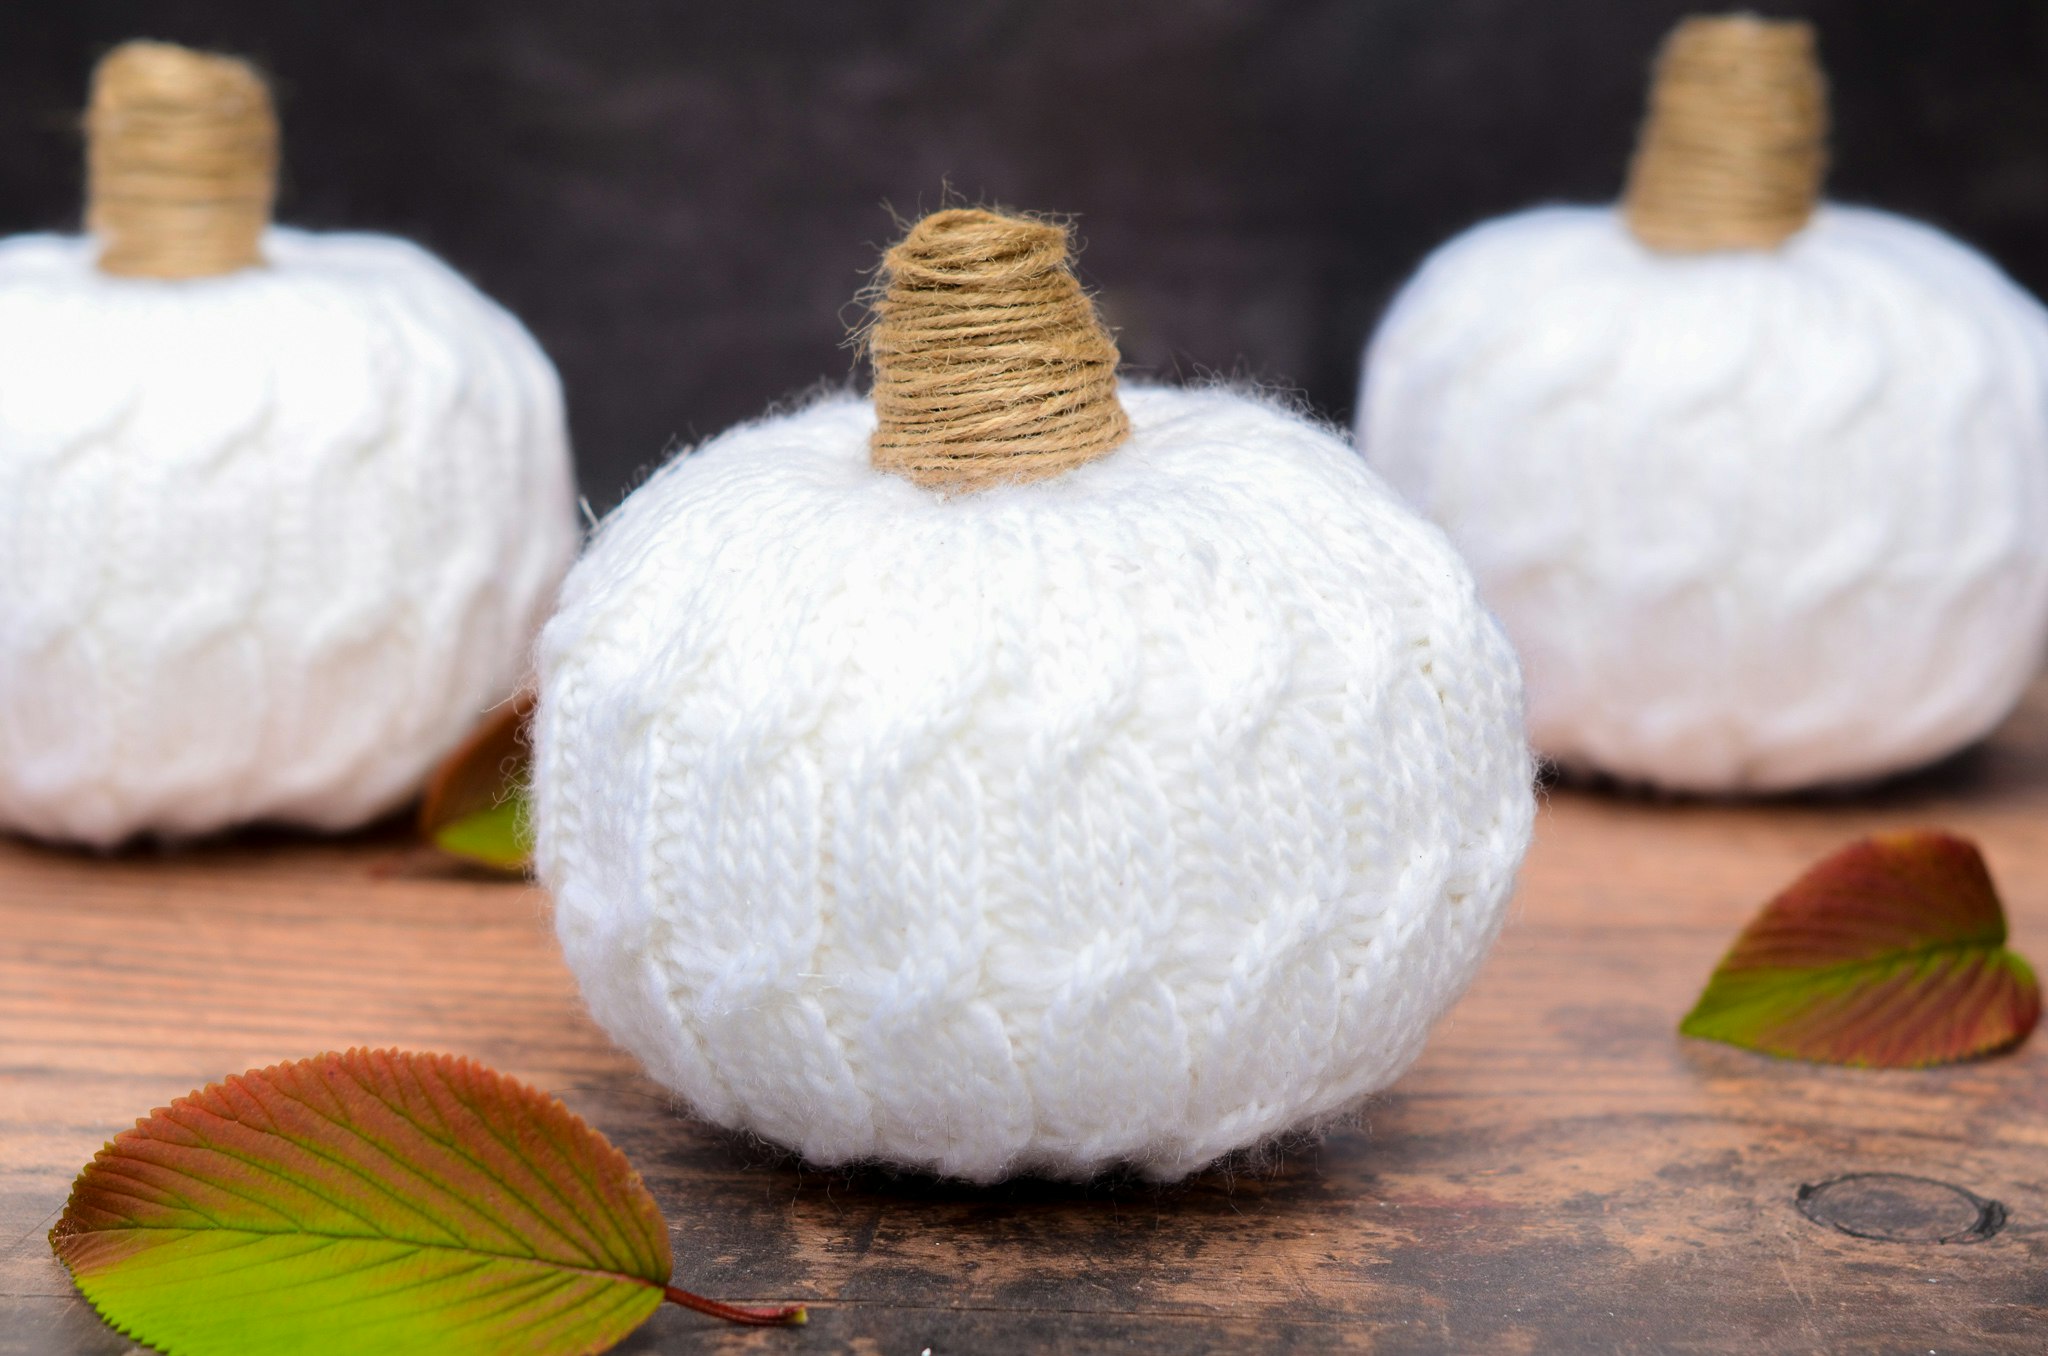
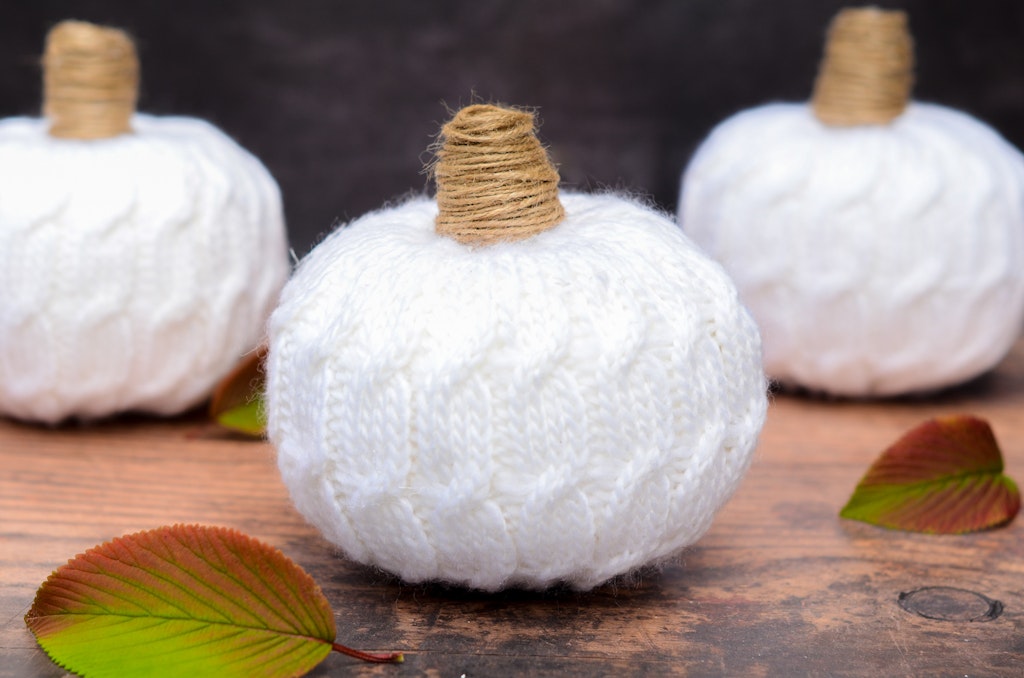
Simple Dollar Store Fabric Covered Fall Pumpkins
You can make these DIY dollar store fabric covered pumpkins using just a few supplies, most of which you can pick up at the dollar store. If you’re looking for another great Halloween DIY, check out these pumpkin lanterns that look a lot like the pricey Pottery Barn version.
Supplies For DIY Dollar Store Fabric Covered Pumpkins
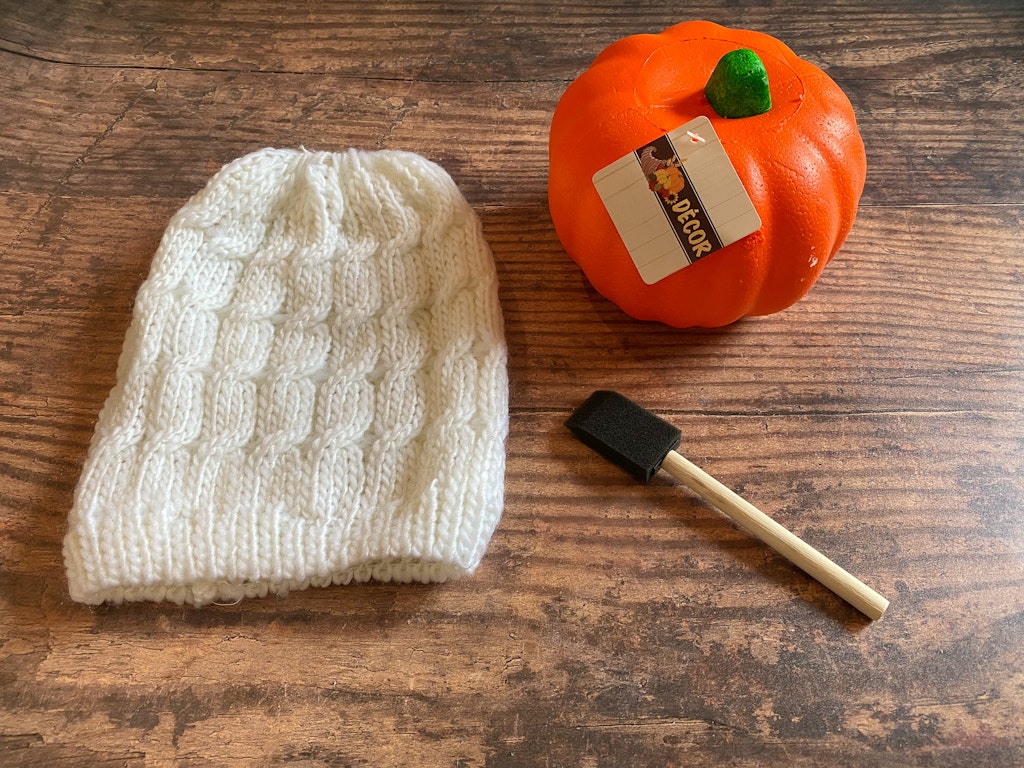
- Dollar Tree Carvable Foam Pumpkins
- Knit Hat – We snagged these from the Dollar Tree
- Acrylic Paint – Choose a color similar to the color of hat since you might be able to see through the hat.
- Foam Brushes
- Jute Twine
- Hot Glue Gun & Glue Sticks
- Scissors
We chose this chunky knit hat that we found at the dollar store. They had a variety of different color and texture hats to choose from.
Painting The Pumpkins
Because this hat has a loose weave, you’re able to see the bright orange pumpkin through the hat.
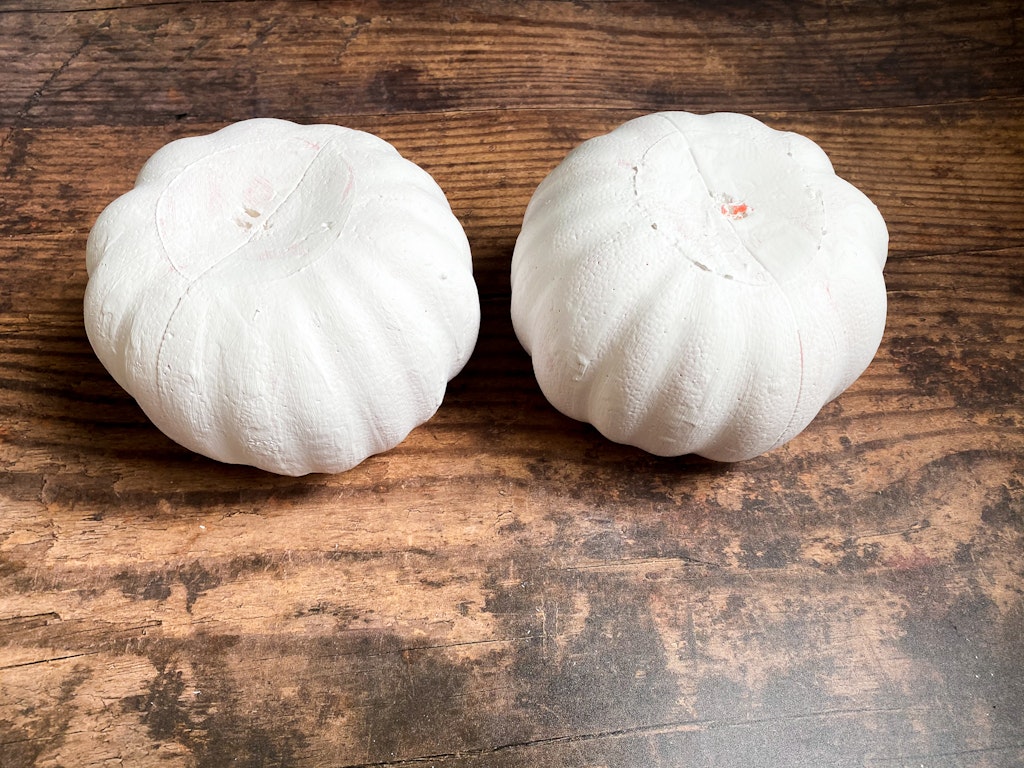
We picked up some white acrylic paint that was similar to the color of the hat to cover up the bright orange color.
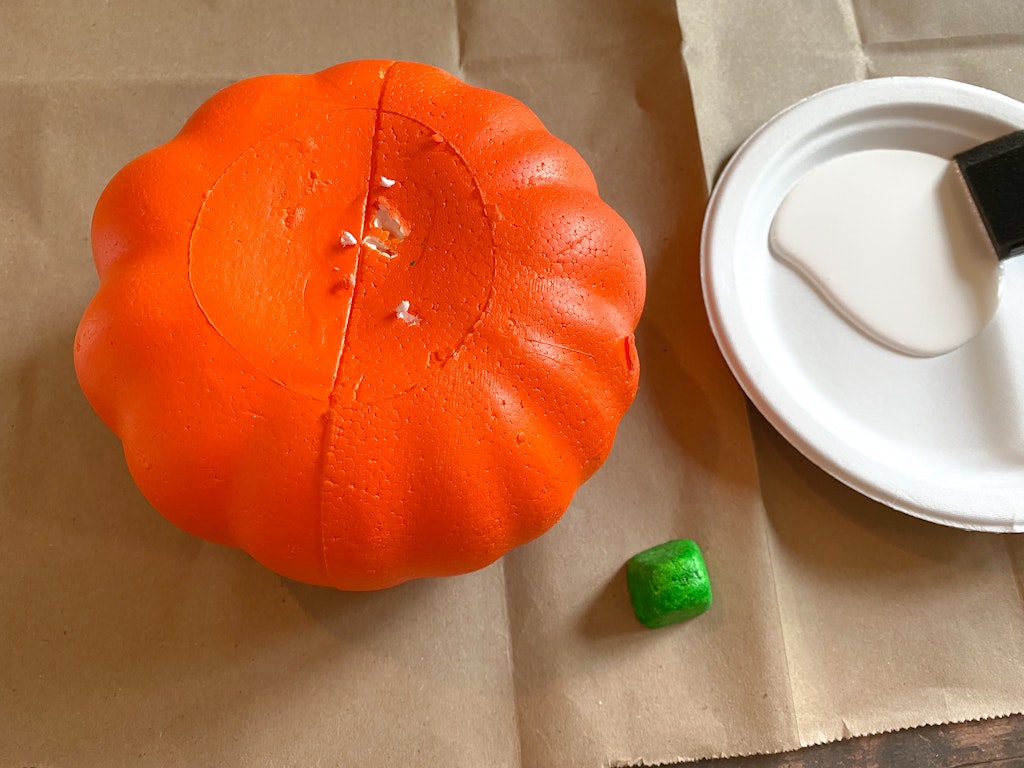
Pop off the stem. It’s attached to a toothpick and can be pulled straight out of the foam pumpkin. We needed to paint two thin coats on each of the foam pumpkins to fully cover the orange color. Let the pumpkins dry to the touch in between each coat.
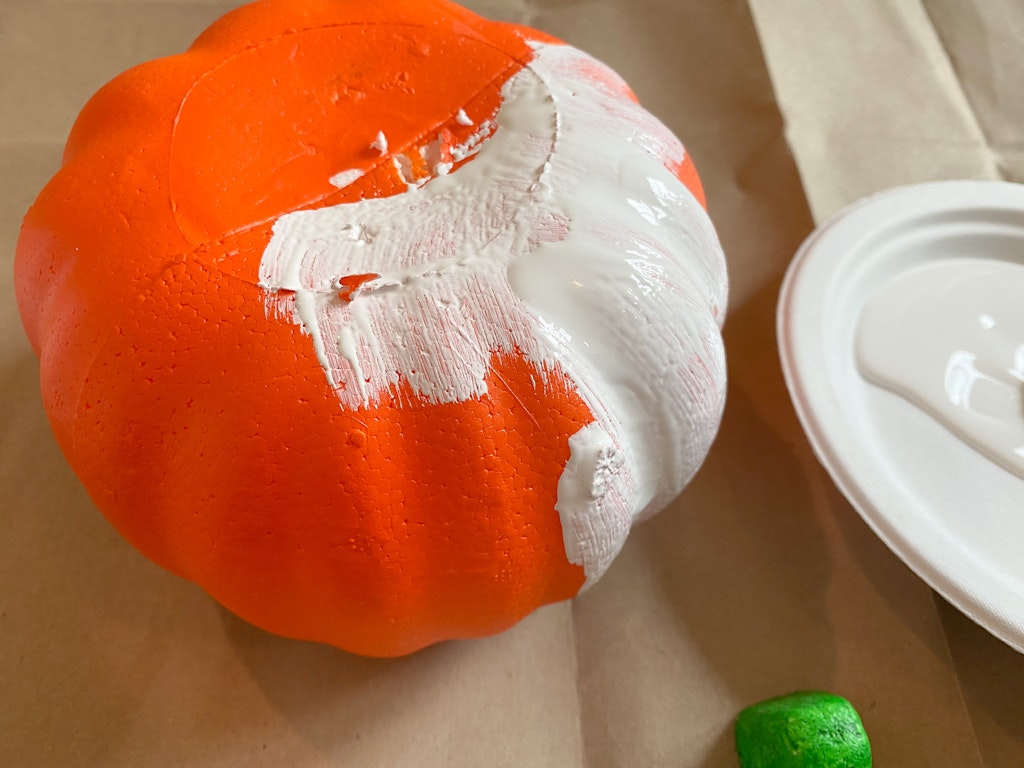
Once the pumpkins have dried you’re ready to cover them with the fabric hat.
Cover Pumpkins With Knit Hat
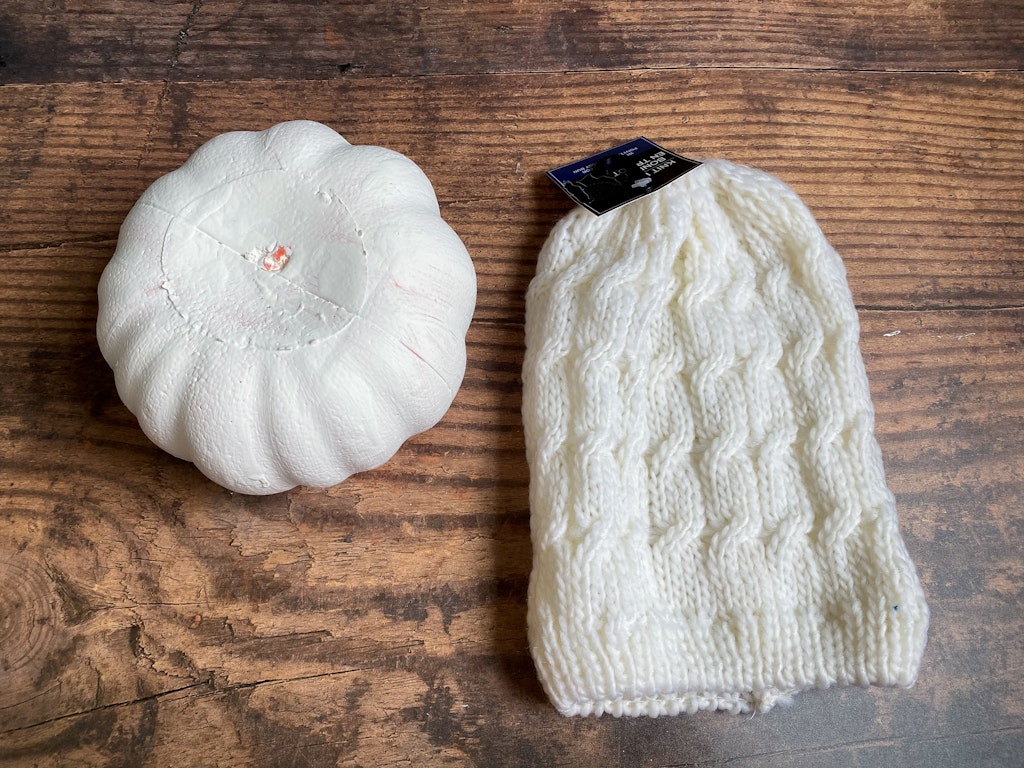
This particular hat had a little pony tail hole at the top. We covered the pumpkin with the top of the hat matching up with the top of the pumpkin where the stem used to be. If your hat doesn’t have a hole at the top just line up the top of the hat with the top middle of your pumpkin. You might want to add some hot glue to the top middle of the pumpkin (where the stem would go) to make sure it stays in place.
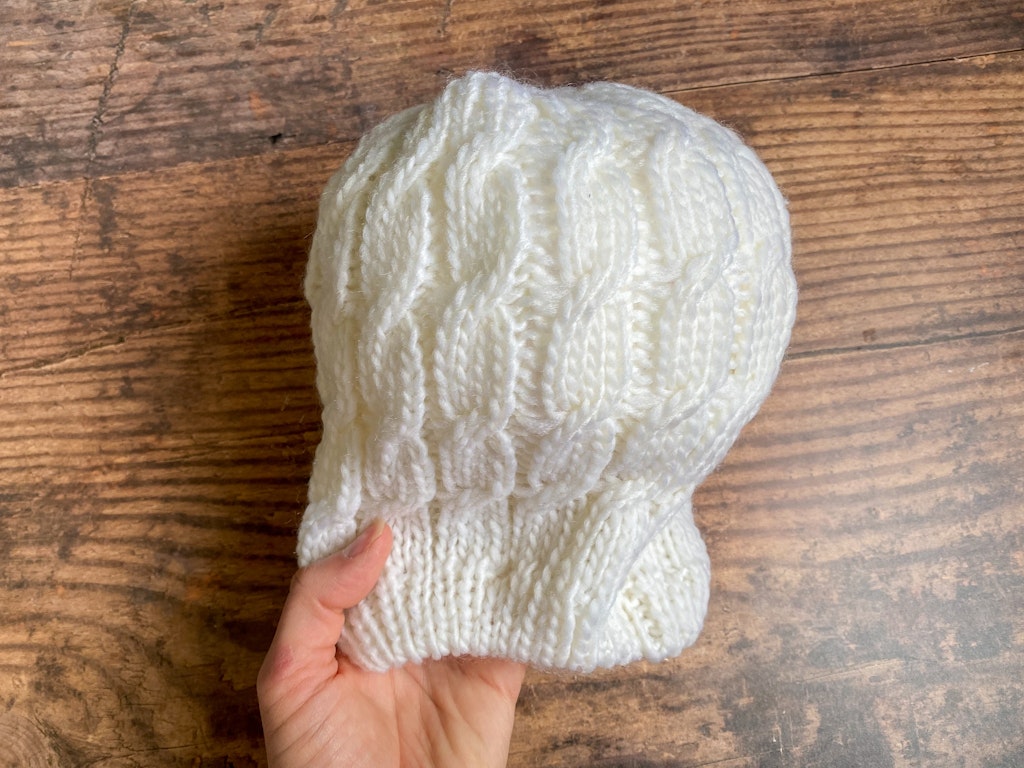
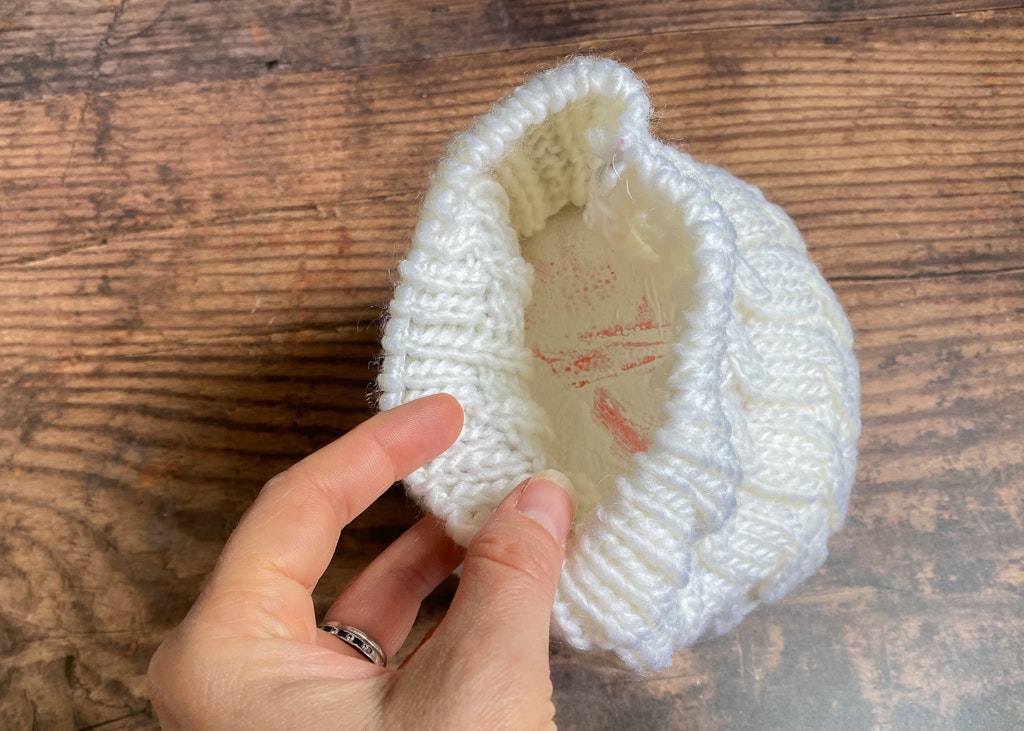
Pull the rest of the hat down toward the bottom of the pumpkin. You’ll have a lot of excess fabric and that is A-OKAY.
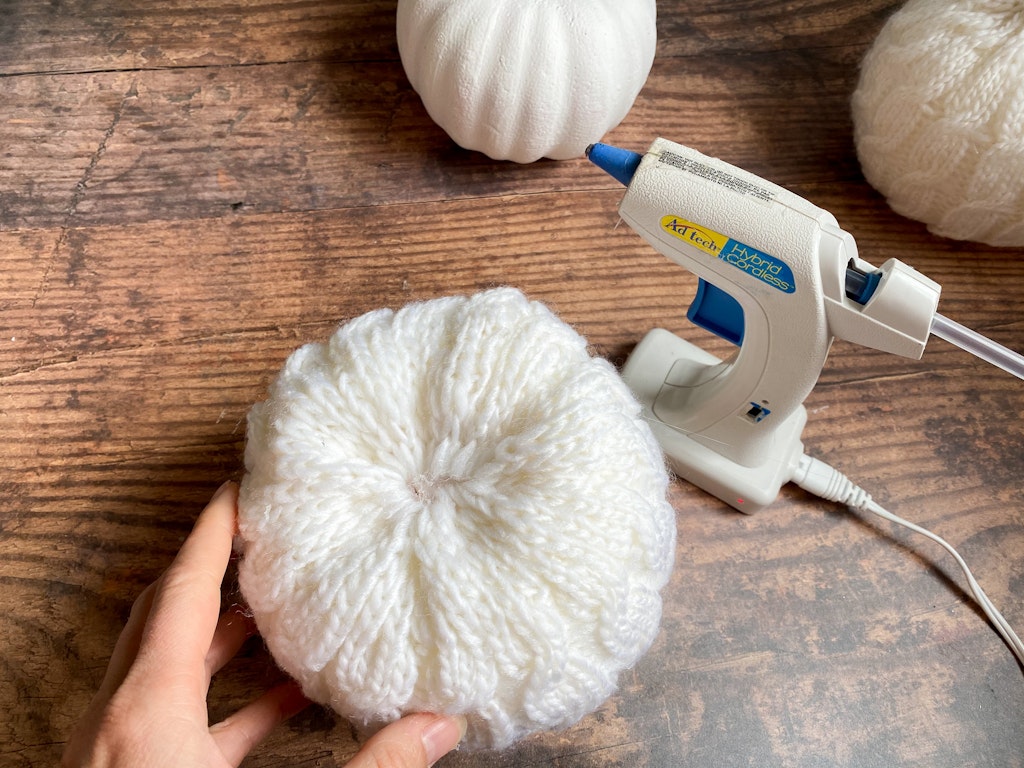
Pull the excess fabric up and start glueing down the hat to the bottom of the pumpkin leaving the excess fabric in the middle. Once the bottom of the pumpkin is covered, you’ll cut off the excess fabric making sure that the bottom of the pumpkin is still flat enough to sit up straight.
Take the extra fabric that you cut off and roll part of it up into a cylinder. Glue along the way to make sure it’s compact.
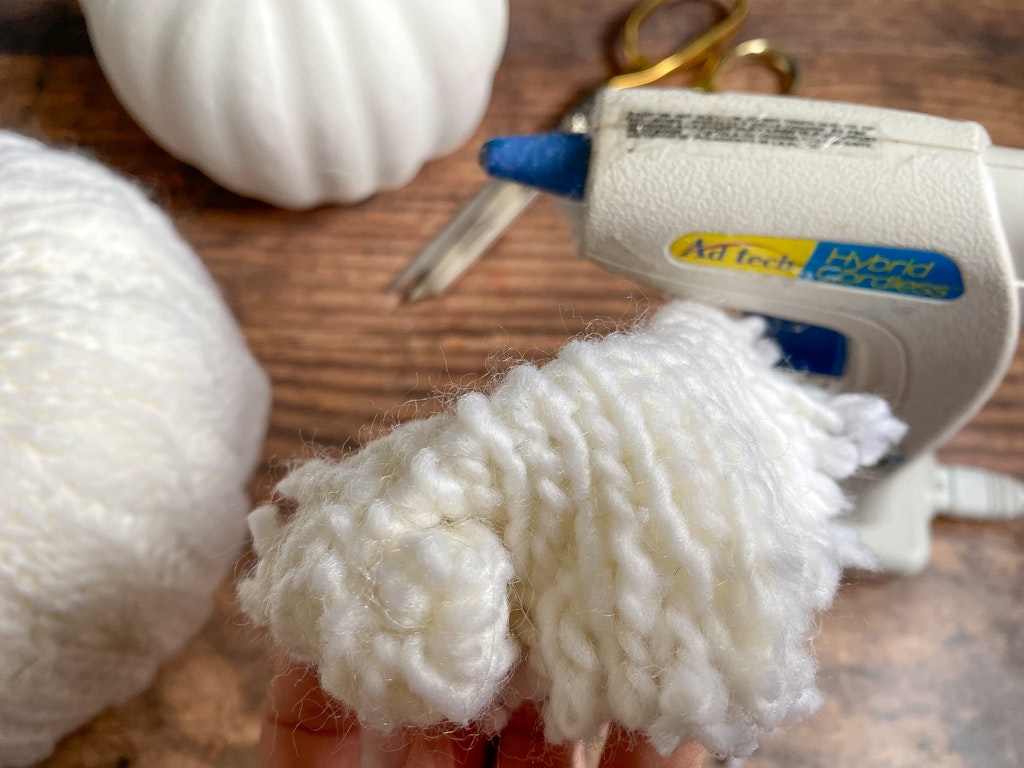
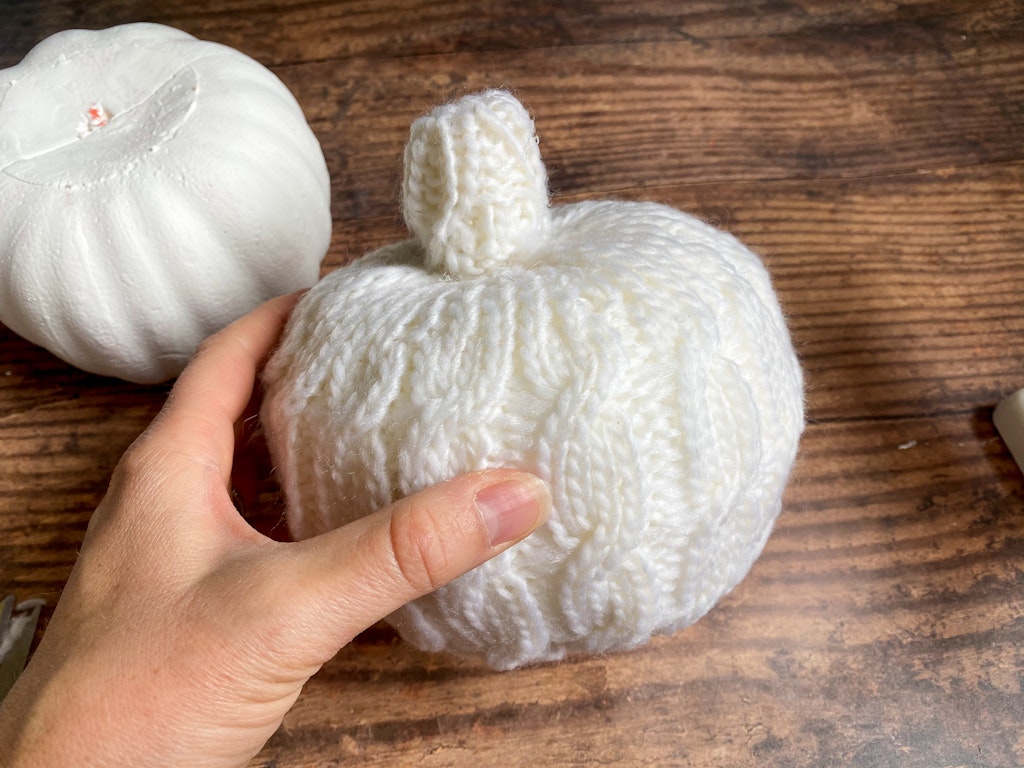
Trim away any flyaway pieces and attach the stem to the top of the pumpkin with hot glue.
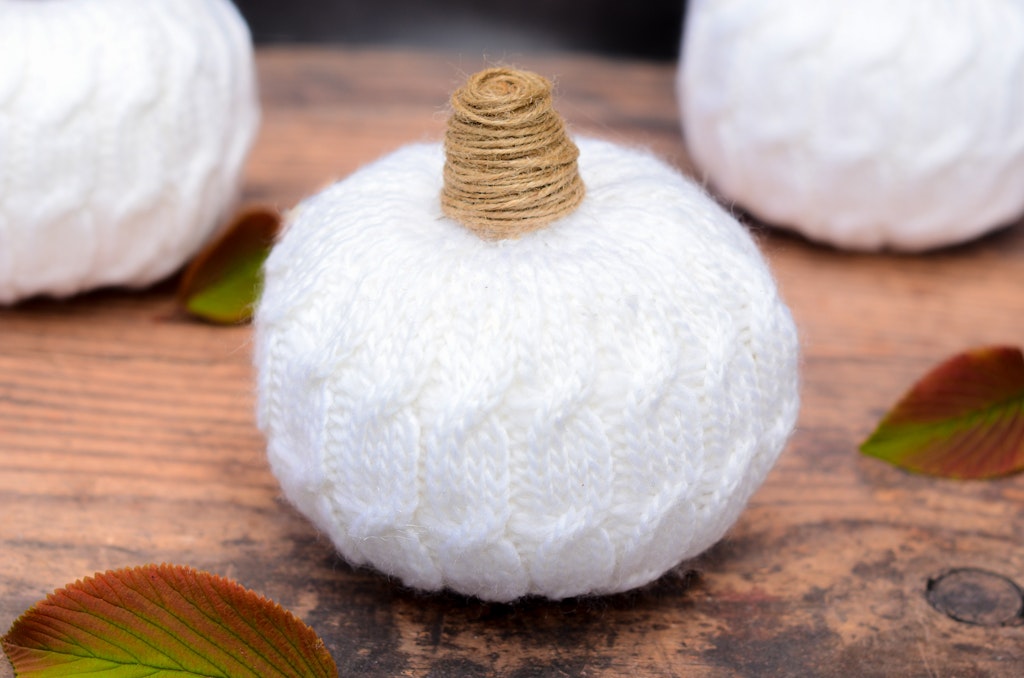
You can leave it exactly like this or you can add the jute twine to the stem like we did.
Add a dab of hot glue every once and a while and carefully wrap the jute twine around the stem.
Check out some of our other fun fall and Halloween posts here.
These giant Halloween spider webs are a simple way to deck your yard for fall and these Dollar Store skeleton planters are so simple!

