
Step By Step Instructions On How To Easily Install New Interior Doorknobs Or Handles
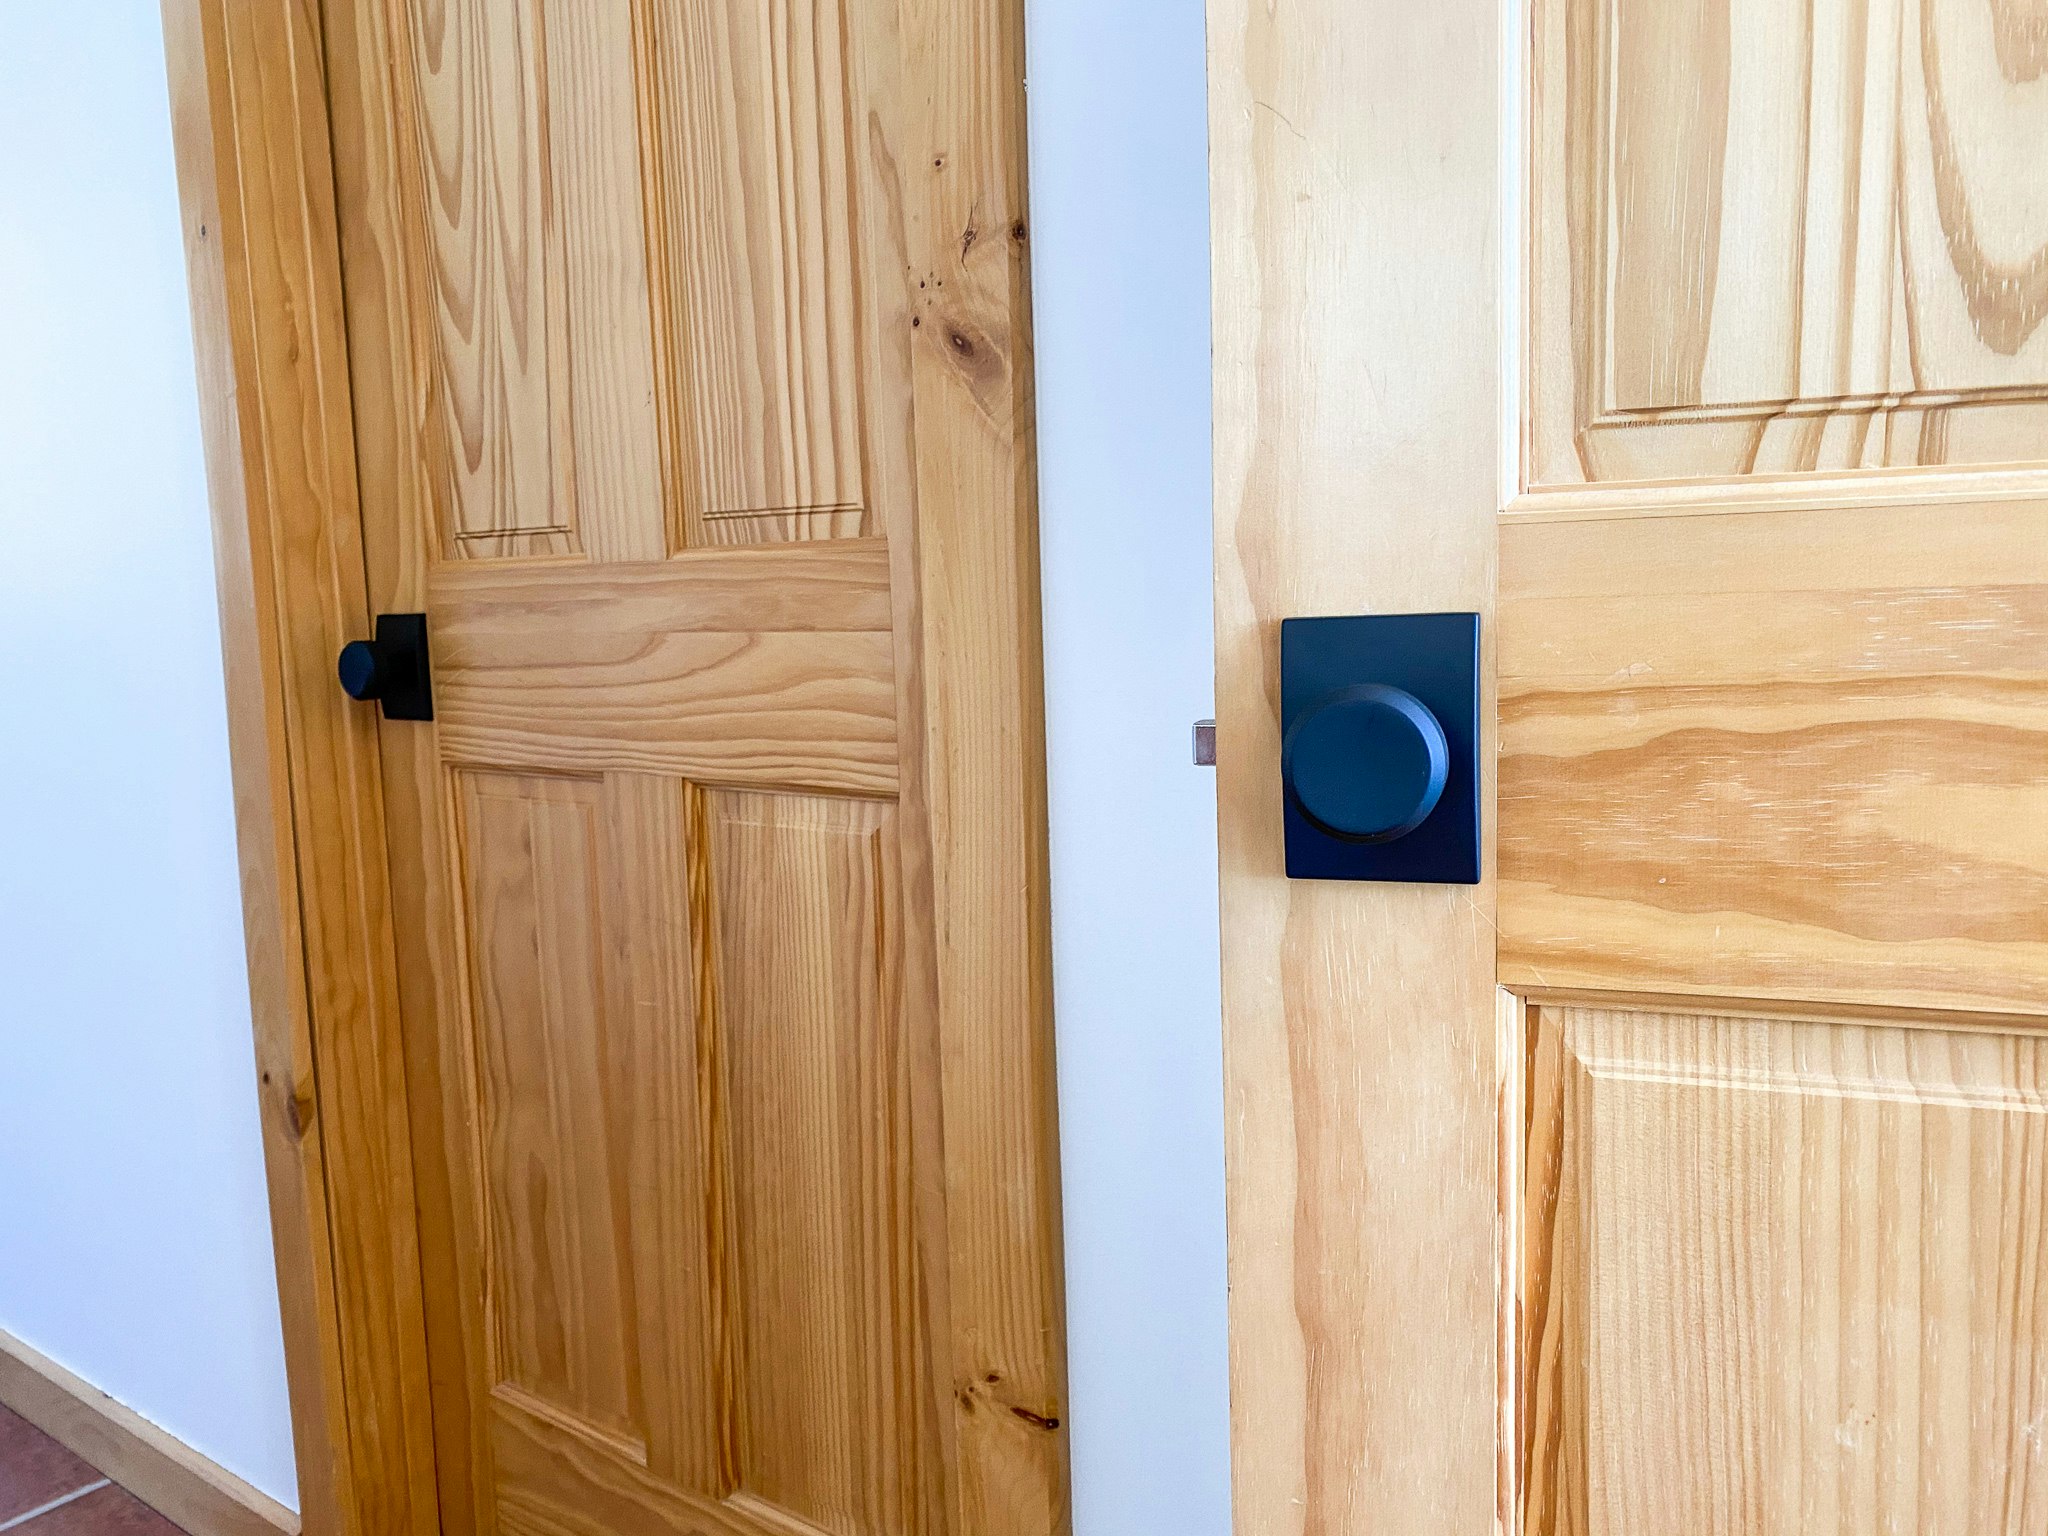
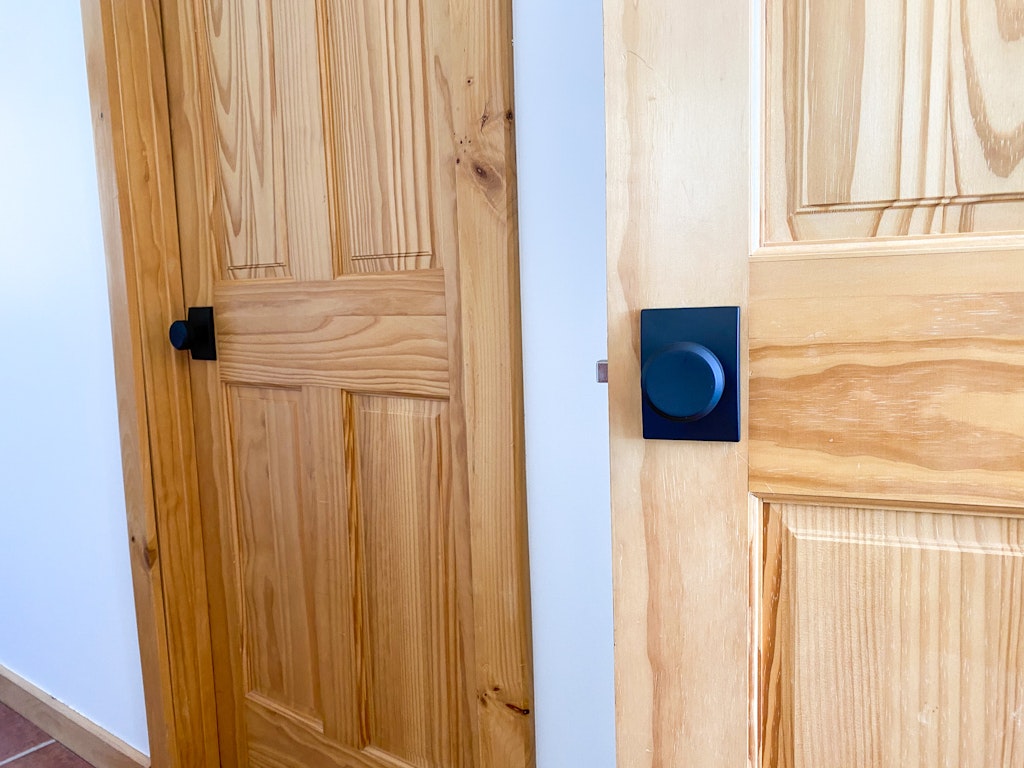
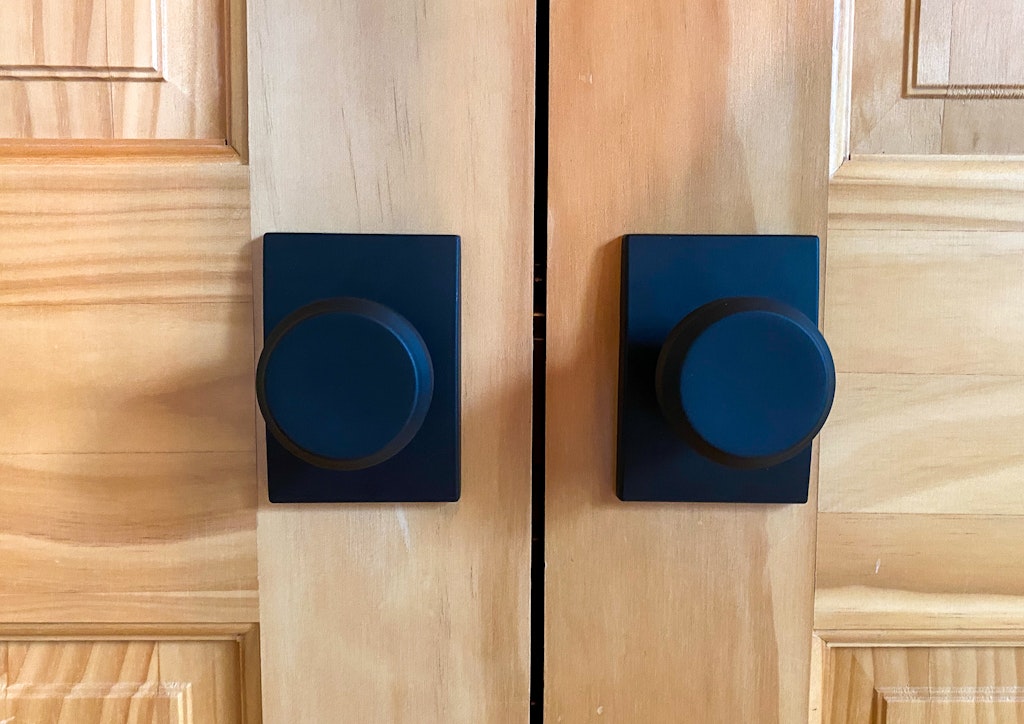
Switching out your doorknobs for new ones is a super simple update your can do yourself! We found these doorknobs online at Home Depot and build.com. I love the matte black color and the rectangle backplates help hide if the new knobs are a slightly different size. It made installing the new ones a lot less stressful.
I’ll walk through the steps for installing these particular doorknobs, but keep in mind that different brands or styles might be slightly different, but hopefully these instructions will help get you started.
If you run into problems a lot of the companies now have installation videos on their websites as well.
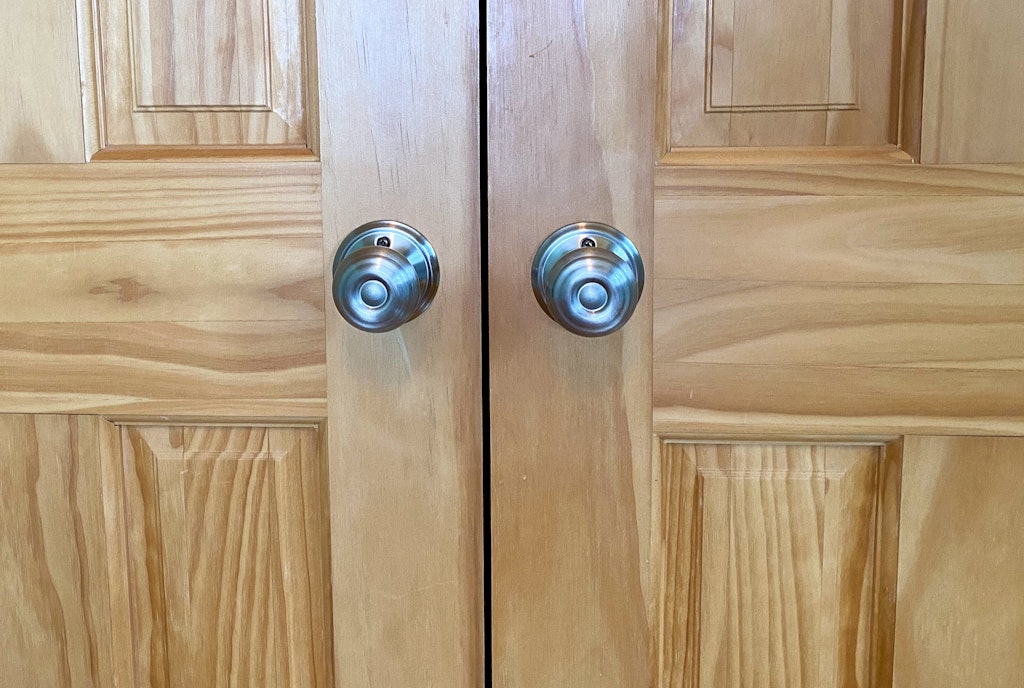
First you need to determine what type of doorknob you’ll need. For interior doors, there are a few different types to choose from normally. Non-turning knobs or dummy knobs are usually found on double closet doors or french doors. Passage knobs turn but don’t have a locking feature. You would use these on pantry or closet doors. Privacy doorknobs are turning knobs that include a lock.
The style of knobs we chose sold the privacy and passage ones as one product so you could choose to add the locking mechanism during installation or leave it off.
Use a Phillips head screwdriver to remove the old hardware. Don’t use a power drill as it can easily strip the screws.
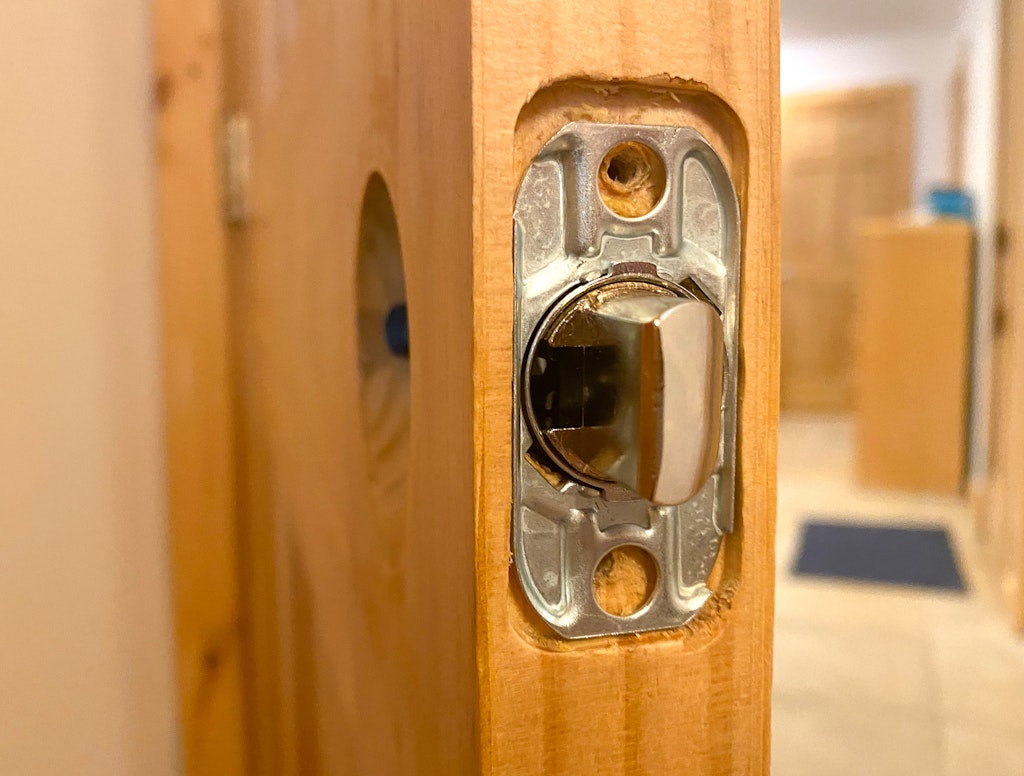
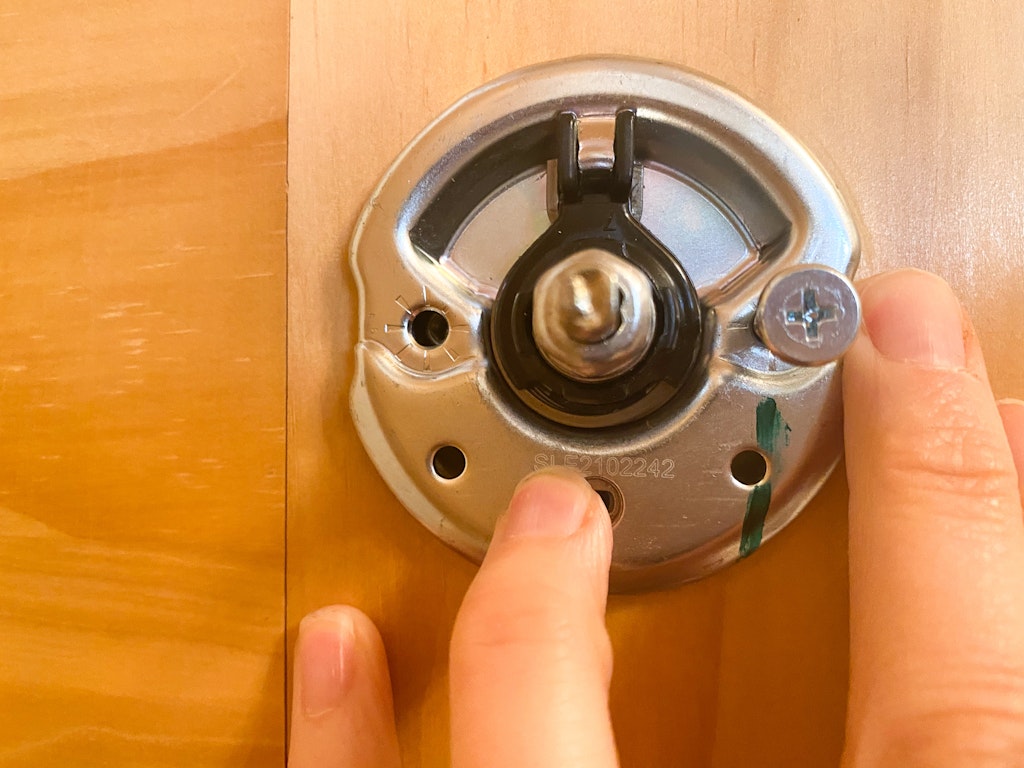
Once all of the old hardware has been removed, find the cylinder latch and back plate pieces. Make sure you put the latch facing the correct way so that slanted side is facing toward the strike plate allowing it to easily glide onto the strike plate when you close the door.
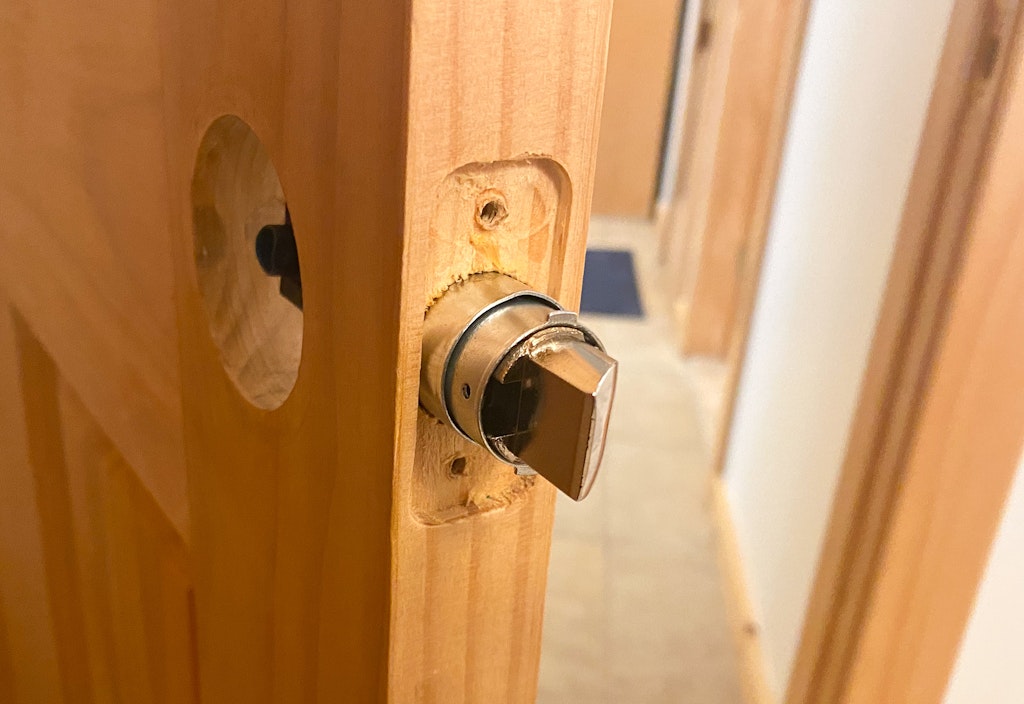
Push it about 3/4 of the way in and add the small rectangle back plate. Line up the notches and slide it over the latch and push the latch as far in as it will go so that the back plate is flush against the wood.
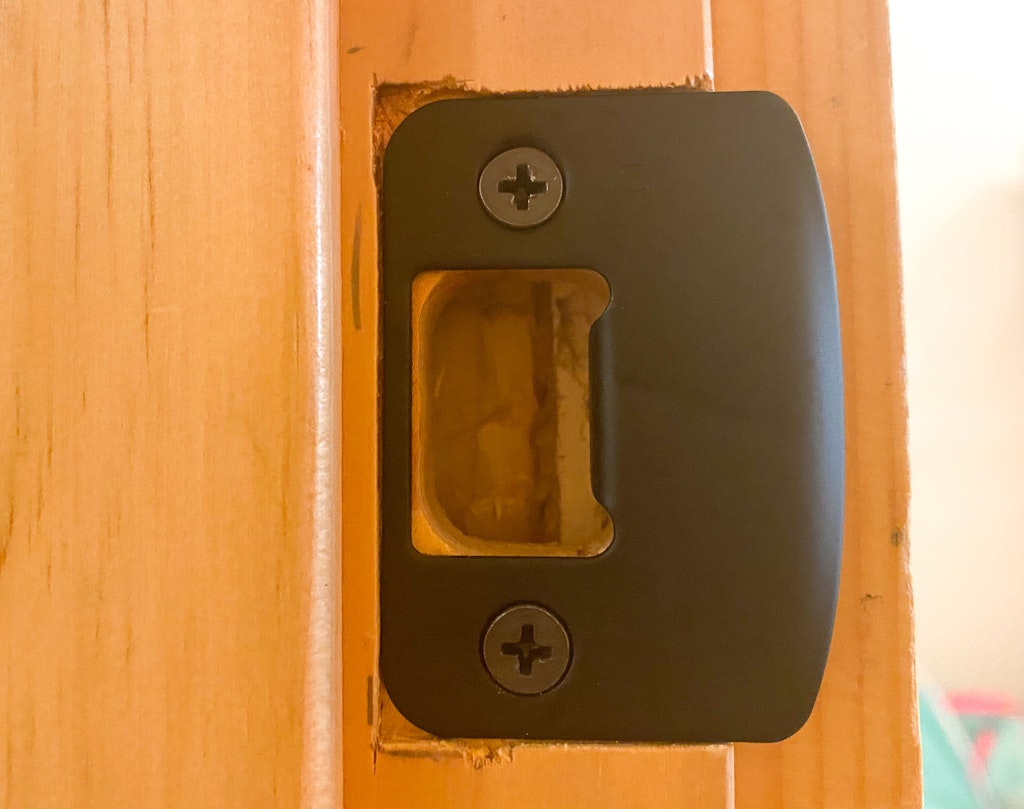
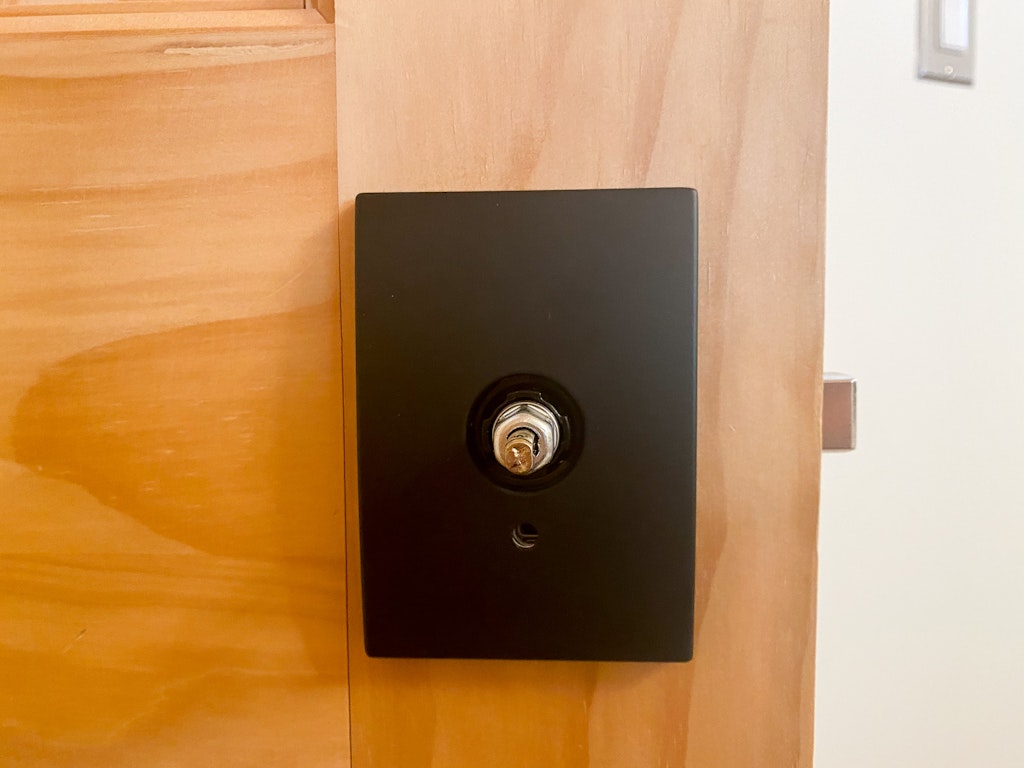
Add the finished face plate on top of the back plate and screw in place.
Next screw in the strike plate with the two provided screws.
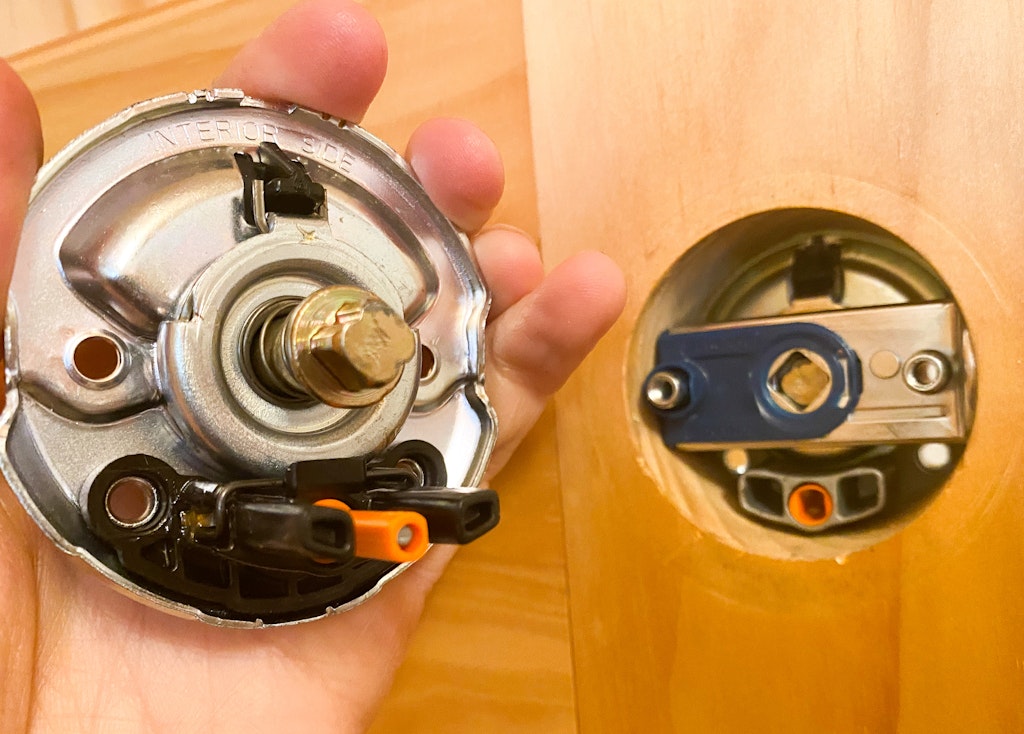
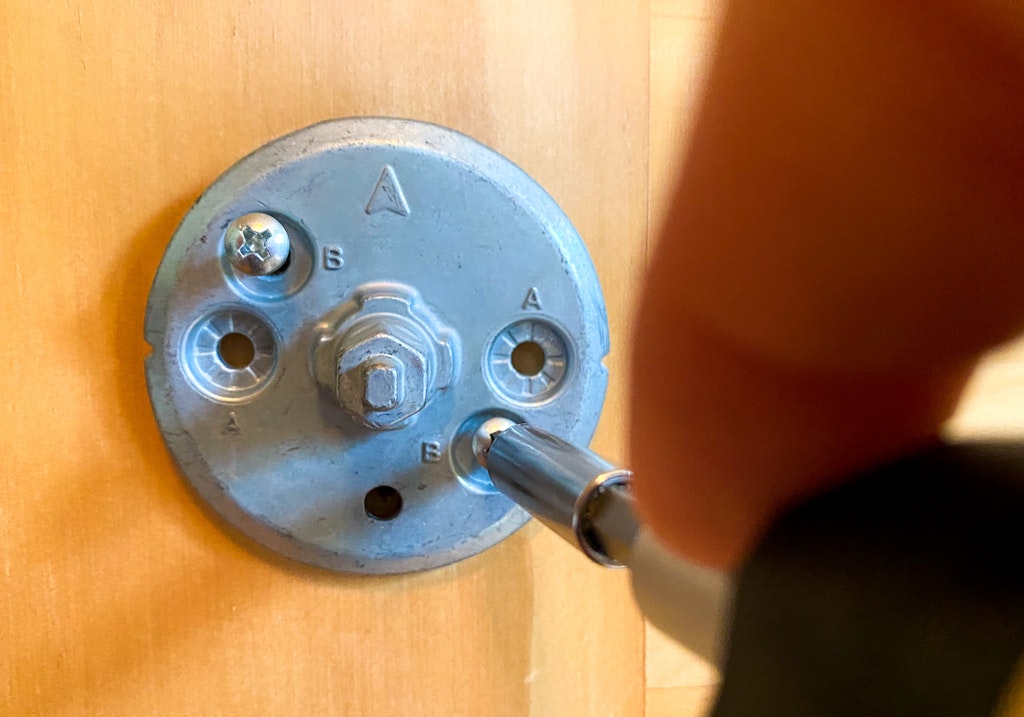
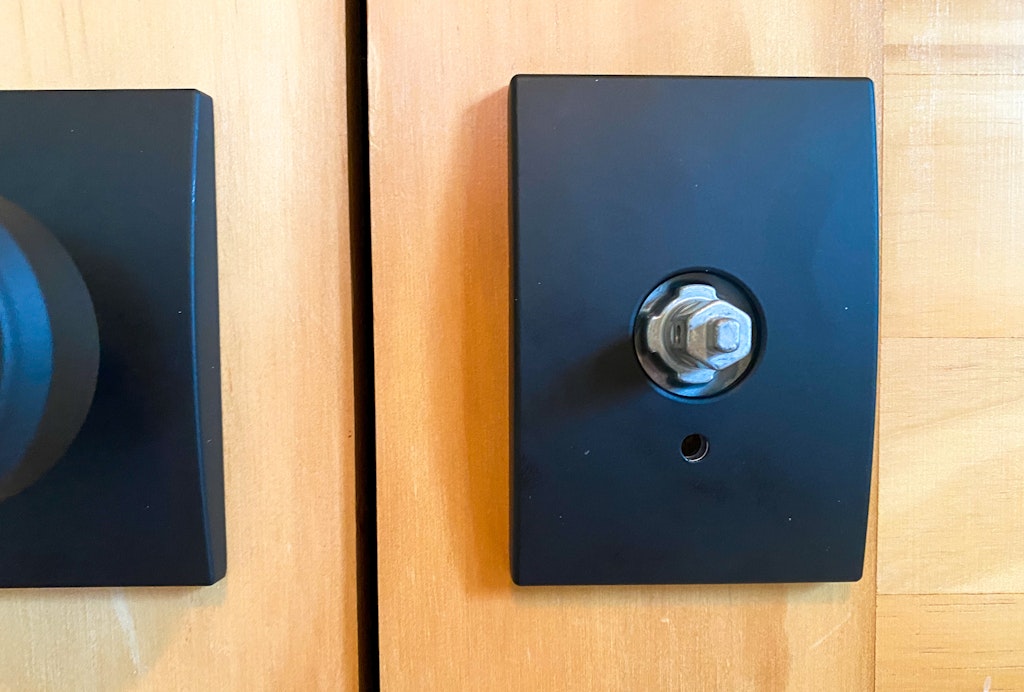
Locate the interior and exterior chassis (the internal mechanics of the door knob). Ours were clearly marked, but you can also determine which is the exterior side because this will have the two metal posts sticking out near the center. Place the exterior chassis on the outside of the door.

Place the interior chassis on the side of the door that is on the inside of the room when the door is shut. Line up the bottom of the chassis pieces and they should fit right together.
Use the two longer screws provided to screw these two pieces together.
If your door knob came with a decorative trim add that next. Ours snapped into place.
The locking mechanisms on different models will vary. Ours came with a tiny privacy pin that you push in until it clicked then turned it slightly to the right. Check your model’s instructions for locking installation if you have a different model.
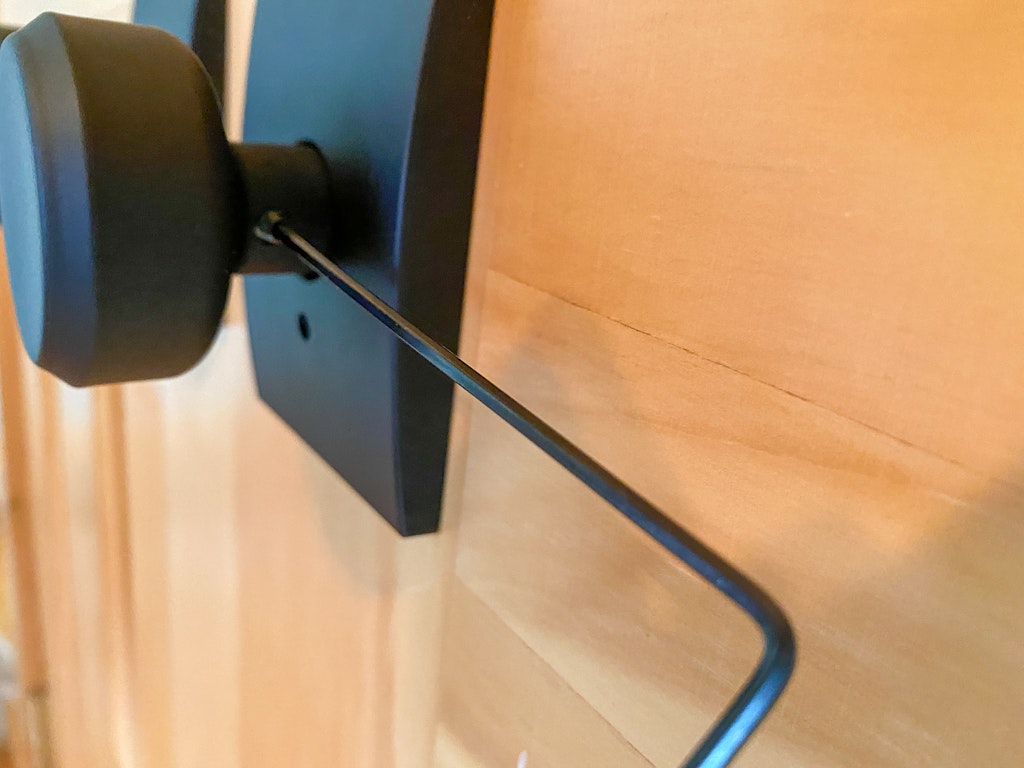
Add the door knob to one side and using the Allen wrench that came with the door knob to tighten the set screw on the side of the door knob. Repeat this step with the knob on the other side of the door.
For dummy knobs or non-turning door knobs, the steps are even more simple.
Use a Phillips head screwdriver to remove the old hardware. If the screws are stripped or become stripped, use pliers to turn the screw until it comes out.
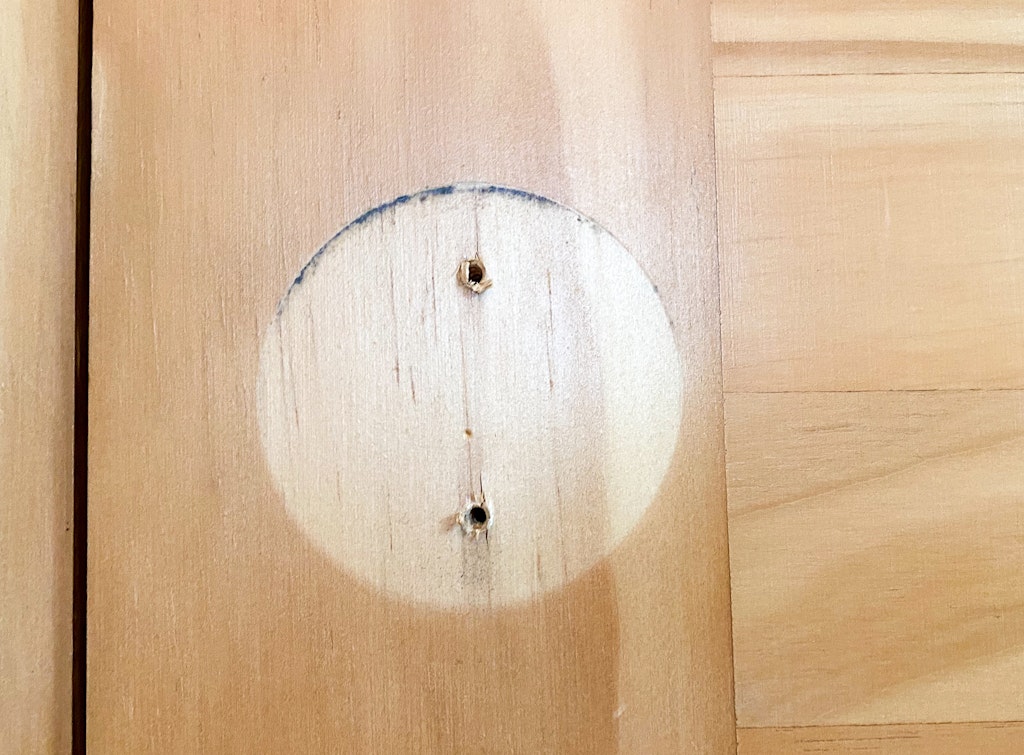
Line up the new hardware and add the screws according to your directions. Ours didn’t line up with existing screw holes but the screws provided easily made new holes as we tightened them into the wood.
Add trim if your knobs came with it.
Pop on the doorknob and tighten the set screw with an Allen wrench.
2 thoughts on “How To Install New Doorknobs”