
How To Convert Your Medicine Cabinet To Built-In Shelves
We have been slowly updating the bathrooms at the cabin this winter. A major overhaul renovation is not in the budget right now so we are trying to make small budget-friendly updates that make a big impact on the room.
When it came time to replace the medicine cabinets, I could not find one that i really liked. And the few that I did find were each a couple hundred dollars which is WAY more then we spent on the mirrors.
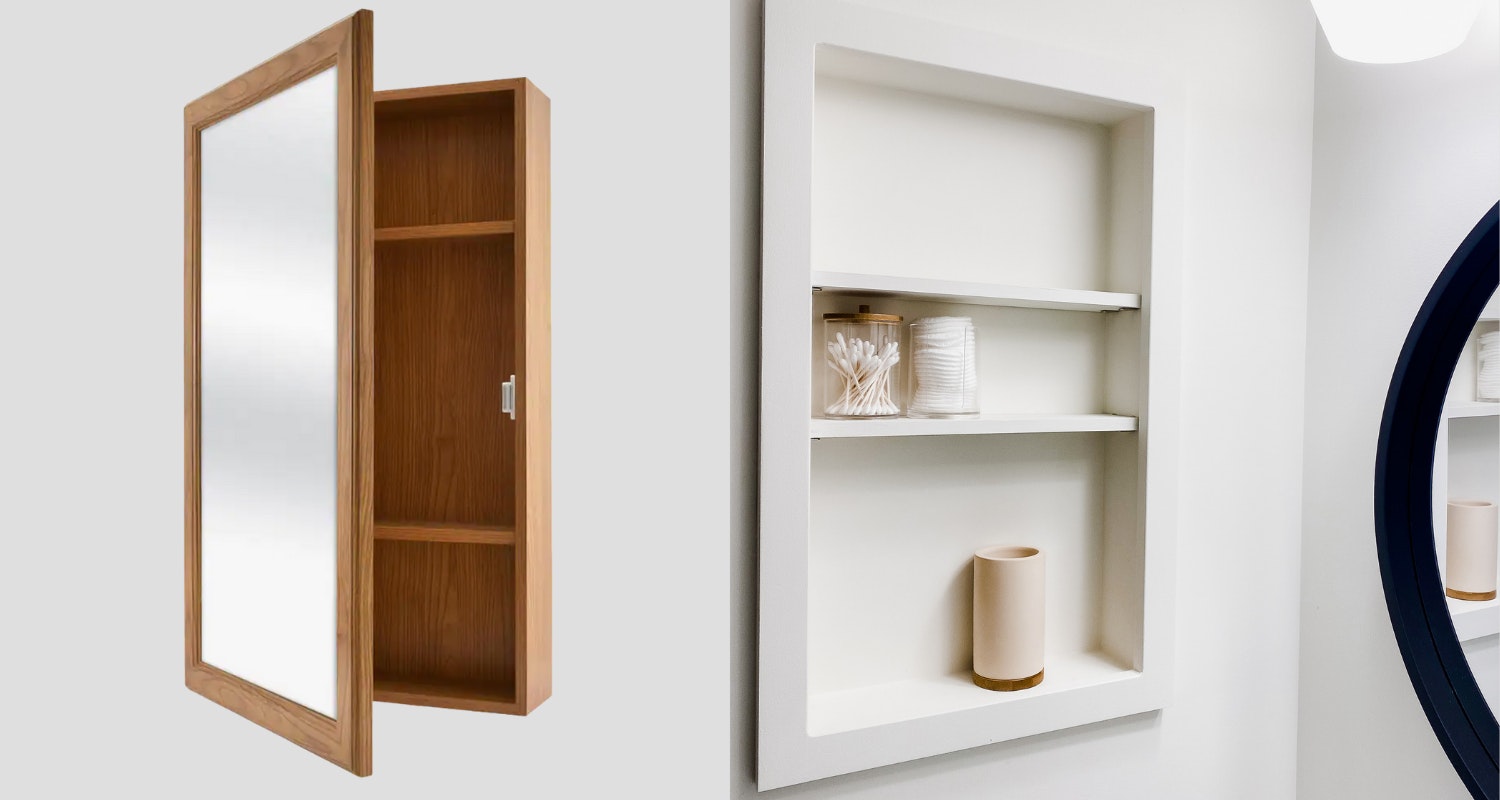
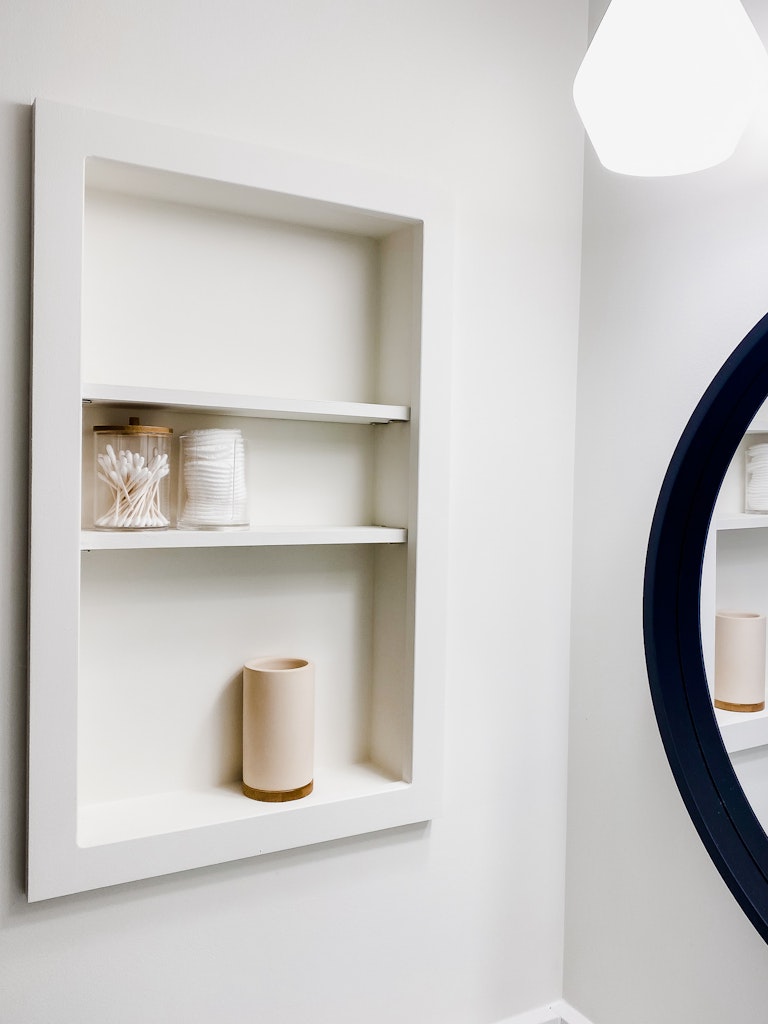
I didn’t need the mirror, but I wanted to keep the storage on the shelves. So to solve that problem and save a little moola, we replaced the medicine cabinets with built-in shelves.
To keep it simple, we used the existing medicine cabinet inside as our built-in shelves.
Medicine Cabinet To Built In Shelf Supplies
– wood filler
– putty knife
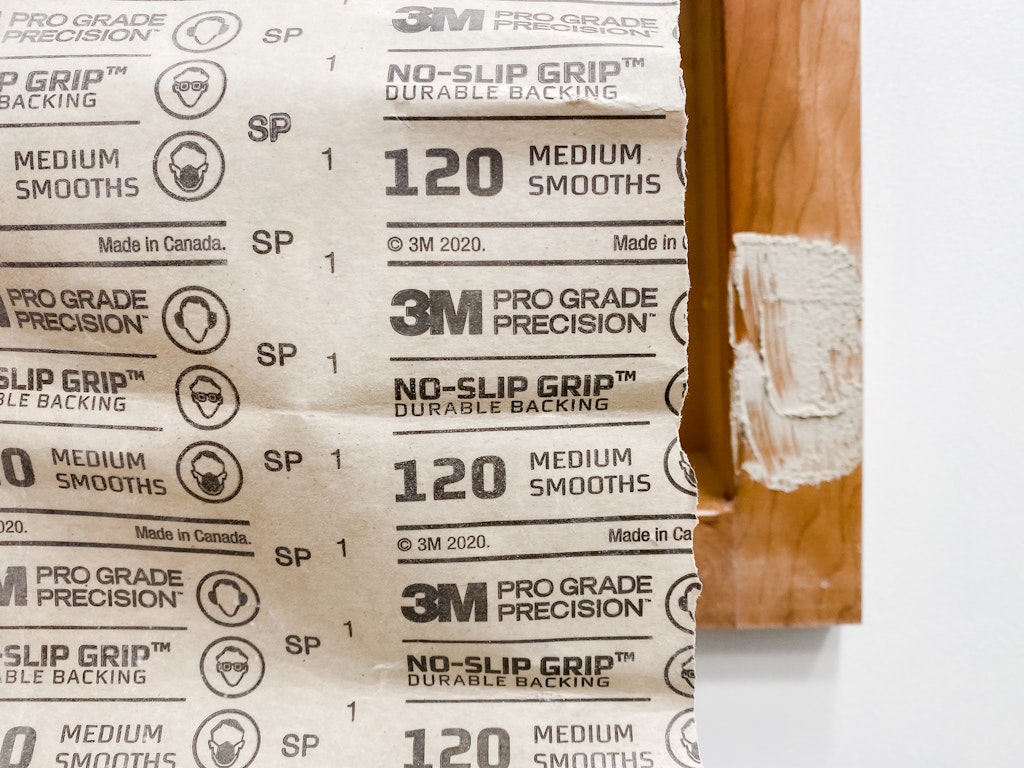
– 120 grit sandpaper
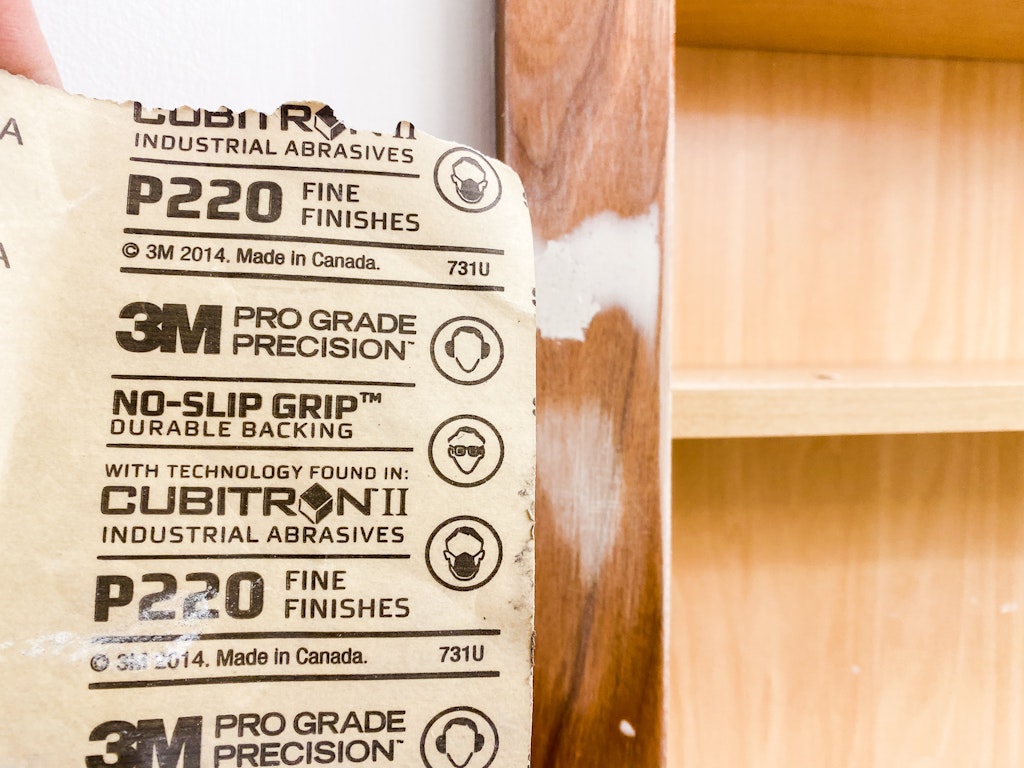
– 220 grit sandpaper
– caulk for wood
– painter’s tape
– primer
– wall paint
– disposable gloves
– screwdriver
– new shelf pins
Remove The Medicine Cabinet Door And Hardware
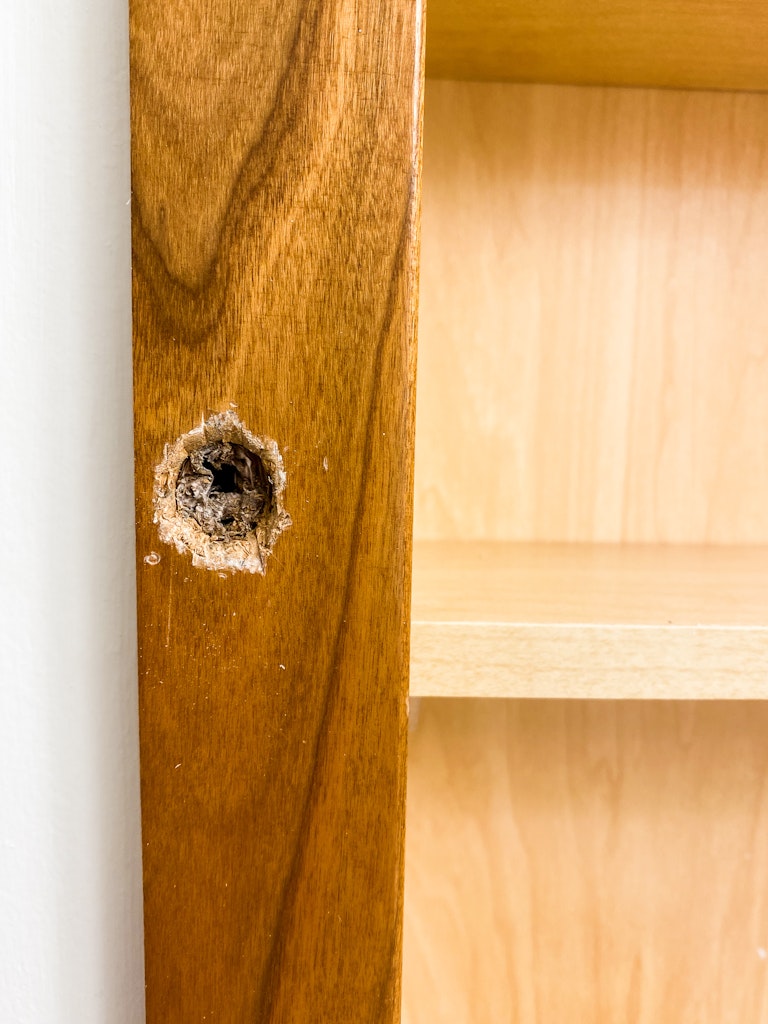
First remove the front of the medicine cabinet, any magnet closures and any extra hardware.
There was a stubborn magnet in the front of each of our cabinets. We had to use a hammer and screwdriver to kind of chisel a bigger hole around the magnet and pop it out.
If there are any visible screws, try to tighten them farther into the wall so you can cover them.
You’ll want to decide what height you’ll want the permanent shelves.
Make sure you gather things that you’ll use in the cabinet to double check the height. We went from three shelves to two in order to gain a little height on each shelf.
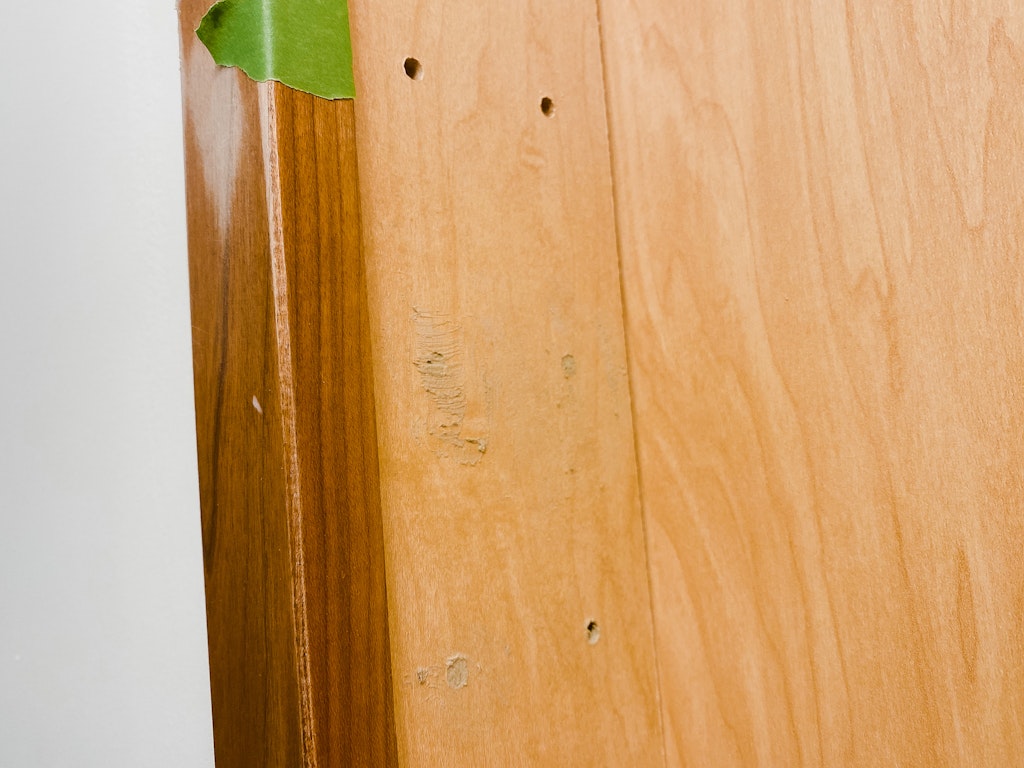
Fill In The Holes
Fill all of the extra shelf holes and holes from where you removed the door hardware with wood filler.
Let the wood filler dry completely. This might take a couple coats for the larger holes.
Sand It Down
Once the wood filler has dried, use a more rough sandpaper like 120 grit to sand the extra wood filler down.
I finished off the sanding with a finer sandpaper like this 220 grit.
Clean off any dust from sanding. Repeat these steps if there are any spots that need extra wood filler.
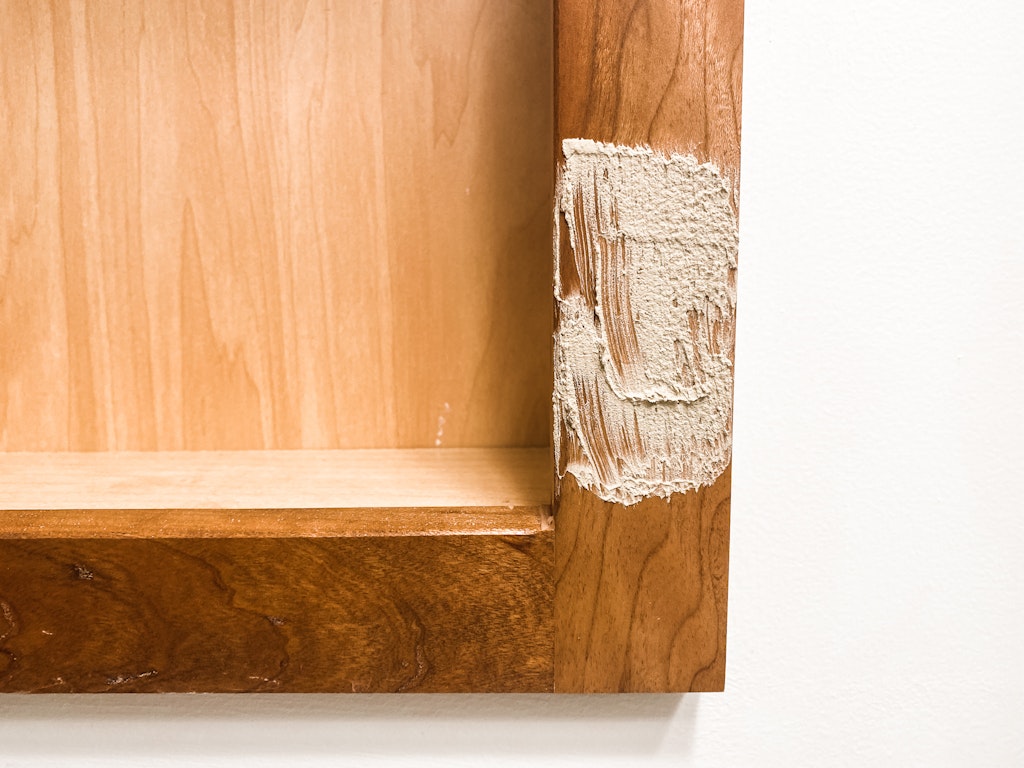
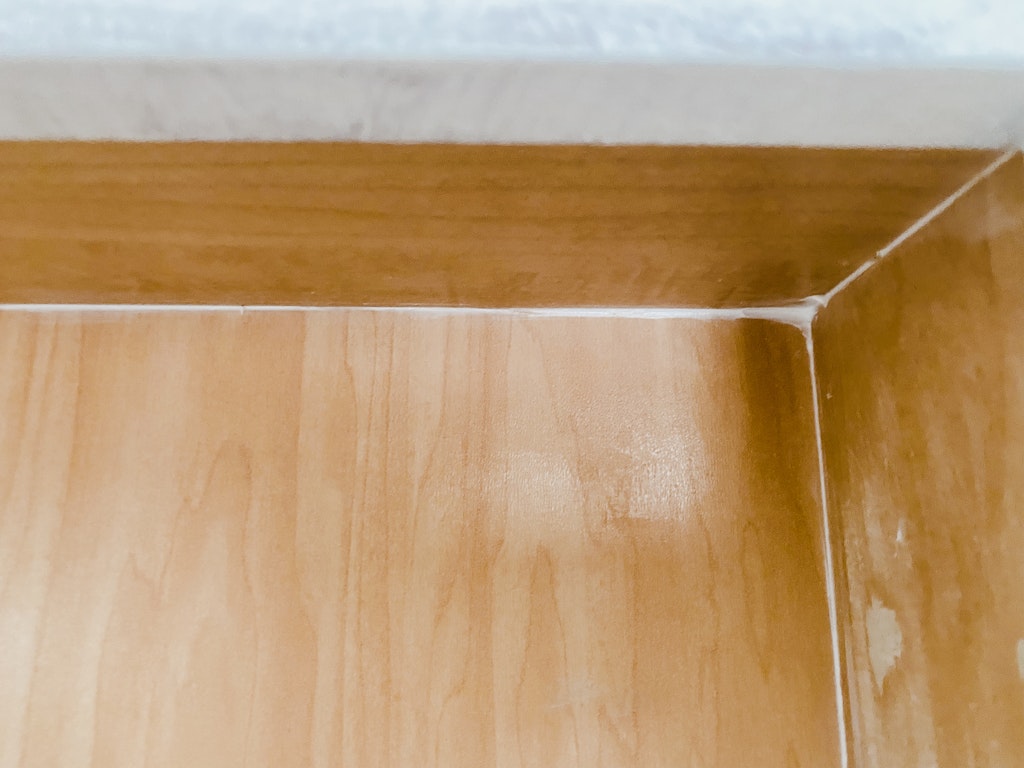
Caulk The Medicine Cabinet Seams
Next we filled in the seems with caulk. We used a paintable caulk that was made for wood trim, doors etc. Smooth out the caulk with your finger and remove any excess.
Tape, Prime & Paint Your Built In Shelves
Use painter’s tape to tape off the wall. Use a drop cloth or cut open a clean garbage bag to cover over your counter and floor.
We primed the cabinet using a shellac-based primer since we were covering wood with a lighter paint.
Next paint with your wall color for a seamless look. And you’re done!
Check out some of our other DIY projects up at the Cabin How To Install New Doorknobs and How To Add Privacy Window Film.
2 thoughts on “Replacing Medicine Cabinet With Shelves”