
How To Line A Dresser Drawer With Removable Wallpaper
What You’ll Need
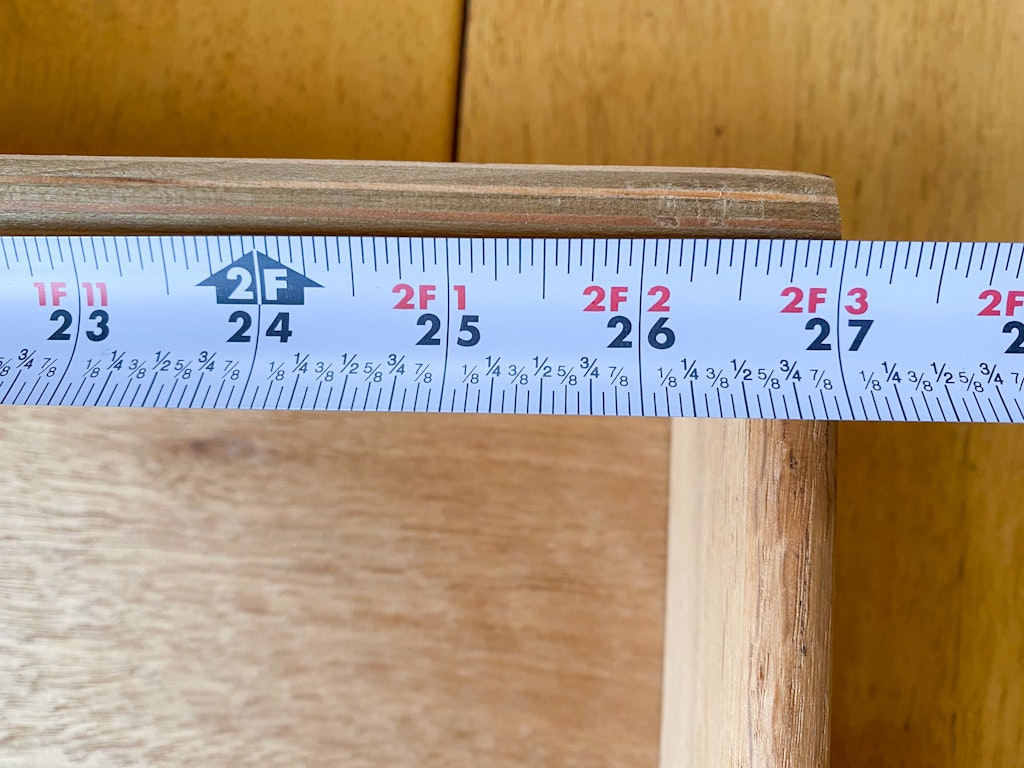
- Ruler – I used a measuring tape because we didn’t have a ruler at the cabin yet hahah… but either would work just fine.
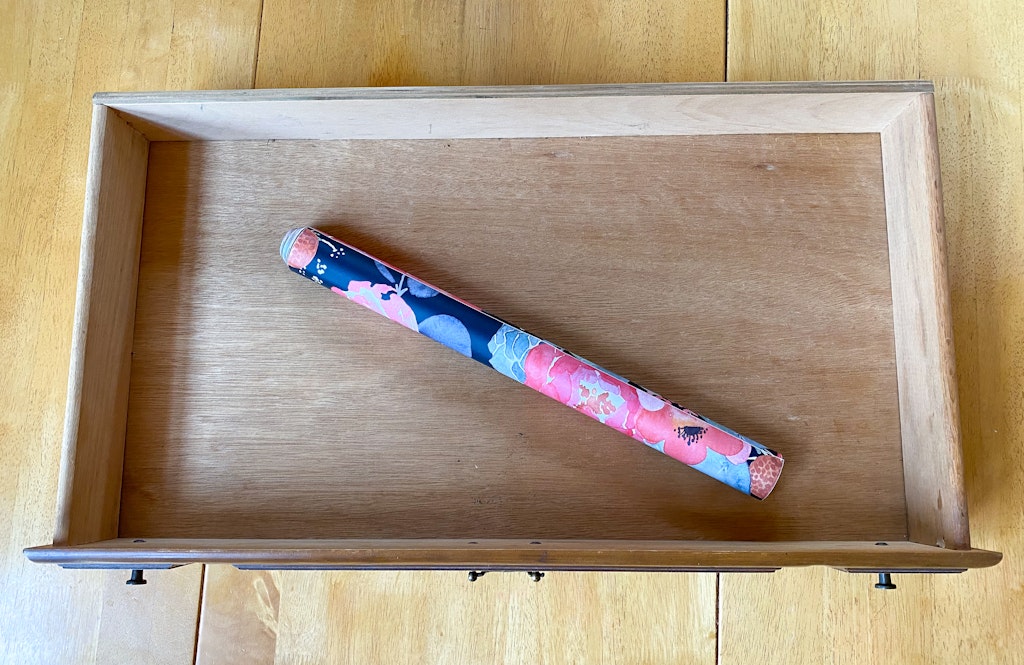
- Peel and stick wallpaper or contact paper – This roll of peel and stick wallpaper i found on Amazon and the single roll covered 4 dresser drawers. You can find peel and stick wallpaper all over the internet at varying price points. Make sure you measure your drawers before you order to make sure you have enough to cover all of your drawers.
- Scissors
- Wallpaper Trimming kit OR X-Acto knife and credit card 😉 – I also used this wallpaper smoothing & trimming kit to smooth out the paper inside of the drawer and cut along the edges.
Measure, Cut, Stick Repeat
Here we go ya’ll!!!! Measure the width and length of the inside of your drawer. Add about a 1/2 inch to the measurements so you have a little wiggle room.
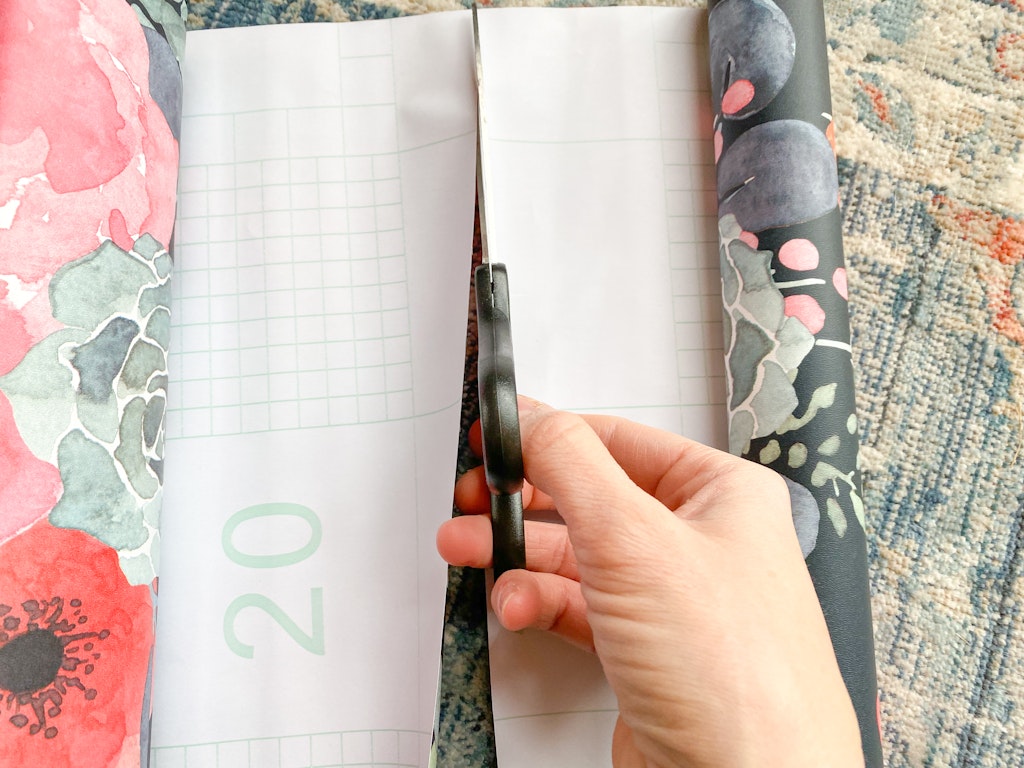
Lay out your removable wallpaper upside down and mark the measurements on the back of the paper.
Cut out one drawer at a time. That way if you want to add a little more wiggle room to the next you can do that.
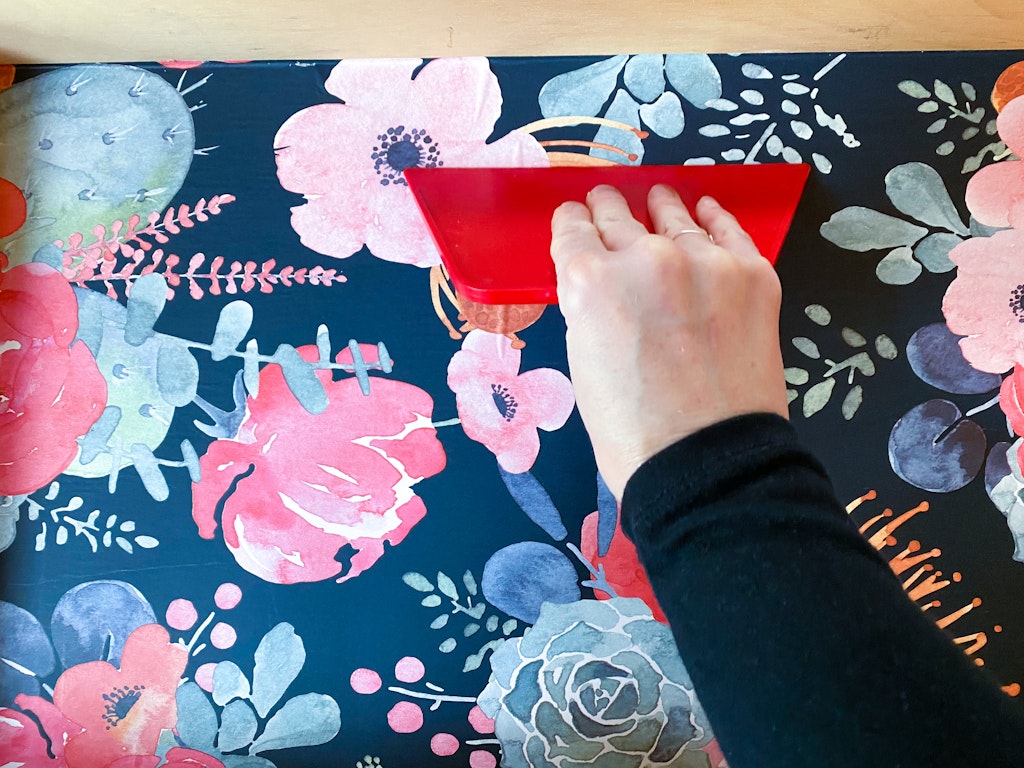
This next part gets a little tricky. You might want to measure and mark where the center of the drawer is and remove about half of the backing of the wallpaper and try to get the center section down. Then remove the rest of the backing and smooth out the wallpaper into the drawer from the center out to the edges. You’ll have some extra around the edges that you can then carefully cut toff with the X-Acto knife.
You can also try lining up one corner and edge and smoothing it out then removing the backing from the rest and working your way across the drawer. It’s a bit awkward, but just be patient work slowly.
Gently glide the wallpaper smoother tool or credit card over the wallpaper smoothing out bubbles. I did have a couple creases in this wallpaper but the pattern hid them all .
Trim off any extra edges with your X-Acto knife and you’re ready to tackle the next one!!
Also keep in mind that it will be very difficult to see the back corners or edges of the drawer once it’s back in the dresser.
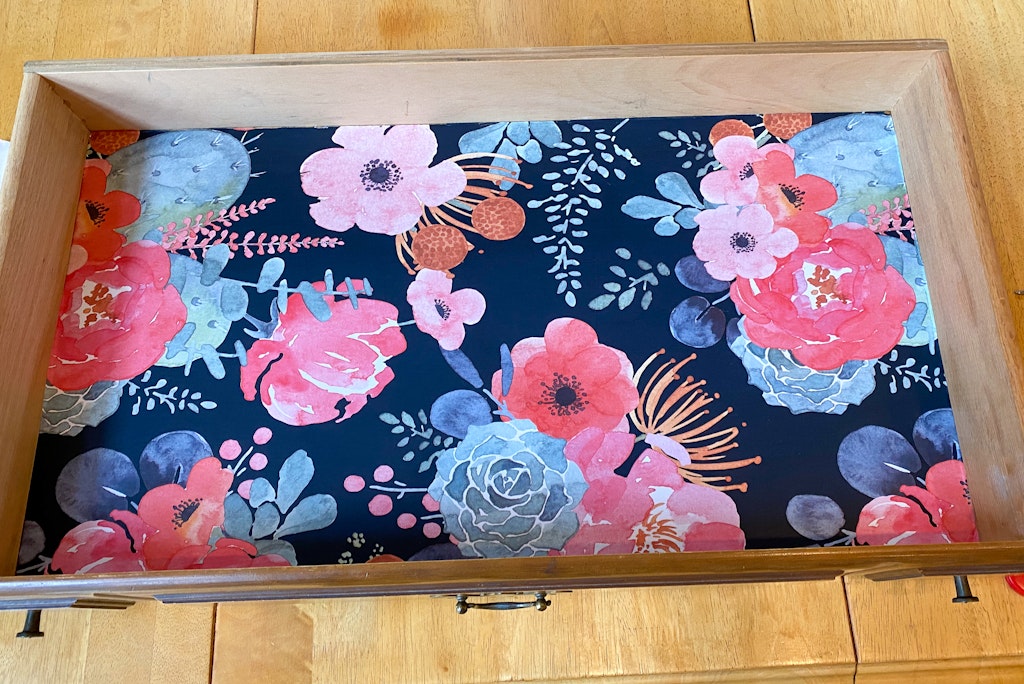
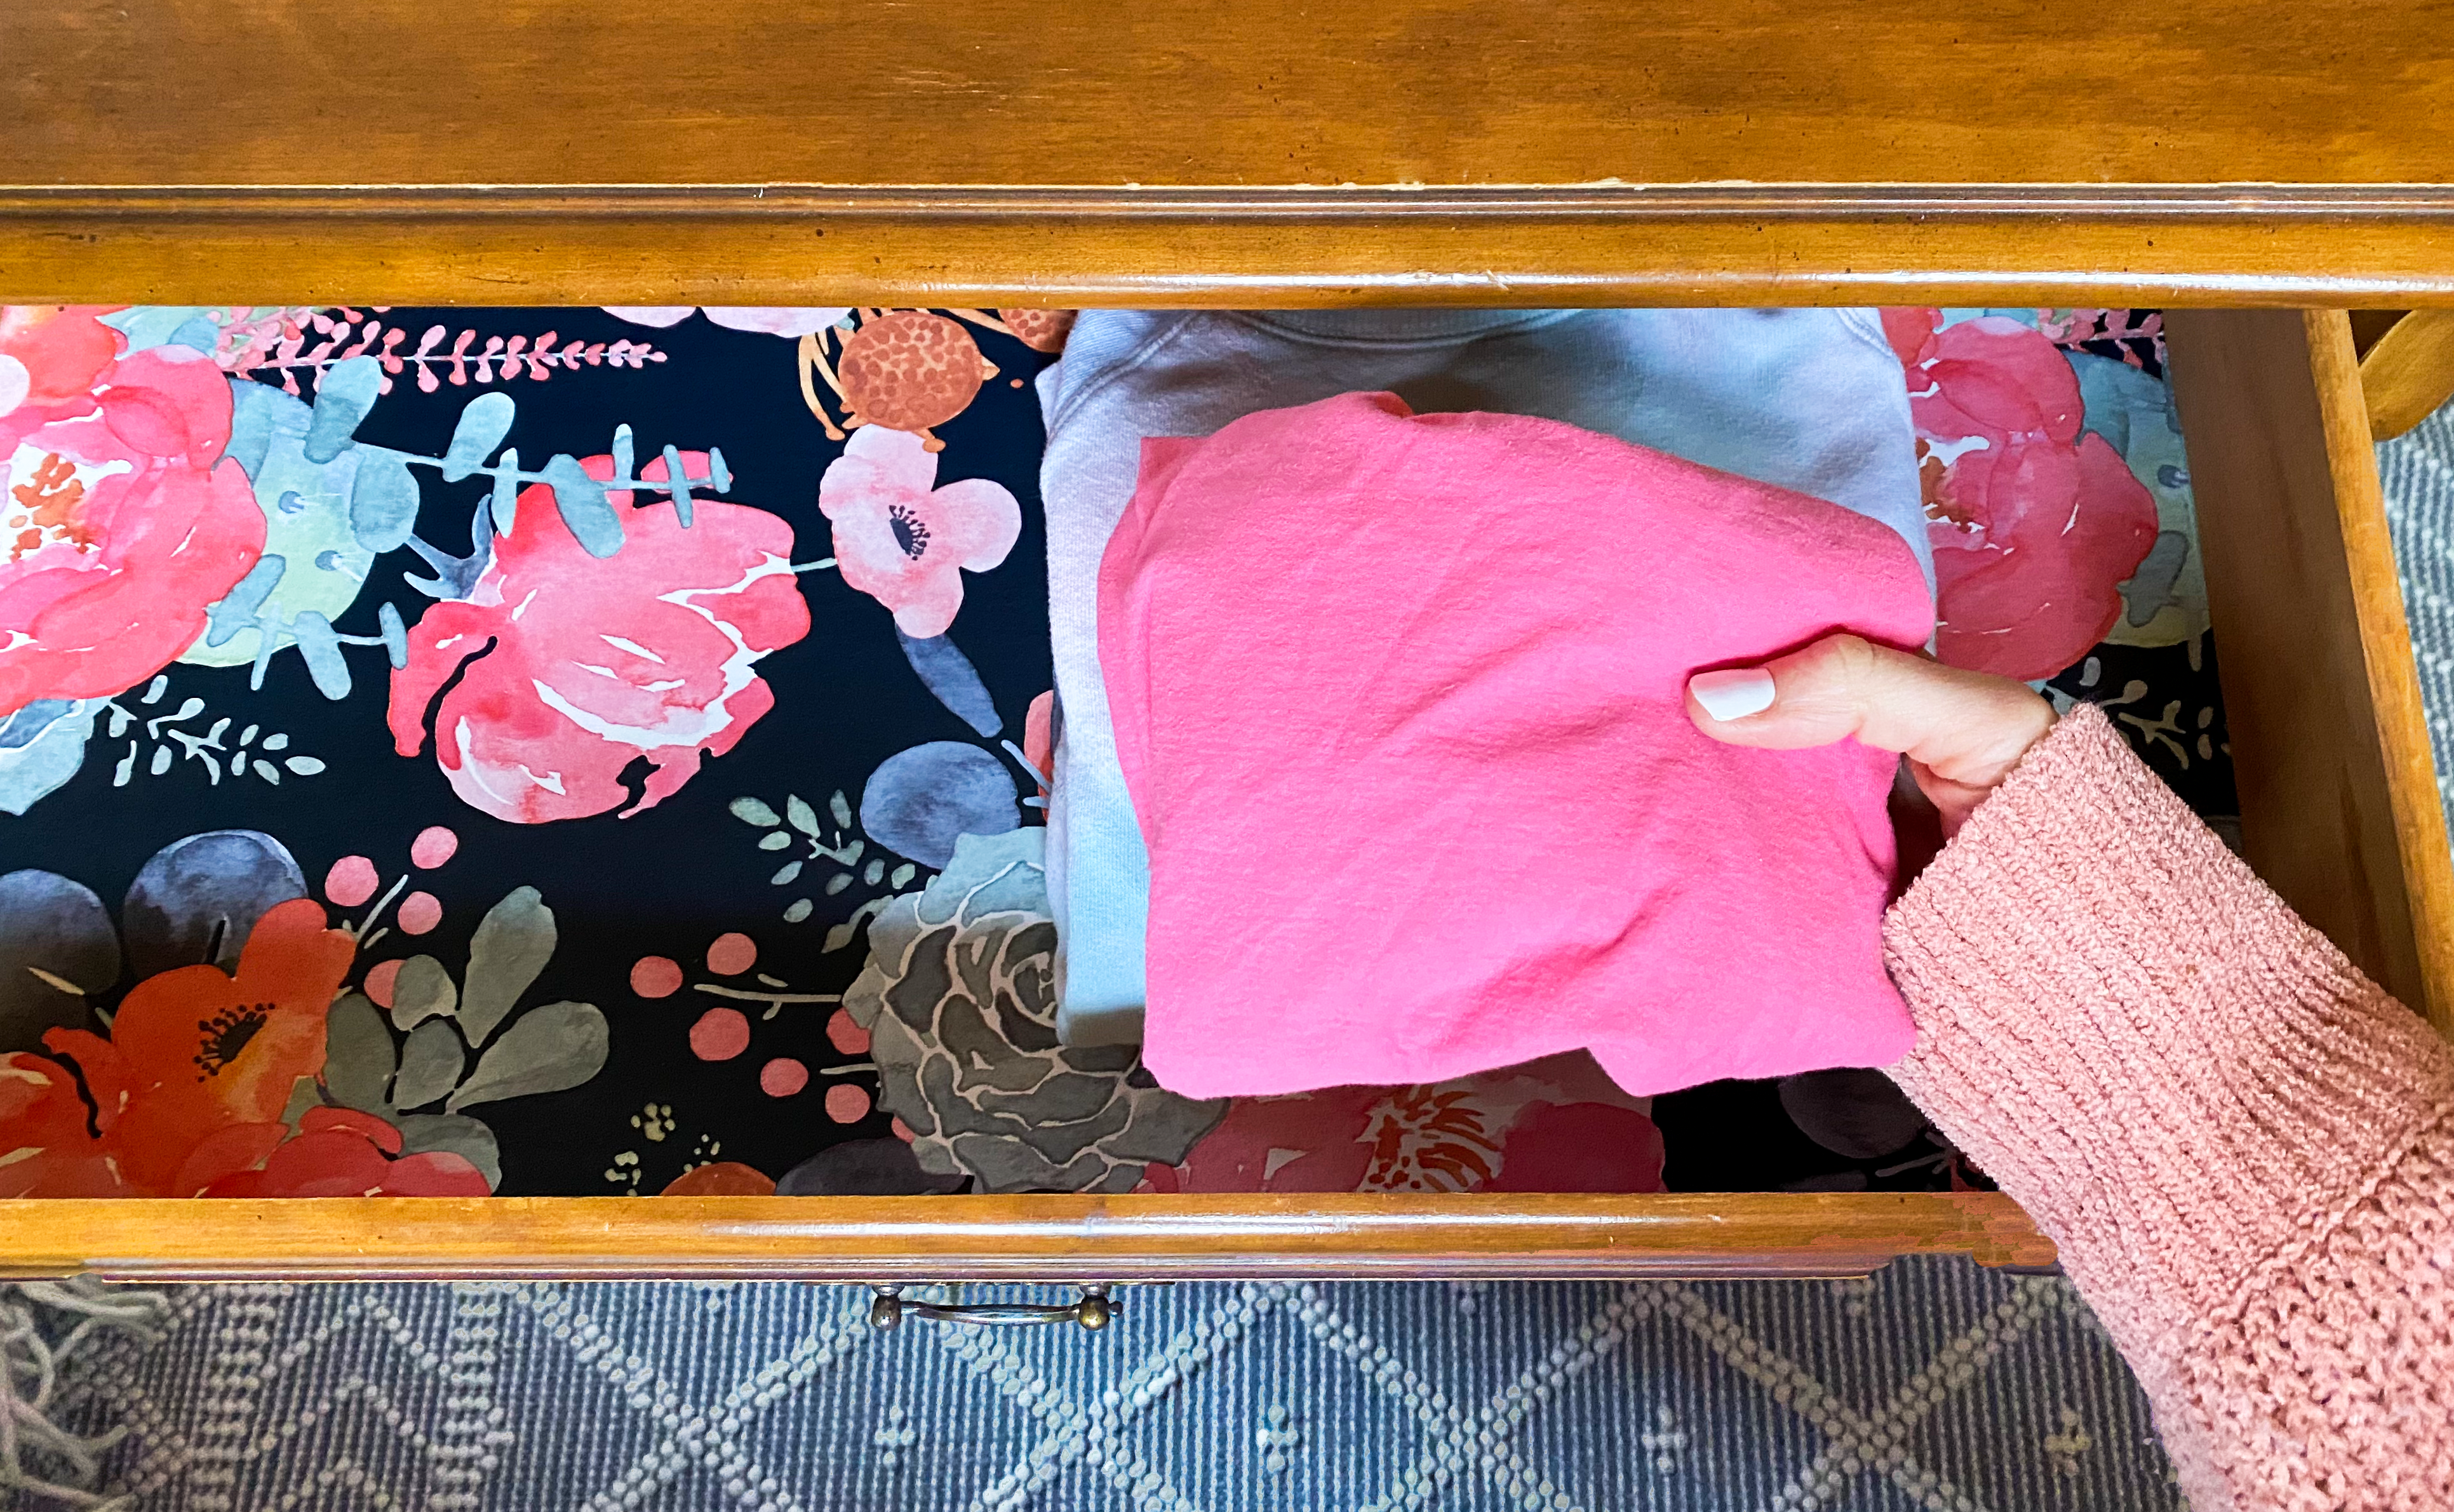
Place your drawers back in your dresser and they are ready to refill! 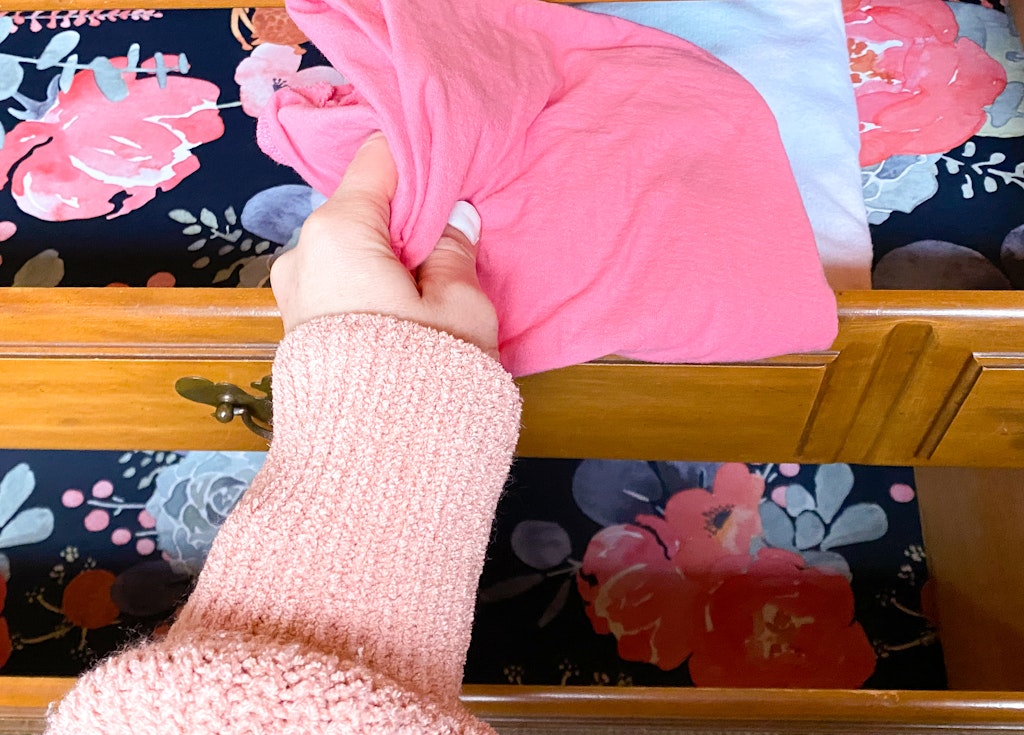
Check out some of our other DIY projects up at the Cabin How To Install New Doorknobs and How To Add Privacy Window Film.