DIY Beaded Letter Bracelets
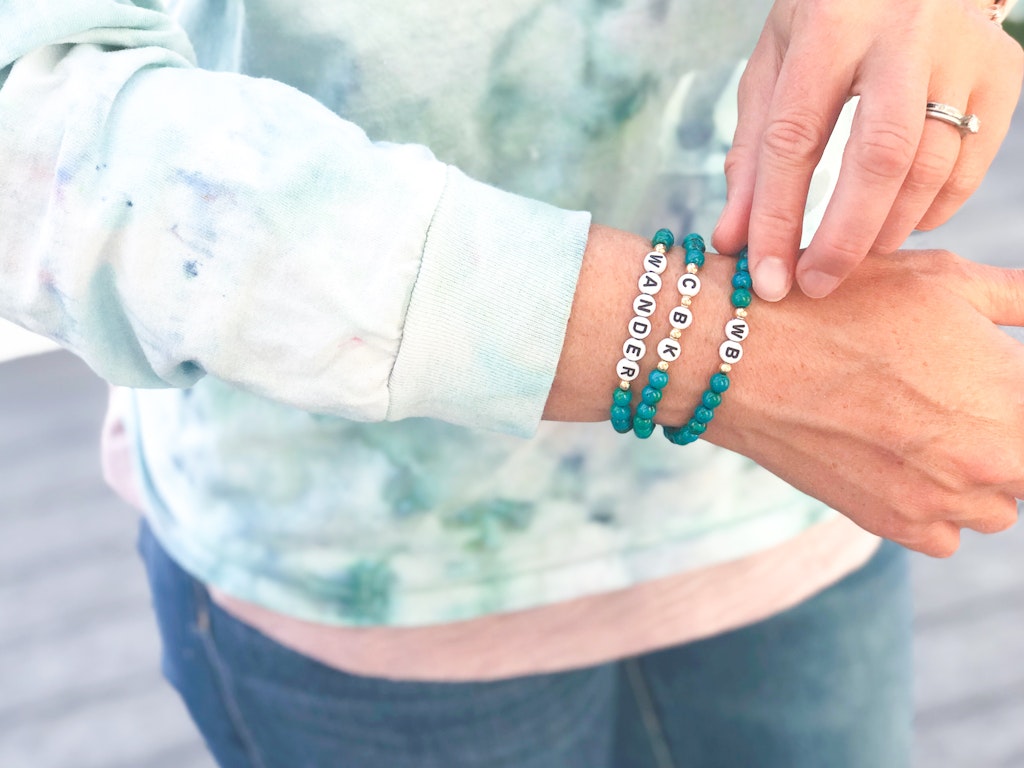
These personalized diy beaded letter bracelets are a super easy summertime or anytime craft. Combine different sized beads with alphabet beads to create bracelets with words, initials, favorite locations, expressions, you name it.
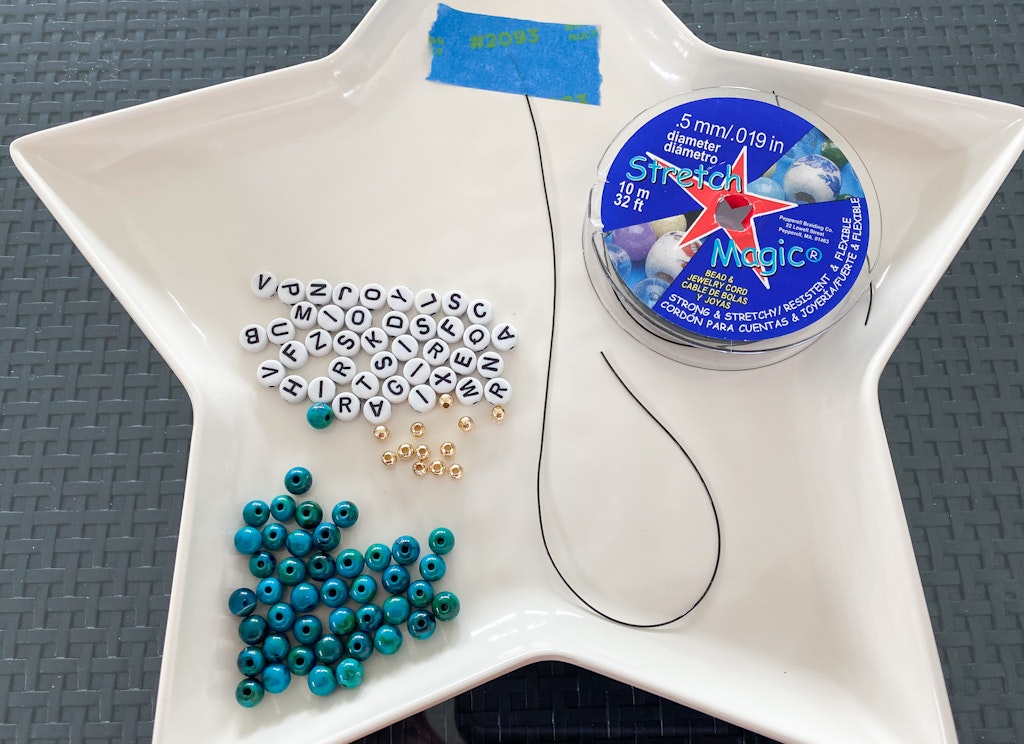
We made a few different ones to stack together. The supplies we used for this specific personalized letter bracelet are listed below, but we suggest getting a few different sizes, color options to mix, max and get creative.
Supplies For Letter Bead Bracelets
- Alphabet beads in white Michaels Amazon
- Alphabet beads in black Michaels Amazon
- 4mm Spacer beads Michaels Amazon
- 6mm beads – any color will work. We used these from Michaels. We found similar ones on Amazon as well.
- .5mm Stretch Magic elastic cord – We used this kind. You can find a clear version at Michaels too
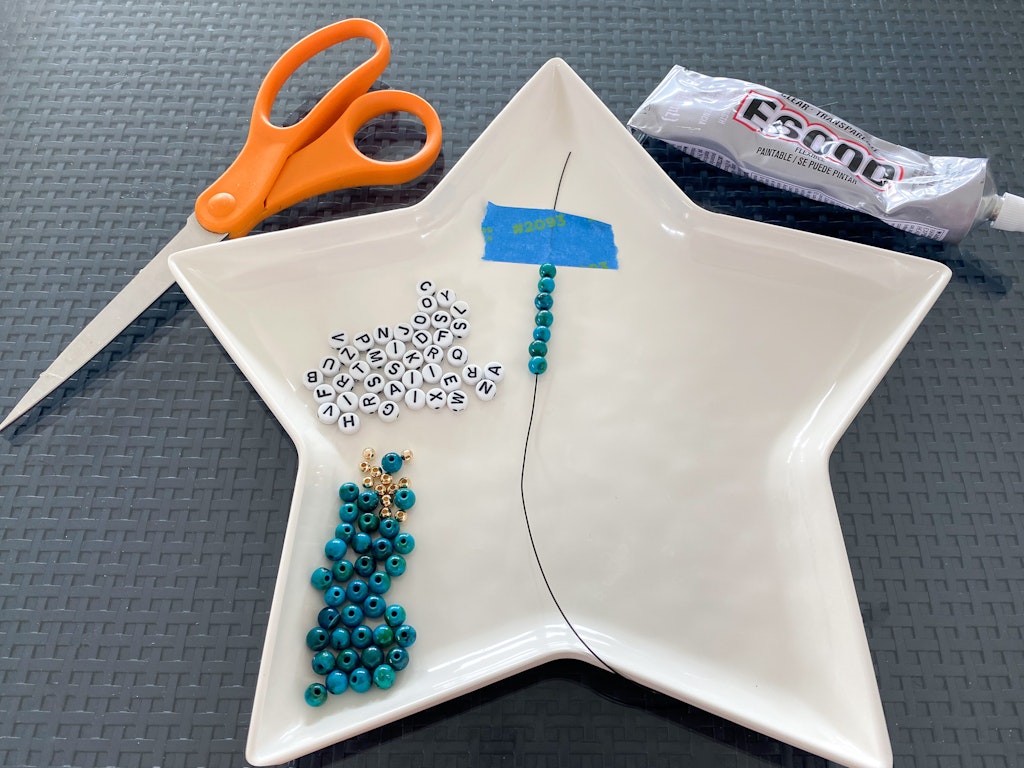
- E6000 Glue Michaels Amazon
- Scissors
- Big Eye Beading Needles Michaels or Amazon
- Plate or container to put beads in when assembling
- Tape
Sizing Your Bracelet Cord
Measure out enough stretch cord to go around your wrist and add about 3 inches to the length. Cut the stretch cord to that length.
Tape down one end of your stretch cord to your plate. This way if you end up needing to add extra beads to this end, you can easily do so.
Add Beads To Your Bracelet
We used a beading needle to add the beads but it’s not necessary. If you are using a beading needle, thread the stretch cord through the big eye beading needle.
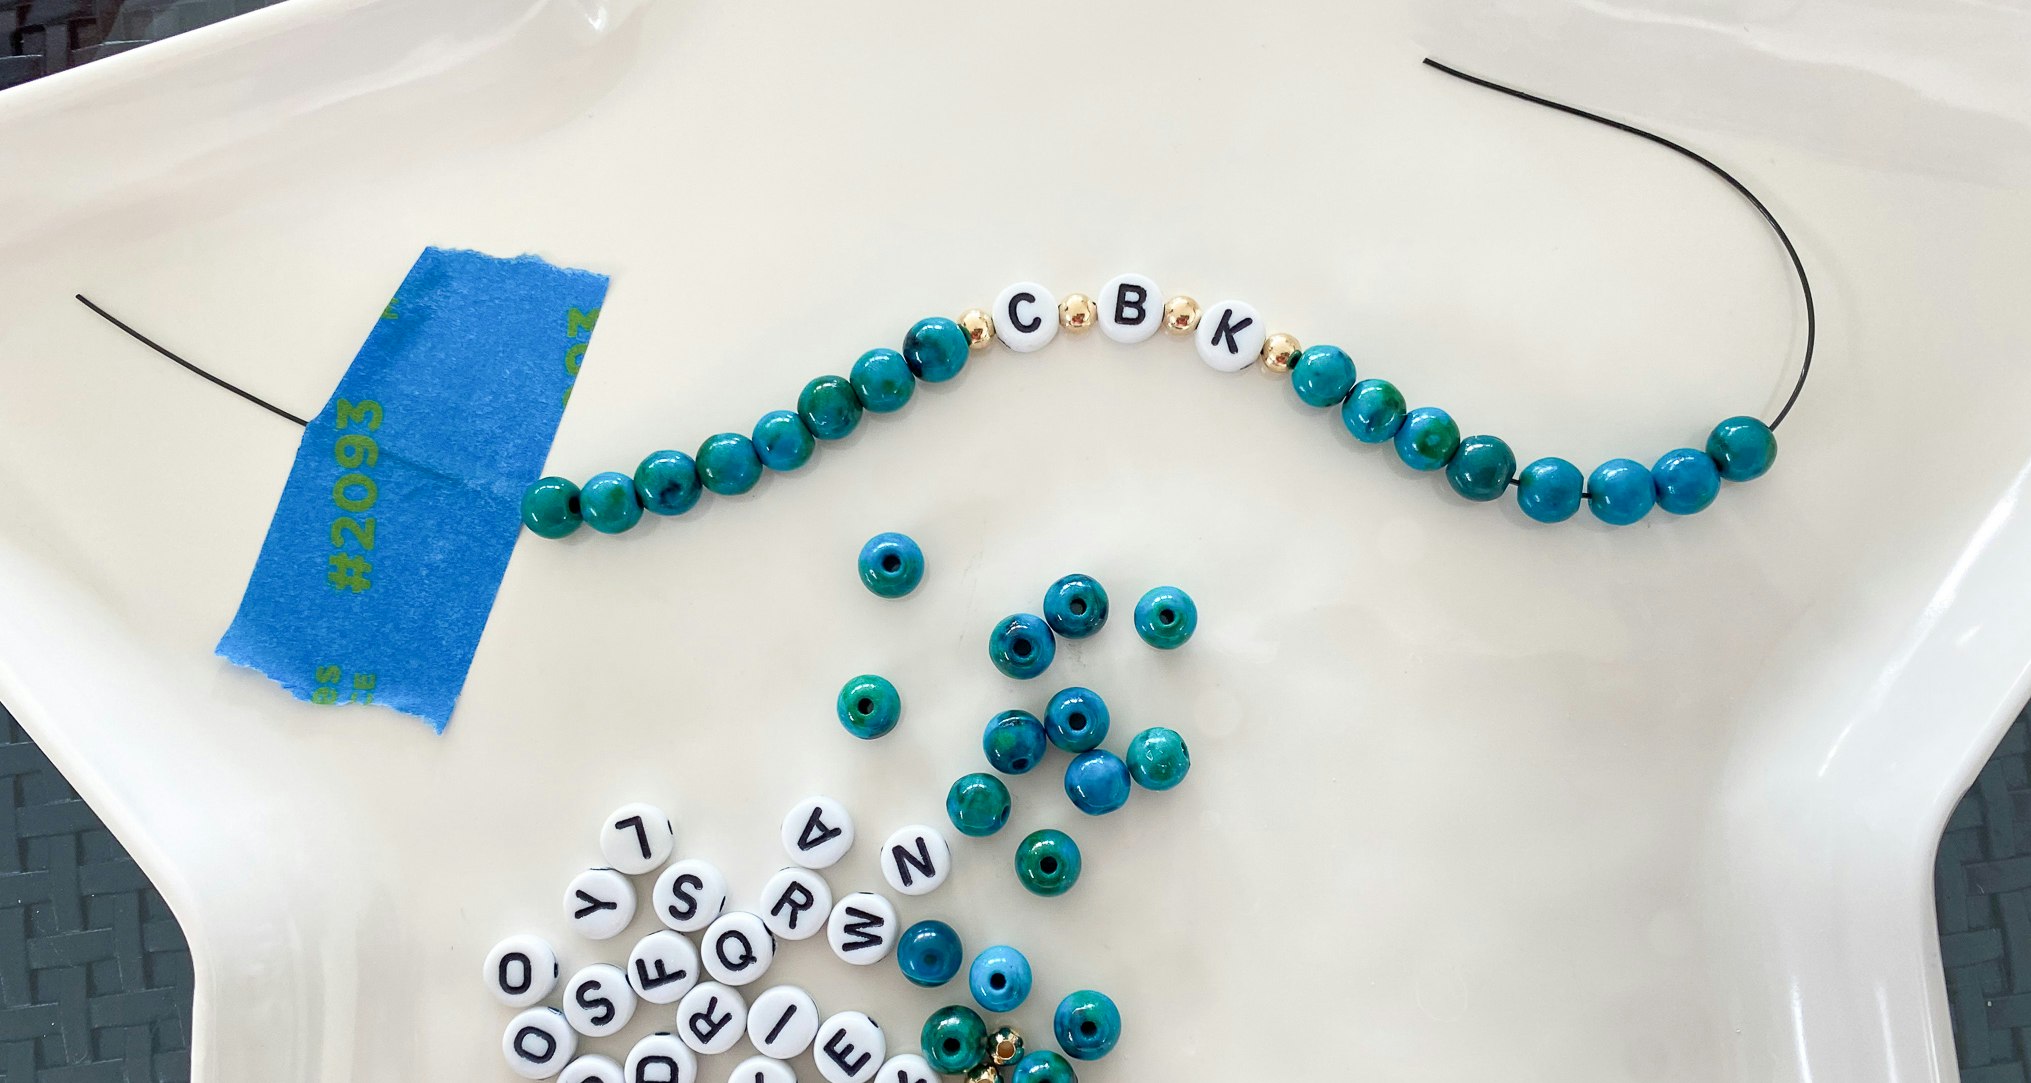
Start threading the solid color beads on to the stretch cord. The amount really depends on the size of your wrist and how many letter and/or spacer beads you’re using in the middle or your bracelet.
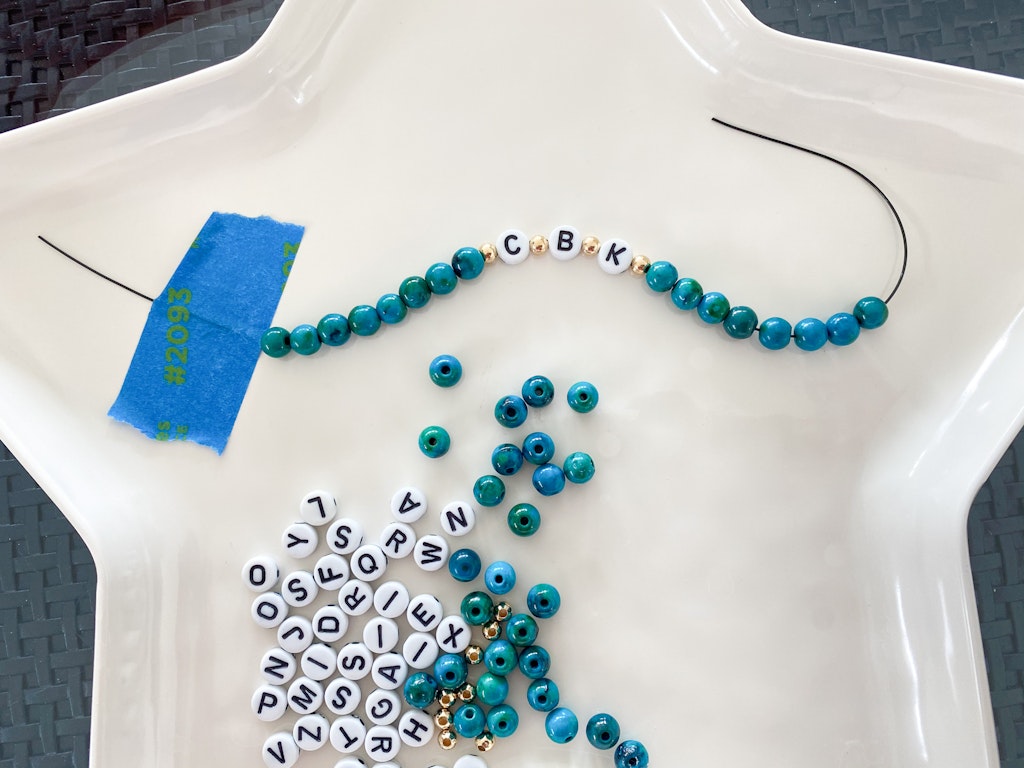
We decided to make one using the first initials of each of our kids, but you can use any word, initials, phrase, favorite location, etc.
Add a spacer bead then your first initial, another spacer bead followed by another initial.
Follow the word with the same amount of solid color beads as you used in the beginning. Check the length of the bracelet for size around your wrist. Add extra beads to both sides if necessary.
How To Tie The Knot On Your Beaded Bracelet
Once you have the bracelet at the desired length, tie the stretch cord in a knot.
Add a drop of E6000 glue to the knot and pinch it with your fingers. Cut the excess tails off of the strings and tuck the ends into the center of the beads.
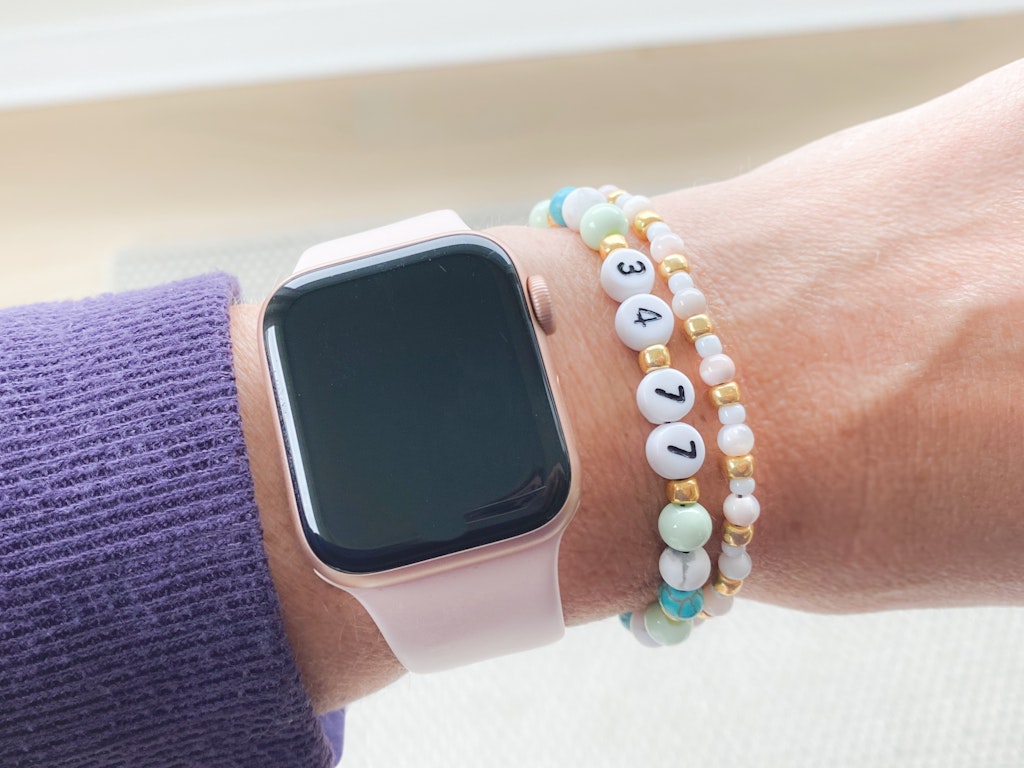
We also made this coordinates bracelet with the coordinates of our favorite vacation spot. You can find the number beads from Michaels or Amazon.
We used the same spacer beads as the previous bracelet and mixed up some different colored 6mm beads. To find the coordinates of a location open up google maps and type the location into the search field. Right click on the location and select “what’s here” from the drop down menu.
At the bottom of your screen a display box will show the coordinates of your selected location. I rounded and used the numbers closest to our location. The coordinating bracelet was made out of a combination of seed beads, spacer beads and smaller 4mm beads.
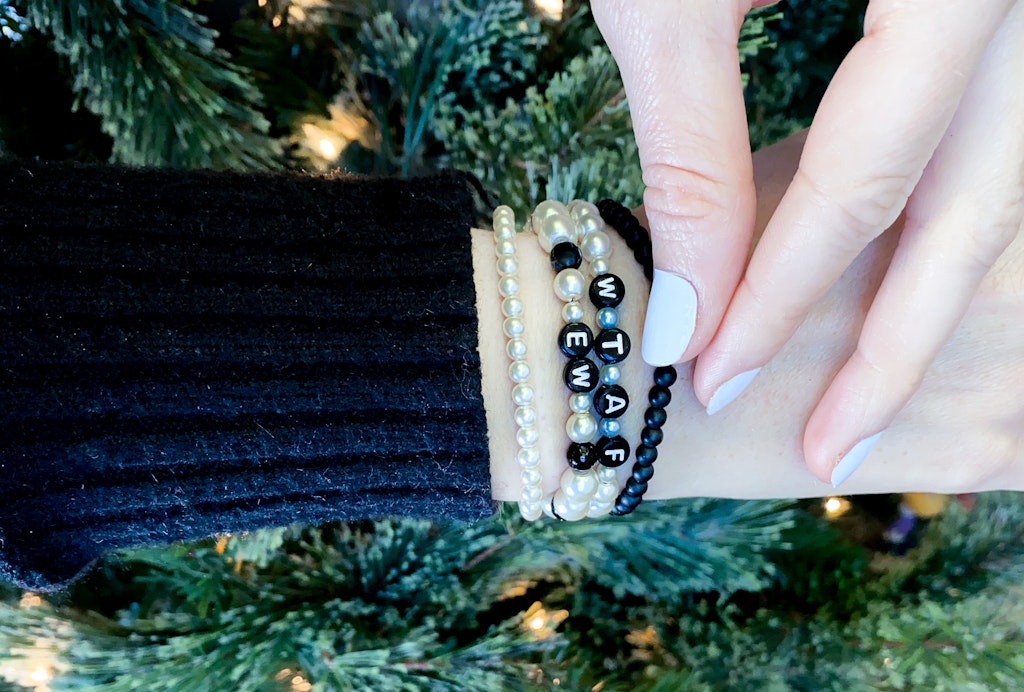
You can also use the alphabet beads to quote your favorite catch phrase, movie or tv series quotes like we did here. We used black alphabet beads, pink pearl beads and small black beads to create these fun Schitt’s creek inspired bracelets.
When planning out longer catch phrase or quote bracelets consider putting partial quotes on each bracelet and layering the bracelets. Which one do i add next… “eat glass”, “thrice”? Too many to choose from in that show alone!
Get creative and experiment with different color and size patterns to mix and match your bracelets. Also check out this tutorial for simple embroidery floss friendship bracelets.

1 thought on “DIY Letter Bead Bracelets”