How To Make A Christmas Village Wreath
I found these adorable mini village houses in the dollar spot section of Target last year and couldn’t wait to get them home for a project. After finishing up a tutorial on how to flock a Christmas wreath using white paint, I found my perfect canvas for these little guys. I’ve seen displays of multicolored bottle brush trees and love the combination of fun colors beyond the traditional red, green and gold for the holidays. I decided to paint these little village houses in fun bright colors along with some coordinating mini bottle brush trees to create a Christmas village wreath.
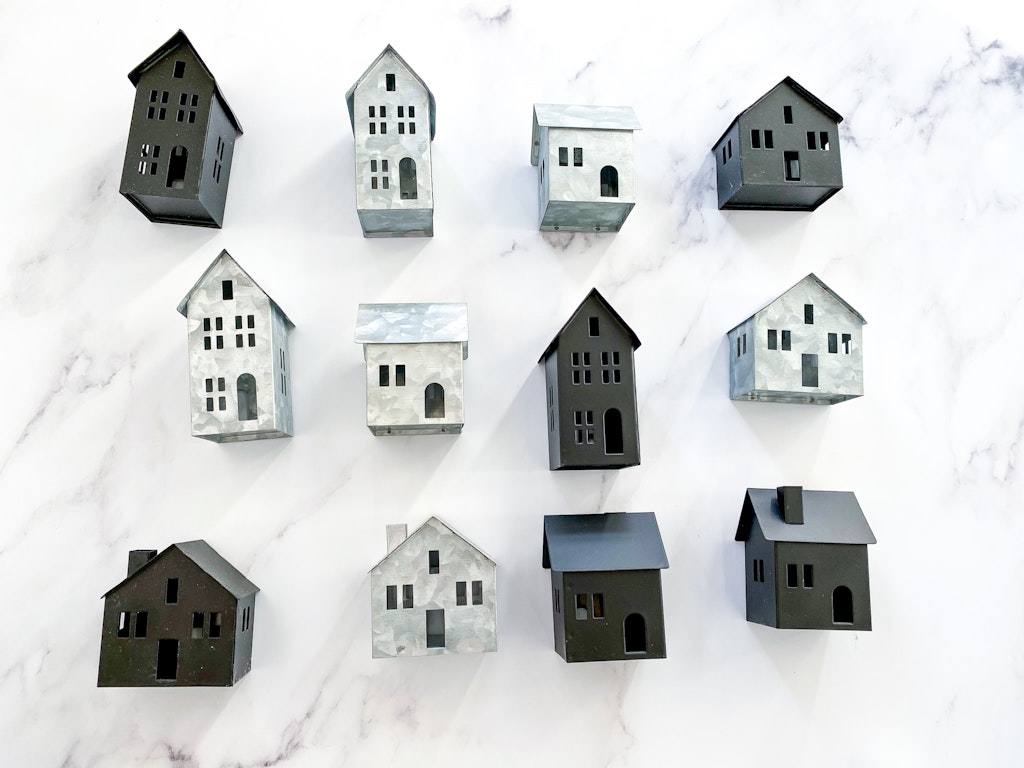
What You’ll Need:
- Christmas Wreath – We picked ours up from Michaels and added a snowy finish with some white acrylic paint
- Mini Christmas Village Houses – We found these at Target’s Bullseye Playground / Dollar Spot area last year but it looks like they’ve made them into ornaments this year. There’s a set of mini galvanized metal village house ornaments that look very similar.
- Mini bottle brush trees
- Hot glue gun and glue sticks
- Acrylic Paint in various colors
- Foam Brushes
- Paper plates for paint
- Nail polish remover and q-tips for cleaning up any spots on the houses
Start With Your Wreath
We started off by faux flocking our Christmas wreath using white paint. For more details on how we did that, check out our post on How To Flock A Christmas Wreath The Easy Way

Painting The Village Houses And Trees
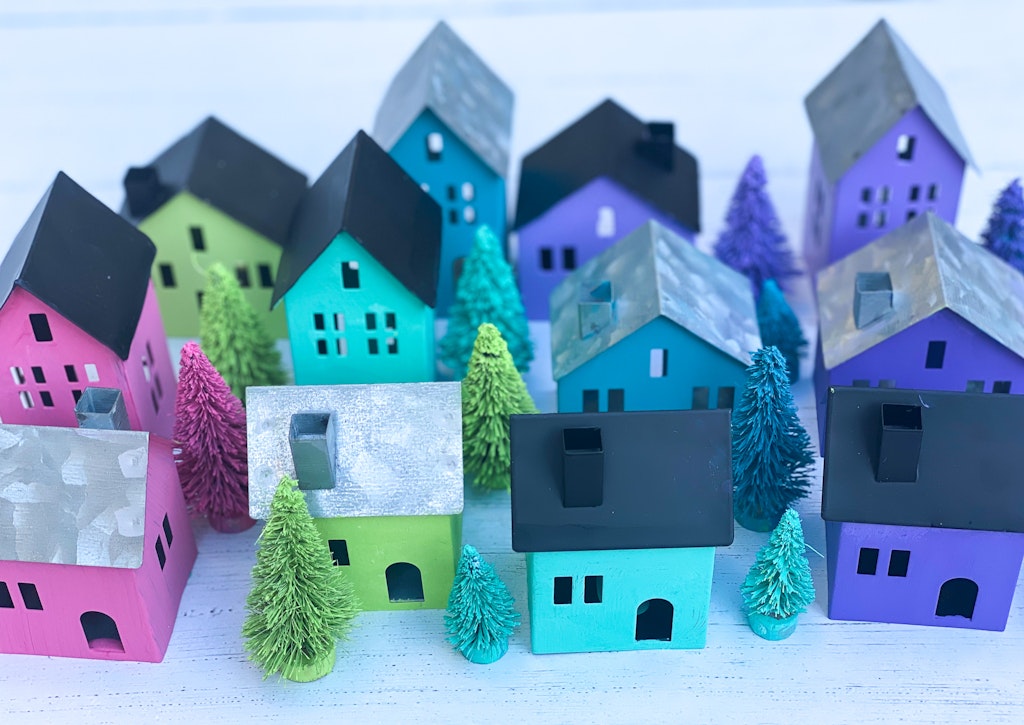
I used 12 mini houses and about 15 mini bottle brush trees for our 24″ wreath. My little helpers and I decided on 5 different colors to use and paint 2 of the houses in each of the colors. We painted two different houses in each color to mix it up a bit.
Use whatever colors you’d like. We just happened to have these on hand. The village houses would look great using one color too, adding more and more white to the color to create a more ombre look.
We mixed a little white acrylic paint with each of the colors to tone down the colors a bit.
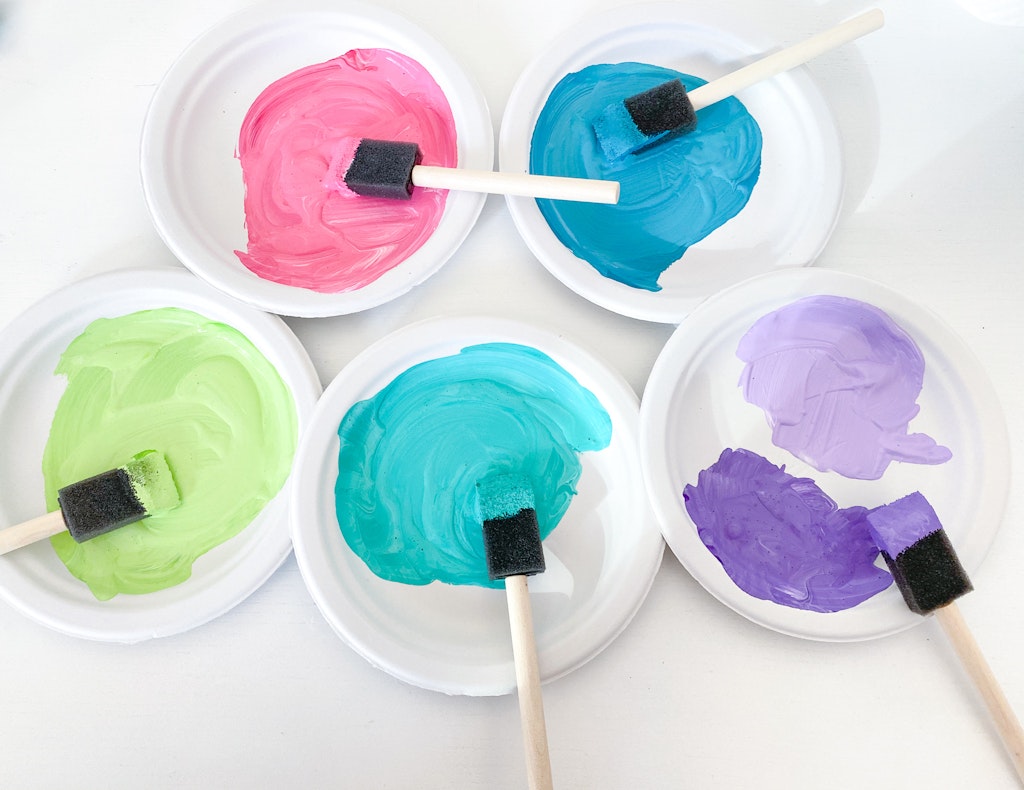
I enlisted some help from the kiddos while painting the houses and trees. Each house will need at least two coats. Let the paint dry in between coats but they don’t take long to dry.
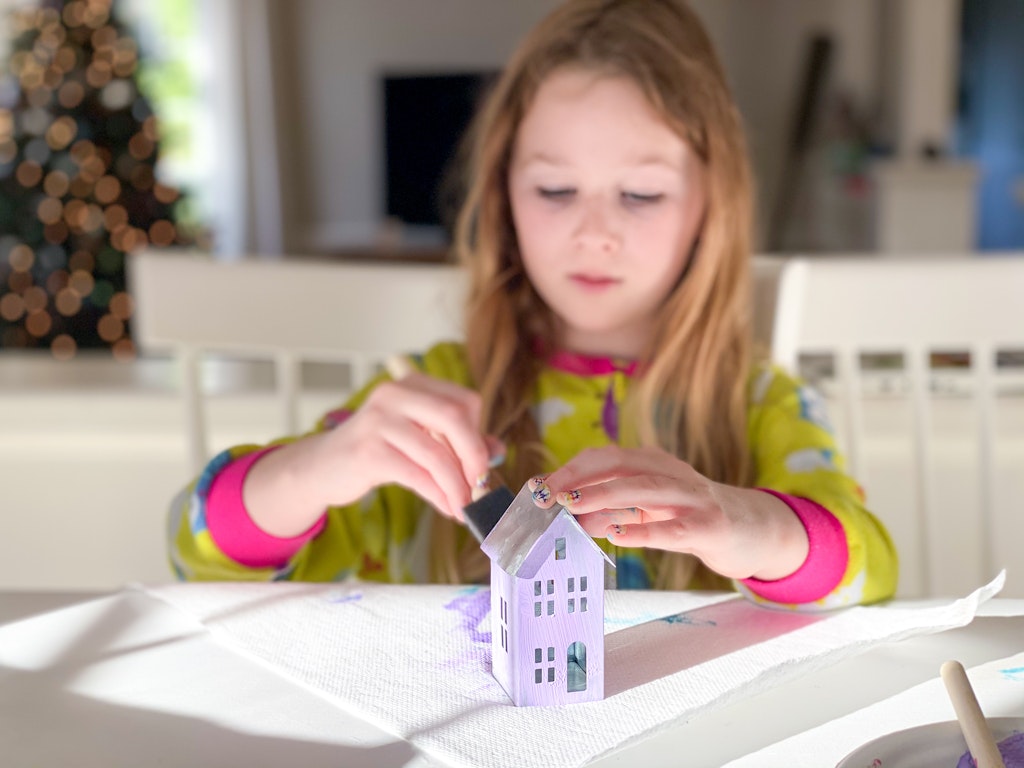
You can paint the roofs too, we chose to leave them to their original color. Some white with glitter as snow would add a fun touch too.
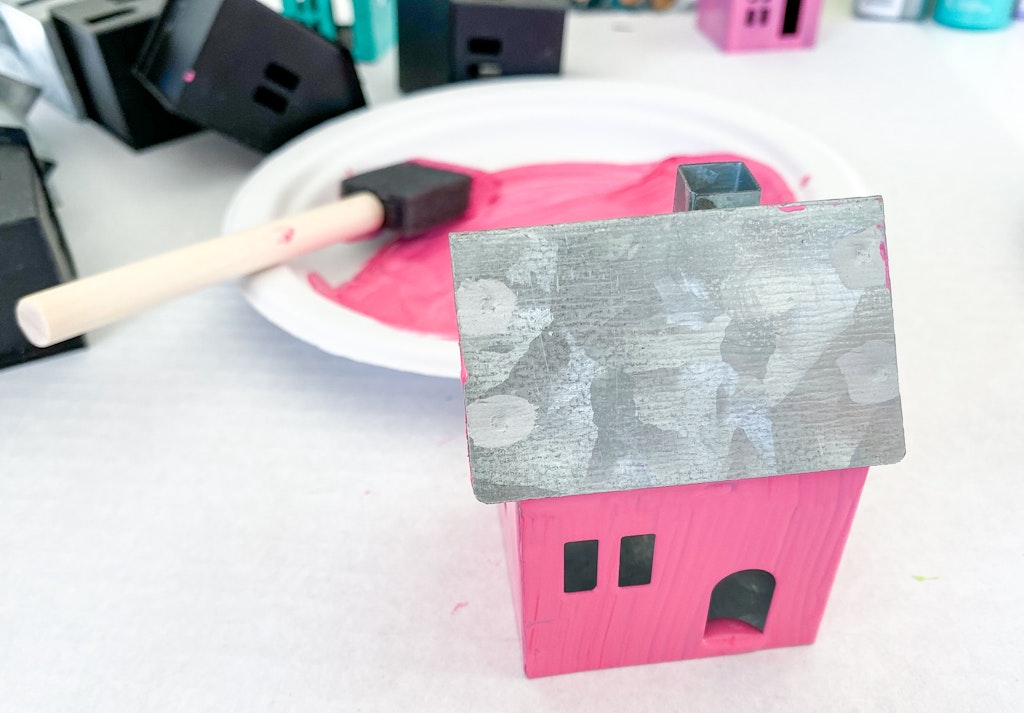
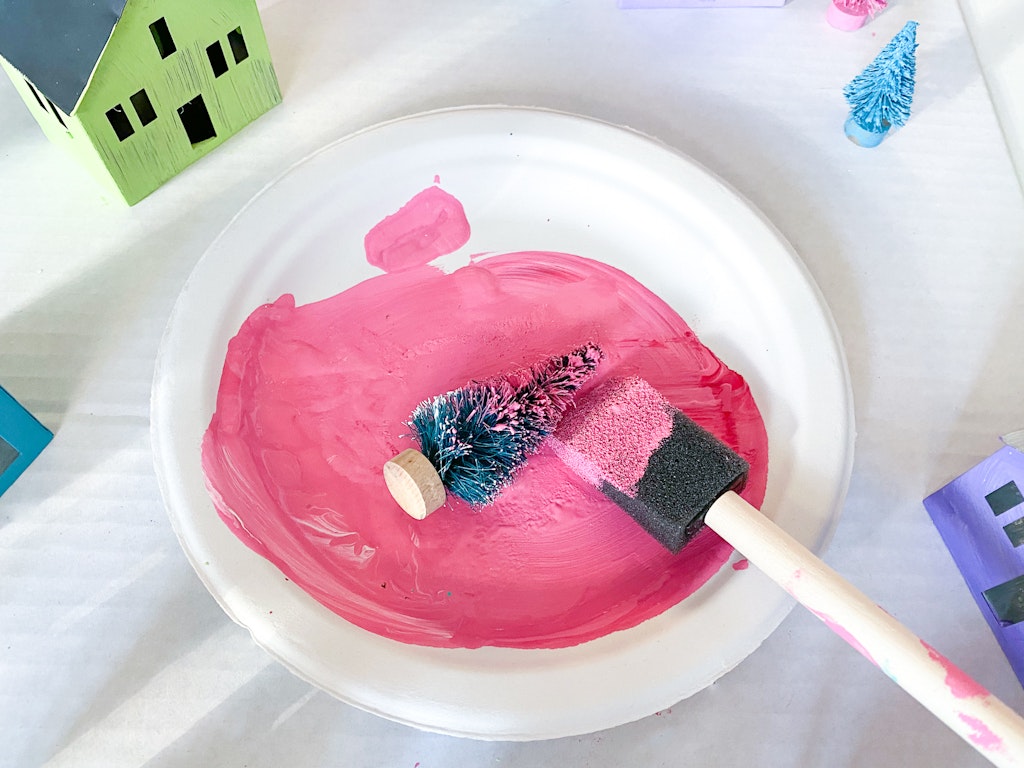
To paint the bottle brush trees, we used the foam brush to dab on the paint.
If the bottle brush trees are sisal trees and not plastic bristles you can bleach them then paint them if you’d like. The trees with the plastic bristles will not bleach, however. I chose to streamline the process and just coat all of the bristles in paint.
Set them aside and let the trees dry.
Using q-tips and nail polish remover, clean up any paint drips or smudges on the houses.
Attaching The Village Houses And Trees To Your Wreath
Grab your wreath and start laying out your houses around the wreath. Move them around and space them out to your liking.
Once you have the mini village houses positioned how you’d like, start attaching them to the wreath one at a time using the hot glue gun.
If you’re adding a bow you might want to place that down as well depending on how large bow is and where you’re adding it you might want to secure that down first and work your way around that.
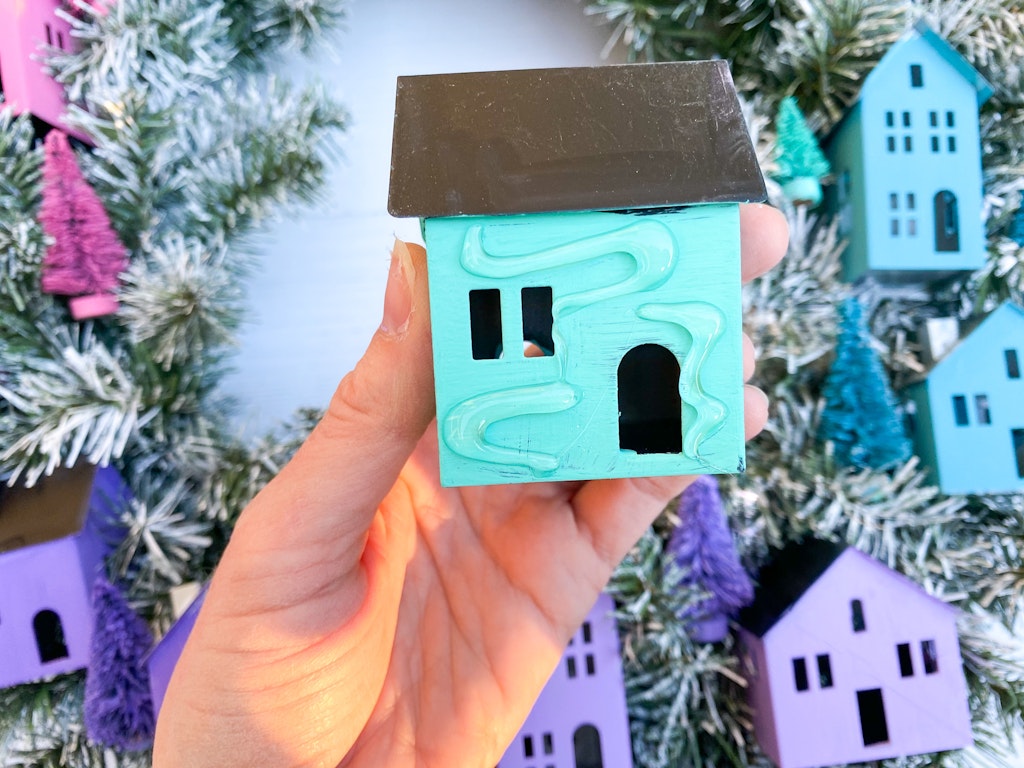
Once all of your houses and trees are glued down, gently lift up the wreath. You’ll want to make sure that none of the pieces need to be further secured with extra glue.
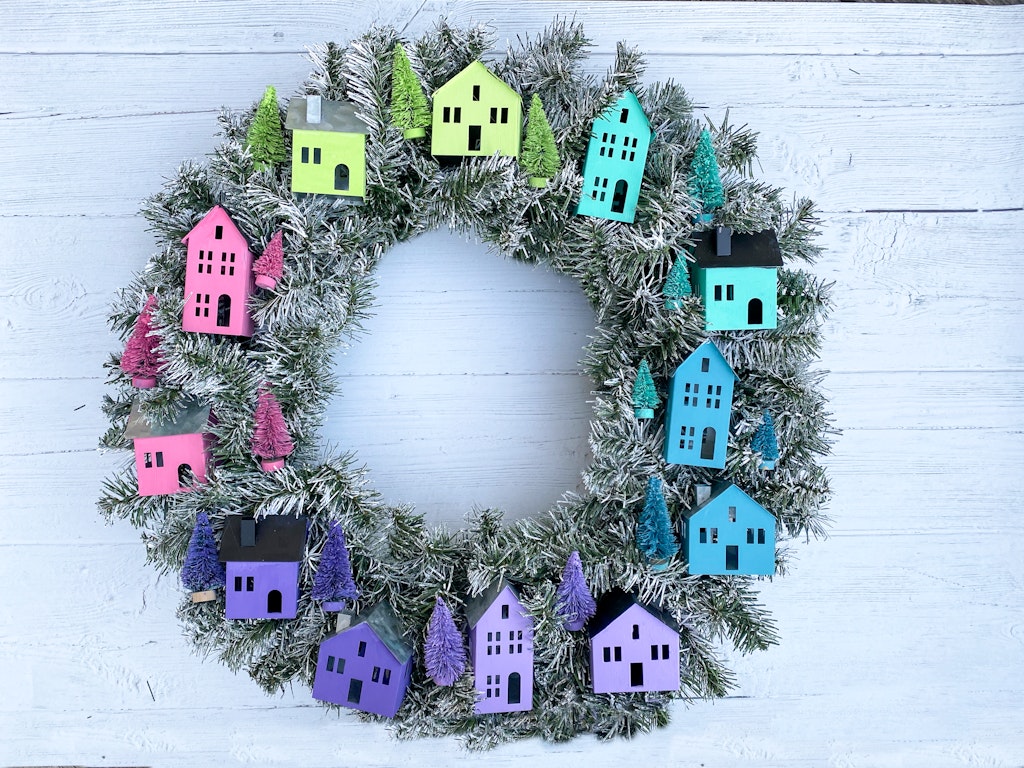
I was looking through the Anthropologie site and saw some major similarities in their Snowy Village Light Up Wreath and our DIY Christmas Village Wreath.
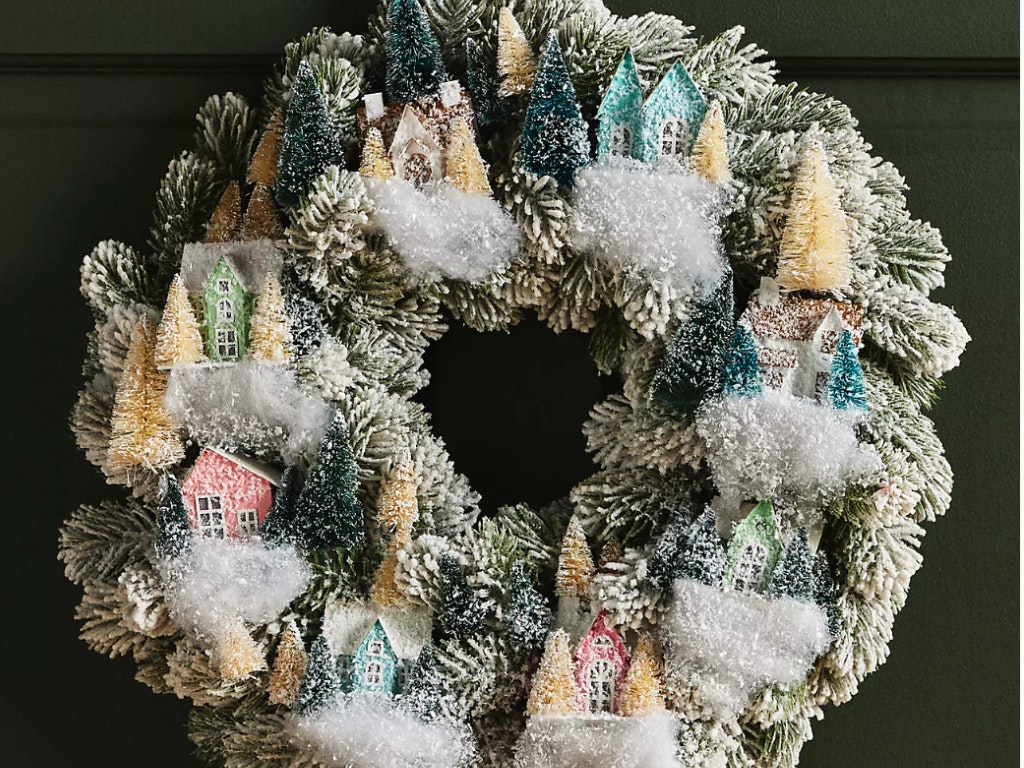
You could very easily add faux snow, glitter and slightly more muted colors and it would look even more similar. With a ticket price just shy of $200, the real deal is a lot more expensive than our DIY version.


Love this project for next Christmas!