
The first time we set up our RV, or any RV for that matter, we rolled into the campsite in the dark without a clue what we were doing. We’ve learned a bit since then. We will walk you through the different steps we take when setting up our RV at a campsite. We have a travel trailer camper so some of these things won’t apply to you if you have a different type of camper.
We’ve created a helpful RV CAMPING SET UP CHECKLIST to help make sure that you don’t miss any steps setting up your roving home. Be sure to also check out our posts on What We Learned On Our First RV Camping Trip and our New RV Owner Shopping List.
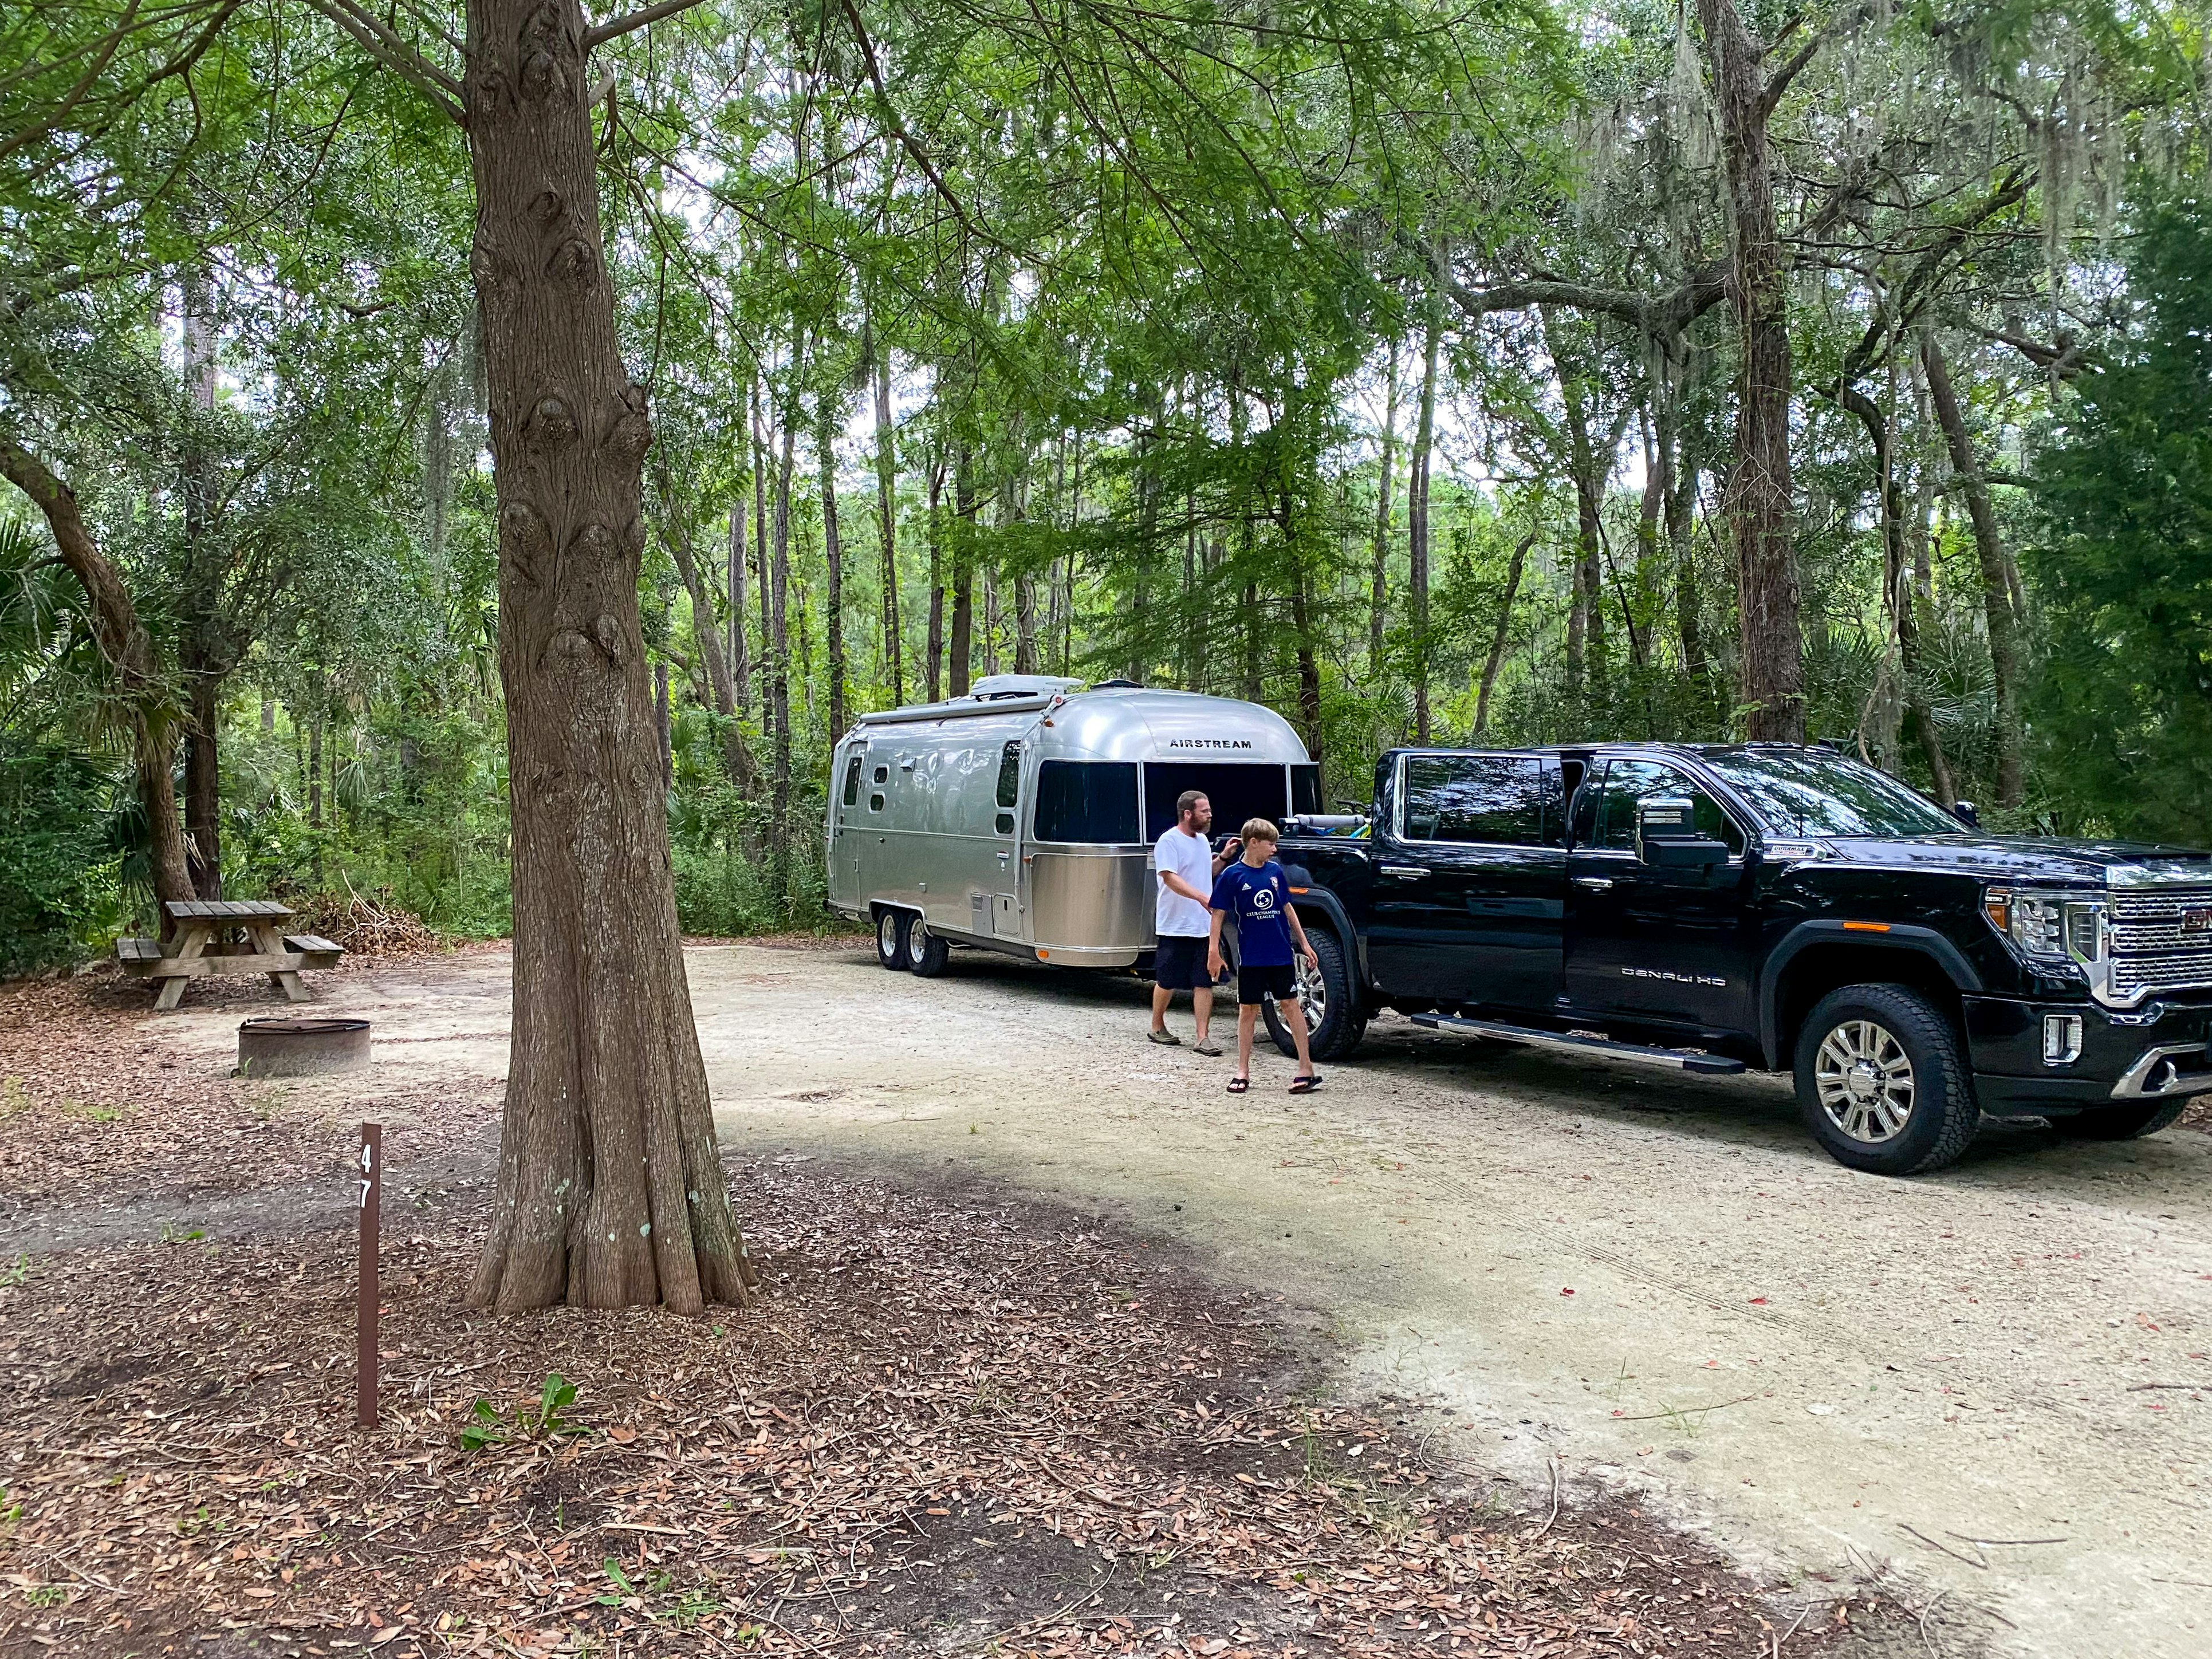
Position The Trailer At The Site Close To Electric, Water and Sewer Connections
This process alone can test your marriage, friendship, patience. 🙂 It’s usually for someone to hop out at the campsite to help guide the driver into the spot. This will get easier with practice for both the driver and the guide. The guide needs to keep a look out for obstacles while the driver is positioning the trailer. We usually have each other on the phone so we can quickly communicate when to STOP! hahaha. Be patient and take your time. We’ve camped for almost a year and sometimes it can take 20 minutes just to park the trailer. Our last site had a tree literally in the middle of where you would normally back up which posed quite a challenge as you can imagine.
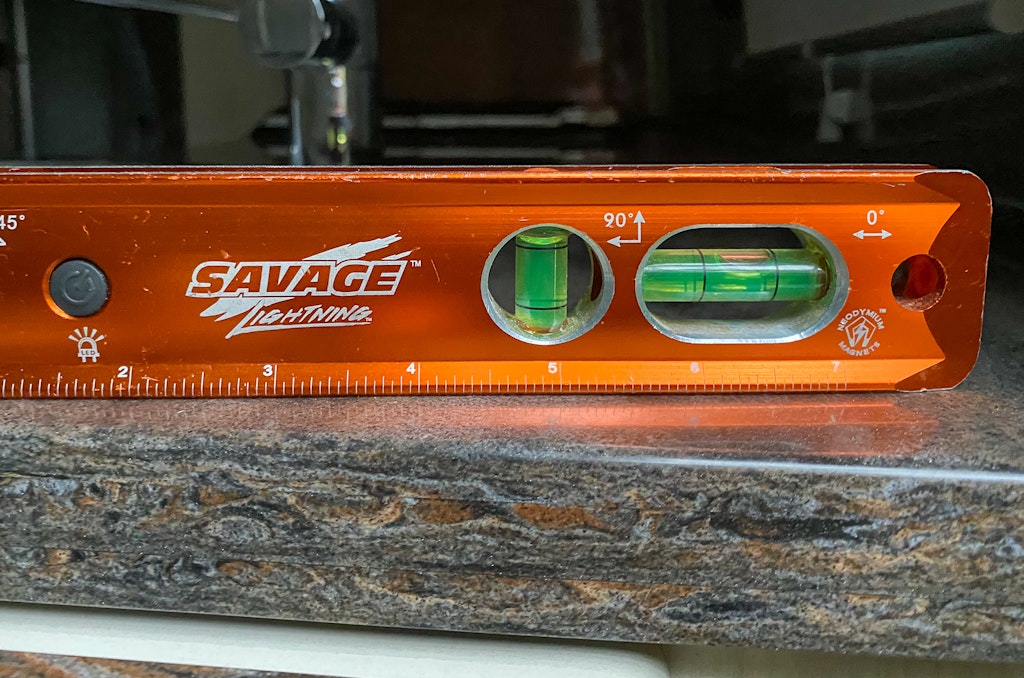
Check Your Level From Left To Right
Once you back the trailer into the site you’ll need to check the level and see if you’ll need to roll the camper up on leveling blocks. We keep this little level in a drawer right by the door of the RV since it’s one of the first things we need access to. Place the level on the counter and see how far off from level your trailer is. Raise the different sides of the level to tell you which side of the trailer will need to be propped up a bit. It’s important to try to get the trailer as level as possible. Many RV refrigerators won’t work when the trailer is not level. You’ll also have trouble with plumbing if the trailer isn’t level.
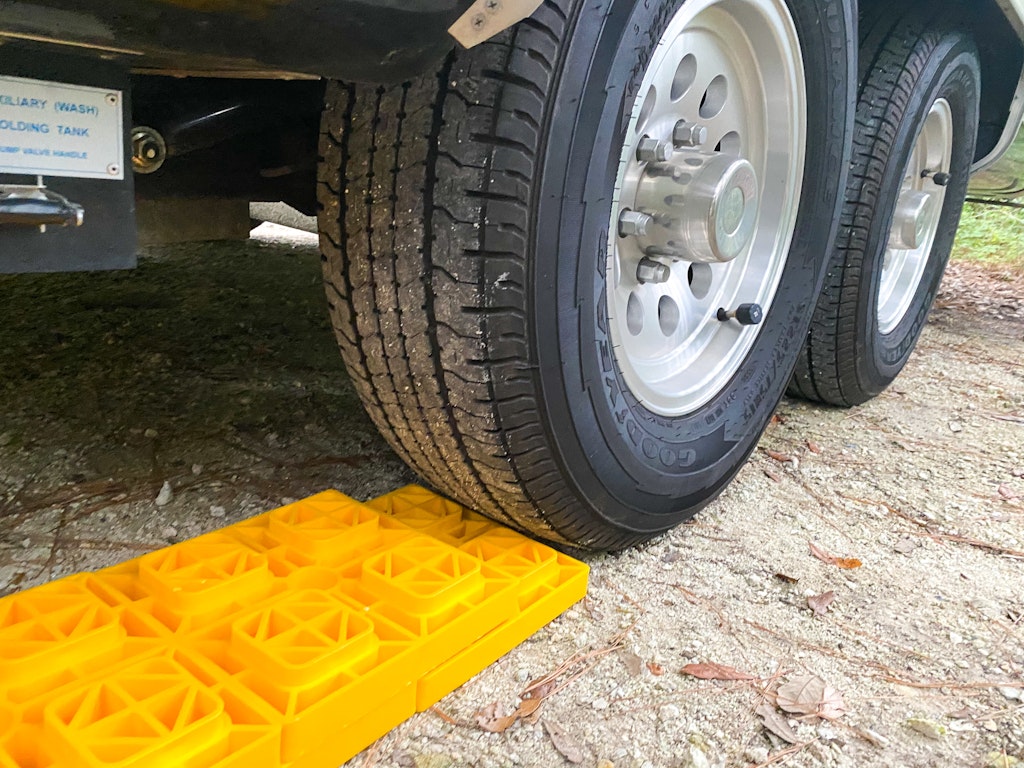
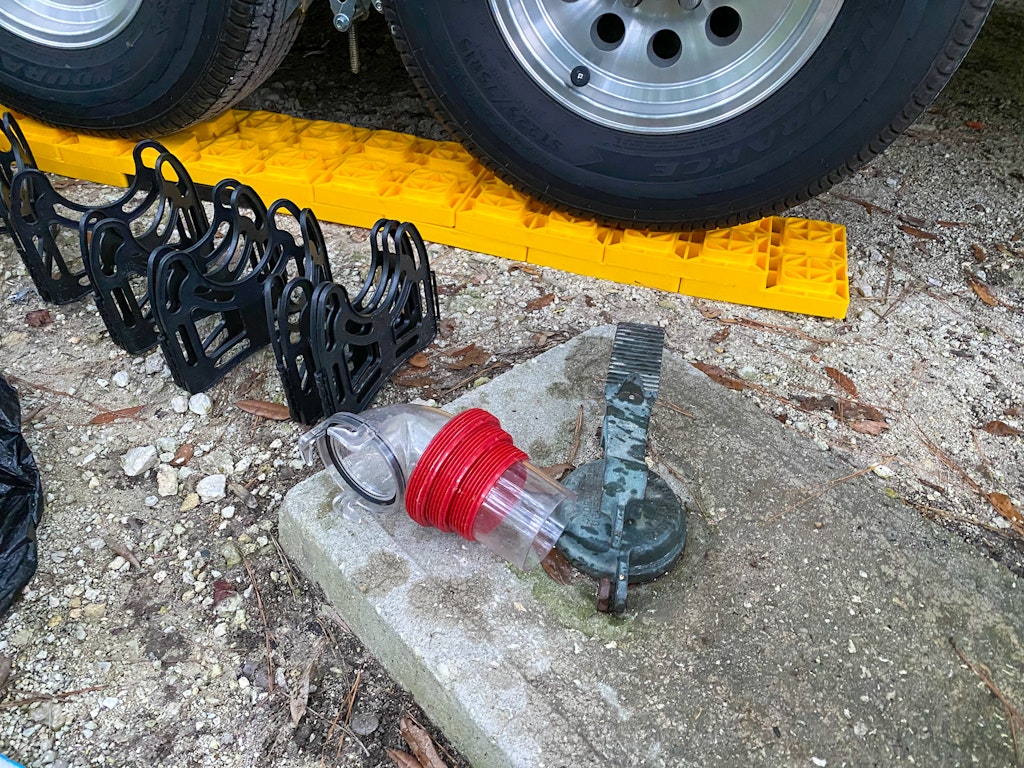
Add Leveling Blocks If You Are Not Level
We use these leveling blocks almost every time we pull into a site. It’s like a Christmas miracle when we check the level of the trailer and it’s magically already level.
Roll the trailer out of the way just enough so you can place down the leveling blocks. You’ll need to build a small pyramid to allow the tires to easily roll up onto the blocks. Remember that you need enough space to have the tires completely on top of the blocks.
Check your level again to make sure you’re now level from left to right. If it’s still off, you’re going to have to back the trailer off of the blocks and build it up one more layer then drive it back up and check the level again.
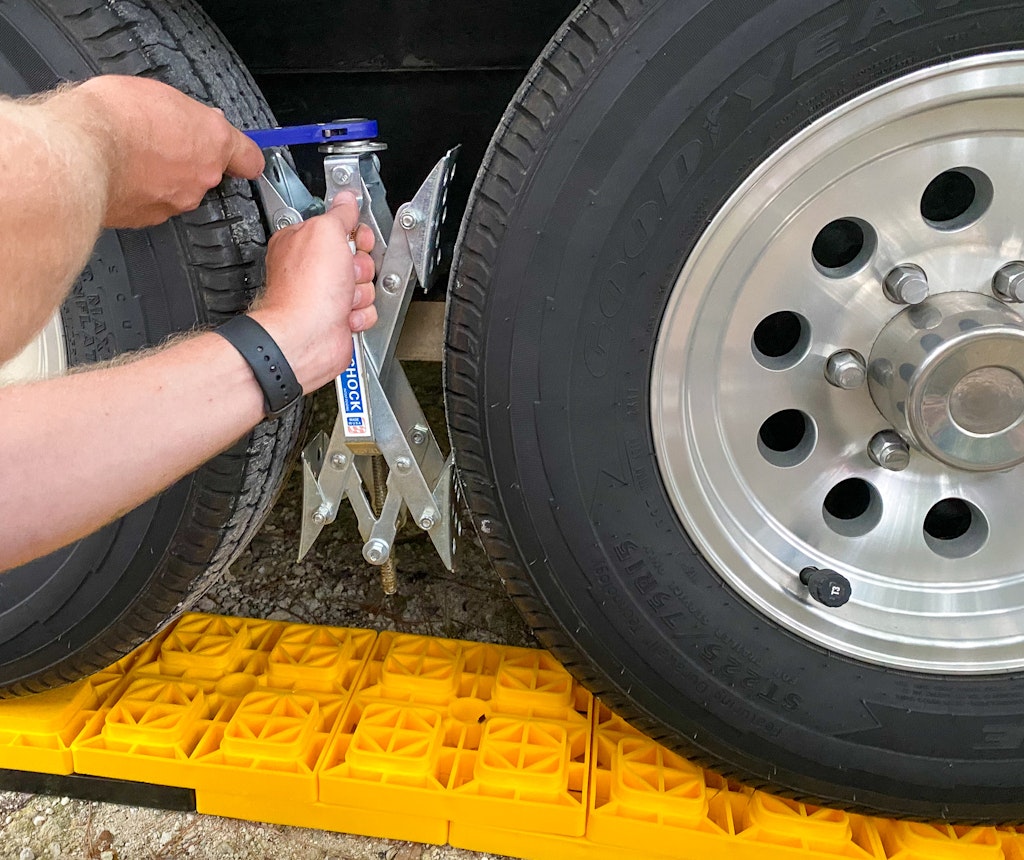
Add Tire Locking Chocks
Think of these as parking breaks for your trailer. We have a double axle trailer so we place the tire chocks in between the two tires to keep it from rolling at all. There are other options on the market too that you can place behind your tires.

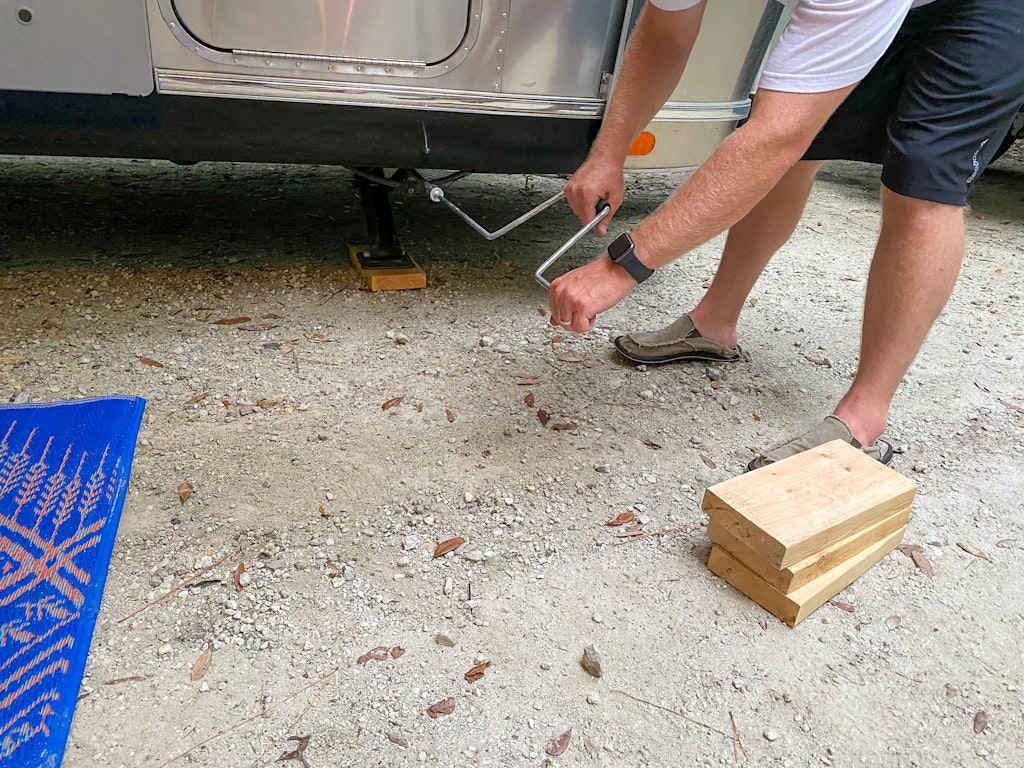
Detach Trailer From Your Hitch
This process with differ slightly depending on the type of hitch you’re using. We need to first extend (lower) the tongue jack, usually onto a stabilizer pad, raising the front of the trailer up high enough so that the pressure is taken off of our sway bars. Then we can easily remove the sway bars.
Once the sway bars are removed, retract the tongue jack to lower the trailer until the trailer is loose on the hitch ball.
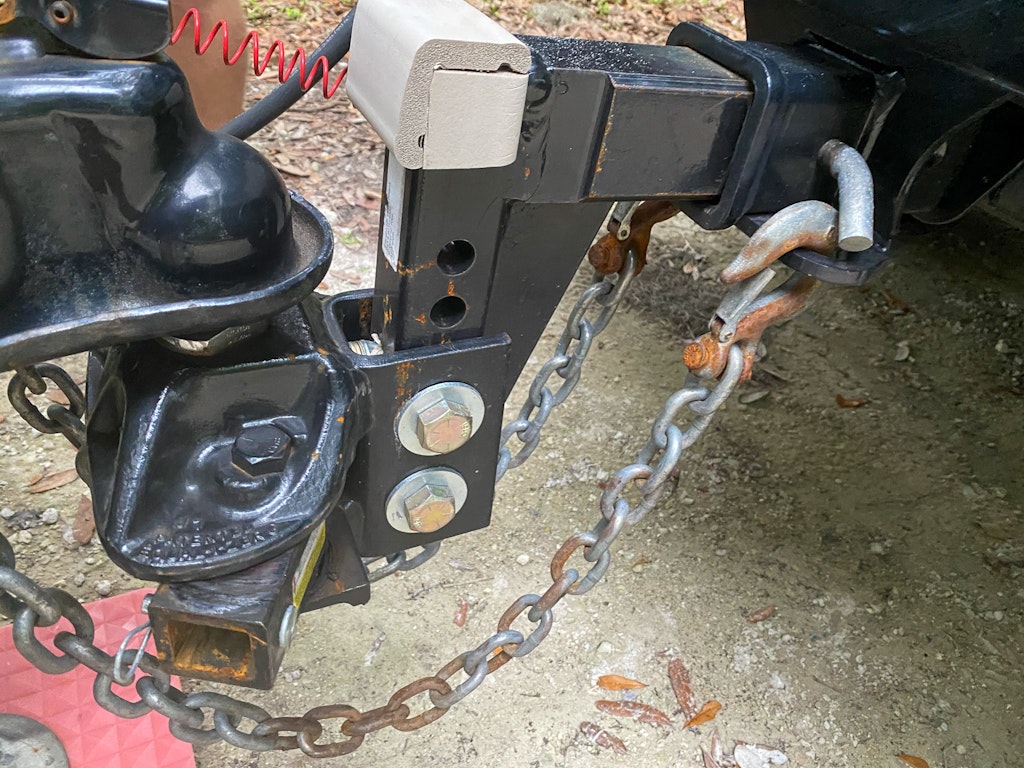
Disconnect the chains and power connection from your tow vehicle. Drive tow vehicle forward so your hitch is clear of the trailer. 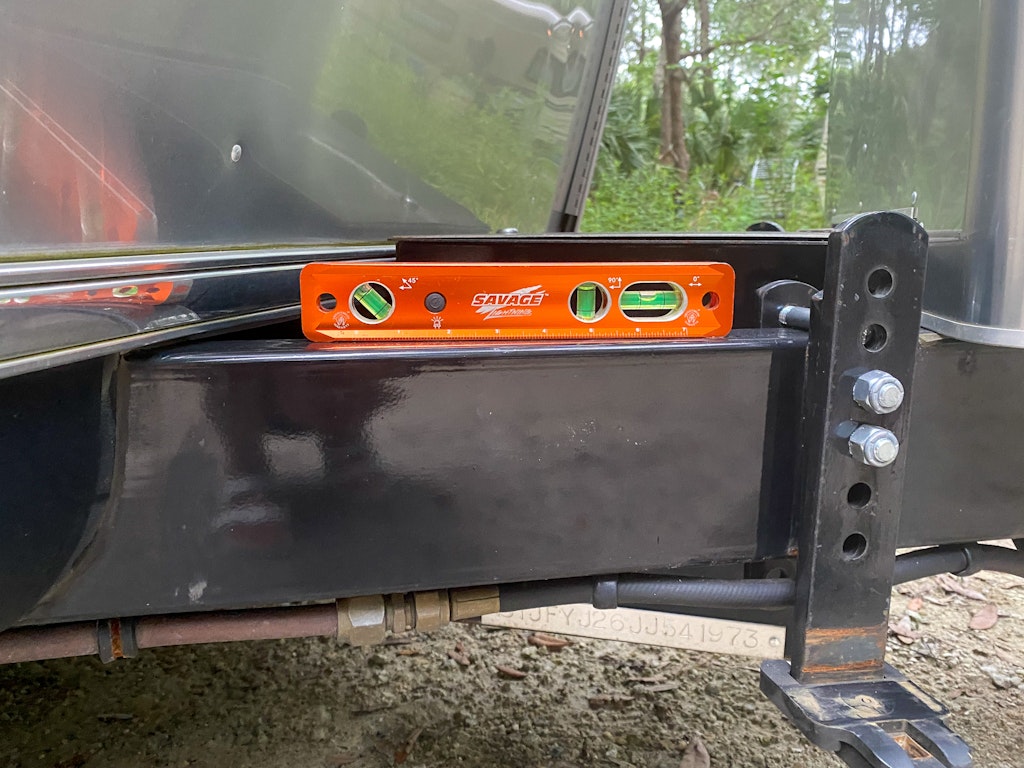
Check Level Of Trailer Front To Back
Raise or lower your trailer’s hitch make sure that your trailer is level front to back.
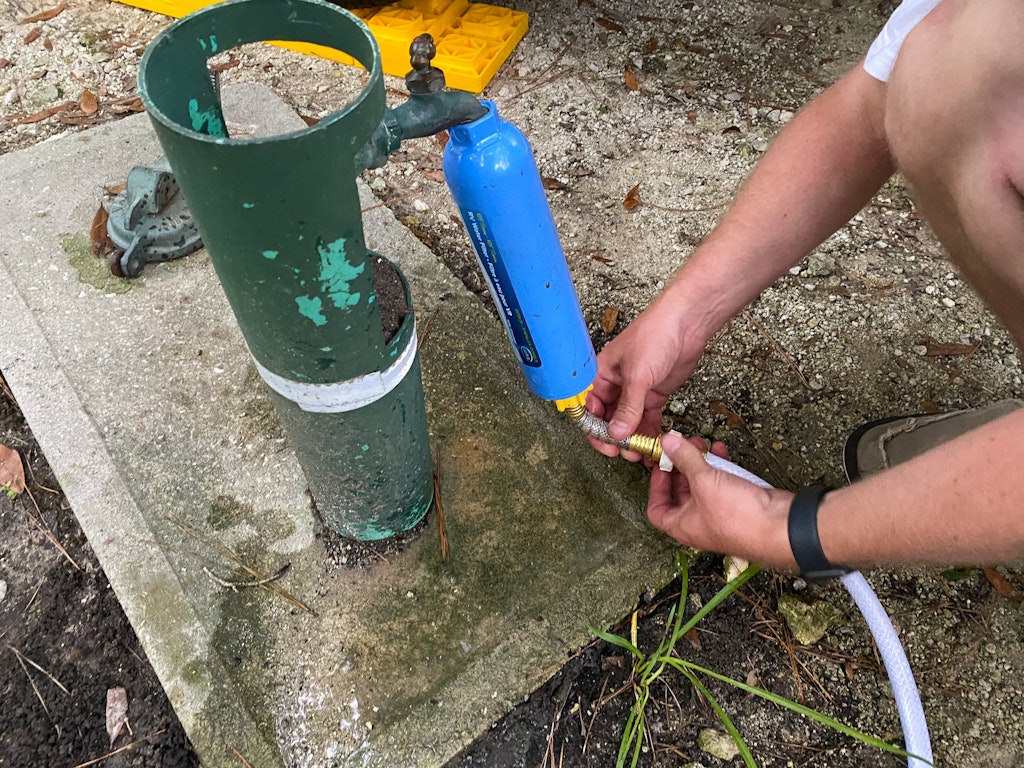
Connect Your Fresh Water
We first connect a water filter to the water source. Run a little water through it to give it a quick rinse. Then connect your fresh water hose to the water filter. We connect them in this order so that only filtered water is flowing through our fresh water hose. Only use your fresh water hose for fresh potable water. If your RV doesn’t have a built in water pressure regulator, you’ll need to add one of those as well. Ours has one built in. We give turn on the water and rinse out the hose as well a little bit then connect it up to your RV’s city water connection.

Connect Your Sewer Hose
Time for the dirty work. HA. It’s really not as bad as I thought it would be. Grab a pair of your disposable gloves.
If you have a sewer hose support line it up. angling down from your RV to the site’s sewer connection. Remove your sewer hose from storage and connect the sewer extension hose if you need a longer sewer hose. If you have a sewer hose elbow extension connect it to the end of the sewer hose that is going into the site’s sewer connection.
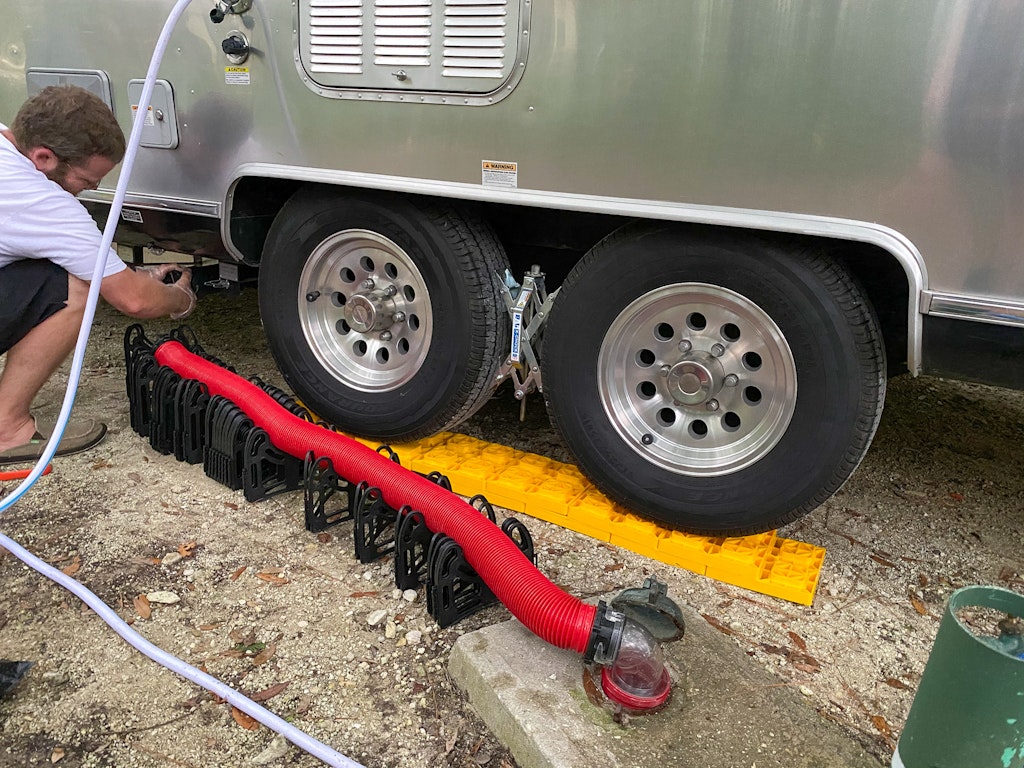
Place the end of the sewer hose into the sewer connection FIRST. Make sure your gray and black tank valves are both closed then twist open your sewer hose connection and connect the hose. We leave our valves closed until our tanks are getting full then we manually open the tanks and empty them. NEVER open both the black and gray valves at the same time. You don’t want to run the risk of some of the black tank contents backwashing into your gray tank. This also lets you learn how to manage your tanks for when you are dry camping and need to really pay attention to how much water you’re using.
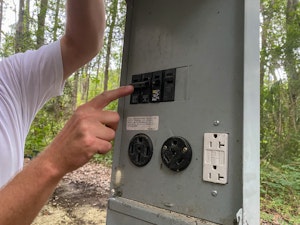
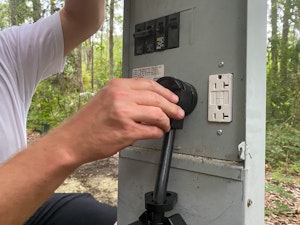
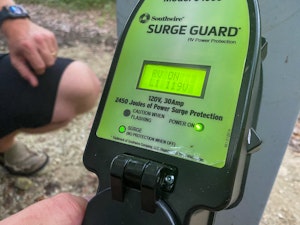
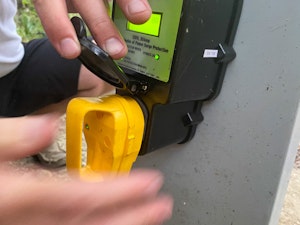
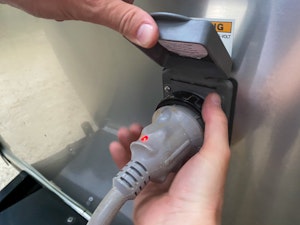
Get Electric
Time to connect to electricity. Know what voltage your RV requires. Most of them are either 30 or 50 amps. Make sure that all of the switches are off. We highly suggest using a power surge guard. Locate with plug fits your RV’s amps and plug in your surge protector. Turn site’s power switch on for your voltage. Plug your RV’s power cord into the surge guard. Finally connect the power cord into your RV.
Put Down Your Landing Gear
Lower your stabilizers onto stabilizer pads to keep the RV … you guessed it… more stable. 🙂

Now for the most important part…. celebrate with a cold beverage 😉