How To Make An Easter Egg Garland Decoration
We made this quick and easy Easter garland decoration by simply stringing together plastic Easter eggs. You only need a few supplies to create this affordable and fun Easter decoration. I found these glitter eggs at the dollar store and wanted to incorporate them into our Spring decor. You could easily use any plastic eggs to create the same effect. With ten plastic eggs for a dollar, we were able to create over 7 feet of garland with just $4 of plastic eggs! Each pack of 10 eggs makes about 22 inches of garland.

Supplies For Easter Egg Garland
- Plastic Eggs – make sure they have holes on each end (most do). We found ours at Dollar Tree but you can find them a lot of different places. There are solid color options at Walmart or sets of ombre coordinating colored eggs like these from Target
- Scissors
- Needle – We used a long decorator sewing needle with a larger eye to fit the baker’s twine. Our needle was about 5-6″ long. But you can also do this with a regular needle and thread.
- Bakers Twine or thread – The bakers twine is more durable and less likely to break, but it you have regular needle and thread on hand and want to save on costs, it will still work.
- Tape to help thread the needle
Starting Your Easter Egg Garland
If all you have on hand is a regular needle and thread you can definitely make this work. I would be a little worried about the regular thread breaking on the plastic eggs, but I would give it a shot if you have those supplies on hand before you purchased another needle and twine.
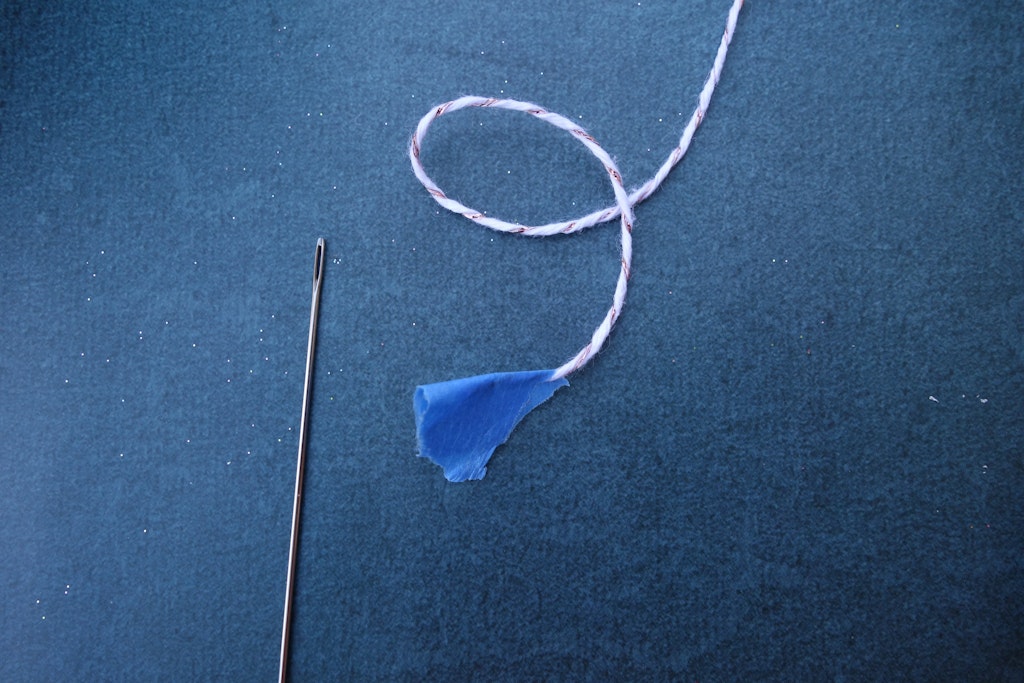
If you’re using the bakers twine you’ll probably need a little help getting it through the eye of the needle. Put a small piece of tape on the end of your baker’s twine and press it together.
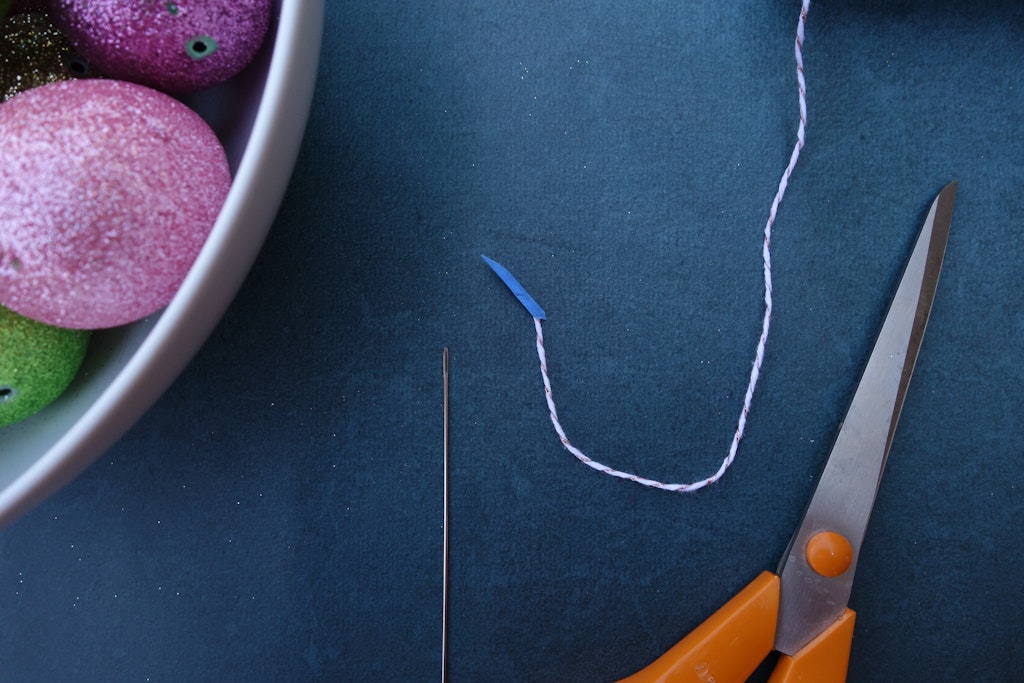
Cut off the end at a point to easily thread the needle.

Pull the bakers twine through the eye of the needle a few inches and snip off the tape.
Add The Plastic Easter Eggs
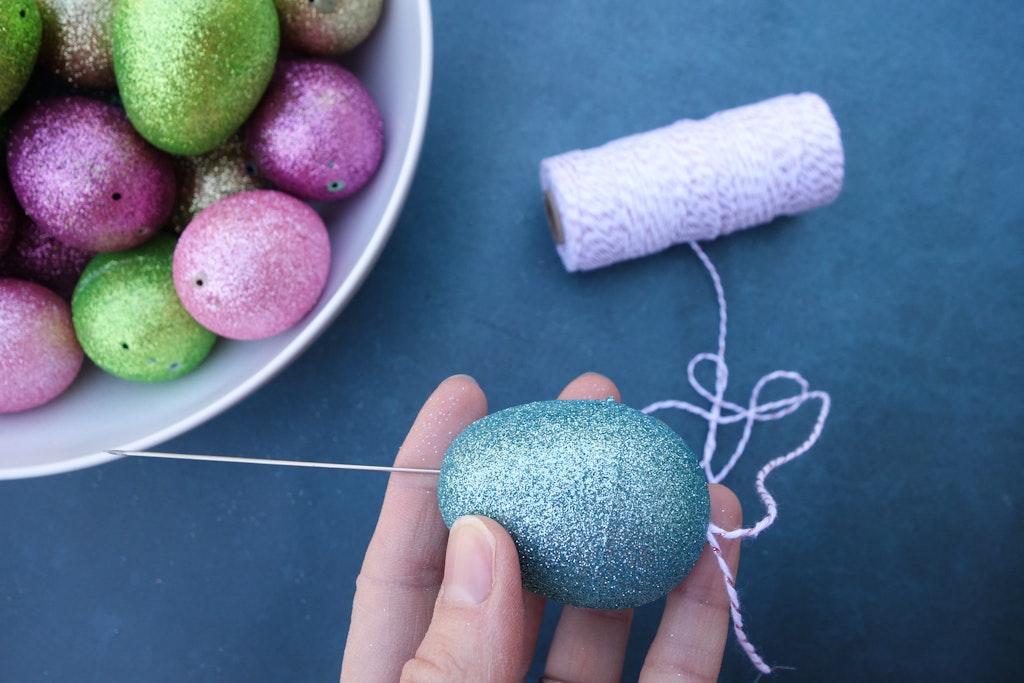
Figure out what color pattern you’d like to use for your Easter Egg garland and start adding the eggs onto the twine. Thread the twine through one end of the egg and out the other.
If you have trouble finding the hole on the other end of the egg you can pop open the egg to easily see where the needle needs to go. Slide that egg down and add the next. We didn’t cut the piece of twine from the spool until we were done with our garland. That way we didn’t risk cutting it too short.
Leave enough twine at either end of the garland to tie it off and make a loop to easily hang it up.
This was such an easy DIY Easter decoration.

If you’re looking for more DIY Easter inspiration check out some of out other posts like our Ombre Easter Egg Wreath, DIY PEEP Easter Centerpiece , Simple Easter egg centerpiece and Decorated Easter Egg Oreo Cookies.


2 thoughts on “Easter Egg Garland”