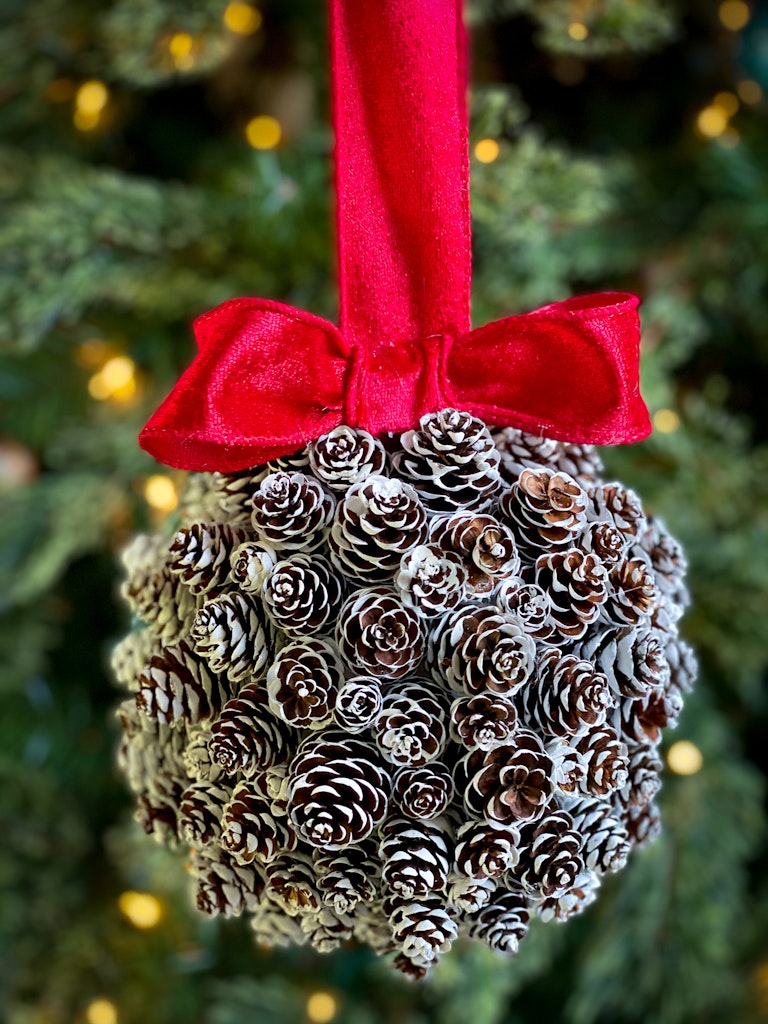
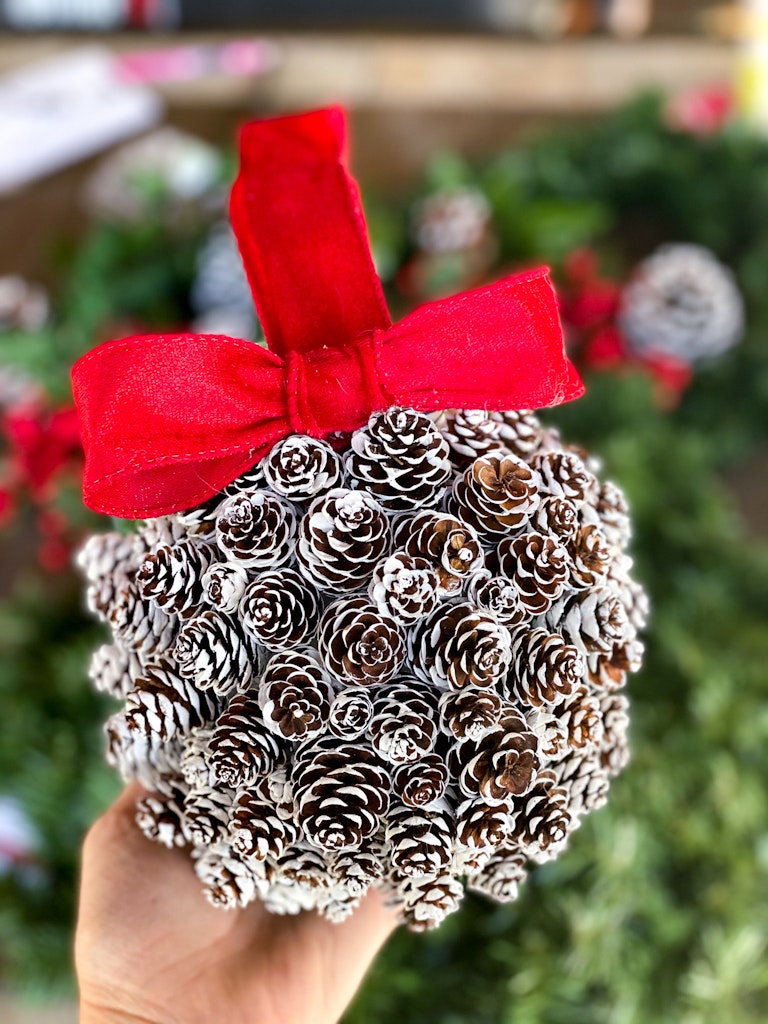
How To Make A Pinecone Christmas Kissing Ball
Christmas crafting is in full swing over here ya’ll. We used some of the snow-covered painted pinecones to create this super easy Christmas pinecone kissing ball. You can see how we easily transformed pinecones to look like they were covered in snow with just a little white paint in our post here.
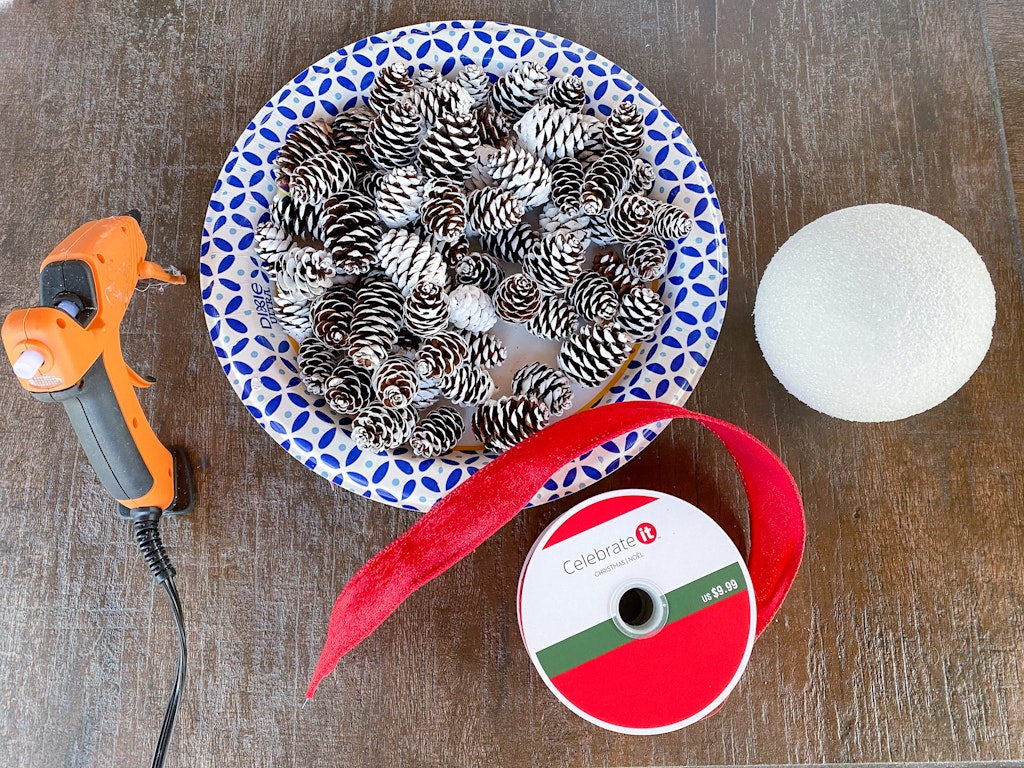
What You’ll Need For Pinecone Kissing Ball
Pinecones
Styrofoam ball – We used ones similar to these that are 3.8″ in diameter, but you can use any size
Scissors, floral clippers or pruning sheers like these
Hot glue gun and glue sticks (we went through a lot of mini glue sticks so make sure you have extras on hand)
Ribbon – we used thick velvet ribbon, but you can use whatever type you’d like
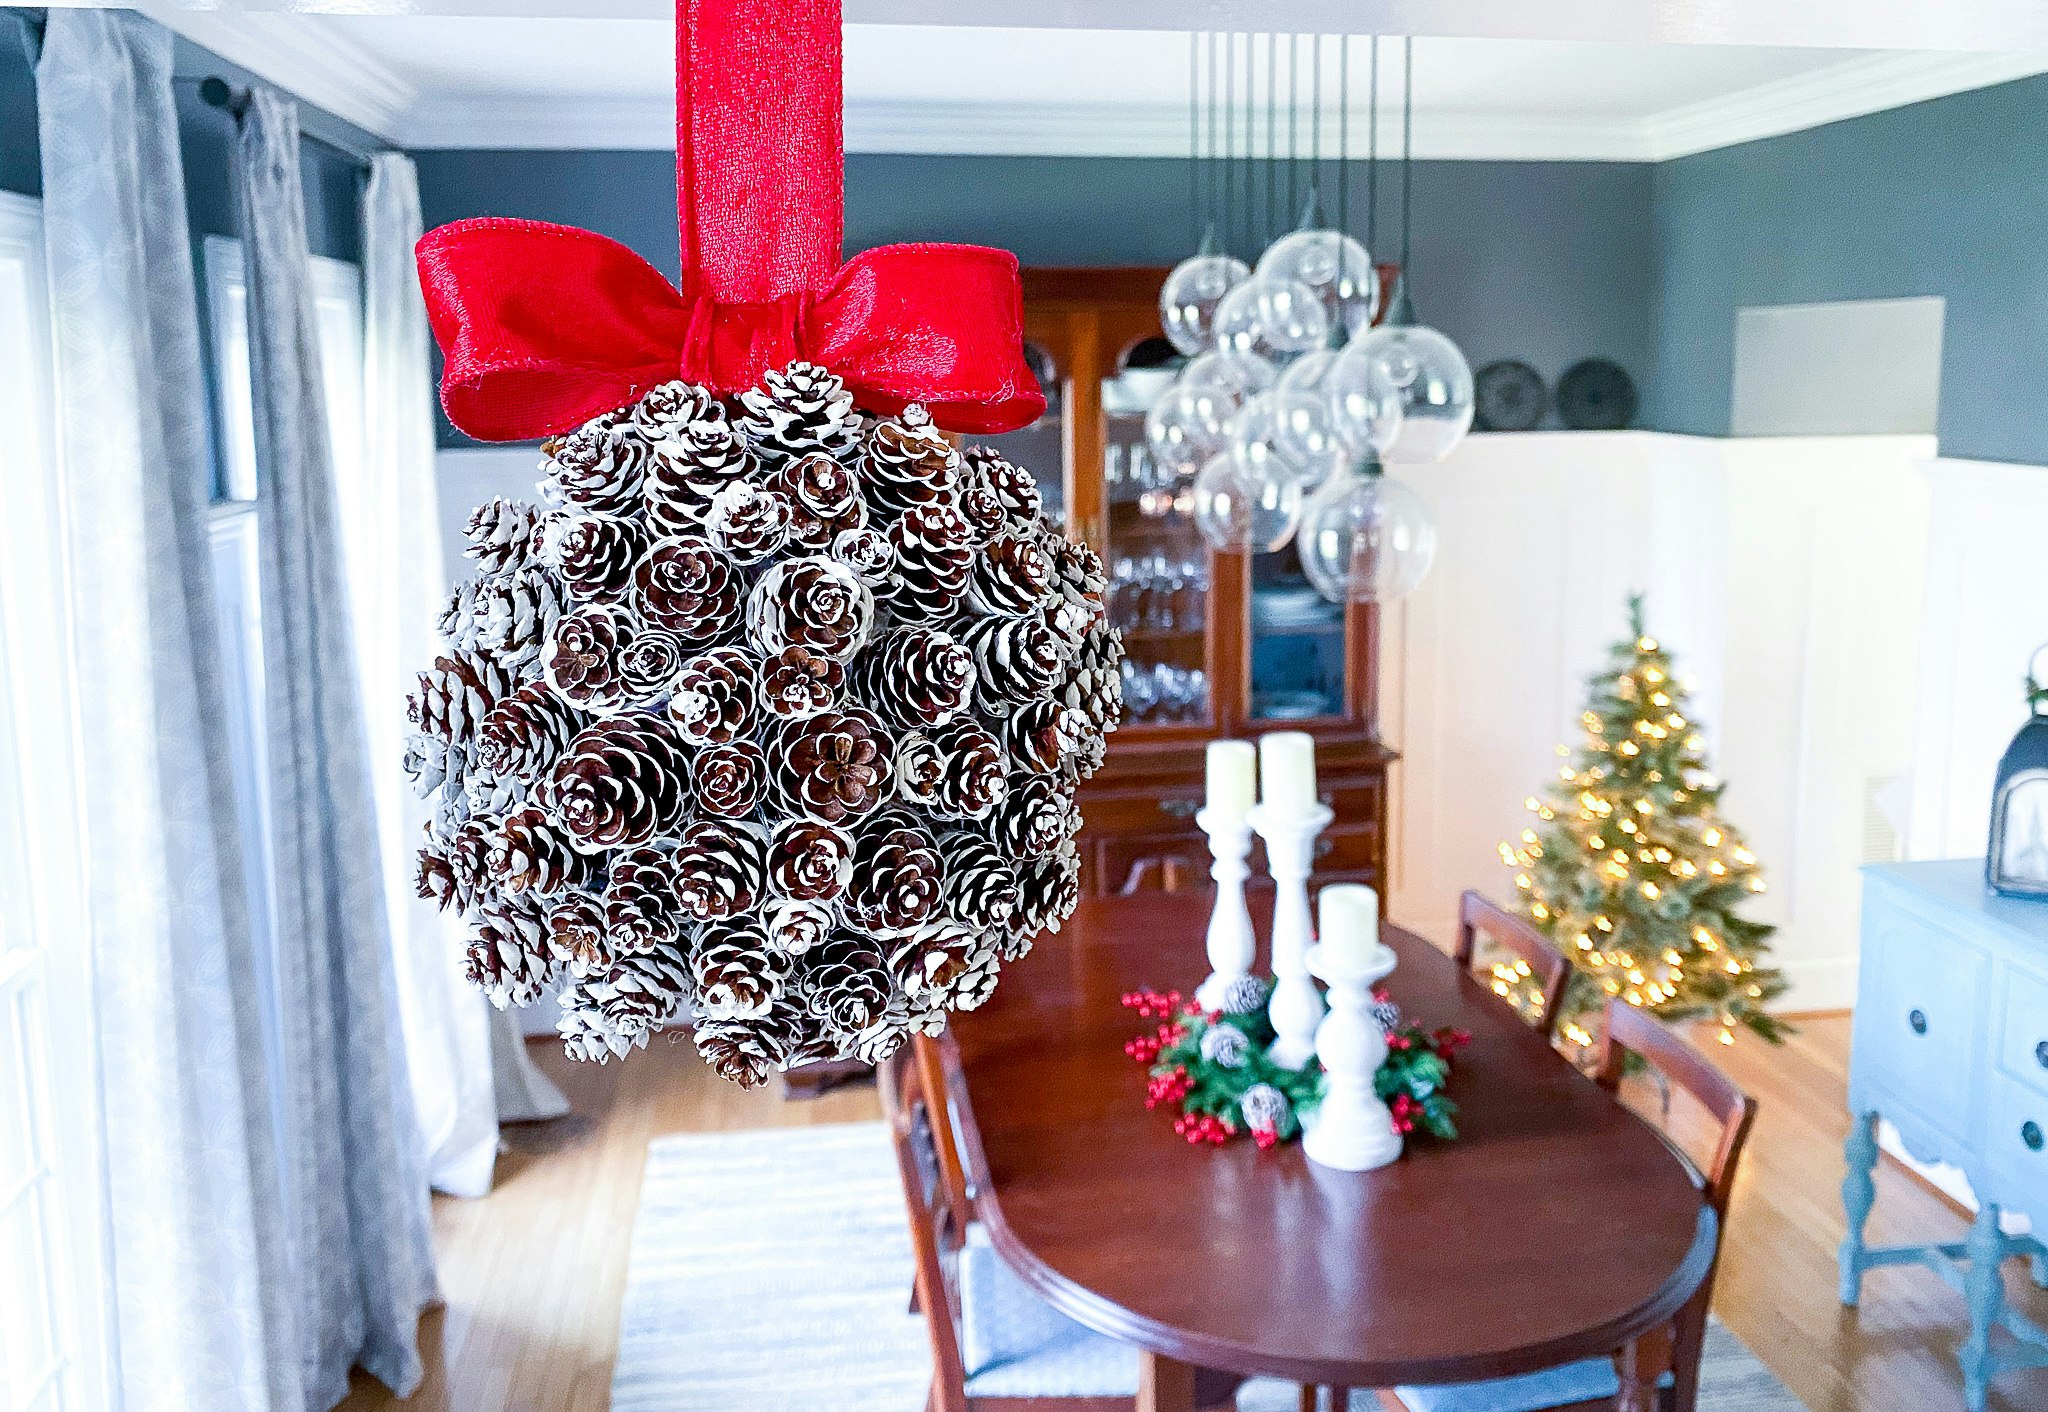
First you need to attach your ribbon to the styrofoam ball. You can do this a few different ways. We cut a long piece of ribbon that was about double the length that we would like the kissing ball to hang down. Then we glued the two ends together to form a giant loop. We then glued that to the styrofoam ball. We didn’t want cut edges to show where we were hanging the kissing ball.

If you are using a larger styrofoam ball you’ll want to wrap the ribbon around the ball to help distribute the weight when hanging it up. You can also cut a longer piece of ribbon and line up the two ends. Fold the ribbon in half lining up the cut ends. Take the folded end and about 6-8 inches from the folded end tie a knot to create a loop and the top. You’ll hang the kissing ball from this loop so if you want it to be higher or lower just keep that in mind when tying your knot. Secure the knot on the styrofoam ball with hot glue and wrap each side of the ribbon around the ball glueing them down as you go until the two ends meet and the opposite end of the ball from your knot.
Adding The Decorations To Your Kissing Ball
Now we need to add the decorations! You can use any size pinecones you have on hand. We did figure out halfway through the project.. of course.. that you get much better coverage with the pine cones if you snap them in half. Then they lay more flat on the pine cone and cover more of the styrofoam up. But depending on the look you’re going for or the size of your pinecones you might not need to or want to do that.
You also might want to spread the pinecones out more if you’re adding faux greenery in between. That version would look really pretty with larger pinecones.
We used smaller pinecones and surrounded the entire ball with them.
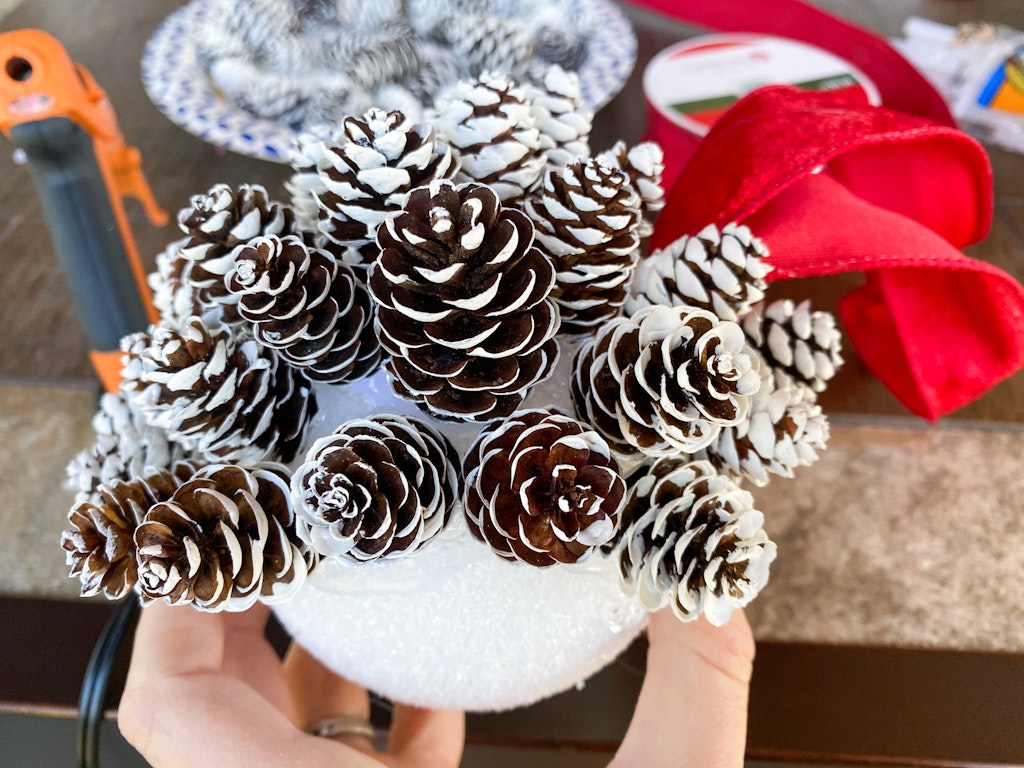
We used smaller pinecones or snipped the top off of larger pinecones to fill in any empty spaces in between. You’ll need to let the glue cool off and harden before you start rotating the ball too much. We had a few pinecones start to slide around while we were working on it so we just held them in place until the glue cooled enough then rotated the ball to continue gluing.
We went through a lot of hot glue so make sure that you have a bunch of extra glue sticks on hand.
If you wrapped the ribbon around the entire ball then leave the two ends hanging and you can tie a bow with them once you’ve covered the ball with pinecones.
Finishing Touches
We added a little ribbon bow to the top of the kissing ball.
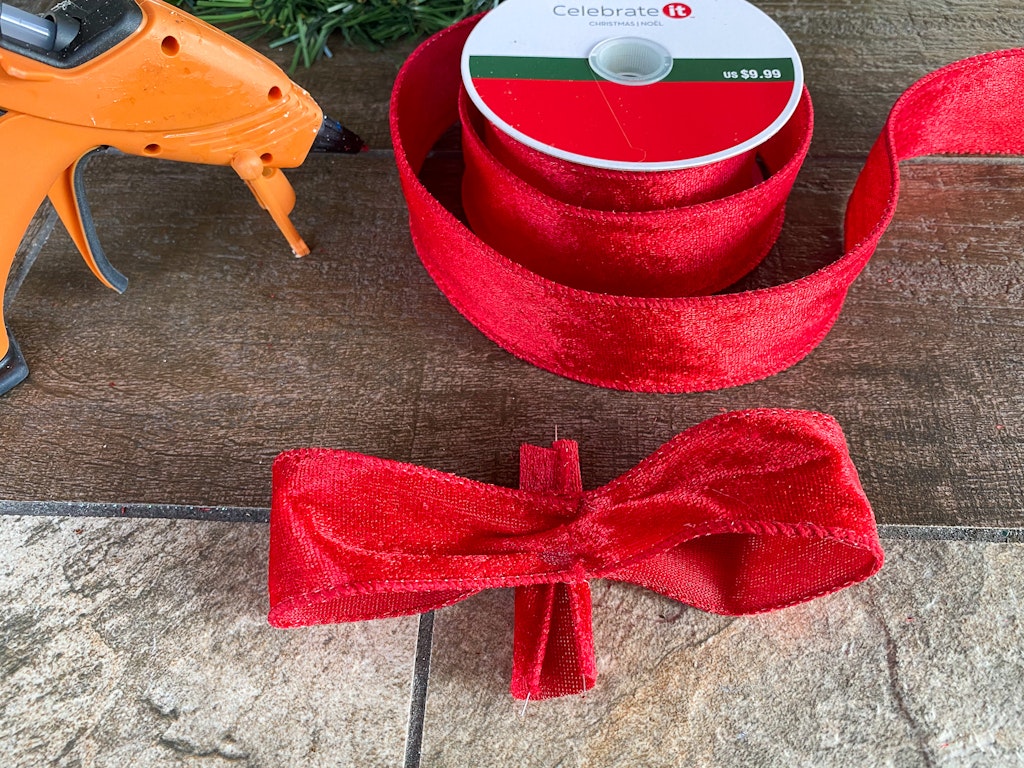
To make our bow we cut a small piece of ribbon and glued the ends together. We rotated the ends to the center and pinched the bow adding a dollop of hot glue to make it stay in place. Cut a tiny section of ribbon and wrap it around the center of your bow and glue the ends together in the back.
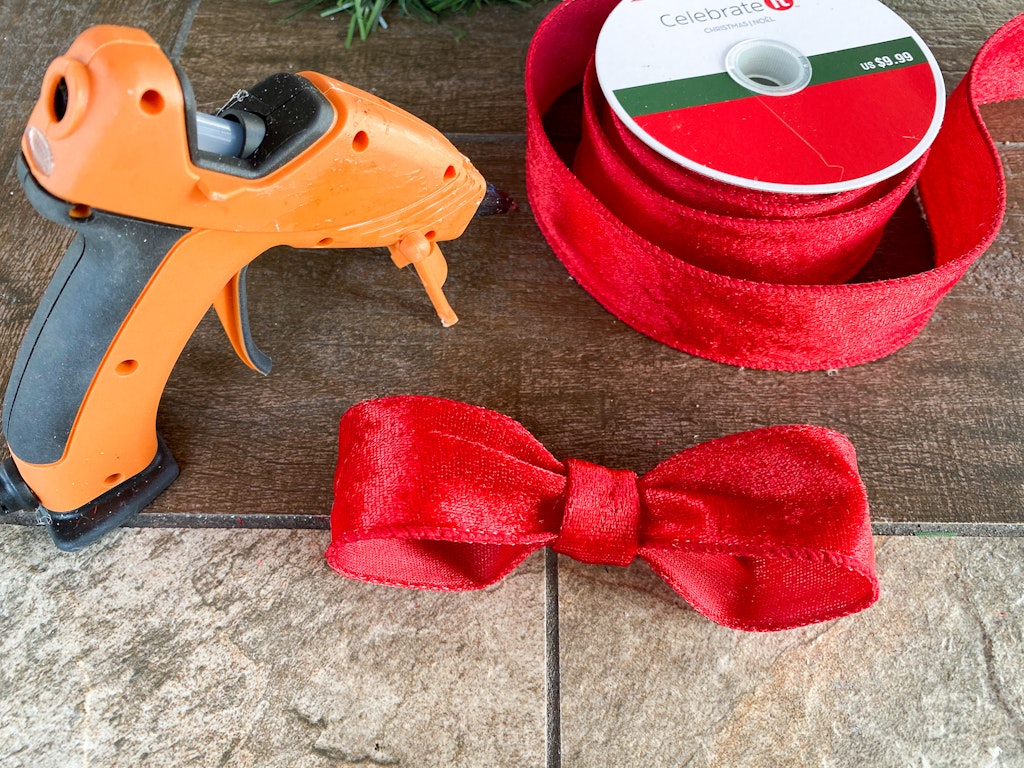
Then glue the finished bow to the top of your kissing ball. And it’s ready to hang up!
If you chose to wrap the ribbon around the styrofoam ball you might want to skip the added top bow and just tie the two loose ends into a pretty bow and trim the ends to your desired length.