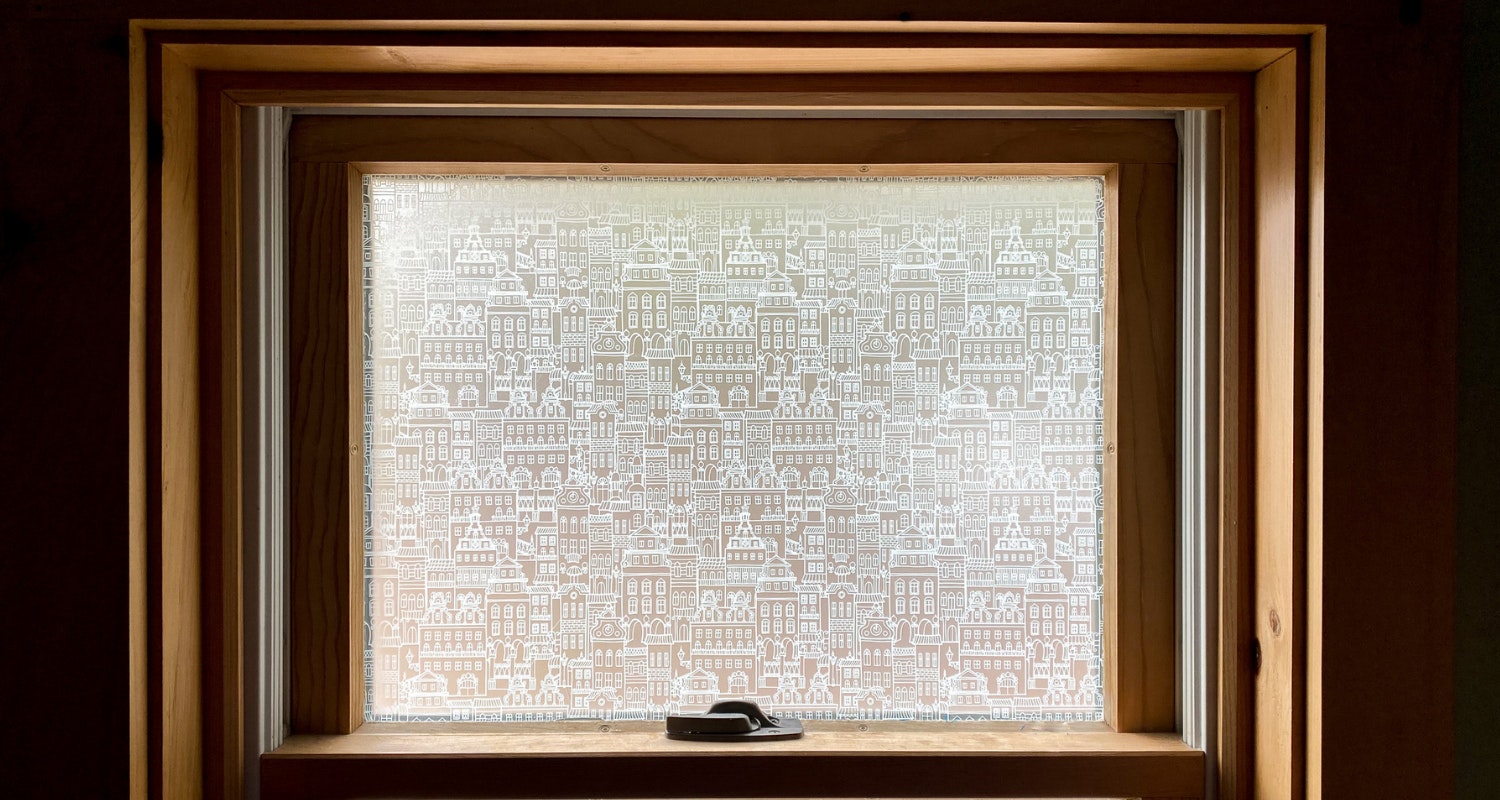
We have a window in our master bathroom at the cabin. It’s great because it lets in beautiful natural light, it is not so great when you’re located within eyeshot of your neighbors and the janky curtains flap open while I’m sitting on the toilet. We wanted a simple solution that allowed the natural light to come in, but also allowed us to not have to worry about taping the curtains to the wall. We decided on adding a privacy film to the window. You can find privacy film at Home Depot or online.
Supplies
- window film
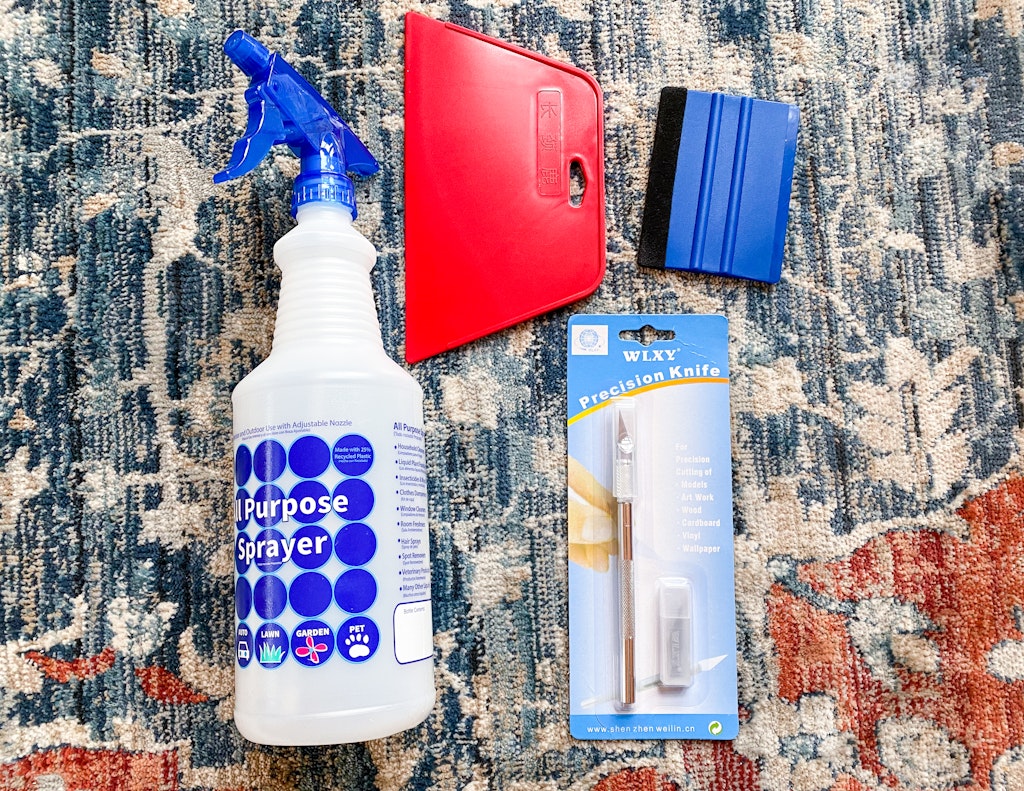
- water bottle, xacto knife, smoothing tool or an application kit
- measuring tape or ruler
- scissors

Solid Privacy Film /Tiled Privacy Film /City Scape Window Film / Peacock Privacy Film / Geo Privacy Film / Fleur Privacy Film
We ordered a film application kit, but you could probably use items from home too. You’ll need a water bottle, xacto knife, and a smoothing tool.
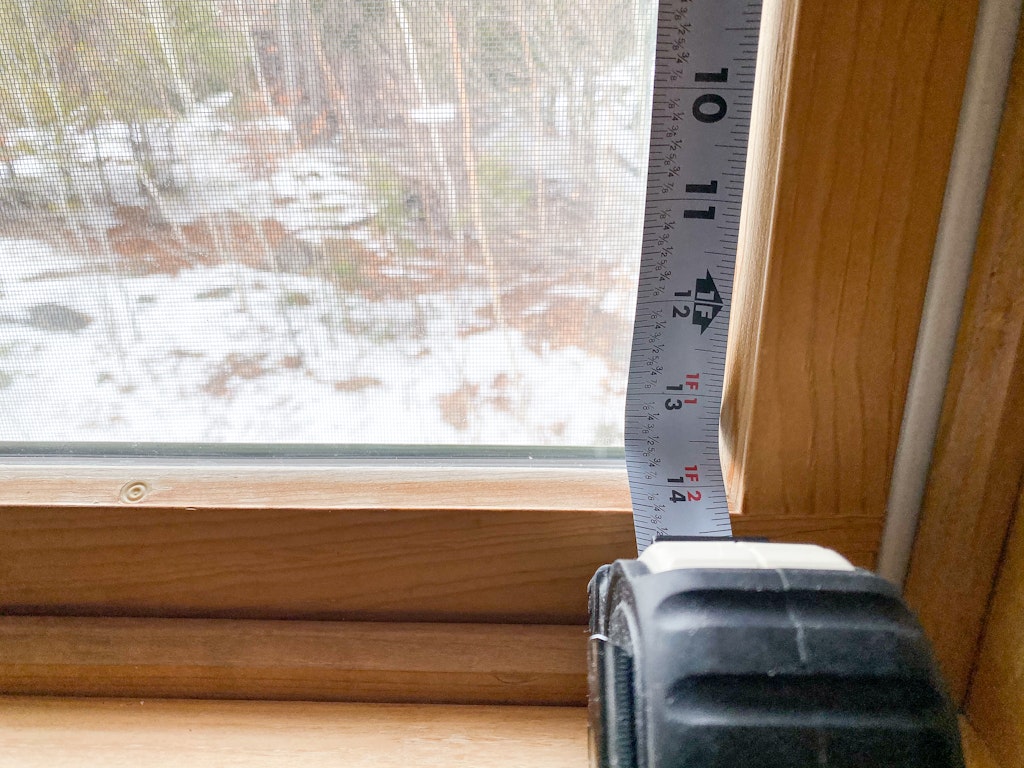
Measure the window opening using your measuring tape or ruler.
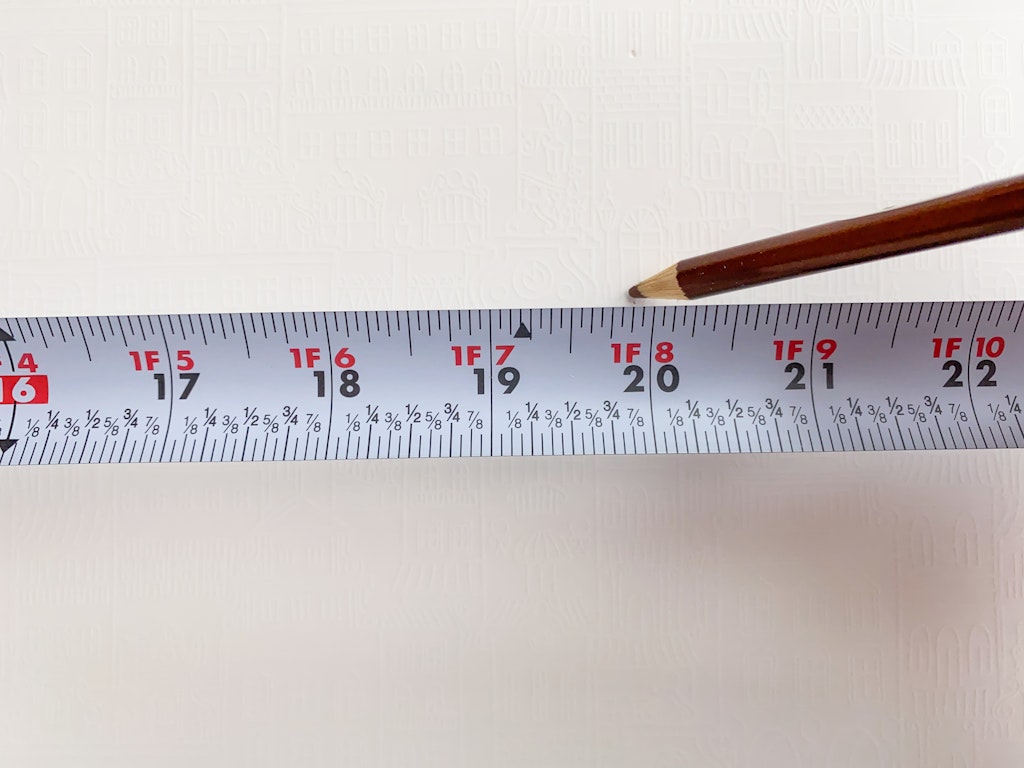
Mark the measurements on your window film for a little longer (approximately an inch larger on each side) than the actual window opening.
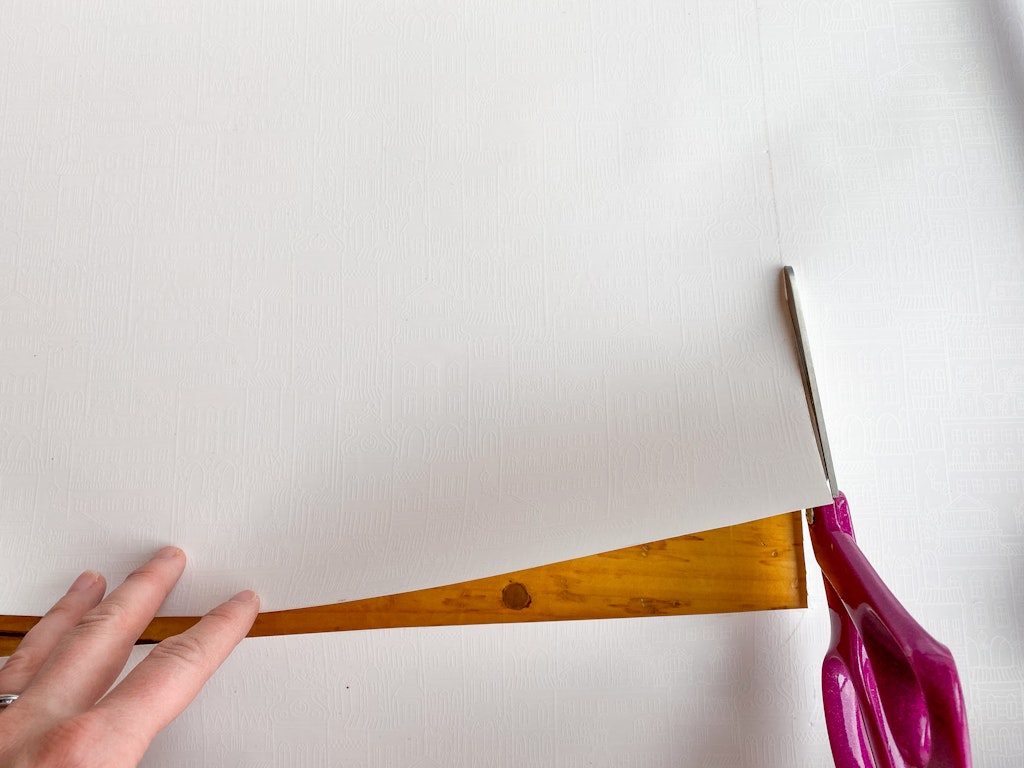
Use scissors to cut out the section of privacy film.
Fill the spray bottle with water and spray the window until it’s dripping wet.
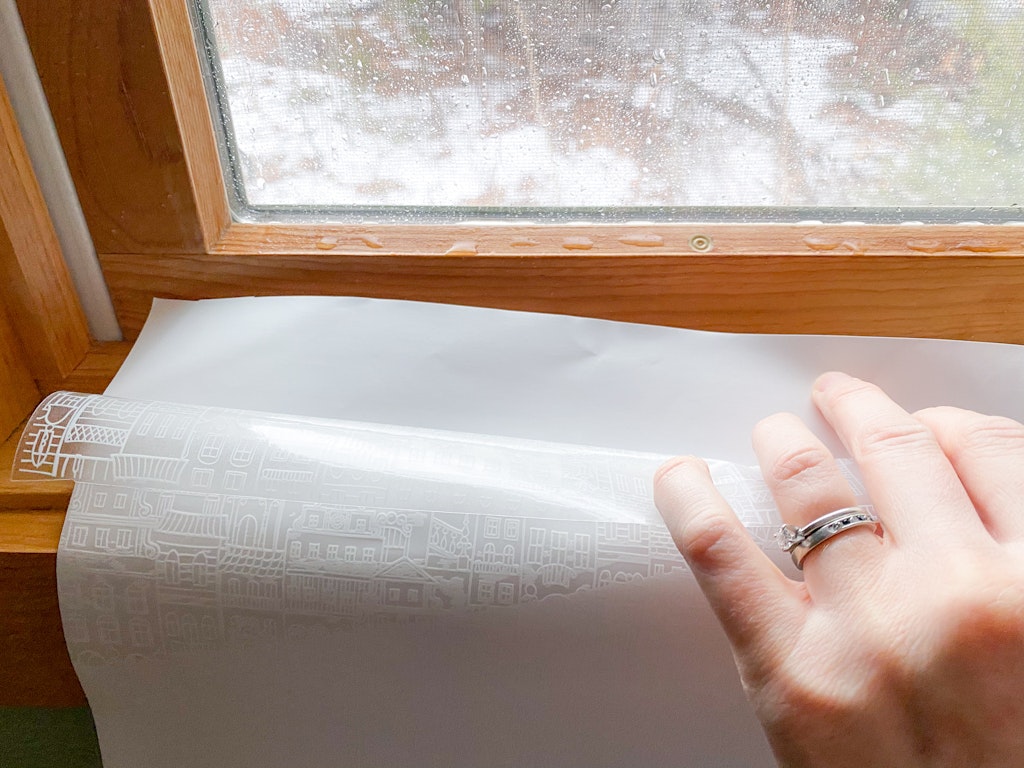
Peel back the backing and place it on the wet window.

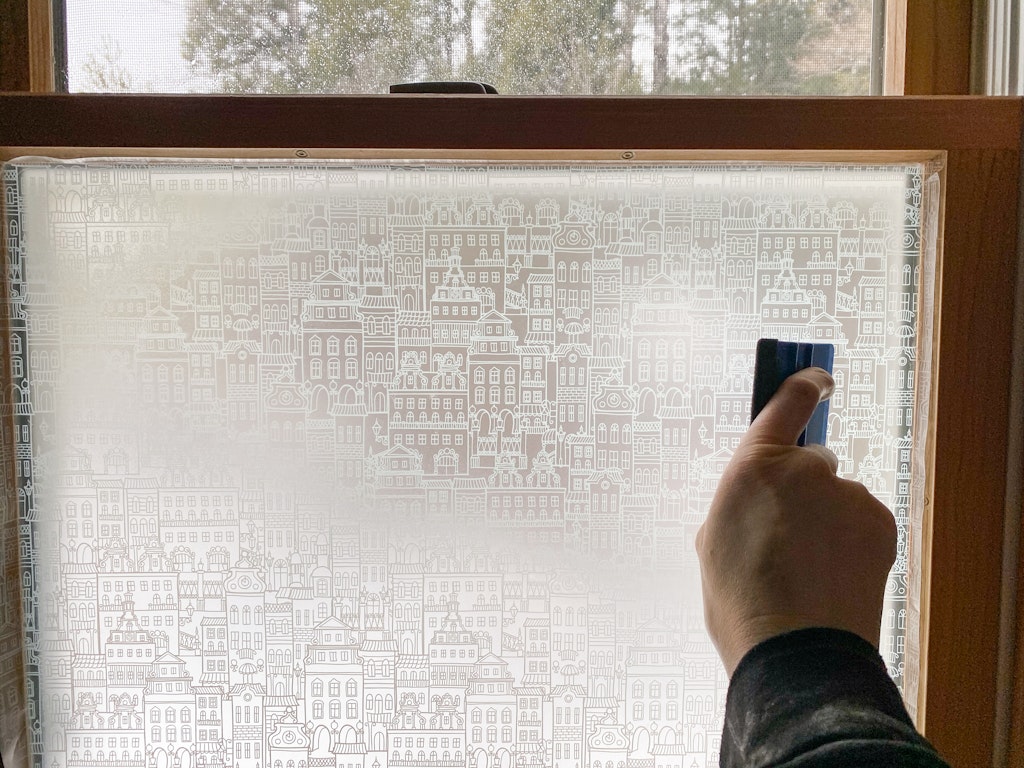
Use the spreading tool to gently smooth out the window film onto the window. Start at the center and work your way out to the edges. We had a few little creases but the busy pattern hides them completely.
Trim the excess edges of the film with your xacto knife. I found it helpful to use the smoothing tool to help guide the knife down the edge. Work slowly. Let it dry and you’re all done!

2 thoughts on “How To Add A Window Privacy Film”