How To Make A Resin Ocean Christmas Ornament
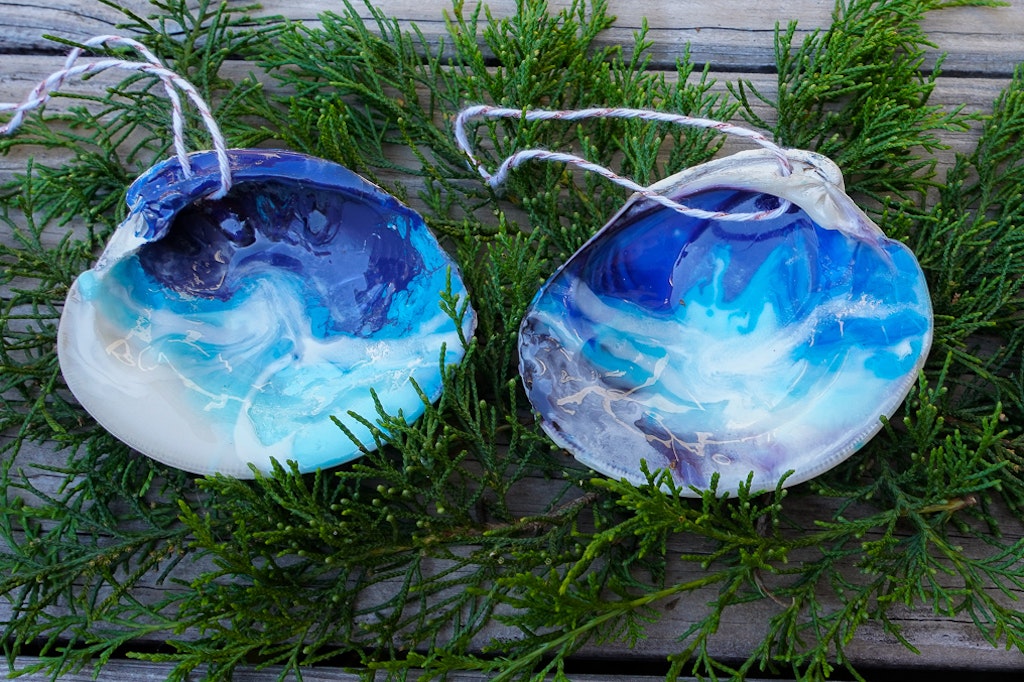
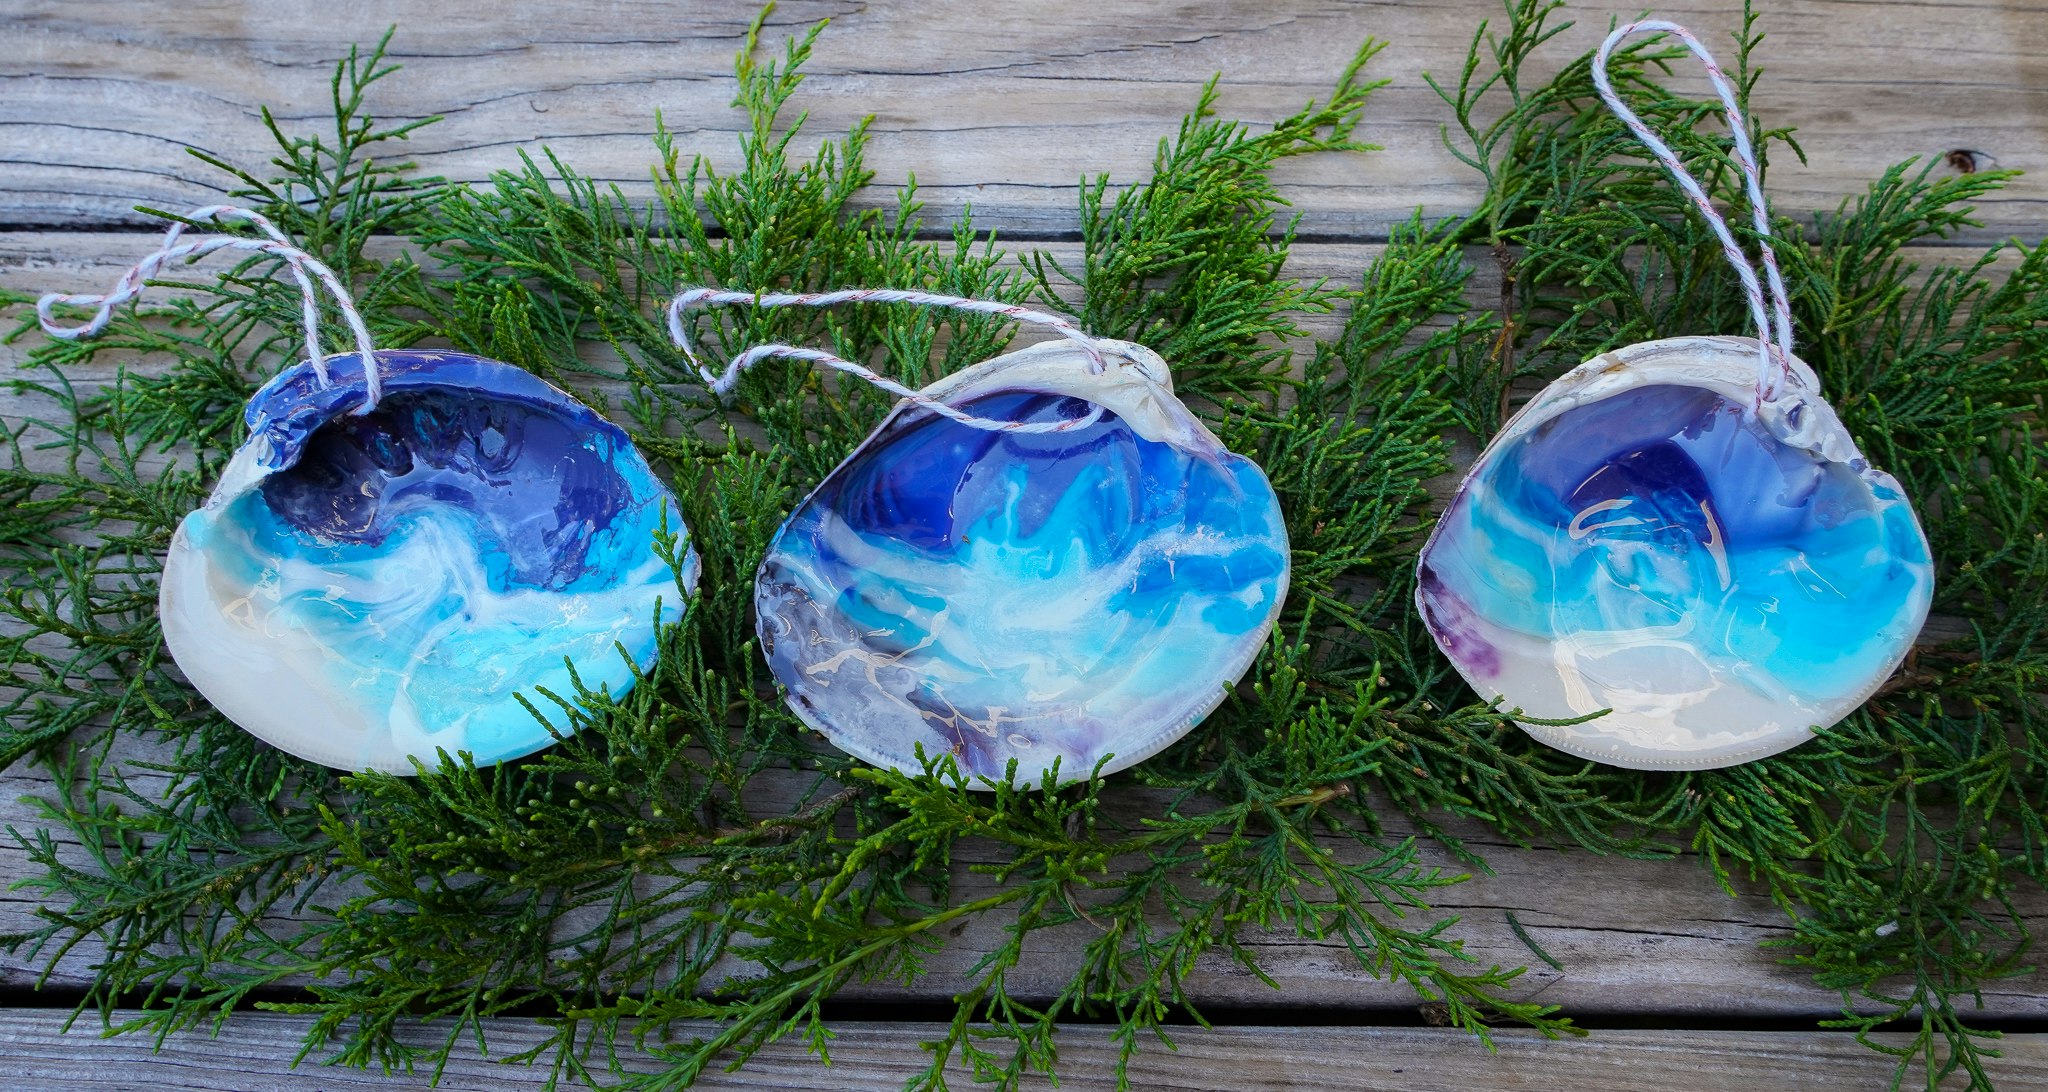
I found these great clam shells at the beach this summer and wanted to make some beach Christmas ornaments to remember our trip.
If you’ve never worked with resin before there are a few things to keep in mind. It’s messy so make sure you are wearing something you don’t mind messing up. Have all of your supplies out and ready before you start because you have a window to work with the resin before it starts to cure.
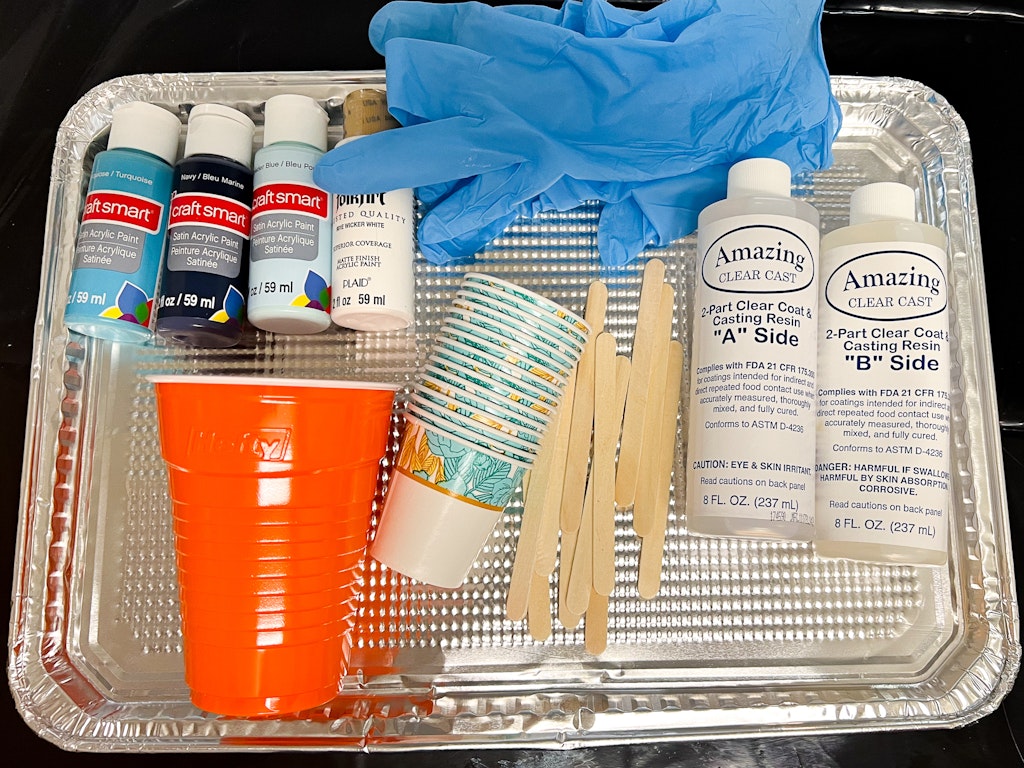
Supplies Needed For Resin Beach Christmas Ornament
- Resin – can find online or at craft stores
- acrylic paint or resin tint
- disposable gloves – multiple pairs (snagged at dollar store)
- popsicle sticks (dollar store)
- small bathroom cups (dollar store)
- drop cloth or garbage bags to cover area
- heat gun, hair dryer or craft torch
- disposable tinfoil trays (dollar store)
- pot holder or heat resistant trivets to set your tinfoil trays on after using heat gun on shells
- you might want pliers to hold shell while using the heat gun. It gets hot!
Prep Your Seashells
If you’re using seashells for this craft like we did, make sure you first clean the shells, then drill holes in the seashells.
Step by step instructions can be found on the blog.
Mixing The Resin
You’ll want to mix equal parts of the A and B side of your resin. We eyeballed it then combined. You could use a kitchen scale if you’re extra fancy.
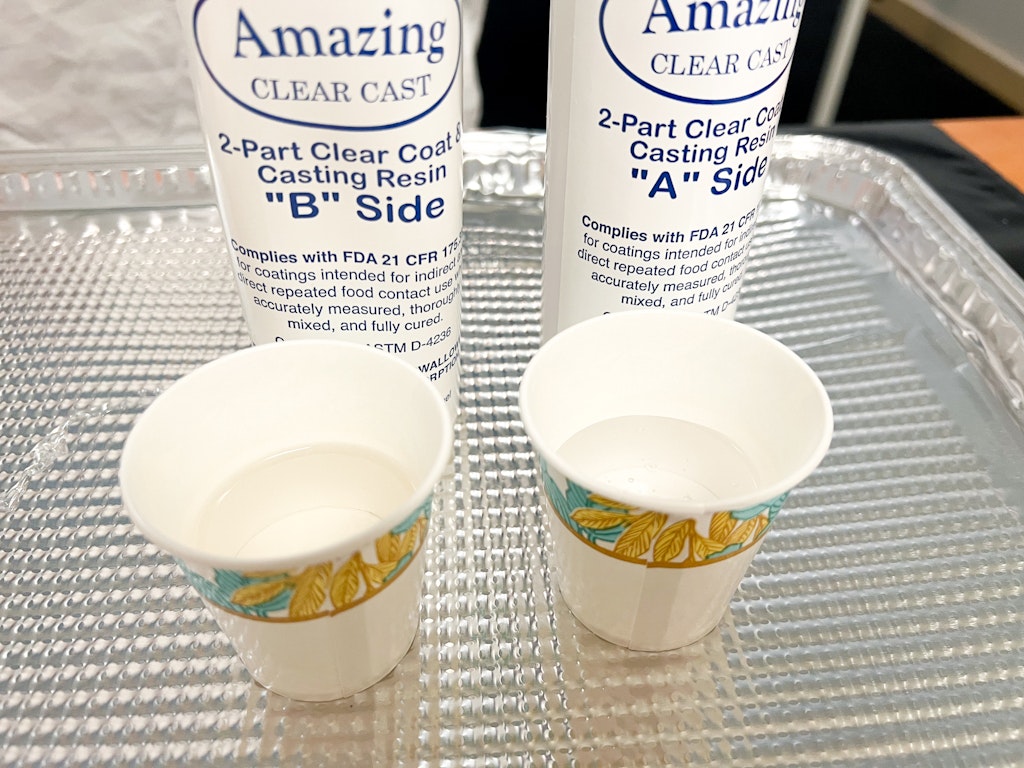
Mix according to package instructions.
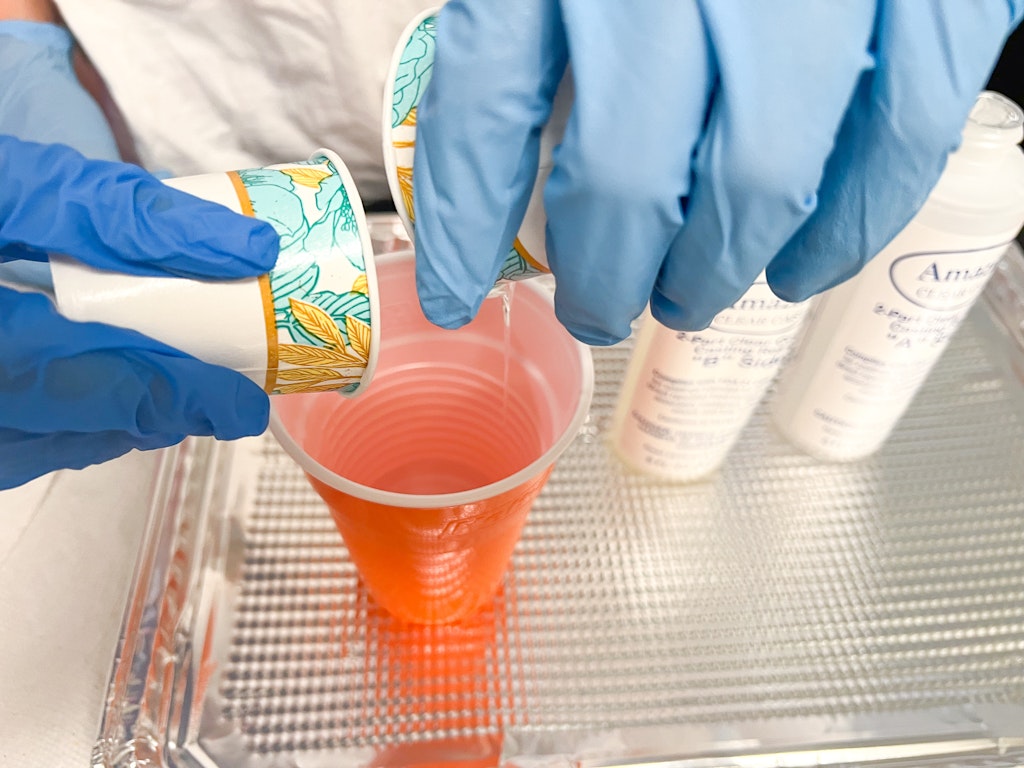
We separated the resin out and added a hint of acrylic paint to each of the cups. You usually don’t want to the combined mixture to contain more than 10% of the color additive or it will throw off the consistency and might not cure.
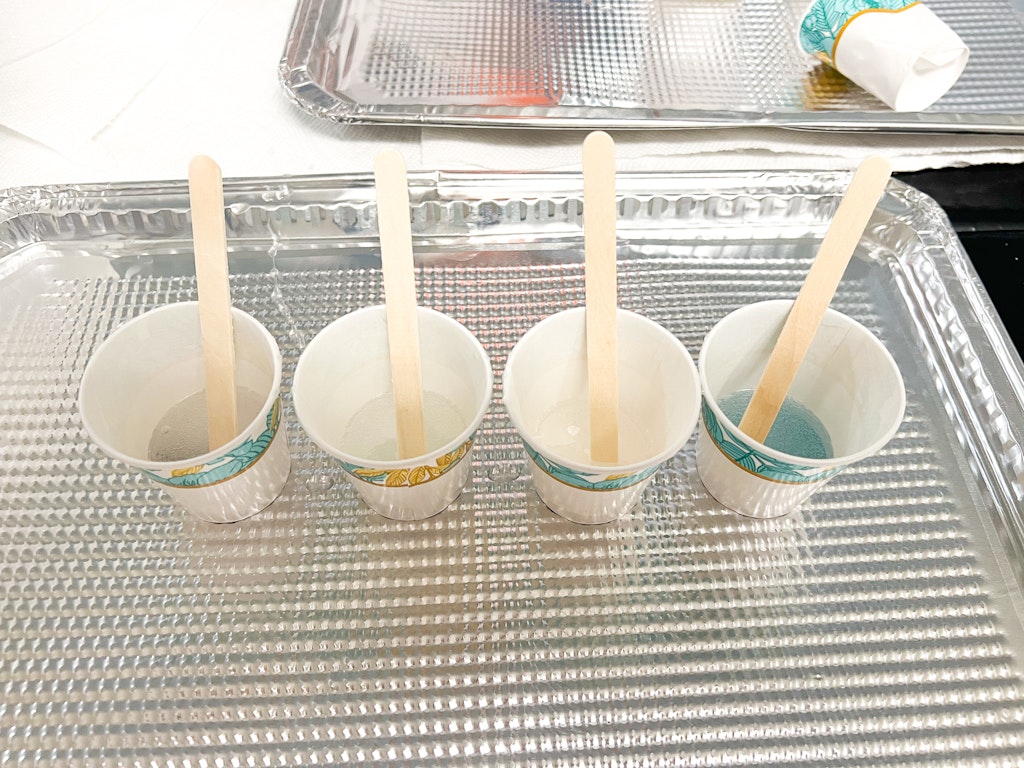
Mix slowly and let it sit for a few minutes so the bubbles will pop.
Build Your Ocean On Your Christmas Beach Ornaments
Start with the darkest blue color and add it to the top of the shell. Then carefully add your next lighter blue color.
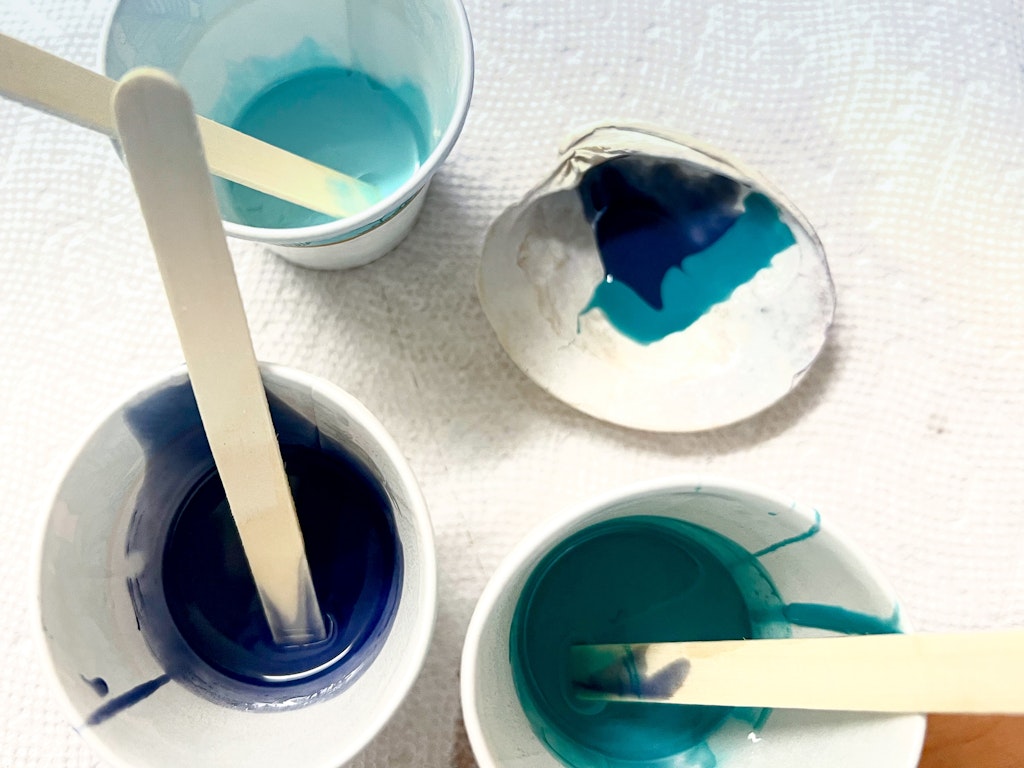
Next add your lightest blue color. Use a popsicle stick to carefully move the layers around and blend slightly.
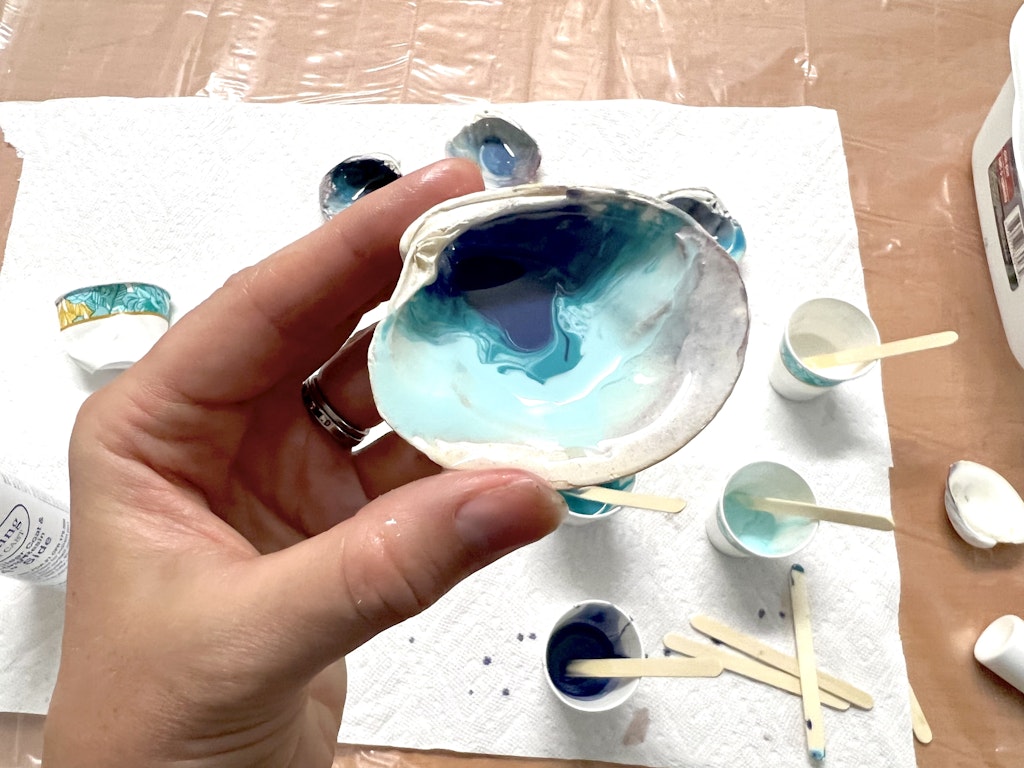
We let this sit overnight. I tried adding the waves directly after this step but ended up blending all of the colors together too much because of my small shell canvas. If you were working with a much larger area you could probably easily add the waves immediately.
Adding Waves To Your Christmas Beach Ornament
We let the shells sit overnight then mixed up another small batch of resin. I added white tint to half of it and kept the rest clear.
Take your white resin and slowly drizzle a line across your water scene to create the wave. I added some clear resin behind the white lines so the white had an easier time gliding around.
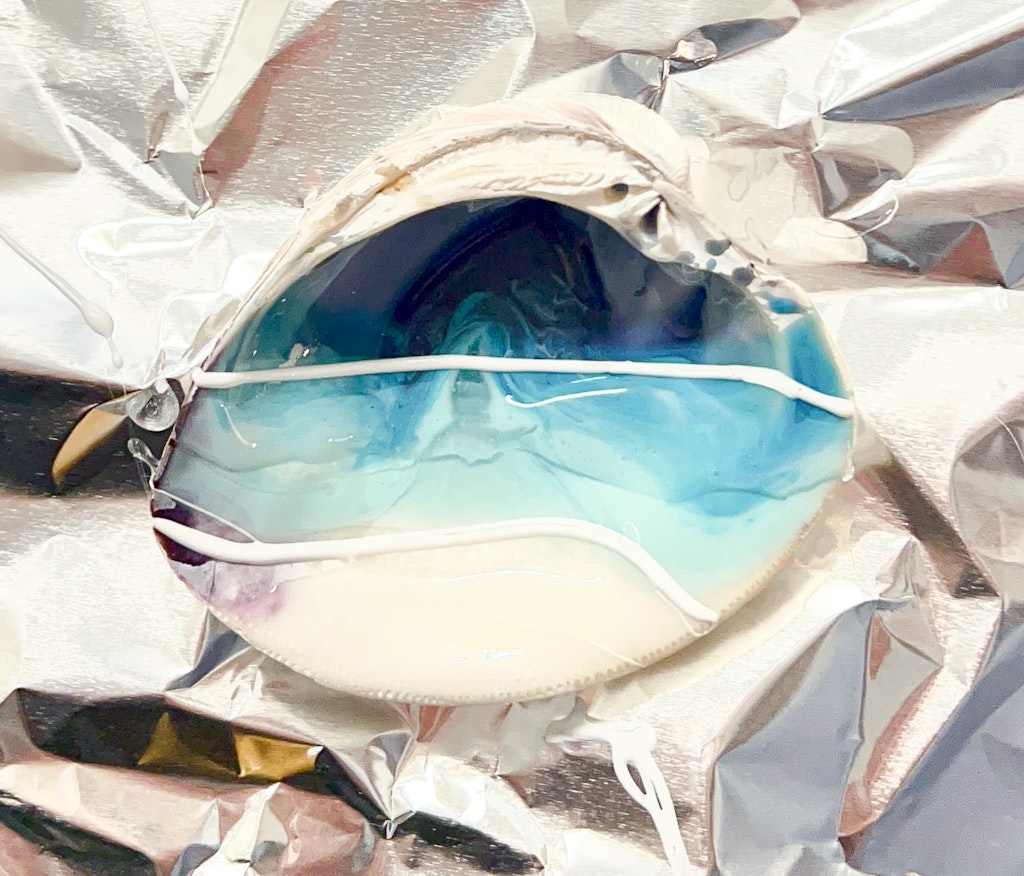
Using your heat gun, hair dryer or craft torch start shooting the hot air toward the white line pushing it slightly back toward the darker blue colors.
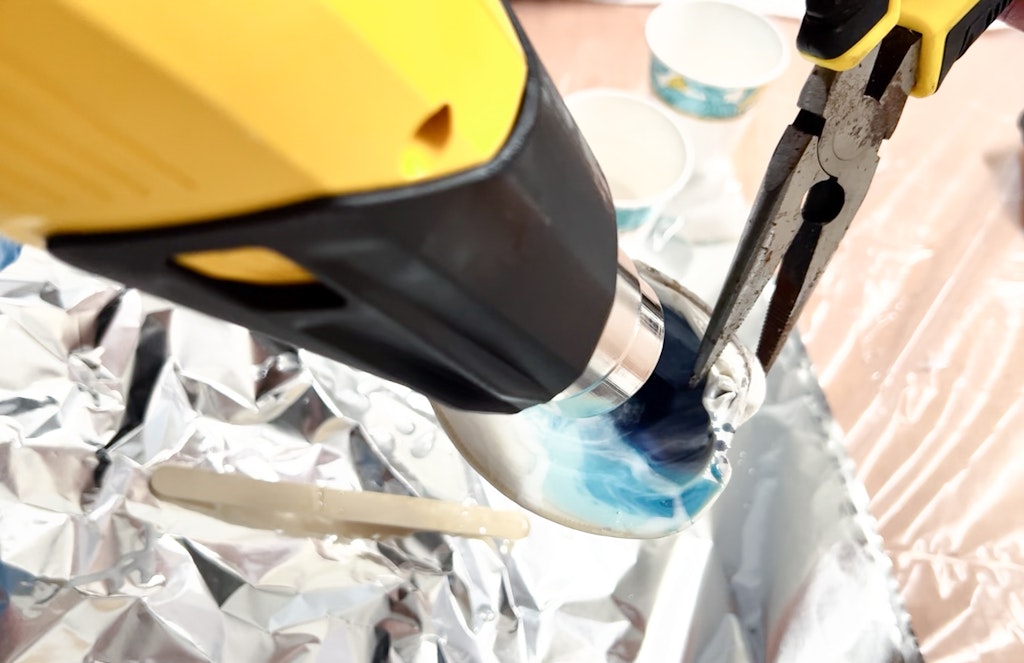
As it heats up the white line will fade around the blue and look more like ocean foam. Be careful not to get the heat gun too close to the resin or for too long it does get hot.
You can add another line of waves and repeat the process.
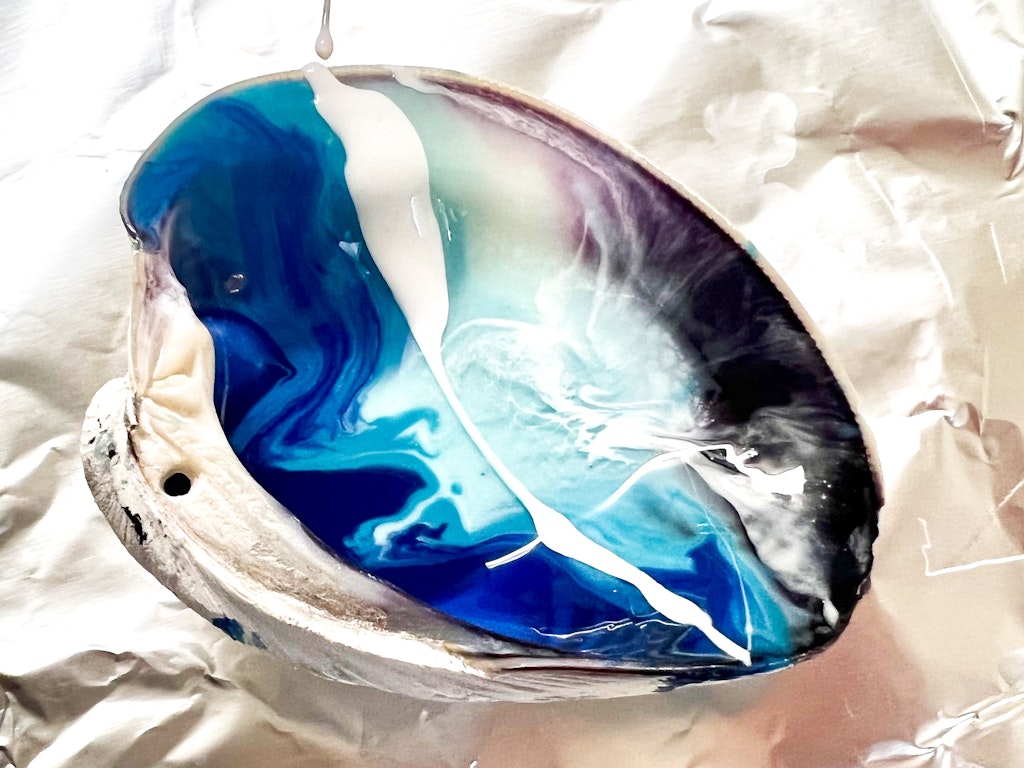
Let the shells cure overnight. I propped them up a bit with extra popsicle sticks while the cured so they laid pretty flat.
Tie on some bakers twine or ribbon and you’re all done with your beach keepsake.
