
Tips on How To Tie Dye
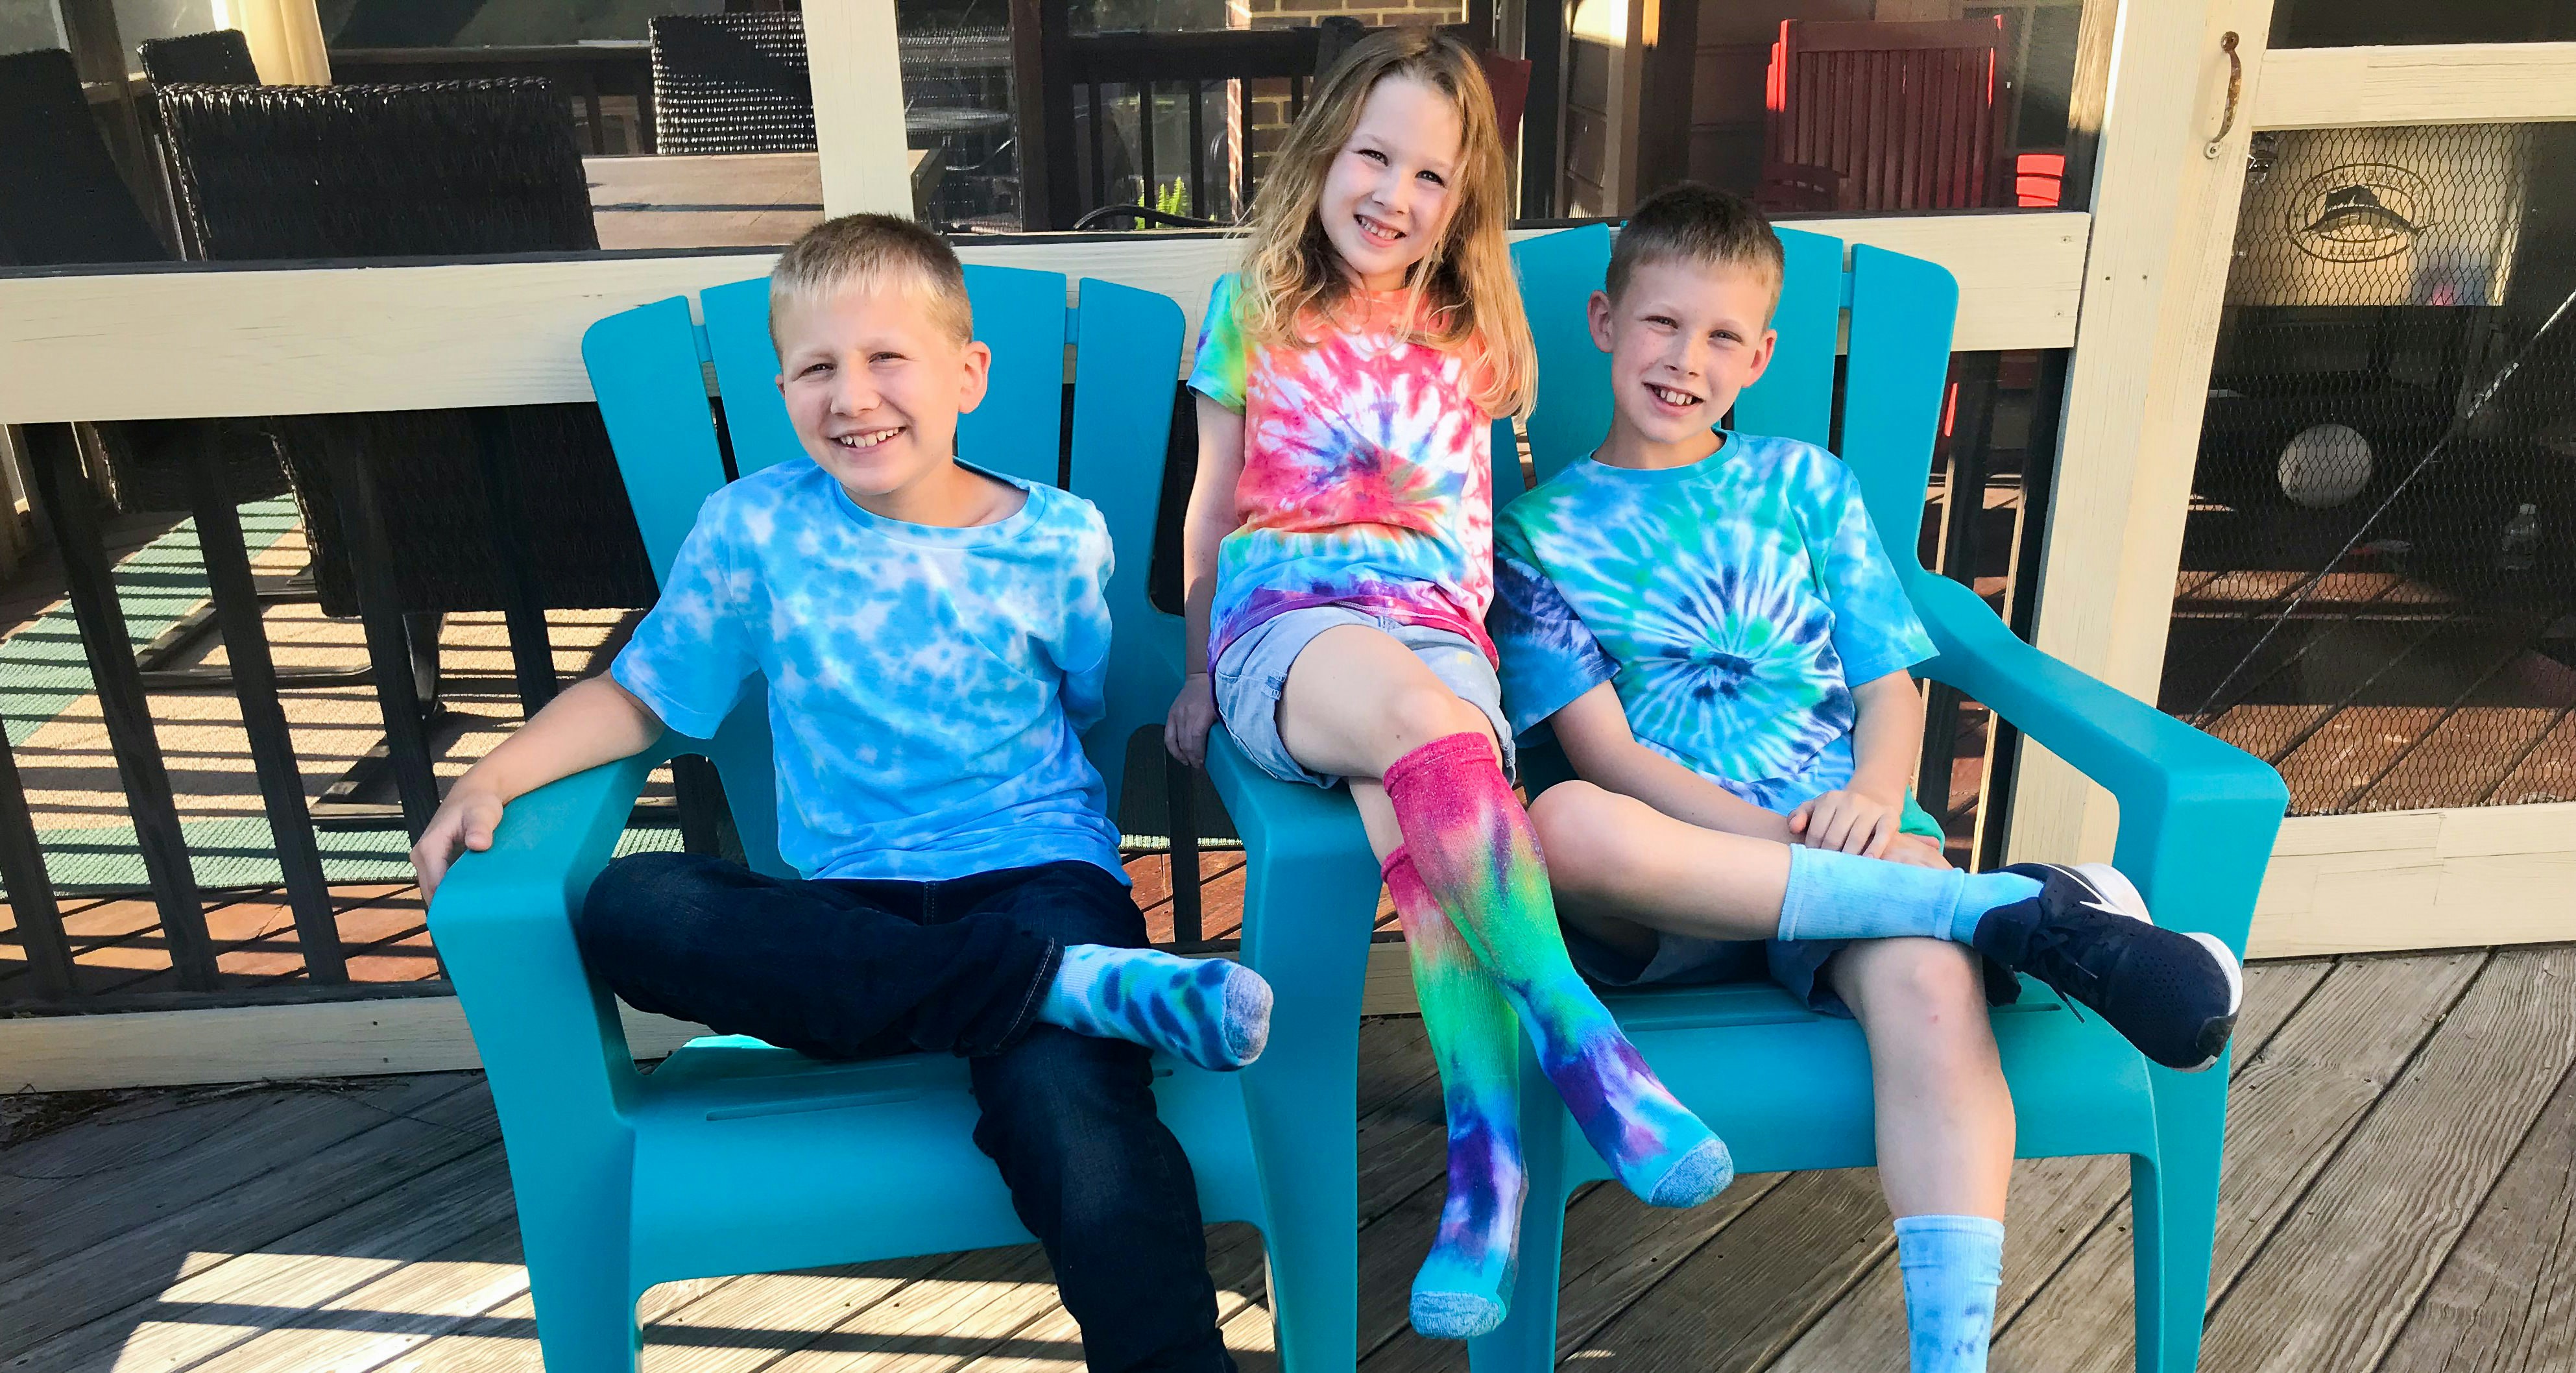
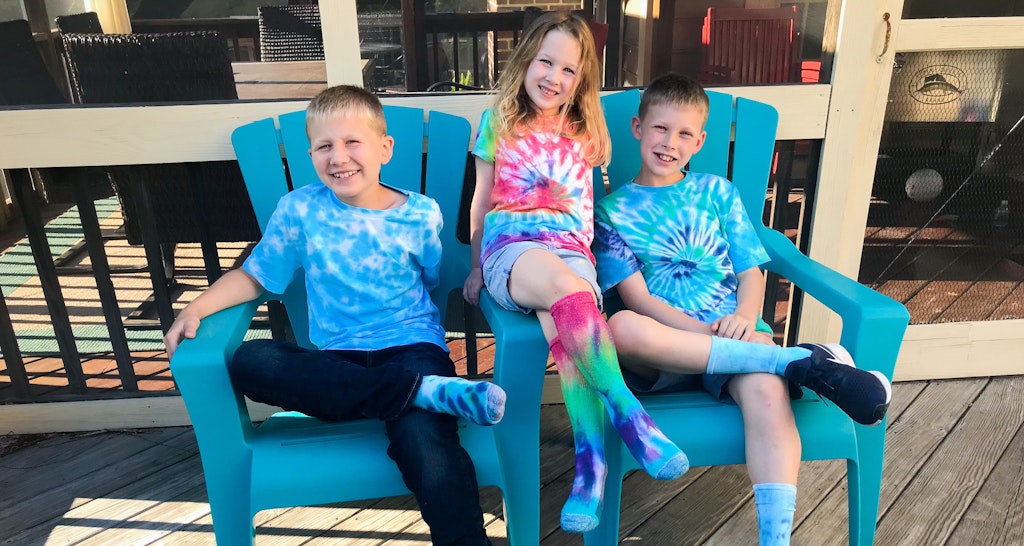
We will walk you through what to purchase and how to set up a tie-dye party for your kids this summer. Our entire family had so much fun tie-dying that we are heading back out for more dye today. I’ve always been so intimidated by the possible mess of tie-dying that i never tried it. It’s really not that bad ya’ll. If you take a little extra time to set it up correctly then you’ll be able to focus of the fun and creativity and not stress about the mess. My kids were so excited to wear their socks and shirts that they put them on the minute that they came out of the dryer.
There are a bunch of different tie dye kits available. We chose the Tulip Tie-Dye kit. We saw this kit every where at craft stores, Walmart and on Amazon.
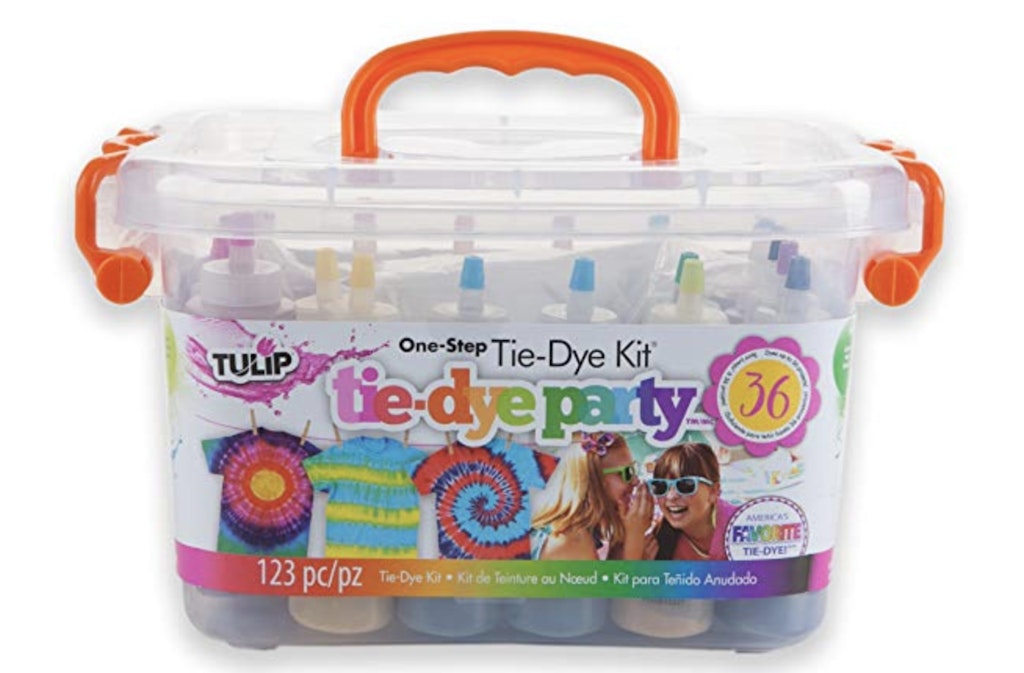
The Tulip Tie-Dye Party Kit comes with 18 dye bottles, rubber bands, small drop cloth and a few pairs of gloves. We purchased additional gloves at the dollar store for each person dyeing fabric. The ones that come with the kit tend to rip easily. We also taped down the drop cloth that came with the kit onto a larger drop cloth that covered our entire work area.
Tie-Dye Supplies (Most of these items can be picked up at the dollar store)
– Gloves
– Pitcher for easily filling up dye containers
– Cooling Racks
– Plastic Tubs
– Plastic wrap or Ziplock bags
– Paper Towels
– Trash Bag
– White Vinegar
– Salt
– Tarp or Drop cloth
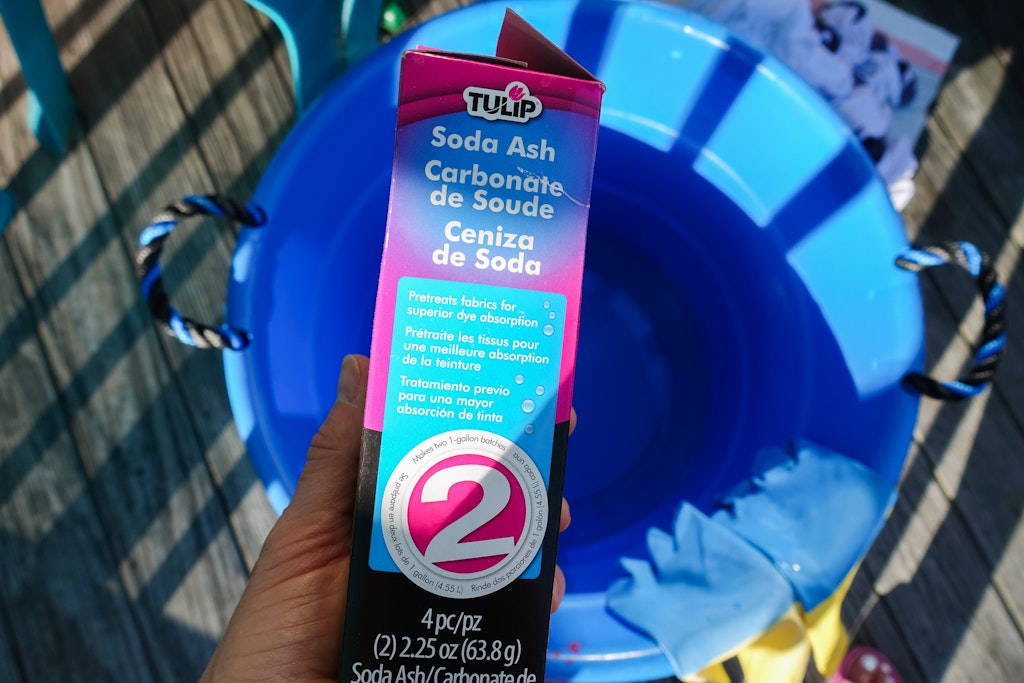
– Soda Ash (for pre treating fabrics available online, Walmart and craft stores)
– dye – Tulip Tie-Dye Party Kit these kits are available at Walmart, Amazon, Michaels, etc.
– Clothing items to dye (we picked up these socks and shirts from Walmart)
Step 1
Prewash all of the items you plan on dying in your washing machine. We just ran them with regular detergent on the quick wash cycle.
Step 2
Wearing a pair of gloves, fill up a big tub or bucket with your soda ash mixture and water according to the package directions. Soak items for about 20 minutes. This box contained two packages of soda wash and yielded 4 gallons of water to treat the things you plan on dying. The soda wash helps the fabric absorb the colors and retain their bright colors.
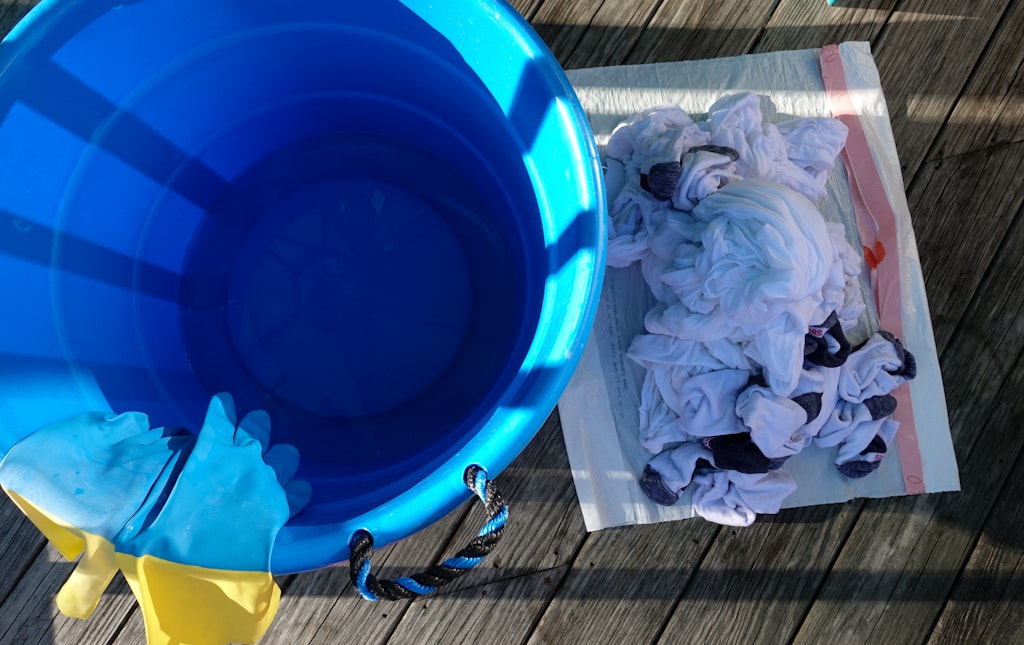
Step 3
Wring out all water from the clothing as best your can. We laid them out on an extra garbage bag to easily grab from.
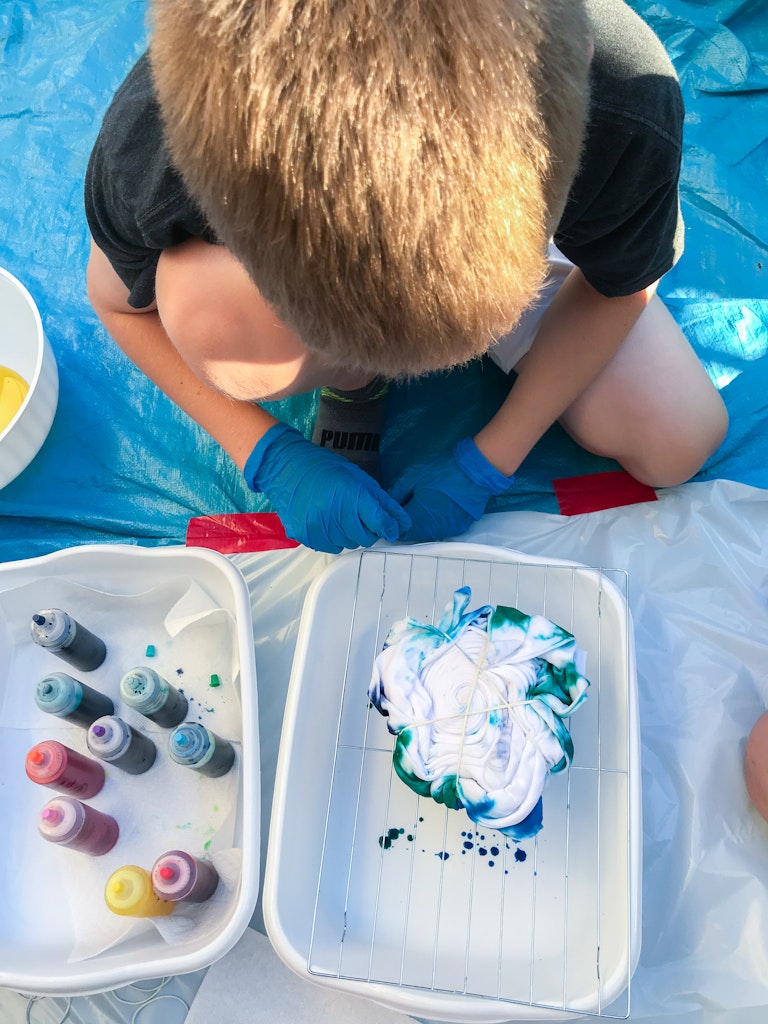
Step 4
Set up your work area. We had a large tarp that we put out on your deck. We then taped down the small drop-cloth that came with the kit to the tarp to use when laying out the shirts to get them into their twisted shape and rubber banded prior to dying. you can tape down a couple of trash bags to the drop cloth or tarp if you want a few different areas to twist the clothing.
Make sure that you have all of your supplies that you’ll need on your tarp or drop cloth. Paper towels, full pitcher of water, gloves, plastic bins, cooling racks etc. This makes it so much easier.
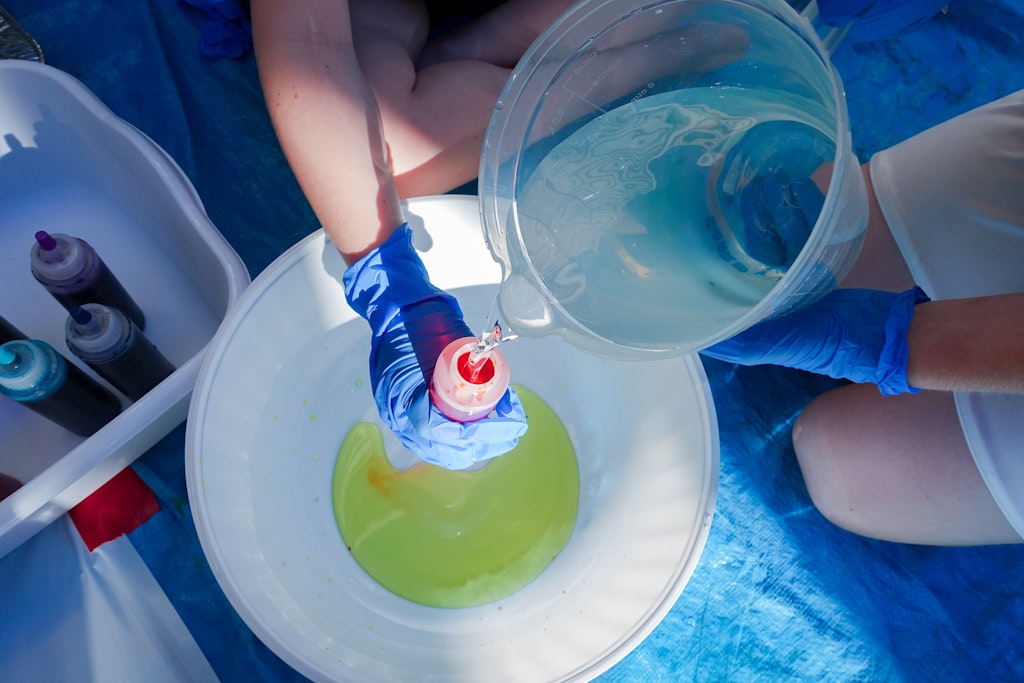
Step 5
Wearing gloves so you don’t dye your fingers, add water to the fill line of each of the dye containers. Securely close them and shake them up until all of the powder has been completely dissolved. We picked up a few of these big plastic bins and bowls from the dollar store. The water pitcher is also from the dollar store. It was so convenient having them to keep the mess at bay and let everyone have their own workspace.
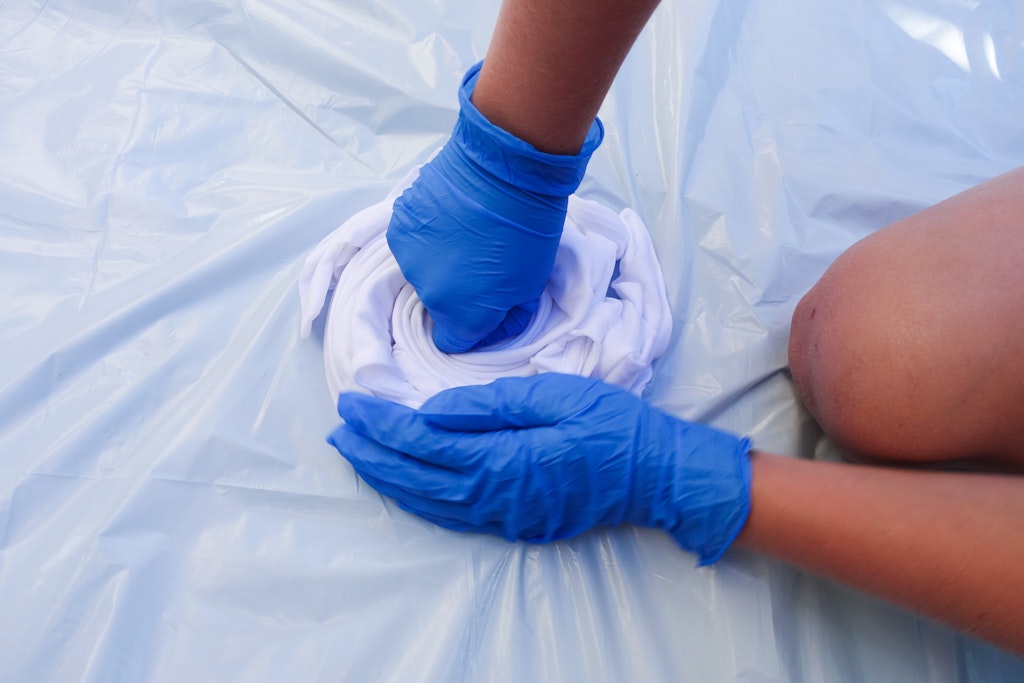
Step 6
Lay out your shirt on your drop cloth. For the traditional spiral tie-dye look pinch the center of the shirt (or wherever you would like the center of the spiral) and twist the shirt around in a circle. Place rubber bands around the shirt to keep it together in that shape.
Step 7
We placed a dollar store cooling rack (two in a pack for a dollar!) on top of a dollar store plastic bin. This way the shirt, socks, tote bag, whatever, could sit on top of the cooling rack and wouldn’t sit in the puddles of dripping dye, especially when you have to flip the shirt over to dye the other side. You can absolutely do this step without these supplies. Just have a trash bag down and some paper towels handy to mop up the extra dye after so it won’t transfer to the other side or to your next project.

Step 8
Applying the dye. There is no exact science hahahha. We did find tho when our 6 year old applied a boat load of dye the colors tended to look a little more crazy in the finished product. Go figure. Our favorite finished shirts we used the pizza method. Applying pizza slice shape sections of dye in a circle around the shirt.
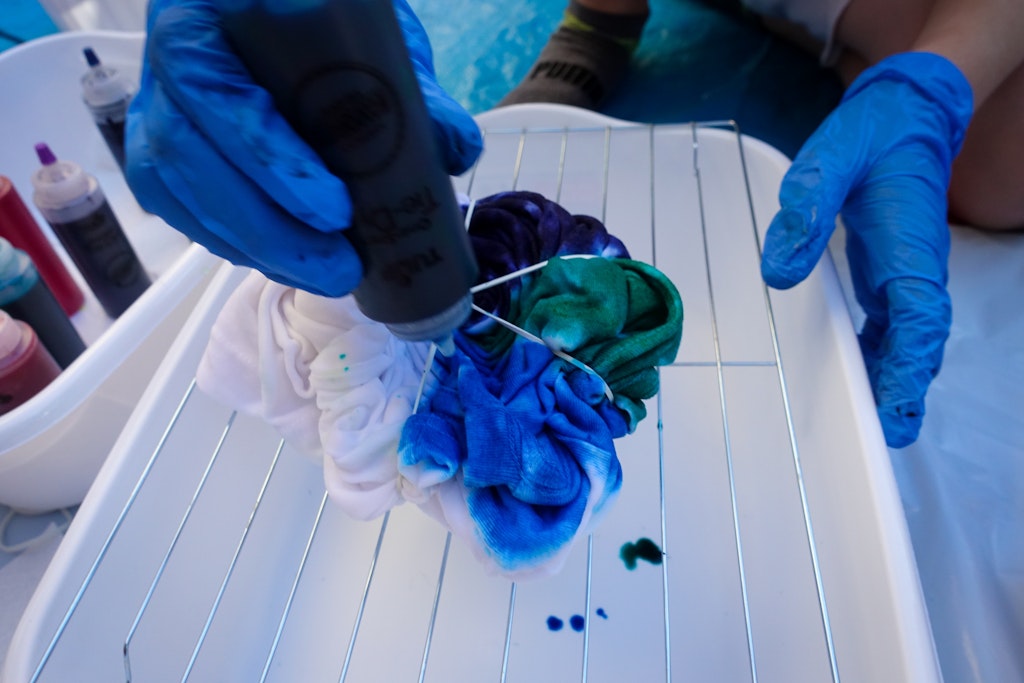
We used three different colors on this shirt and repeated the the colors twice. Dark blue, green, light blue, dark blue, green, light blue. Trying to keep the sections kind of similar.
Step 9
Flip the shirt over and try to repeat the same pattern on the other side … or don’t totally up to you. 🙂
Step 10
Once all of the dye is on the shirt, socks etc. either wrap it in plastic wrap or place it in a resealable plastic bag. We wrapped ours in Saran wrap until they looked like little mummies, but i think zip lock bags would be way easier .
Clean off your work area and your gloves with paper towels before working on the next item. this is where multiple pairs of gloves comes in handy so the greens and blues don’t get on your pinks and yellows and reds.
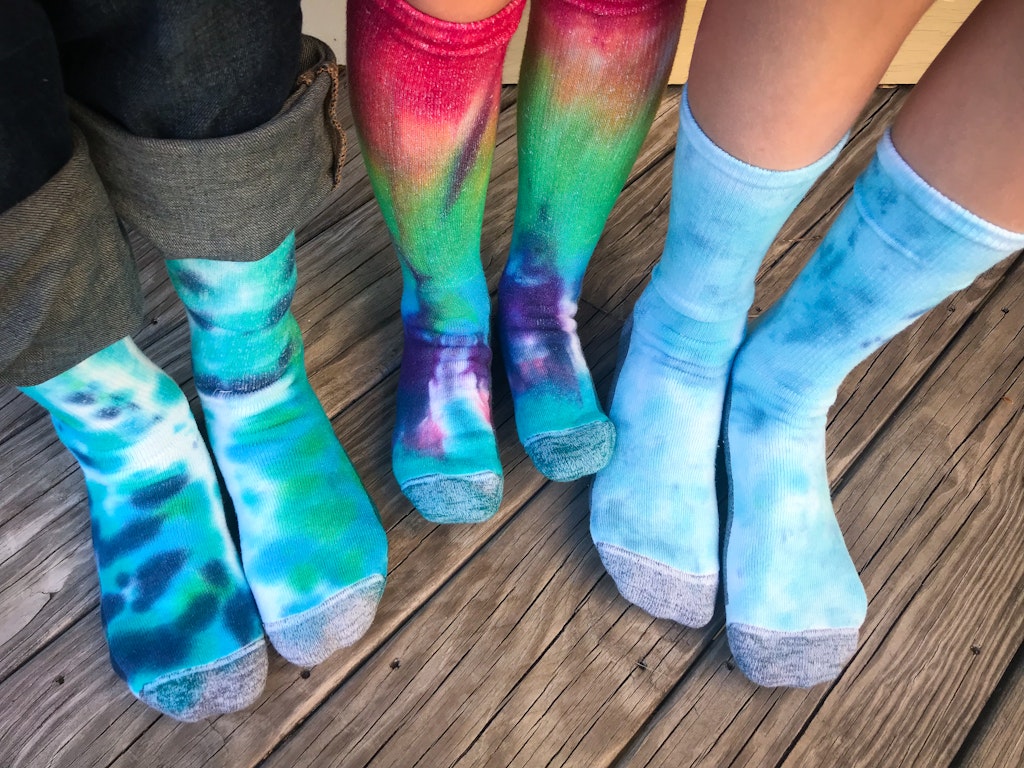
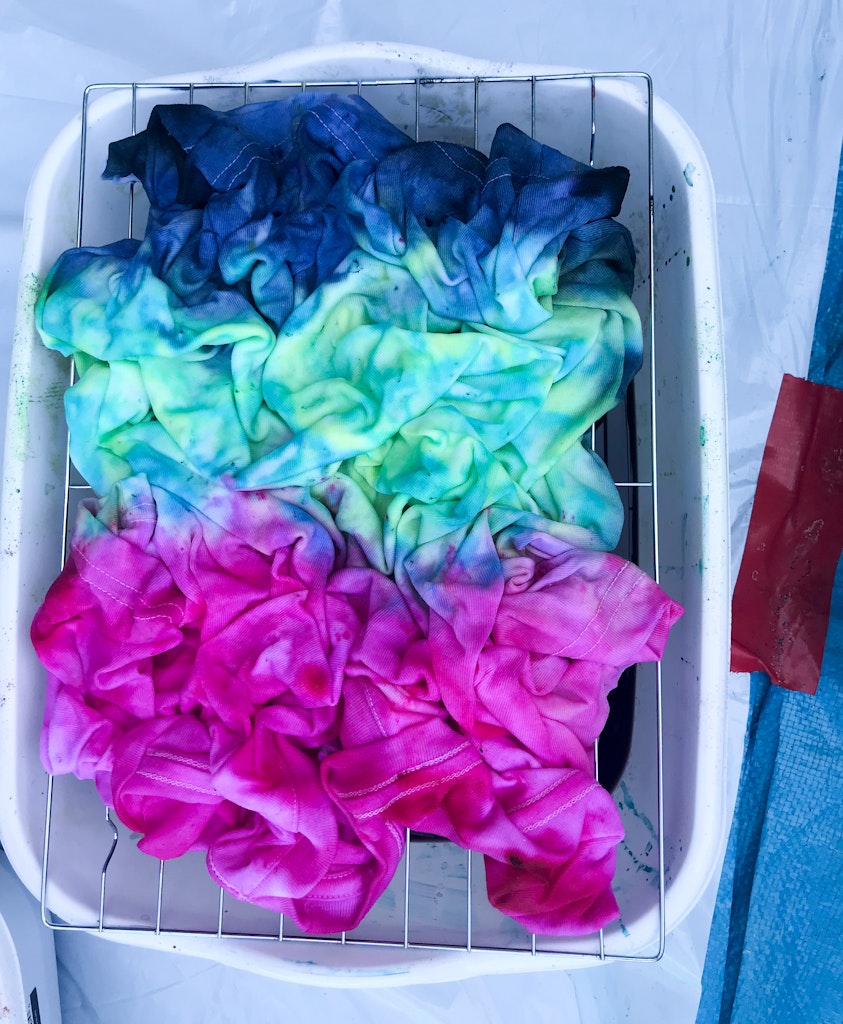
My kids loved trying out different techniques. Especially on their socks.
In addition to the traditional swirl pattern we tried the crumble pattern where you lay out the shirt and just kind of crumble it up and place the dye around. This is how they did some of the socks since they where difficult to twist.
Step 11
Let the tie dyed items sit anywhere from 6-8 hours to overnight. If you’re working outside make sure that you check the forecast. You don’t want any rain in sight.

Step 12
After the shirts are done curing, you’ll need to rinse out all of the extra dye. Wearing gloves carefully remove the plastic wrap or plastic bag and rinse the shirt in cold water. I would not advise doing this in your nice white bathtub or bathroom sink. The dye from the shirts could possibly dye your tub/sink. We have a big mudroom sink that we used. I kept the shirts banded for the first few seconds to get most of the dye out while it was still in it’s rolled shape then cut off the rubber bands and rinsed and rinsed.
Step 13
We filled up the plastic tubs we used for dying with a vinegar, salt, water solution to soak the shirts after rinsing. I honestly did not measure at all just poured in what was probably a 1/4 cup of white vinegar some about a half a teaspoon of salt (i shook the shaker a few times hahah) and filled up the tub about halfway with water. Most people do not do this step, they head right to the washing machine after the rinsing. Totally up to you and honestly i ran out of vinegar so half of the shirts soaked in the solution and the other half just went straight to the washing machine.
Step 14
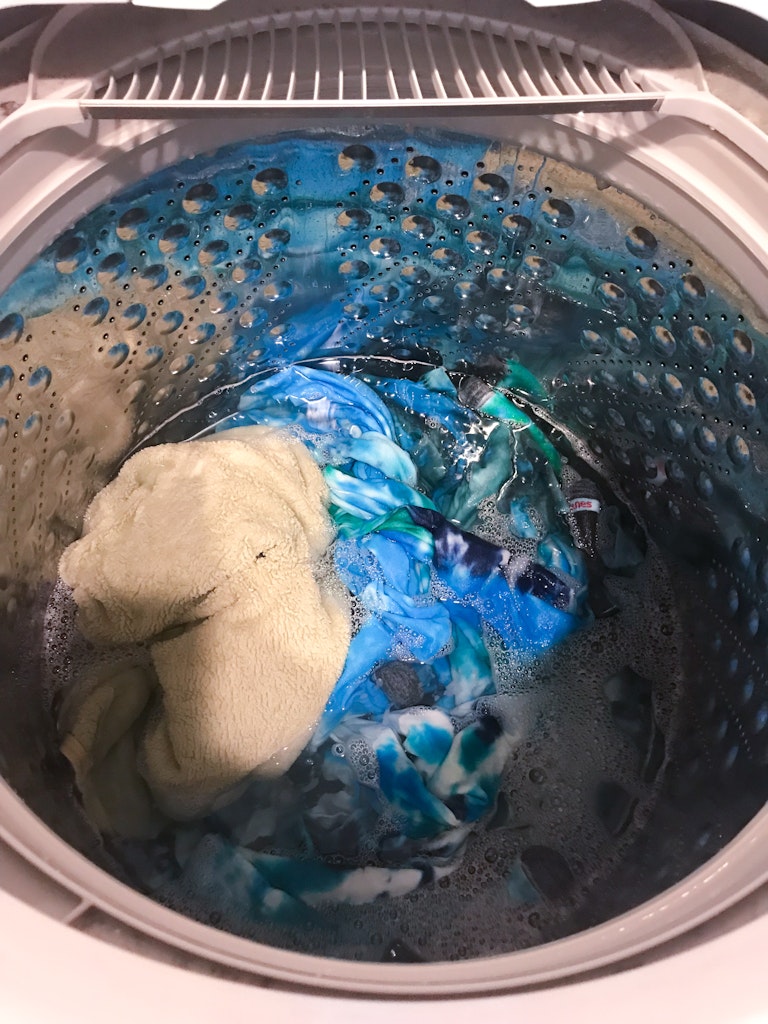
Washing like colored creations together with an old towel to soak up any extra dye we ran the shirts in the washing machine in COLD WATER with a mild laundry detergent then threw them into the dryer.
Step 15
Throw on your new creations and marvel at how amazing you are 🙂
We also tried the ice dying method. For this method you crumble up your shirt then completely cover it with ice. You sprinkle the dry dye powder on top of the ice then let the shirt sit until the ice has melt and pulled the color through to the shirt. We tried it with the colors we had left over from the kit. The colors came out a little different than expected. The shirt below was black powder, than yellow, then red. It was neat to try but we prefer the traditional tie-dying method.
If you have any questions please feel free to reach out. The kids seriously kept thanking us for setting this all up and spending the evening doing this project together. It was a really fun family activity and we are all looking forward to trying new techniques and color combinations out next time.