How To Make A Graduation Card Holder From Old Text Books
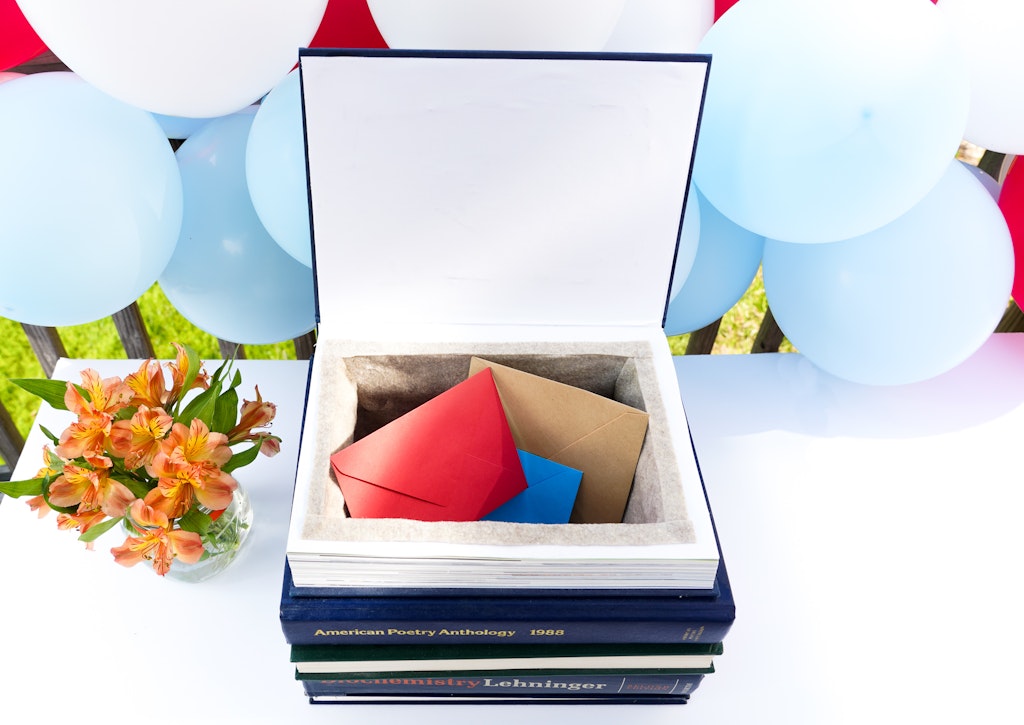
Have you ever seen a hardcover book with a secret compartment? I took it a step farther to hollow out several stacked books and create a graduation card box for an upcoming graduation party.
The most time consuming part of this project was the cutting the pages out. I’ll show you a few ways to go about this.
First step is to collect the books. Thrift stores and used book stores are great options. Make sure they are all hardback books.
I chose to face some books with the pages facing out and some with the spines facing out in the stack.
For the books that have spines facing outward you’ll want to peel off the book jacket while you’re in the store to see what it will look like.
Choose books that are similar size and coordinate with your party decor or theme. For example, for the graduation card holder I chose old hardcover textbooks.
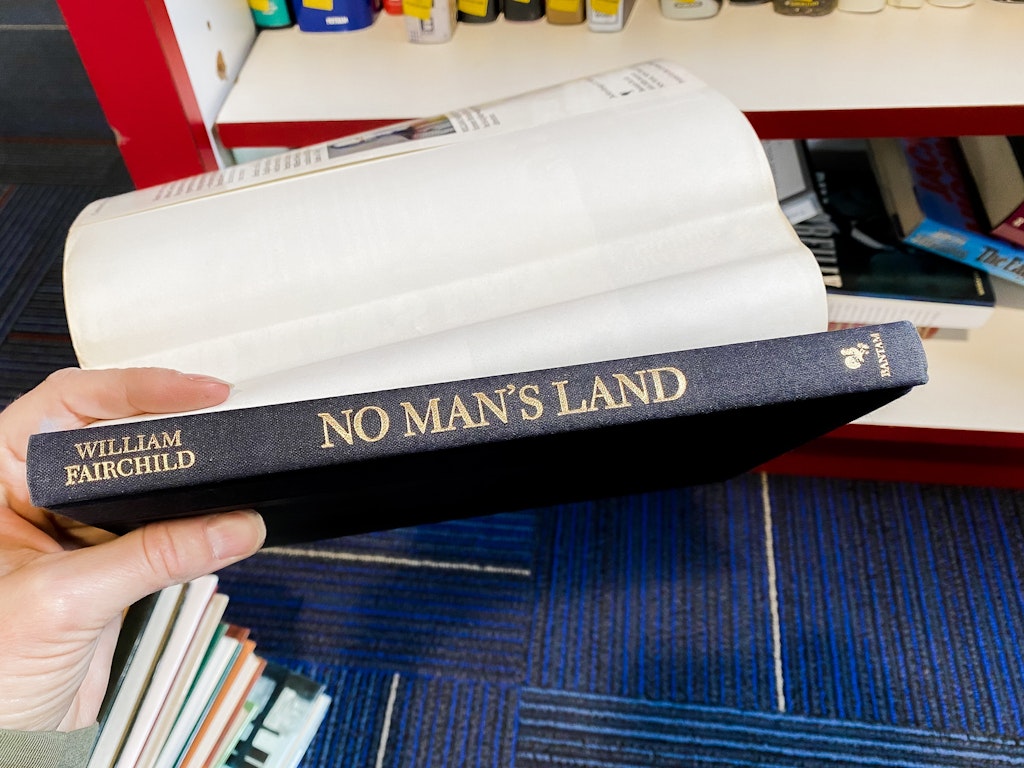
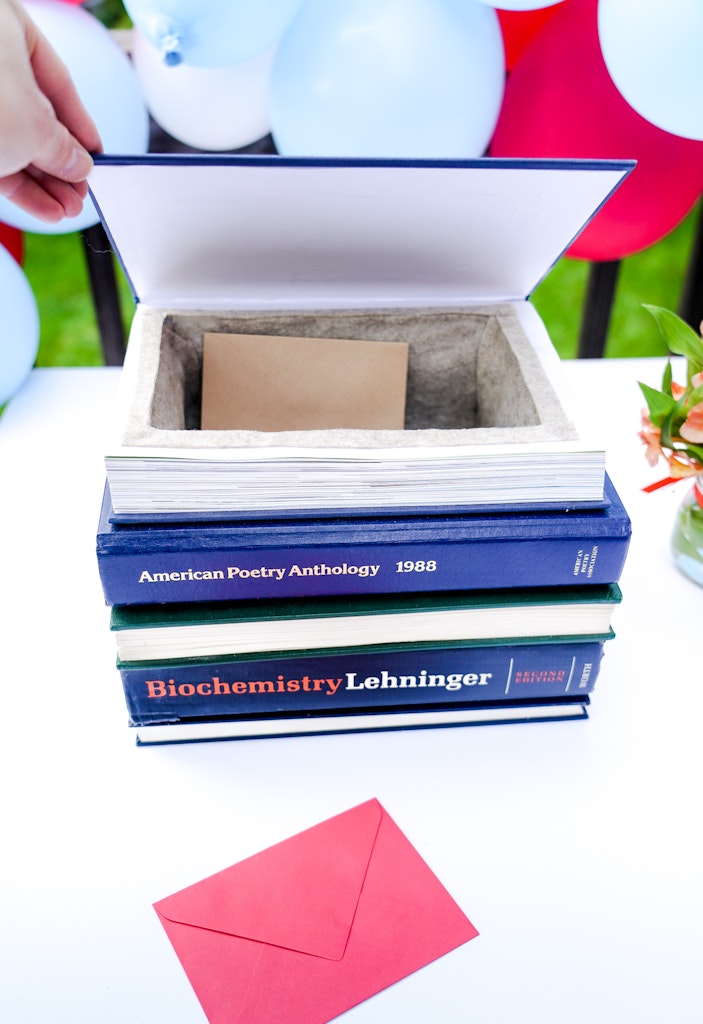
Figure out the orientation of your books and stack them up how you’ll want them. Make sure that the stack is tall enough to accommodate a standard greeting card size.
Cutting The Secret Compartment In The Books
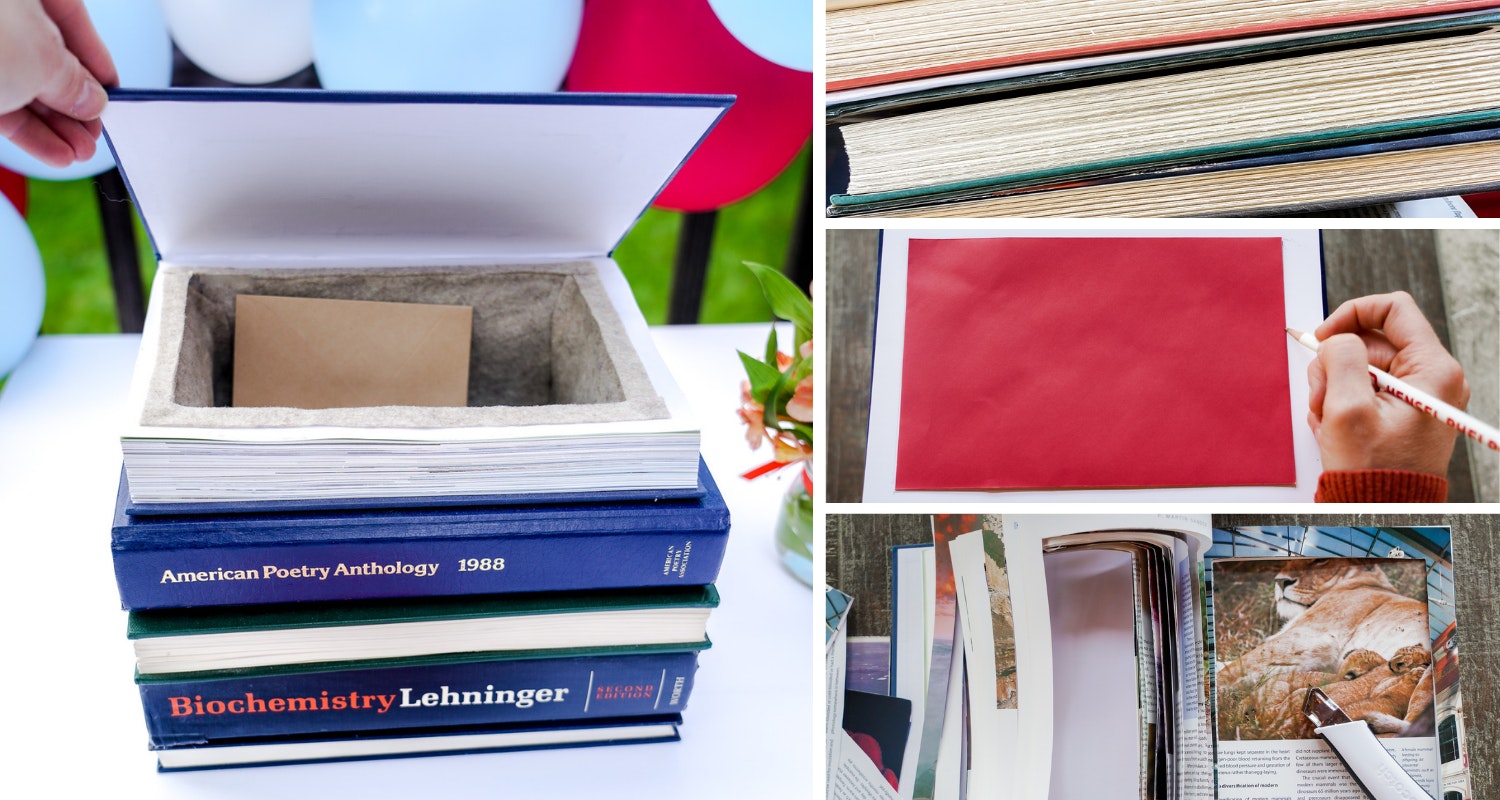
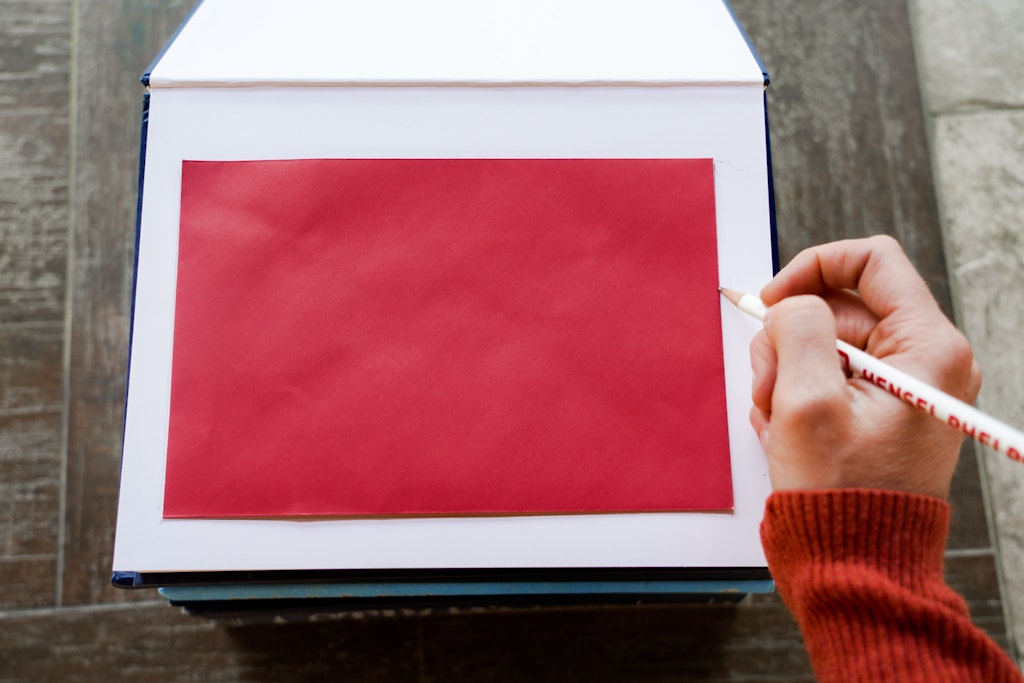
I used a greeting card envelope to estimate the opening for the box.
You will NOT cut the cover of the book on top. Trace the size of the opening on the top page of the top book.
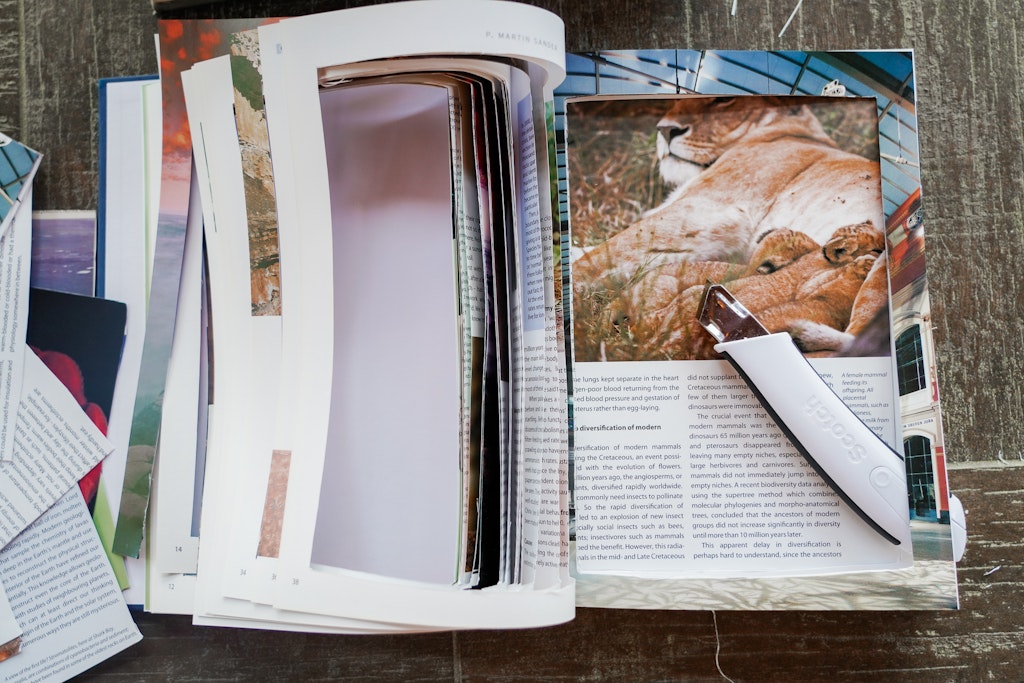
Now you’ll need to start cutting the pages of the books. You can do this using a utility knife and if you have a lot of patience this will work just fine.
I eventually switched to using an oscillating tool that we had on hand and it went a LOT quicker.
You could also use a Dremel if you have one of those. I tried using that and it worked better than the utility knife but it did break the cutting disc once cutting through the pages.
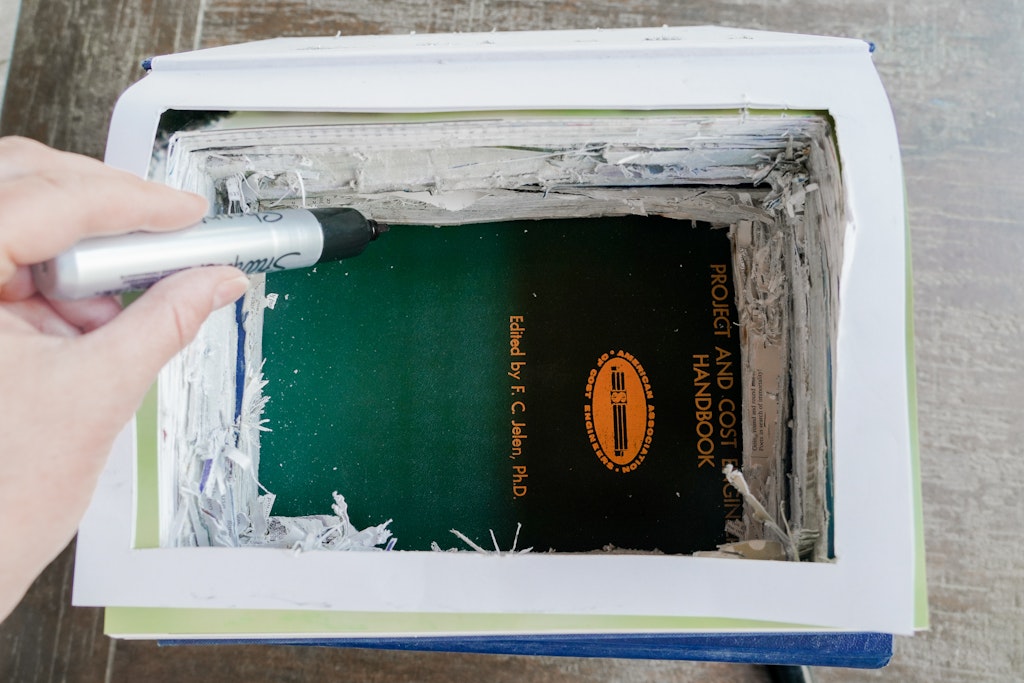
When you cut all the way through the first book (except for the cover) set it on top of the second book and trace where you need to cut the opening.
You’ll want to cut through the cover, all the pages and the back cover of the next few books.
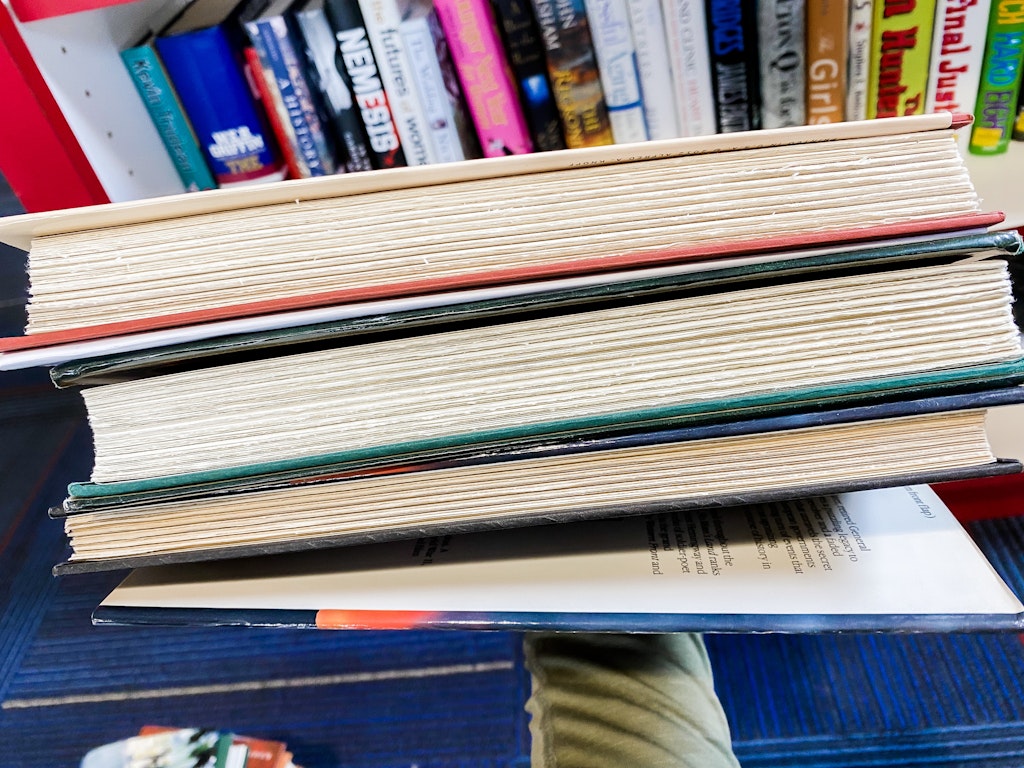
Continue this process until you’ve cut through all of your books. I attached a thinner text book to the bottom as a base.
Glue The Books Together
I used two different types of glue to glue the books together. Use super glue or E6000 glue to glue the cover of each of the books to the next one in the stack. I stacked something heavy on top of the stack of books until it was dry.
Next, I lined the inside cut pages with a few layers of matte modge podge. Use a foam brush to apply the modge podge and let it dry in between coats. I did at least three coats.
Place a piece of parchment paper in between the cover and the top of the cut pages. Then i stacked something heavy on top of the books again while the modge podge dried.
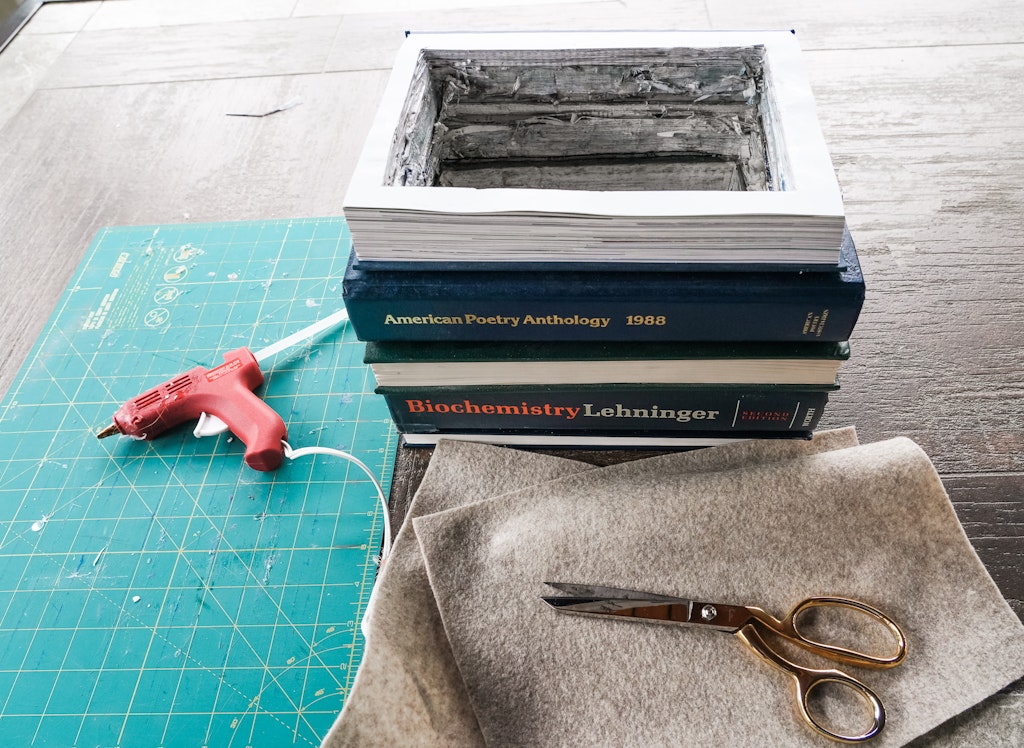
Use a few pieces of felt to line the inside of the book card holder to give it a more finished look. I added it with hot glue once the Modge Podge had dried.
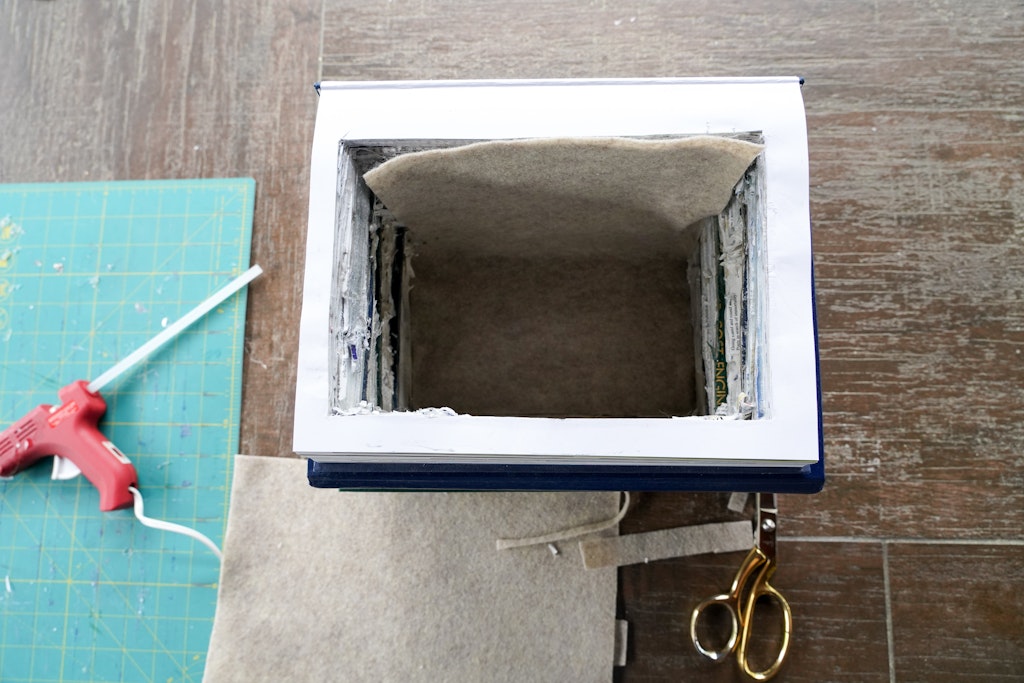
I cut a few strips of felt to add a thin border to the opening and finish it off a bit more.