
How To Make A Whitewashed GPS Coordinates Sign
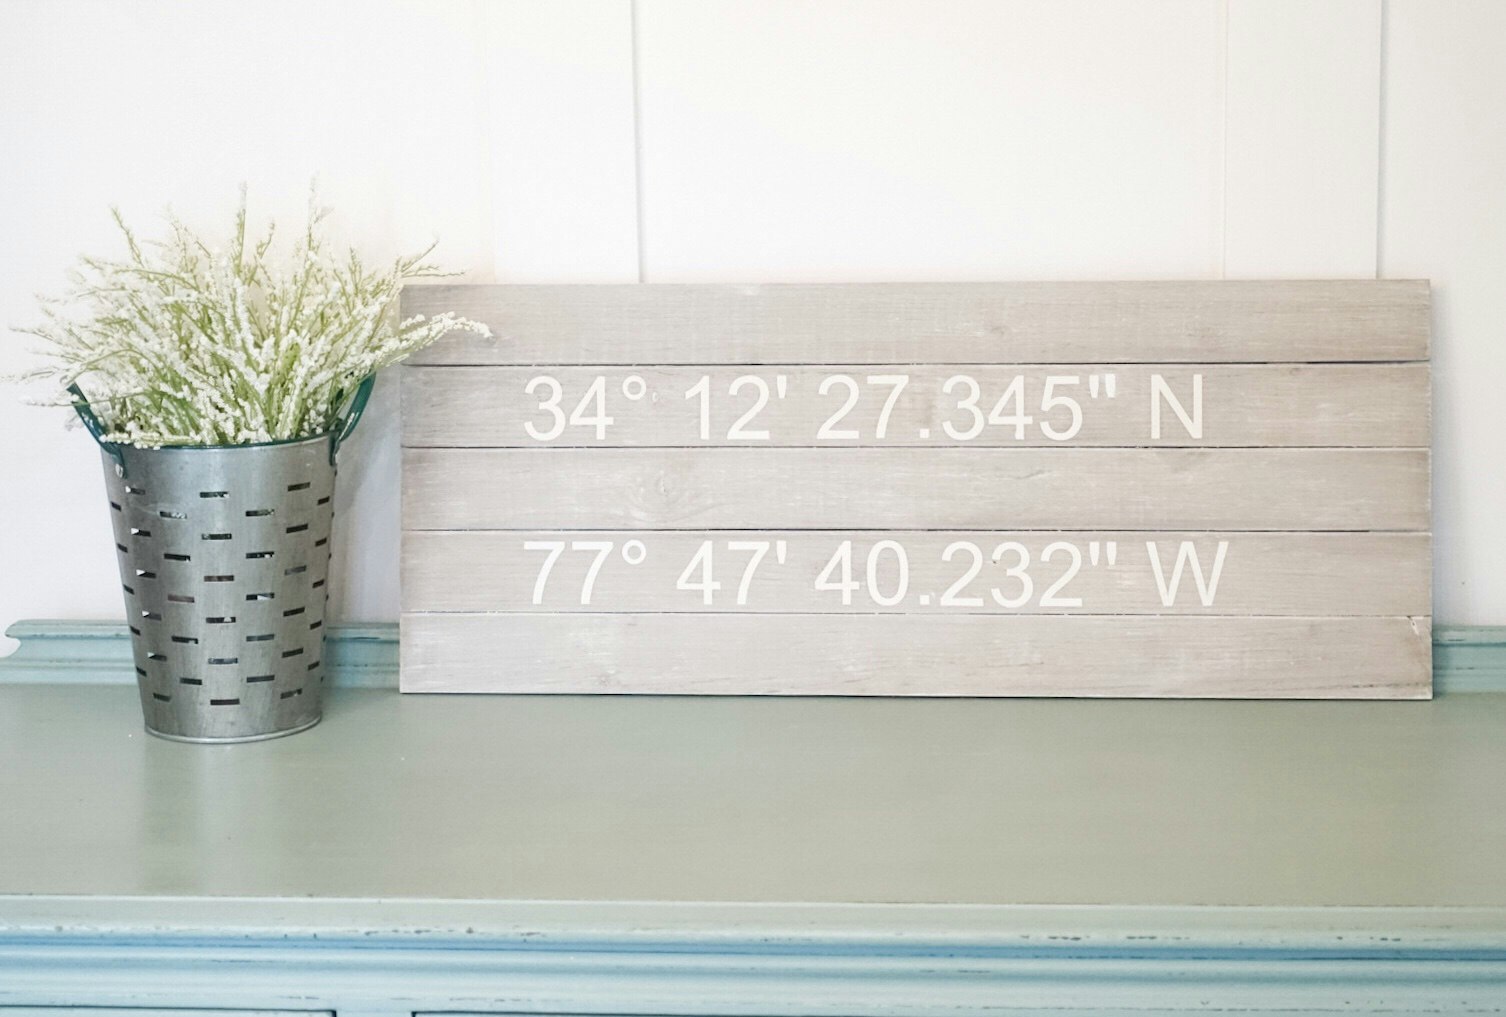
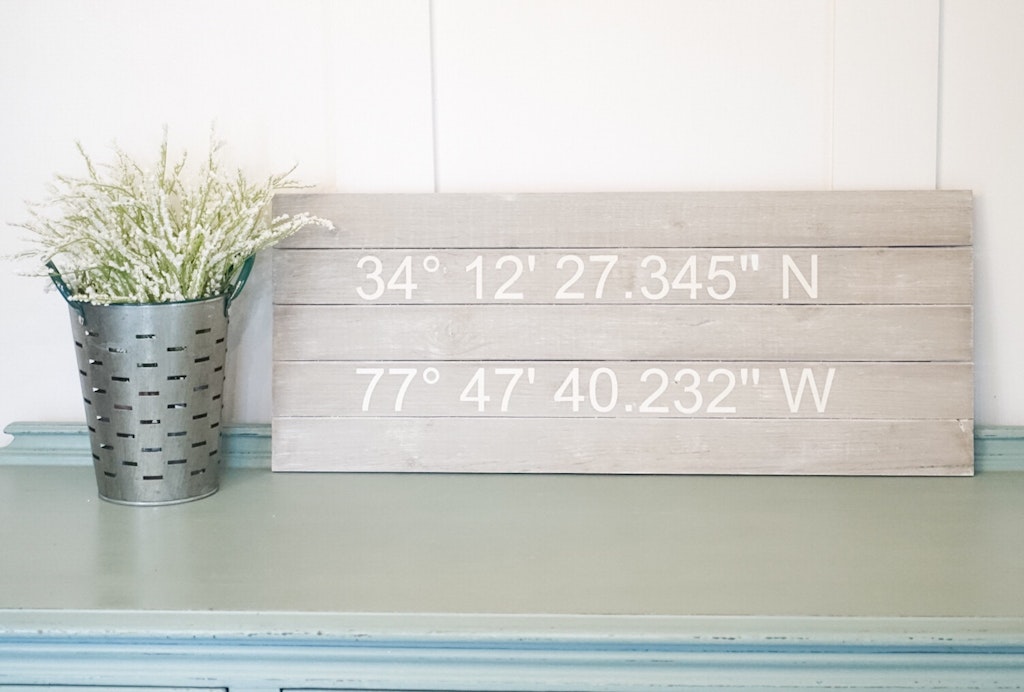
We created a super simple whitewashed farmhouse sign that features the GPS coordinates of our favorite vacation spot. You can make this to add to your own decor, but it also makes a really neat gift. A wedding gift with the GPS coordinates of where the couple got engaged or where they got married, a birthday or holiday gift with the coordinates of their vacation home or favorite ski slope… sooo many options. I kid you not, I was able to whip out a couple of these Christmas morning in just a couple of hours. And yes that is procrastinating at it’s finest.
Keep in mind that if you don’t have a die-cut machine and don’t want to use individual stencils, you could always whitewash the sign first, then use precut number stickers to place on your sign. Craft stores have a wide selection of precut stickers that would also look great. Another option would be to stick the stickers on the wood sign first, then paint on top of the stickers, wait until the sign is dry and peel off the stickers. The finished look would feature the numbers in the color of the original sign and the remaining sign in your paint color. Sooo many options!
We will show you how we used a stencil created with our Silhouette Cameo to make the sign but don’t there are plenty of stencils or number stickers available that would give a similar look.
Supplies for DIY Farmhouse Coordinates Sign
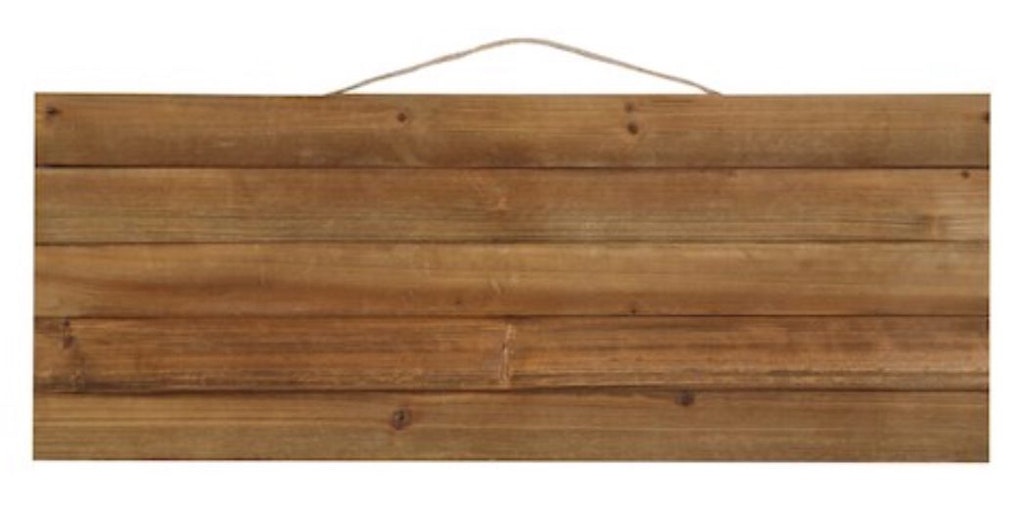
– Wooden sign – ours is this one from Michaels. It’s 28″ x 11″.
– Stencils – use precut stencils like these or if you have a die-cut machine like the Silhouette or Cricut you can create your own stencil using vinyl or contact paper (we picked up a roll of clear contact paper from Home Depot and it worked great as a stencil – we used the glossy vinyl settings on our Silhouette) OR precut number stickers to place on top of your whitewash sign if you don’t want to stencil
– Sponge stencil brush like this one
– Paper plate or something to put paint on for stenciling
– Small measuring cup (1/4 or smaller) or disposable dixie cup to measure out paint to water ratios for whitewash
– Small bowl or container for mixing chalk paint and water to create whitewash
– Paintbrush for whitewash
– Small container of craft chalk paint – can be found at a craft store or most Walmart stores
– Paper towels or old rags for whitewashing
Keep in mind that if you are using the same wooden sign we use, that each slat in approximately 2 inches wide. So try to keep your font size, or sticker size if you’re purchasing stickers, under two inches.
First, you need to figure out the GPS coordinates of your favorite location. A favorite vacation spot, the place you got married, your hometown…. totally up to you. We used this site to type in the address and find the GPS coordinates https://www.latlong.net.
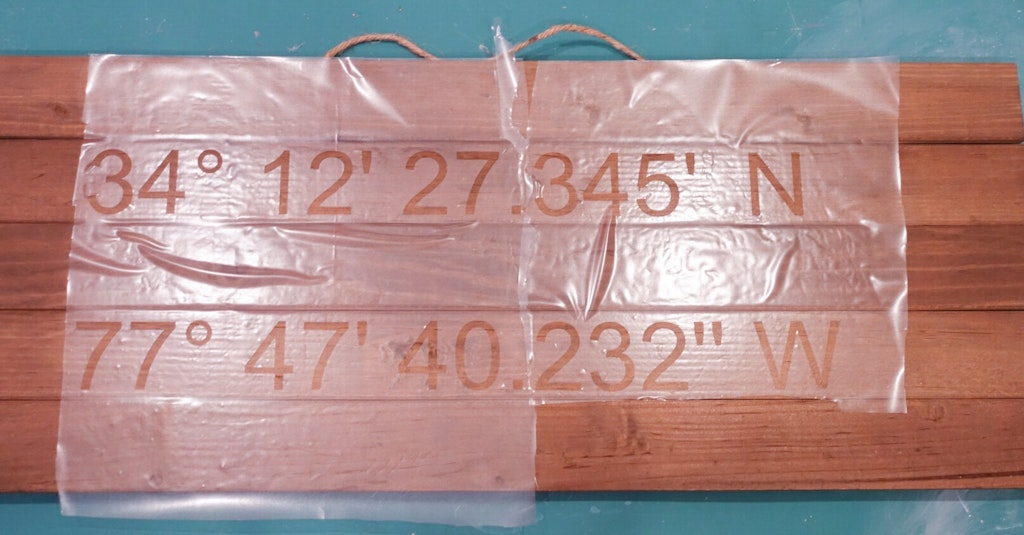
If you have a cutting machine and are creating your own stencil, design that on your software. We used Ariel font with a size of around 171pt. We ended up having to split the stencil into to sections because it was so large and piece them together on the board. We used contact paper from the local hardware store to cut out our stencil. Way more affordable than using the stencil material or vinyl sold for the machines. Print out your design first and lay the paper on the board to make sure you have the measurements correct. It took a couple of tries to get the numbers lined up so they were centered in the middle of the wooden slats on the sign.
If you are using traditional number stencils. Space out your design and pencil it in. Since you will probably have to move use the same stencil multiple times, this will help get the spacing down. You can put down a few stencils at a time, paint them, let them dry then move on to the next ones.
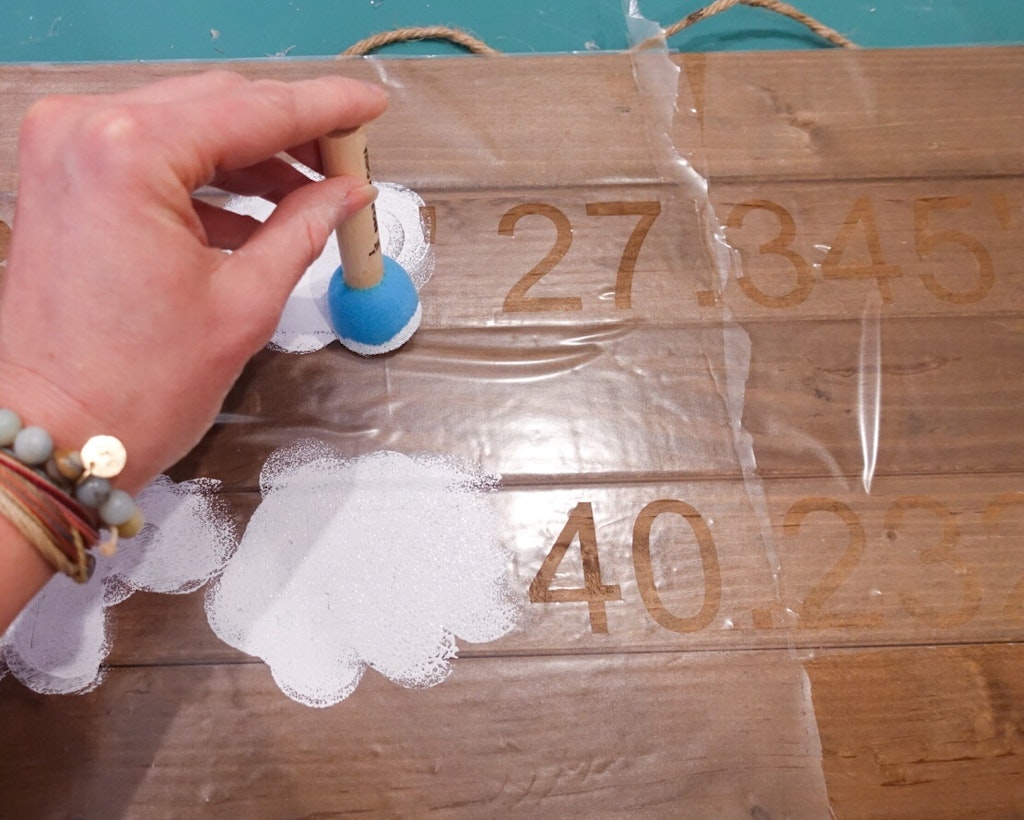
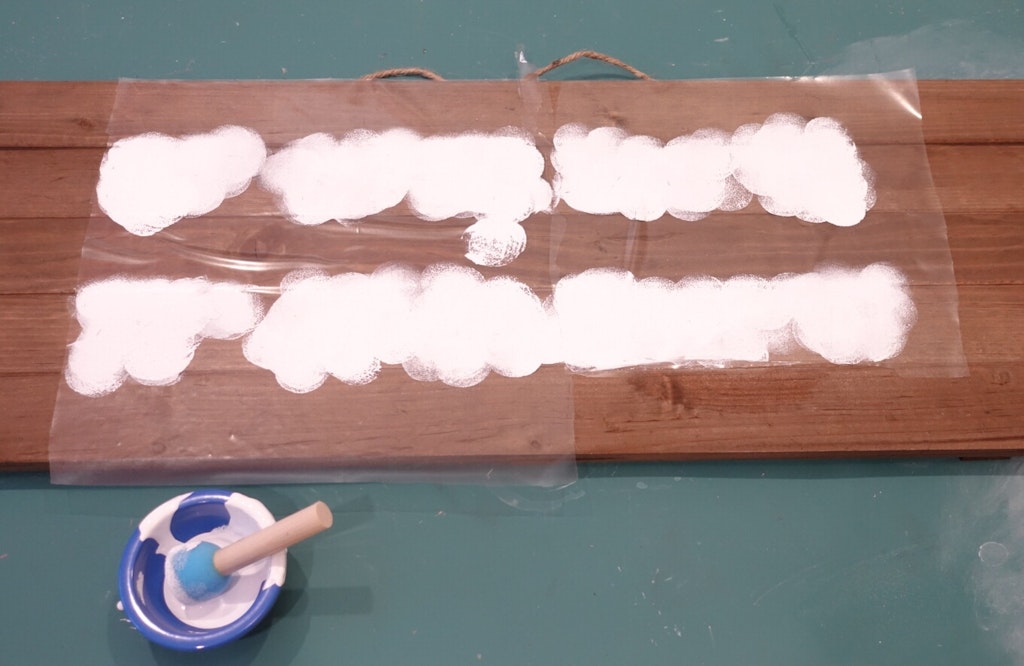
Once you have your stencil down, use your foam stencil brush to get a little bit of chalk paint and working in thin layers tap the brush up and down over the stencil to fill in the open area you want to paint. Be careful not to do to thick of a coat or the paint will sneak under the stencil and you won’t get a clean line. We did about two thin layers of paint.
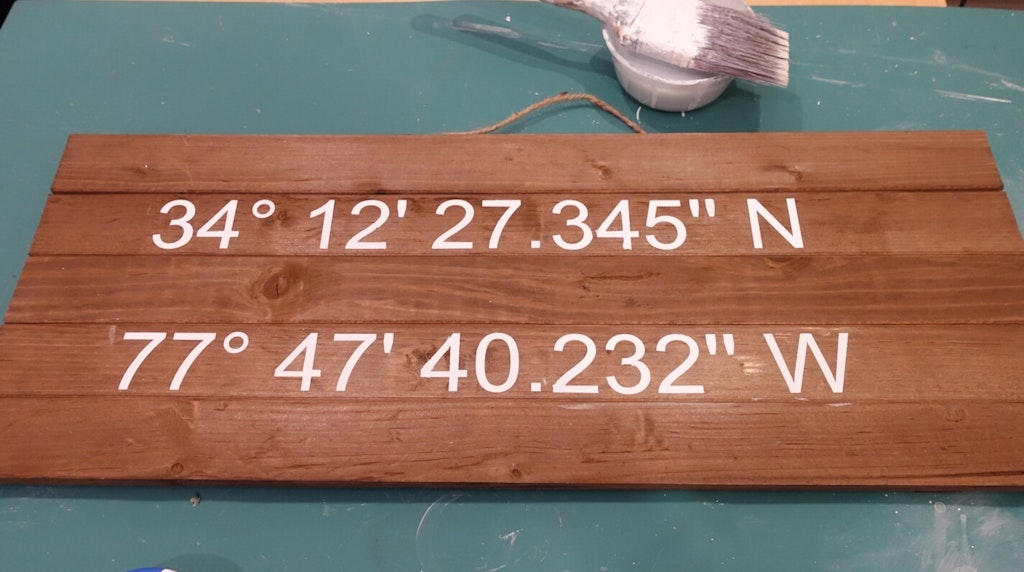
Wait until the paint has dried completely and remove the stencil from the sign.
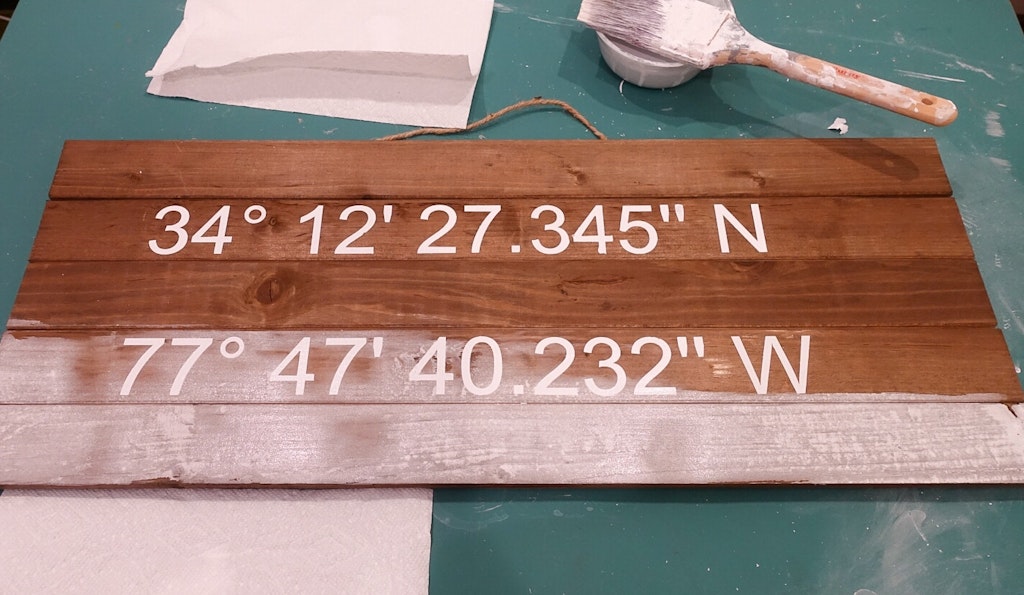
Now it’s time to whitewash the sign. Mix 3 parts water with one part calk paint. Thoroughly mix the two together in a small bowl or container.
Paint on a thin layer across the entire sign, painting in the same direction as the wood grain (so on these signs it’s right to left) Let the whitewash soak in for about a min then use your paper towels or old rags to wipe off the excess.
Continue painting on the whitewash and wiping off the excess for a few layers. If you want it lighter, you can add a little more paint to the whitewash and paint on another layer. Just make sure that you thoroughly mix the whitewash again before painting it on the sign.
You can also use a dry brush technique to add a little dimension. Get your brush as dry as you can then lightly swipe it across your sign, again working in the same direction as the wood grain. It will add some very faint, brighter white streaks to the wood. You can always rub in the streaks with your cloth or paper towel if you put too much down.
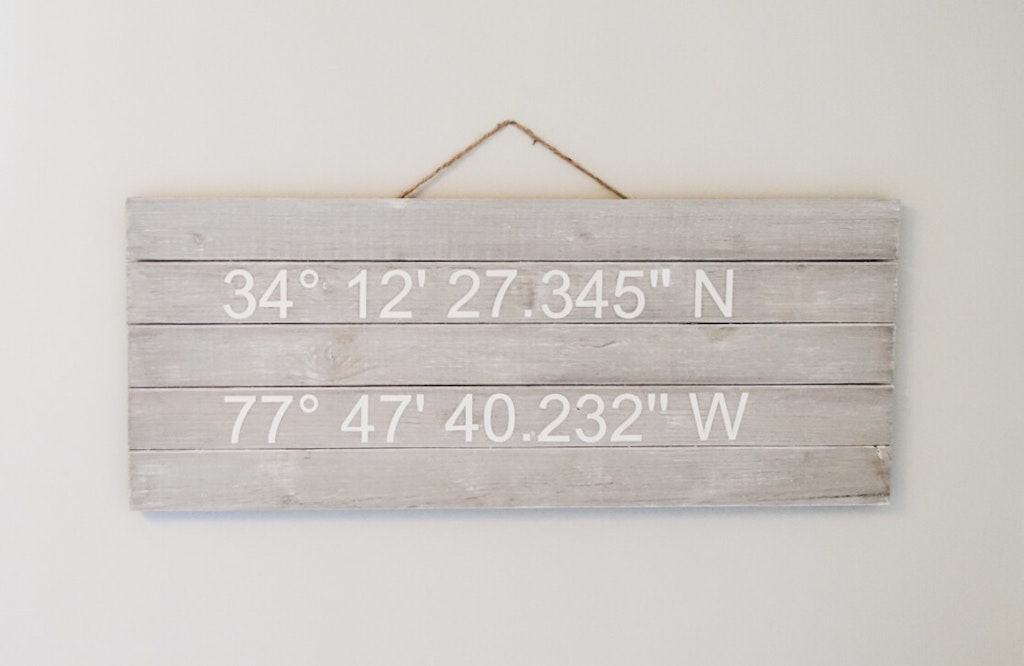
Let the sign dry completely and display proudly 🙂 The boys both want these in their rooms now so I’ll be making another one shortly. Happy crafting my friends!
1 thought on “DIY Whitewashed Farmhouse GPS Coordinates Sign”