
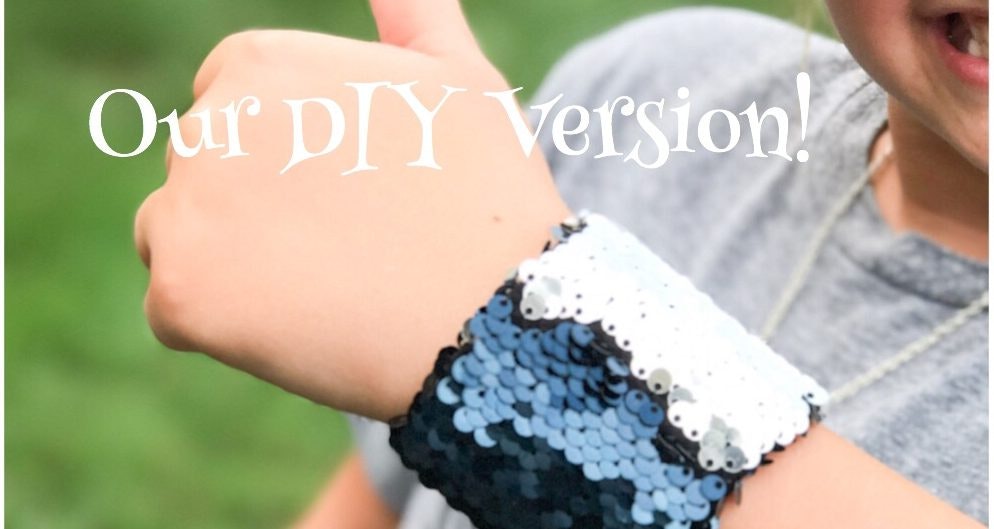
If you have a tween or honestly, a daughter of any age, then you’ve probably seen the reversible sequins (aka mermaid pillow) craze. From pillows to backpacks, shirts to notebooks, it seems to be everywhere! The craze is real. The newest addition, and my daughter’s favorite, a mermaid sequin inspired bracelet. We set out to find a way to combine two of her favorite things, DIY and this new bracelet. 😉 We have created an easy tutorial on how to make a DIY mermaid sequin bracelet.
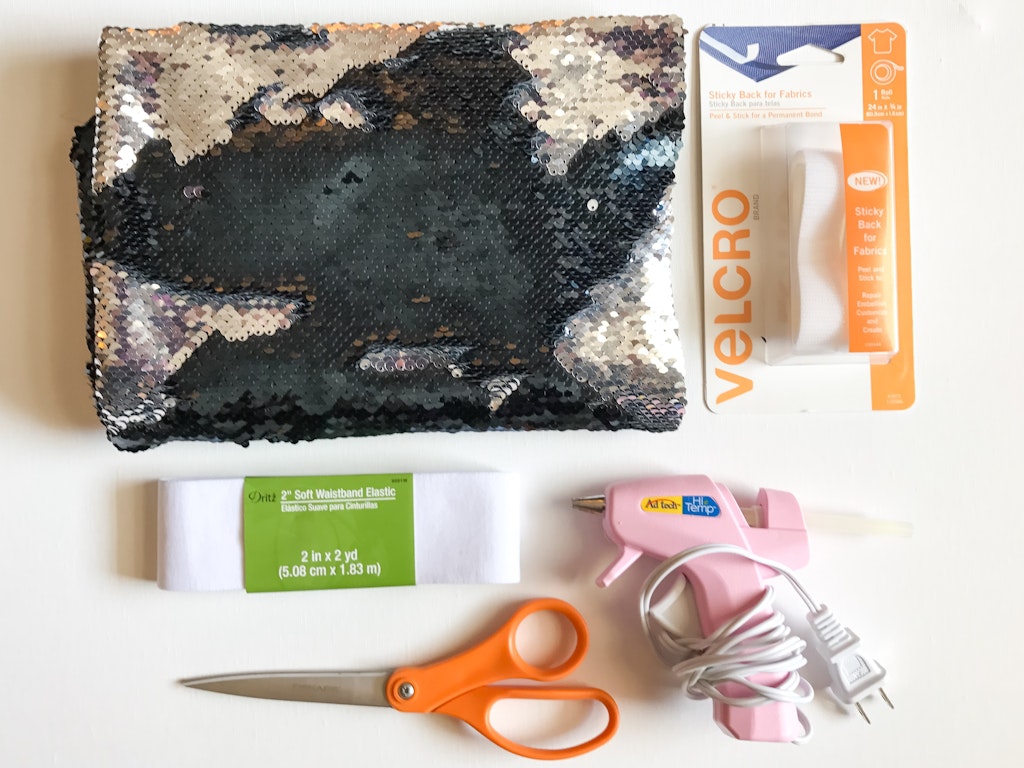
DIY Mermaid Sequin Bracelet Supplies:
Reversible Sequins Fabric – $5.25 for 1/4 yard at Joann Fabrics. This amount would actually make quite a few bracelets.
3/4 Inch Velcro – $7.99 from Joann Fabrics. You could actually save a little $ and not get the sticky back since we hot glued it on anyways.
2 Inch Soft Waistband Elastic – $6.99 from Joann Fabrics. Again, this will make a few bracelets. Think, party favors for a mermaid birthday bash!
Scissors, hot glue gun, and a piece of chalk (optional)
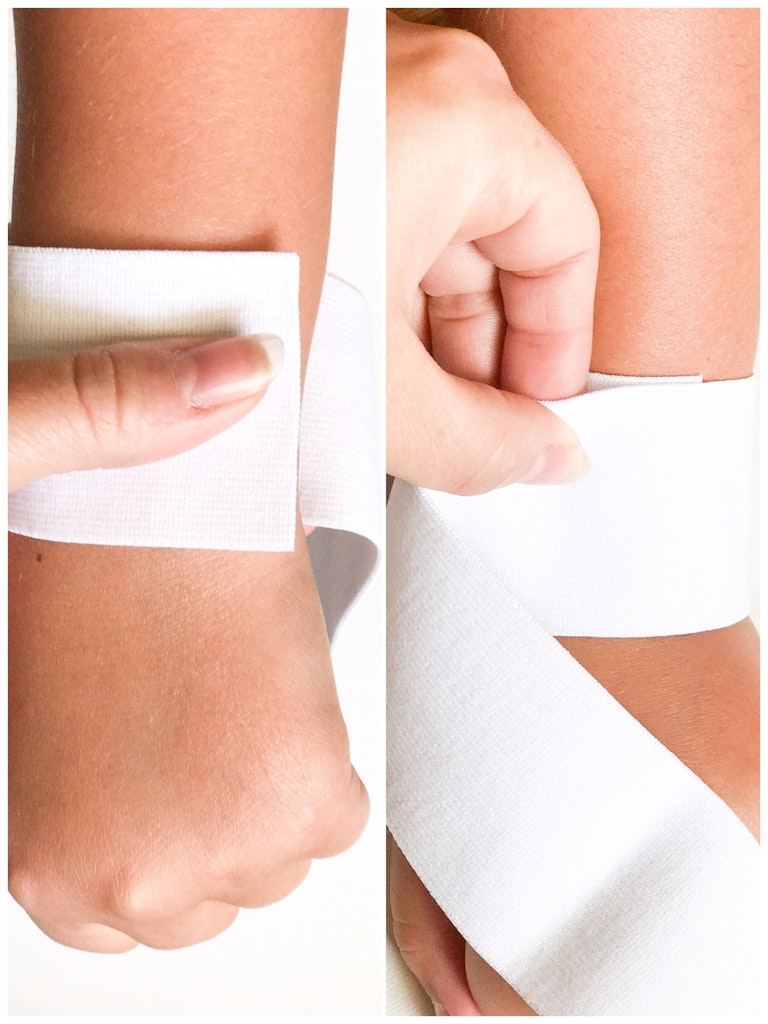
Wrap the elastic around the wrist of it’s new owner for measurements. Add about 3/4 inch extra to allow for the velcro closure.
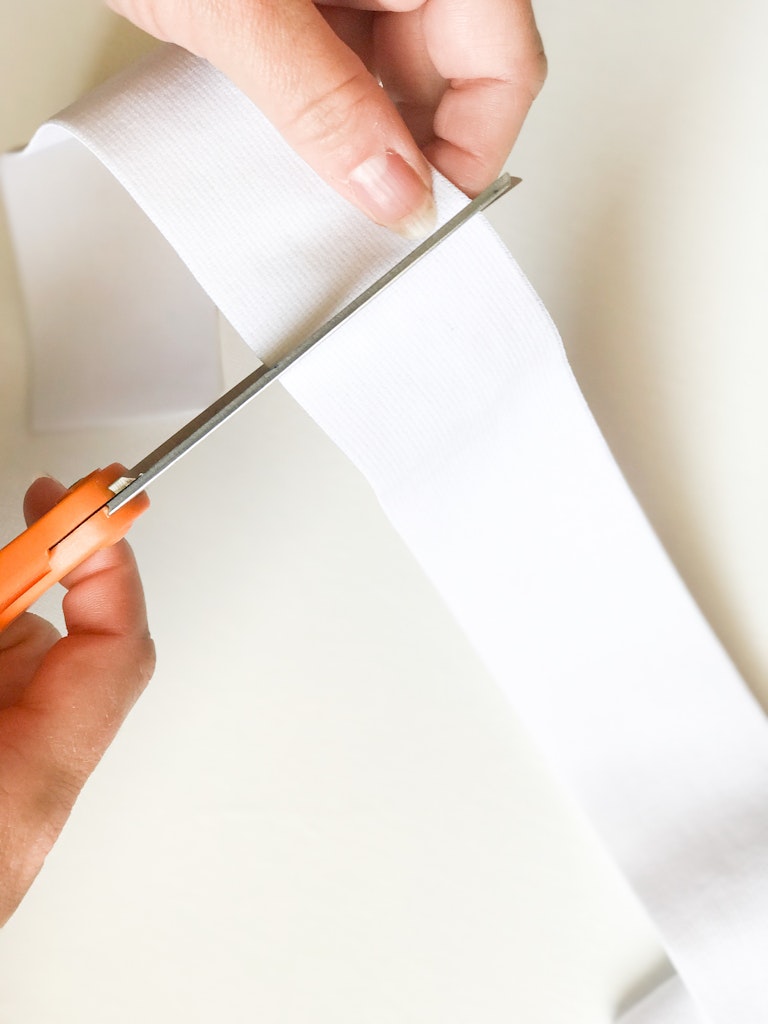
Cut the elastic to size.
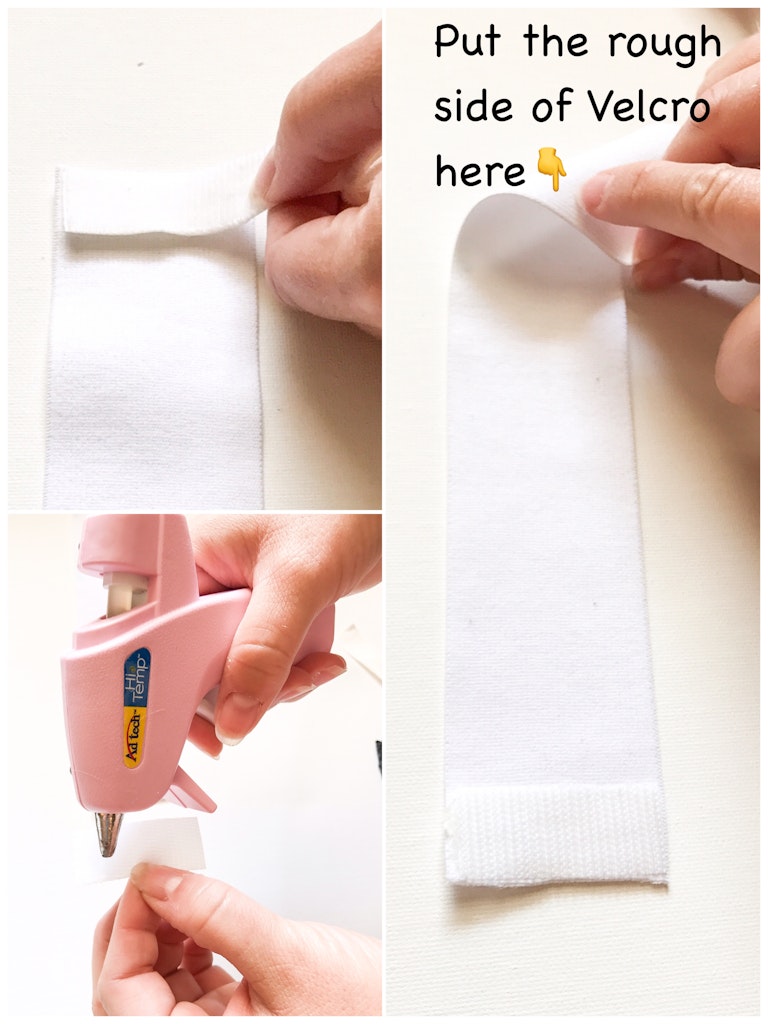
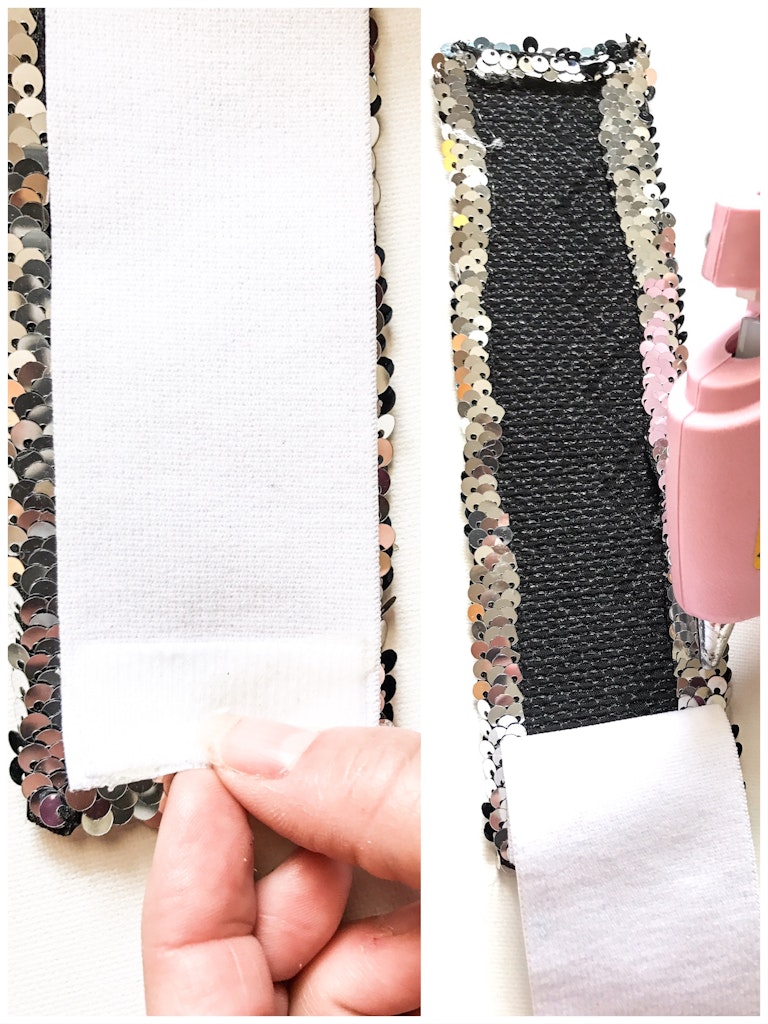
Cut the soft side of velcro to be the same width of the elastic. Using a hot glue gun, secure the soft side of velcro to the bottom edge of the elastic. Flip the elastic over and secure the same length rough side of velcro to the opposite end. Now, if you wrap the elastic around your wrist it should overlap and close.
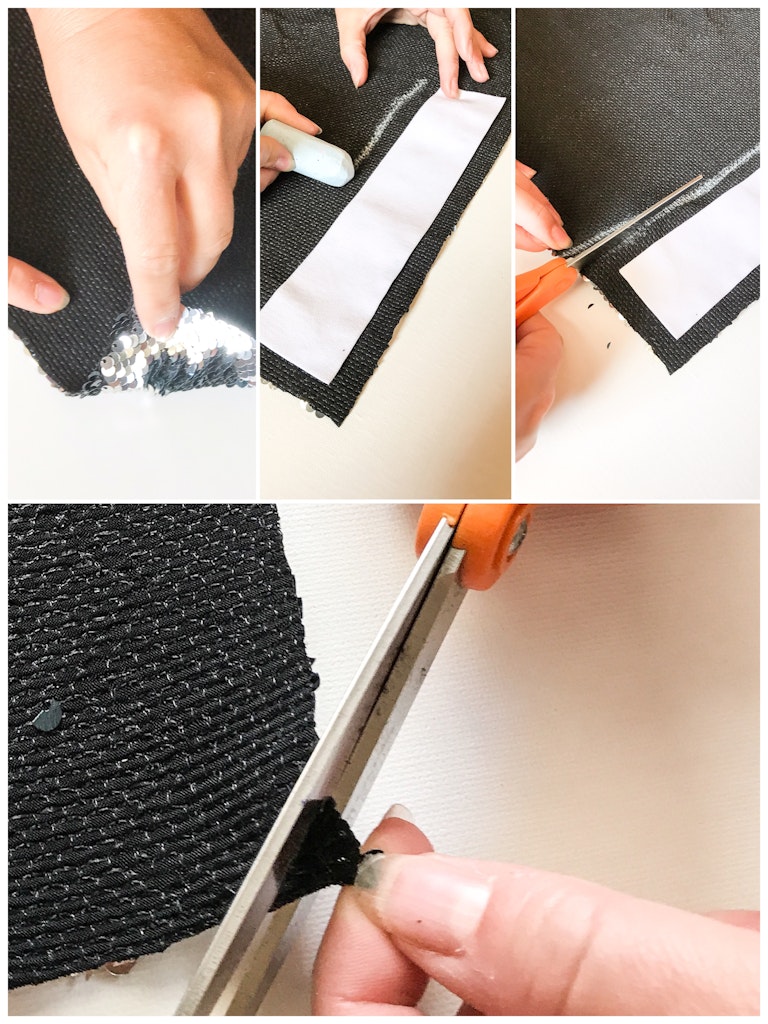
On the back of the mermaid fabric lay the piece of elastic. Measure out about 3/4 inch extra on each side of the elastic. We used a piece of chalk to make it a bit easier to see while cutting. Once your strip of fabric is cut, trim each of the four corners off (this will help later when we fold all the sides in to create a “hem”)
Smooth all of the sequins so that it is laying in the same direction.
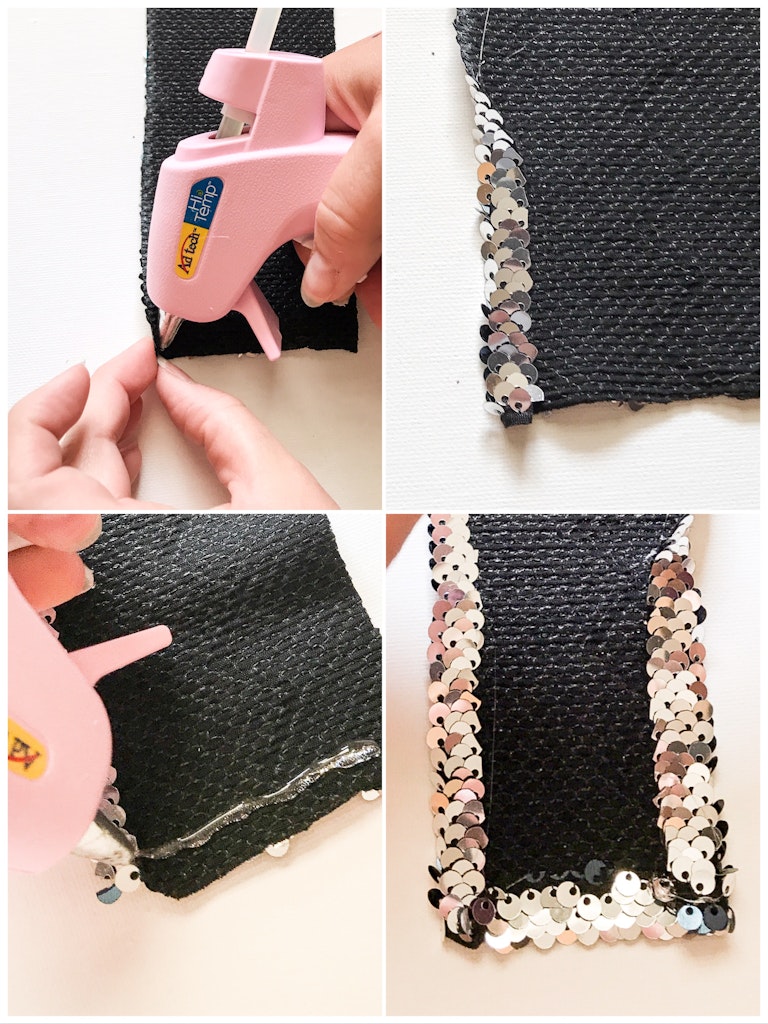
Using the hot glue gun, gently fold over the edges of the fabric and secure them to create something similar to a “hem”.
Lay the piece of elastic on top of the fabric being carful to line up the edge with the soft velcro to the edge of the sequins. Secure that section in place with the hot glue gun. Continue to the secure the rest of the elastic with glue making sure it stays centered on the back of the fabric.

When you get to the end of the elastic with the rough velcro, trim any extra fabric off so the velcro sticks out from the end.
Secure the end of the fabric to the elastic just below the rough velcro.
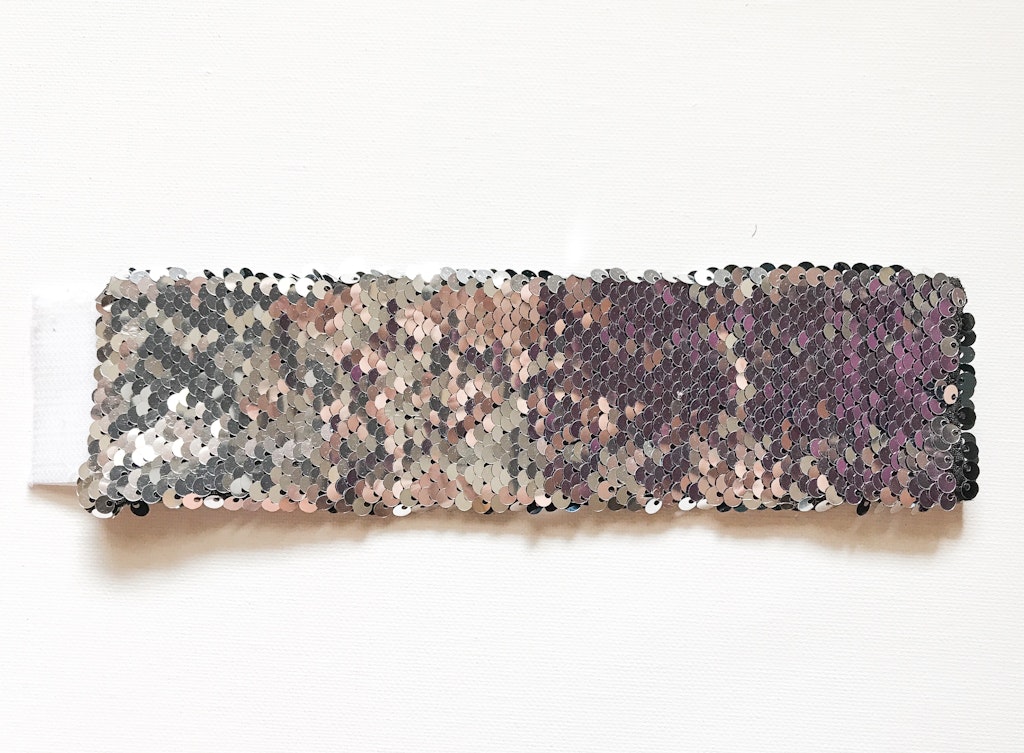
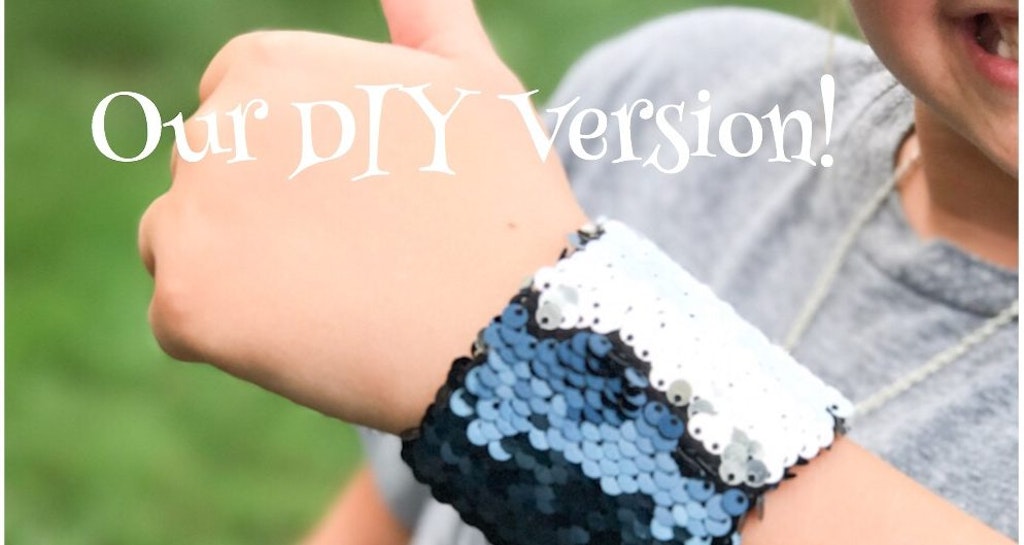
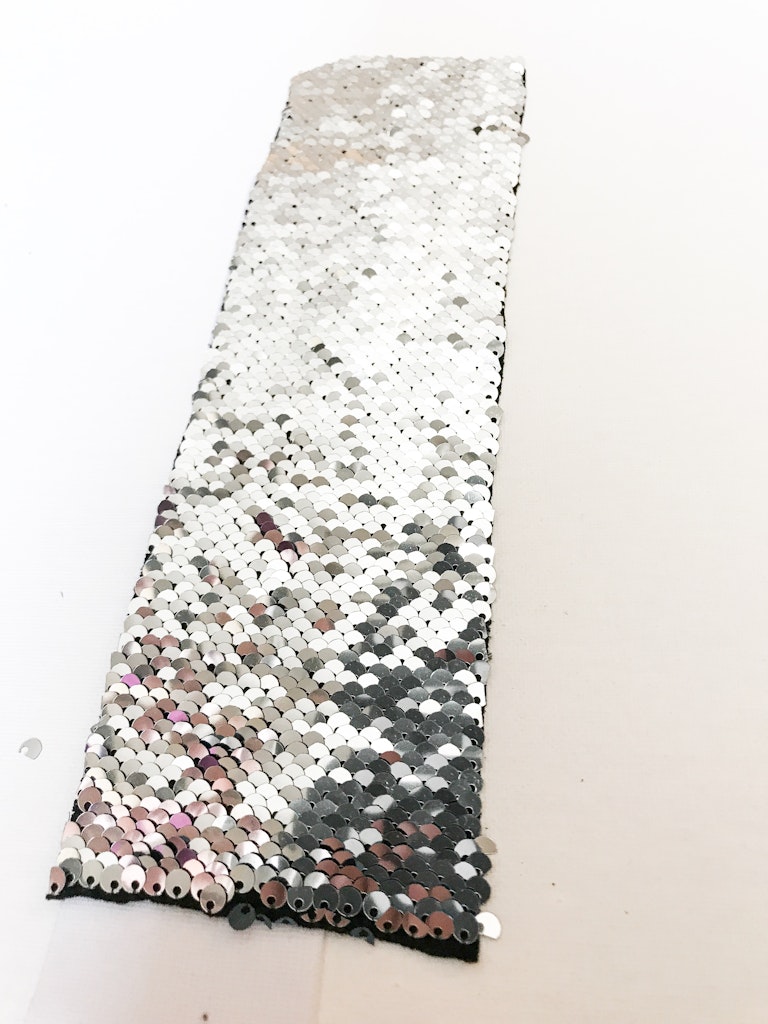
The end result should look like this!
The rough side of the velcro sticks out one side and the soft side of velcro is underneath the fabric on the opposite end.
It’s that simple! Enjoy the mermaid magic!
I’m wondering if now, since you made them and have had the opportunity to wear them for a couple of days…. Do the sequins on the edges irritate the skin at all?
Hi, thanks for the great question! Honestly this was something I was a little nervous about too, but am happy to report that the sequins really are not irritating at all! I have pretty sensitive skin and have not had a problem. We did try to get the width of the sequin layer as close as possible to the width of the elastic band underneath, which helps. Thanks again, and happy crafting!
why do you need elastic ? is it to stretch it? because you measure it exactly for the persons wrist correct? i plan on sewing so could i just use a flannel . just wondering how nessecary the elastic is? thanks for your time and making these so i can figure it out.
Hi! All great questions! We used the elastic for a few reasons:
1. The predetermined width (cutting straight edges is not one of my strengths;) )
2. The clean edge that it provides (we didn’t have to sew a hem on both sides of the elastic as we would have with a cut piece of fabric)
3. The little bit of stretch it provides at the closure. Yes, we do measure exactly but were making a few for my daughter’s friends too so we didn’t have their exact measurements.
Which is all a really long way of saying it cut out a number of steps for us. 🙂 We originally were planning on sewing ours as well but quickly figured out that you have to remove a line of sequins where you plan to sew. In the interest of keeping it simple, decided the good ol’ glue gun would work well too. Sewing would absolutely work too if you have a little extra time.
I hope that helps! We would love to see your finished product! It sounds like it will be fabulous!
Hi there, going to try this soon, did the Velcro last? When reading the reviews on the original bracelet a lot of people complain about the Velcro not lasting, loosing its grip fairly quickly. Thanks 🙂
Yes! The Velcro has definitely held up. Maybe because the Velcro we used was from a craft/fabric store it was a little stronger then the original? Just a guess, but we haven’t encountered any wear on the Velcro yet. Happy crafting!! Thanks for the question!
Hi!! This is so wonderful! Thank you for posting a tutorial! I’m going to be making my nieces these for Christmas. I was wondering how well they are holding up with the hot glue? I was going to sew mine but this would be so much faster and easier. I have 7 to make lol! Thanks again!
Hey! They will love them. Ours are still going strong. Let us know how they turn out. Good luck!
Did you use hi temp hot glue ? I did this but the hot glue went through the fabric so now the sequins are stuck and won’t flip over to the other color
Jessica – That’s so strange! We did use hi-temp hot glue and didn’t run into this problem. You could try something like fabric glue or the E6000 Adhesive. These would require more drying time but might not run through to the other side. I wonder if the fabric backing on your fabric is thinner for some reason. We purchased our reversible sequin fabric from Joann Fabric Store for this project. Hope this helps!