

How To Make A Paper Dahlia Flower
This tutorial walks you through the steps to create beautiful oversized DIY paper dahlia flowers. You can use these as decorations for a special event like a wedding, baby or bridal shower or a birthday party. You can use them as a photo backdrop for a selfie station or photo booth at a special event. Or you can dress up some of the walls in your house with these simple yet elegant paper flowers. We have a few different oversized flowers in our daughter’s bedroom.
Supplies For Paper Dahlia Flower
– Minimum of 18 sheets of 8.5″ x 11″ card stock OR 9 pieces of 12″x 12″ card stock (65lb weight works best but you can use what you got!)
– Printable circle template for flower backing
– Glue gun and glue sticks
– Pair of scissors
– Paper cutter (can cut squares by hand if don’t have paper cutter)
– Bone folder or plastic gift card or credit card for curling the edges, especially if using thicker than 65lb card stock
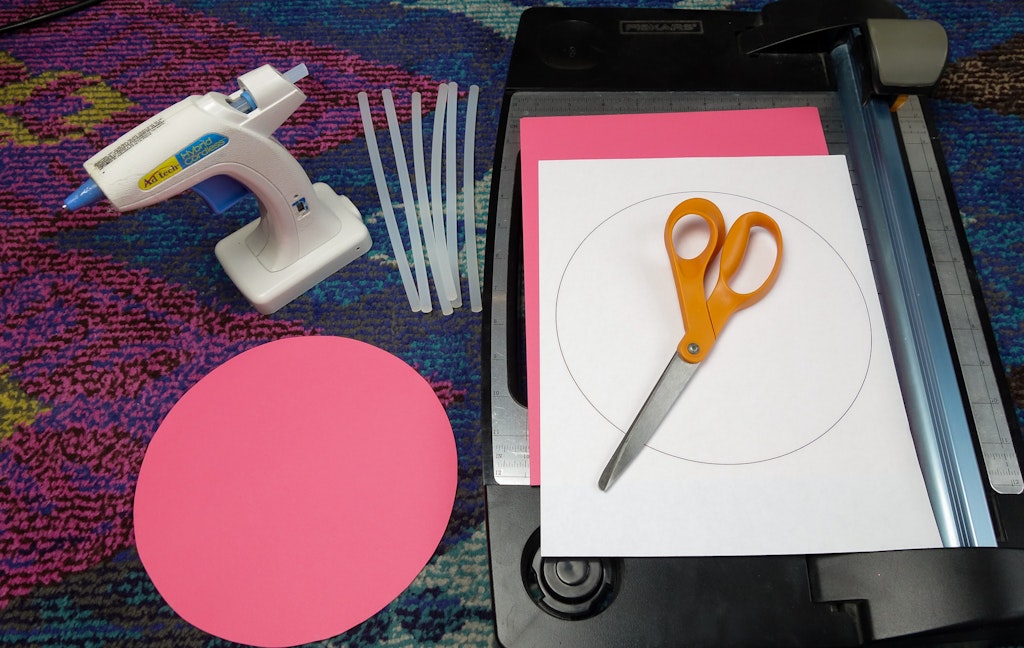
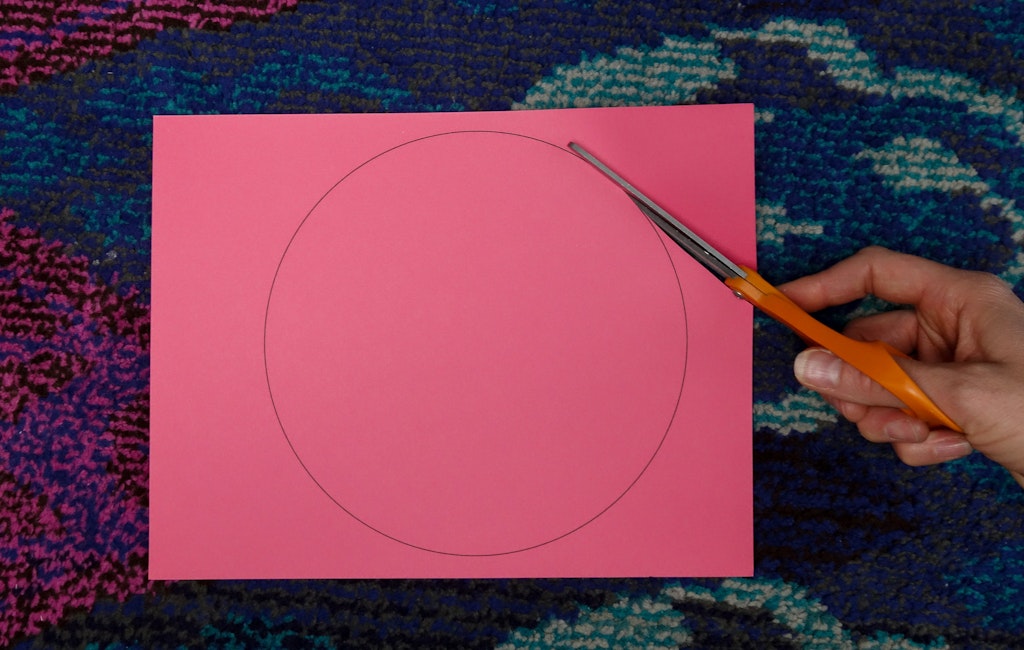
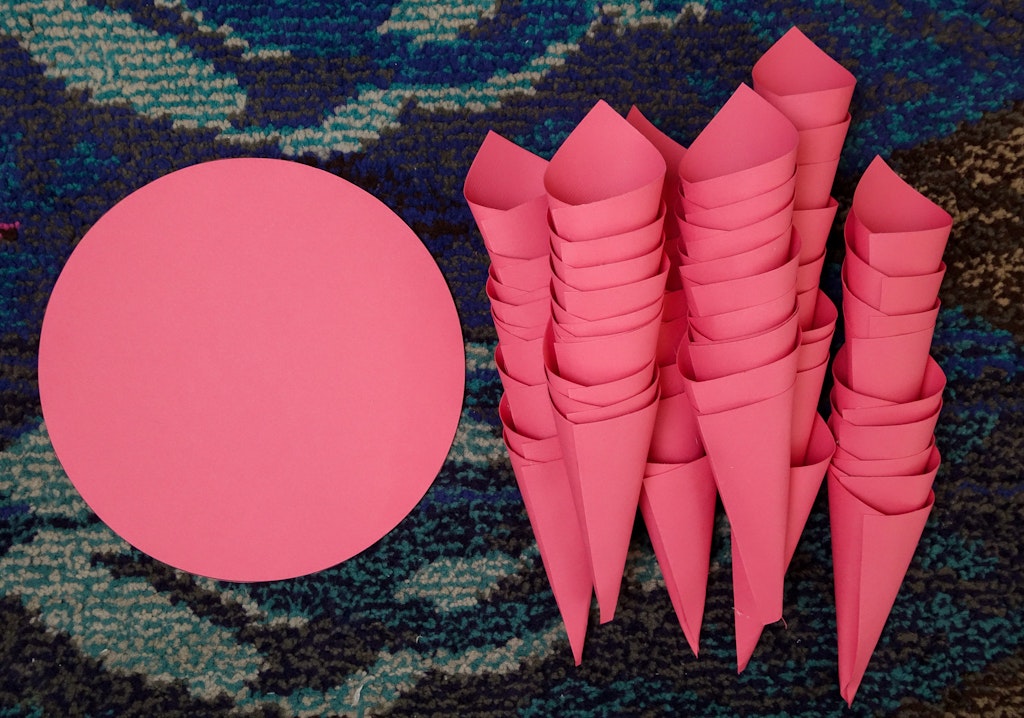
Print out the circle template and cut out the circle. This will serve as the backing for your flower. You can print the template directly onto your card stock or use the print out as a guide.
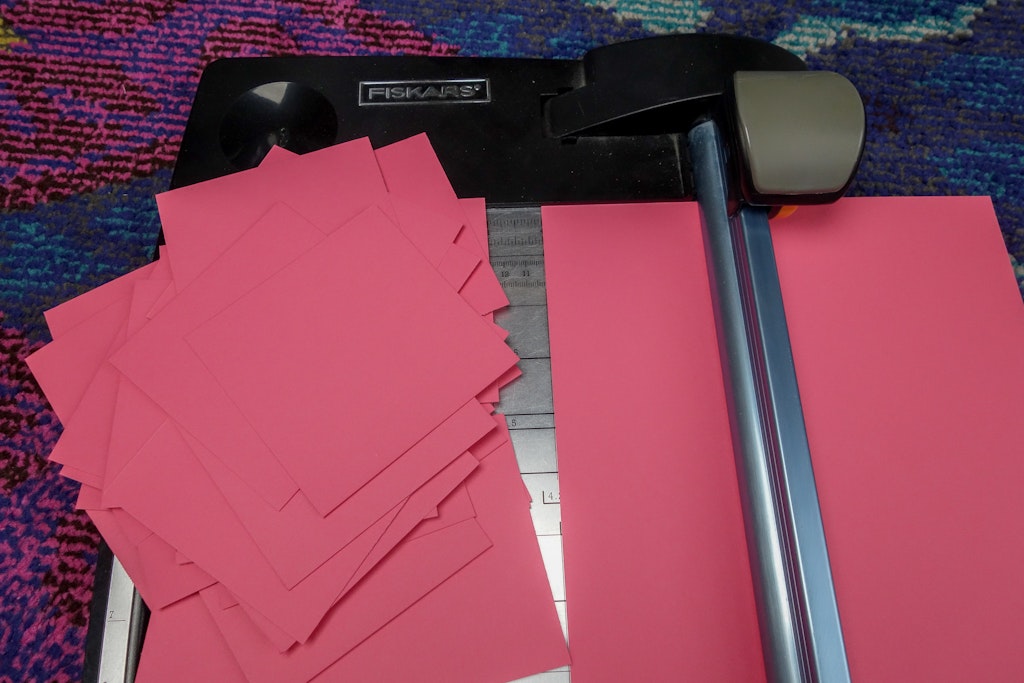
Next you’re going to cut approximately 65 little 4″x4″ squares out of your card stock.
We were using 80lb card stock and found that it was a little difficult to roll the edges without leaving a crease in the paper, but if we curled the two edges of the paper in the direction you were going to roll the paper into a cone then it was a lot easier. It’s similar to curling ribbon. Rotate the square so i looks like a diamond with a point at the top and bottom. Curl the two side points in toward the center.
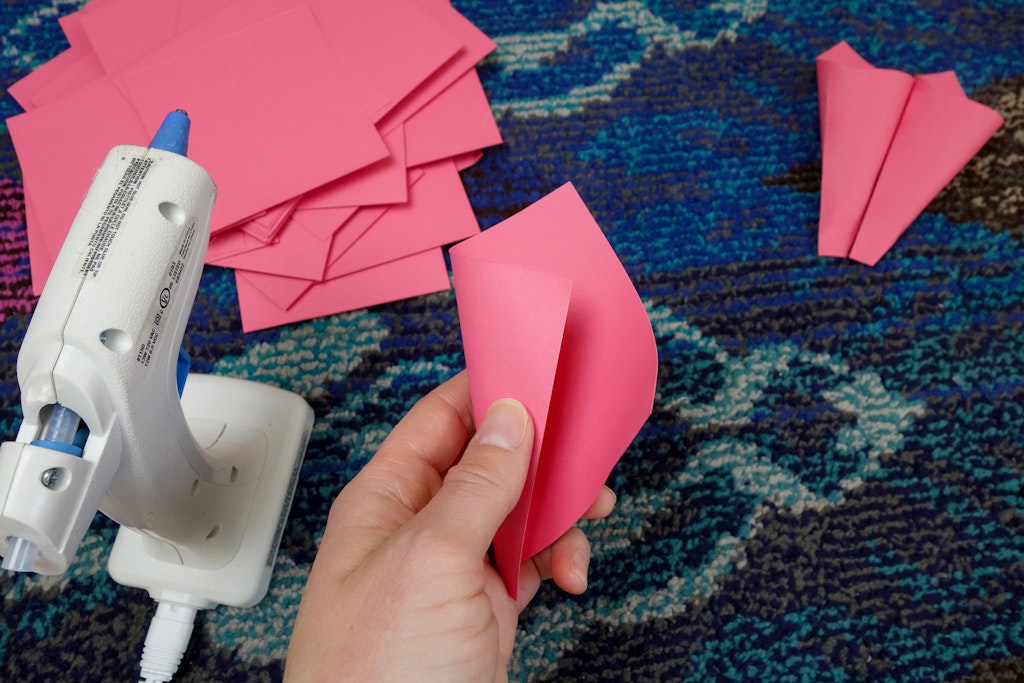
Fire up that glue gun and lets start making all of the little cones for the flower petals. Leaving a point at the top, roll one edge to the center and the other edge on top to the other side. Add a line of hot glue to the side that is on top and press it down.
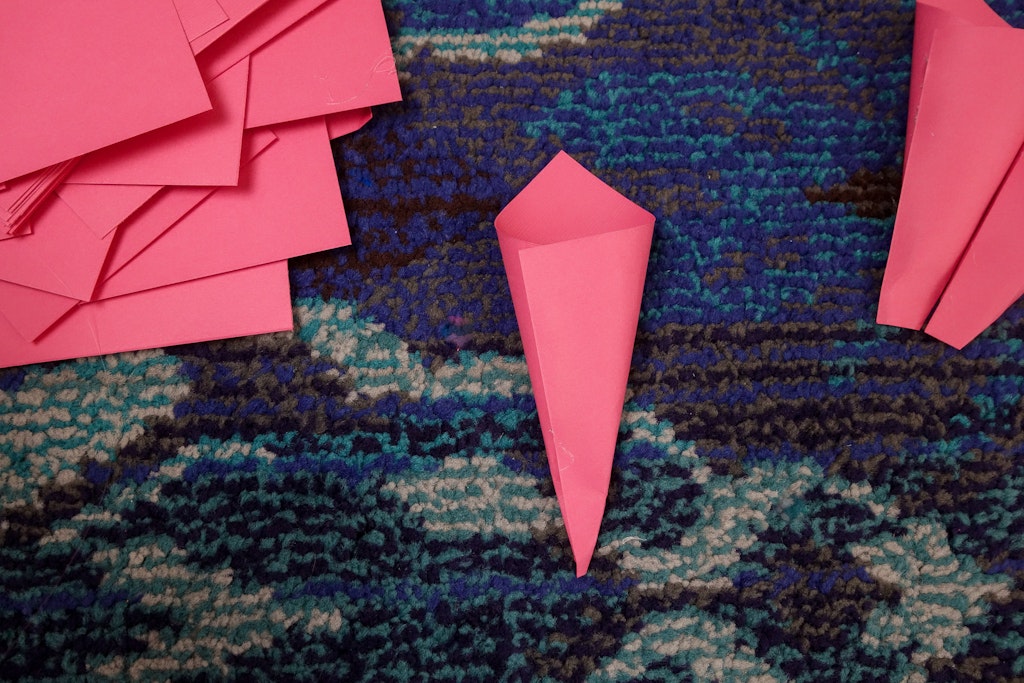
One down 60ish more to go 🙂
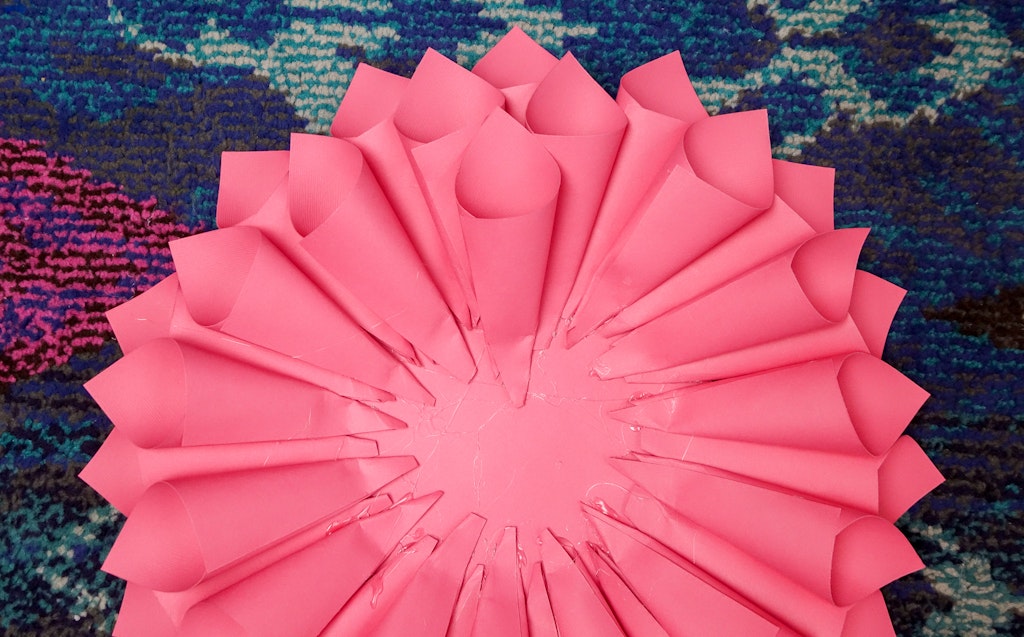
Space out your first layer of cones around your circle base. We used 15 on the bottom. Space them all out before gluing them down so you can shift them around if necessary. Glue the first layer down.
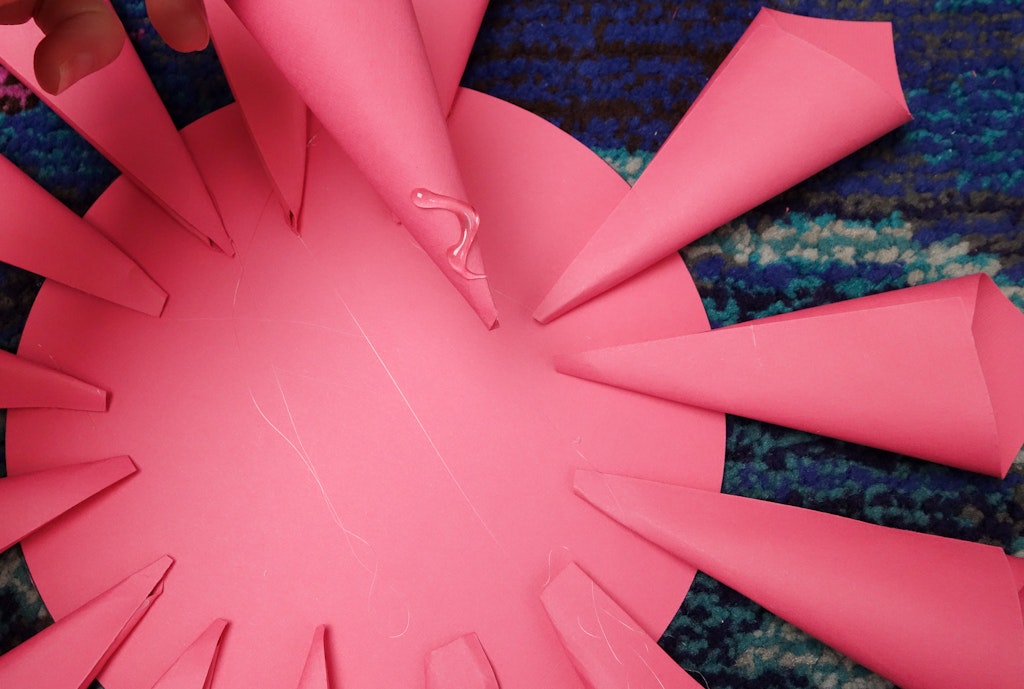
You can press down on the tips of the cones when gluing. Your next layers will cover over the bases so you won’t see that part.
Start adding your second layer of cones in between the first layer cones. Slide the second layer cones a little closer to the center of your base.

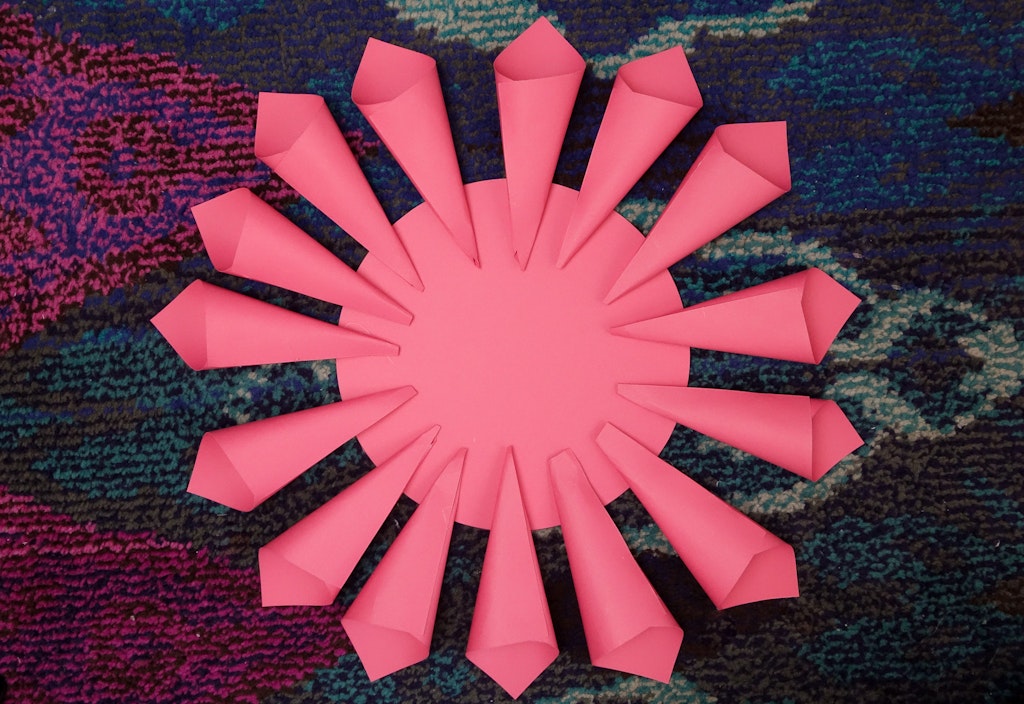
Continue adding rows of cones in between your previous rows. Moving a little closer to the center of the base each time.
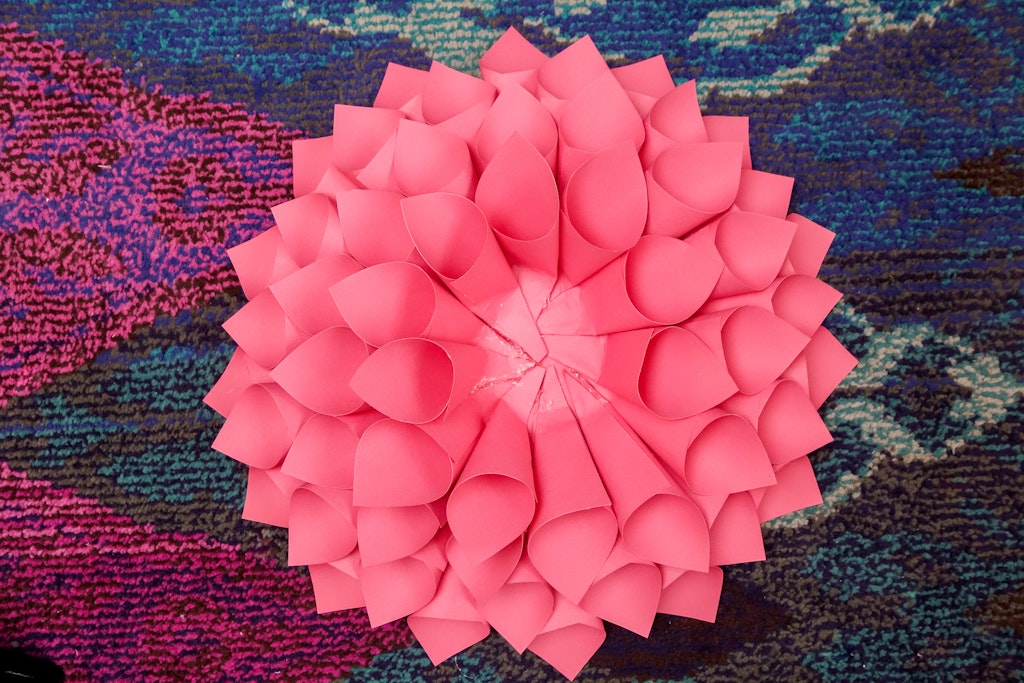
You will probably have to squish and fold down the tips of the cones as you glue them down the closer you get to the center.
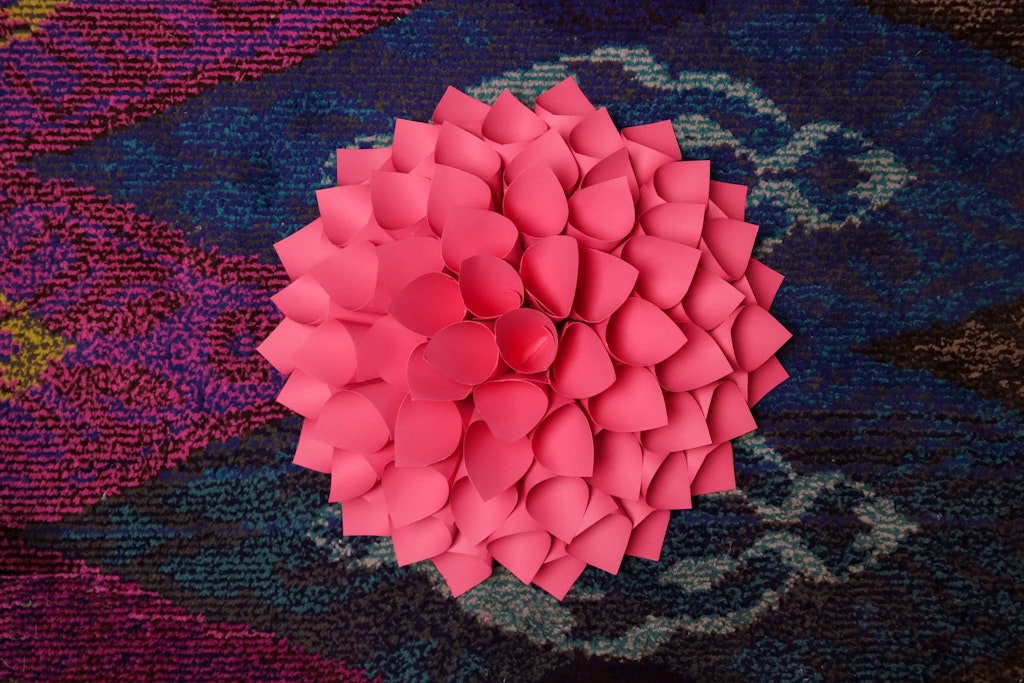
And you’re all done! You can hang them up on your wall with a few 3m strips.
For additional party decorations check out our Tissue Paper Garland Tutorial. or DIY Streamer Photo Backdrop.