How To Make Flower Filled Birthday Numbers Party Decor
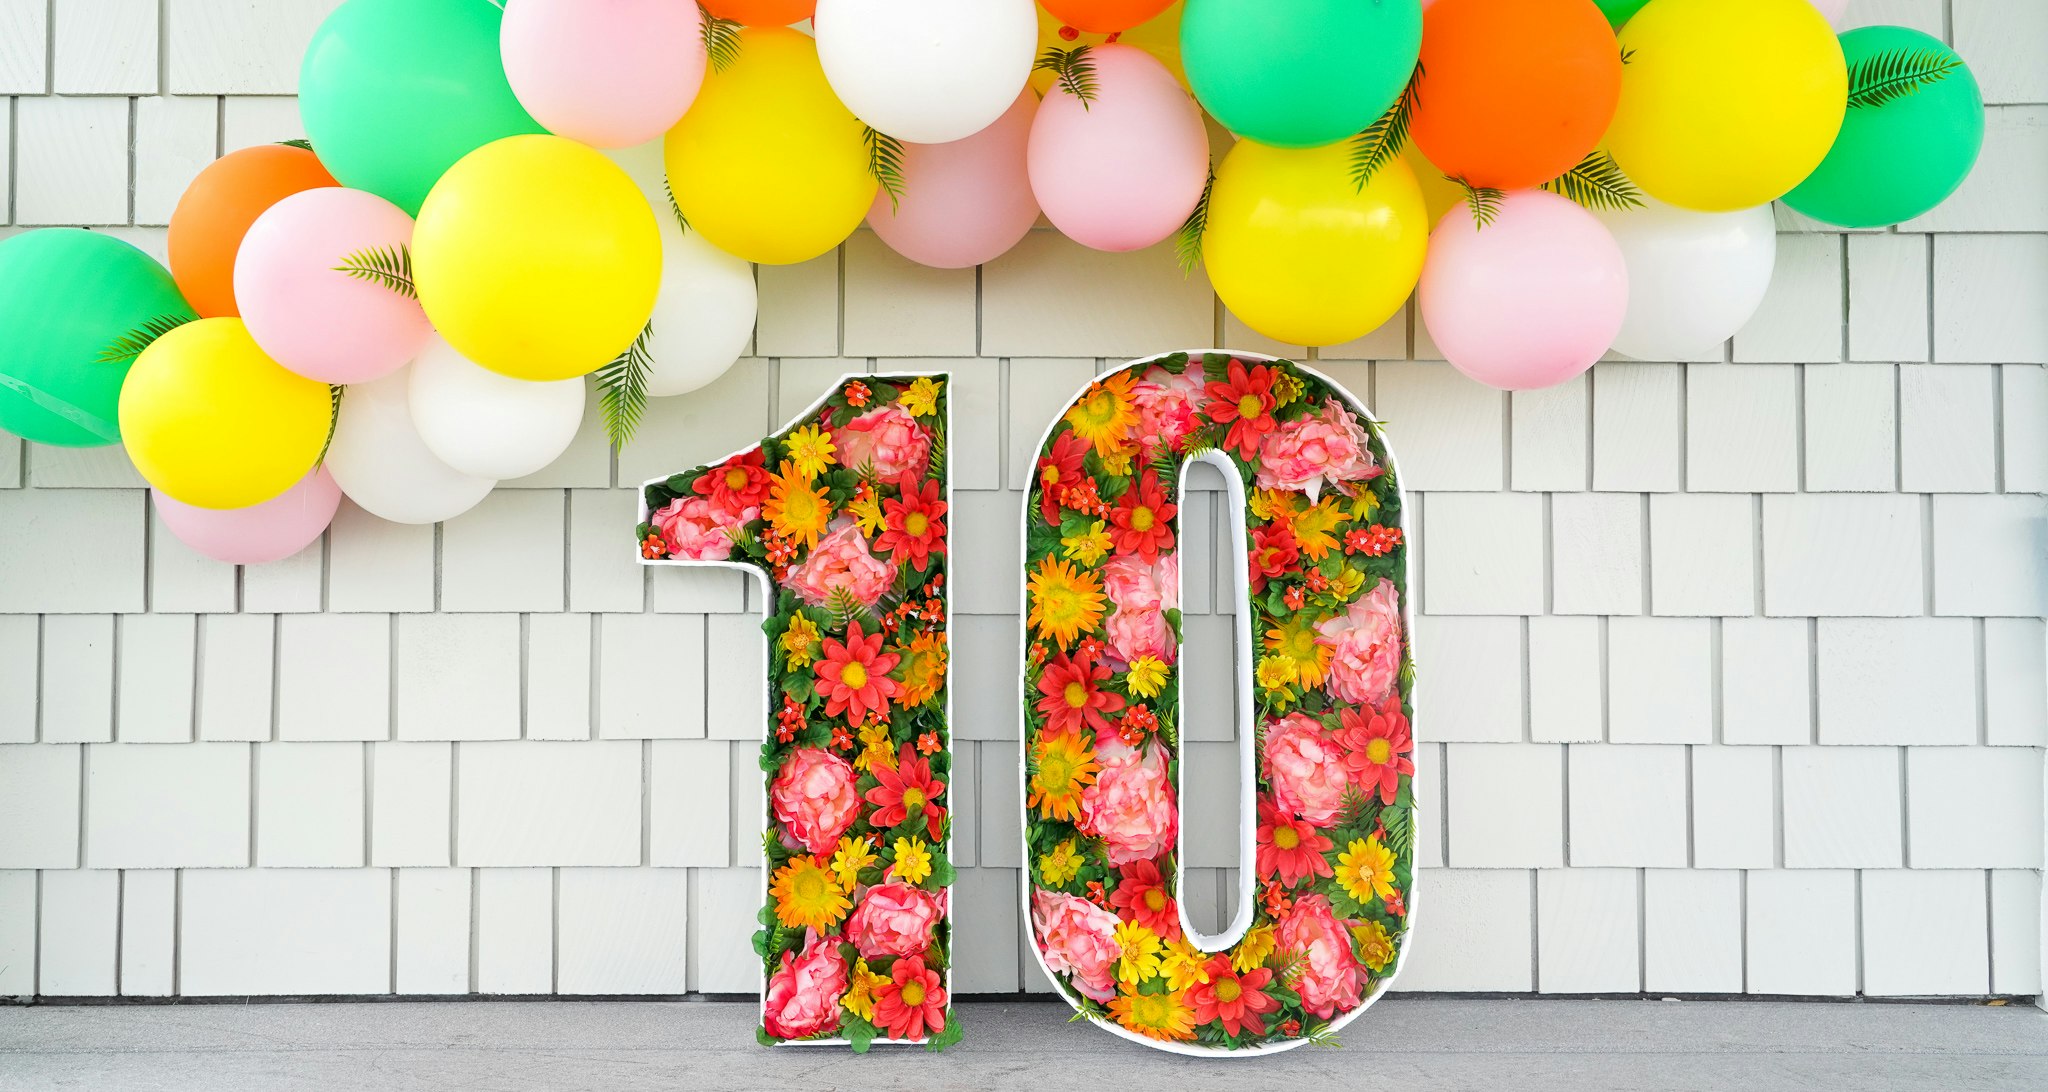
Take your birthday party decor to a whole new level with these fun flower filled birthday numbers. These are a different take on our tutorial for DIY oversized marquee numbers and letters
Supplies You’ll Need For Oversized Marquee Letters And Numbers
- White Foam Core Board – I used 3 20′ x 30′ boards for this project, but the number will depend on what number you’re using or what word you’re spelling. You’ll need one board per number and an extra for the edging. If you line up your letters or numbers to hug one side of the foam core board, you can use some of the extra for the edging pieces.
- access to a printer and white printer paper
- clear tape
- pencil
- scissors
- utility knife or Xacto knife
- hot glue gun and glue sticks
- ruler – I have a 3″ x 18″ clear craft ruler that was super helpful for this project
- faux flowers and faux greenery (a lot of the summer stuff is now on sale at the craft stores!)
How To Make Your Flower Filled Birthday Letter & Number Stencils
You can choose your own font or design for this project as well. If you choose to do that, make sure that you save the page setup as a custom 20″ x 30″ size before saving it as a PDF.
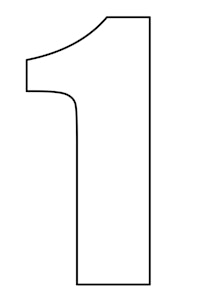
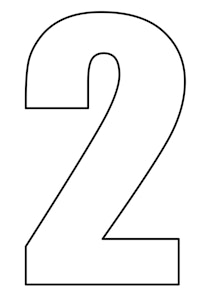
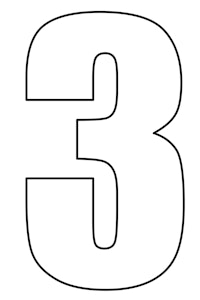
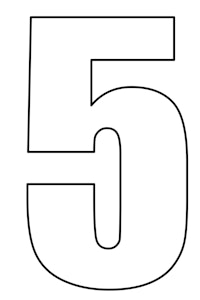
Print Your Birthday Number Stencils
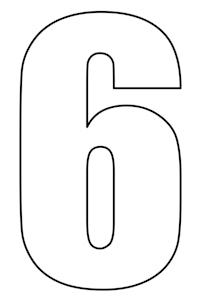
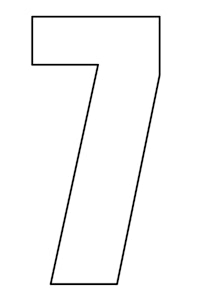
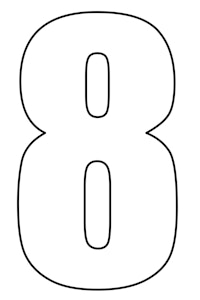
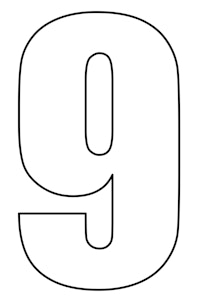
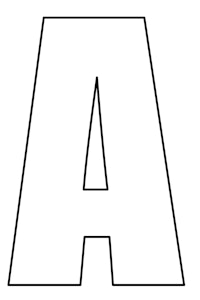
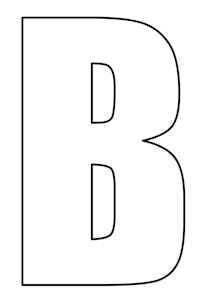
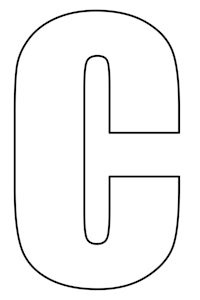
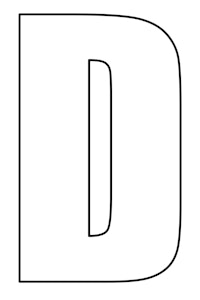
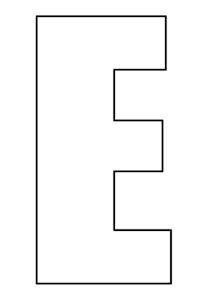
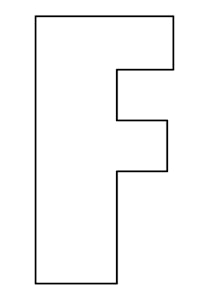
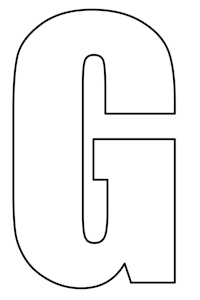
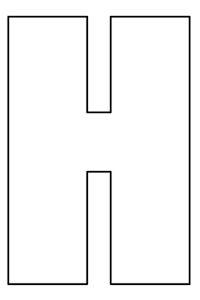
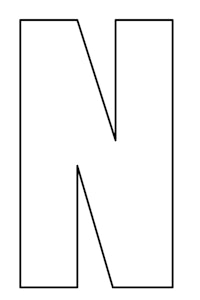
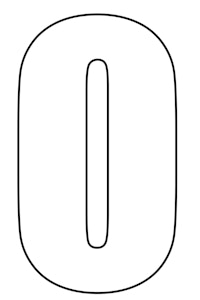
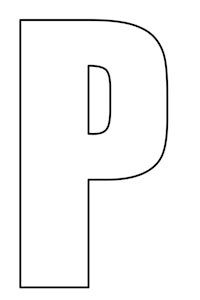
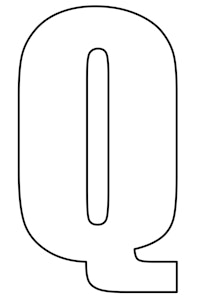
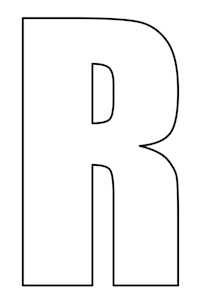
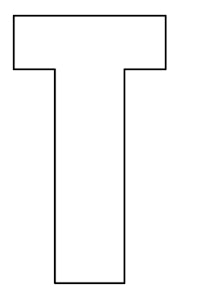
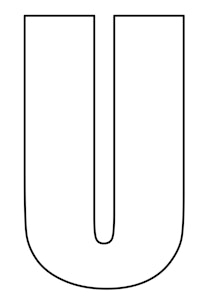
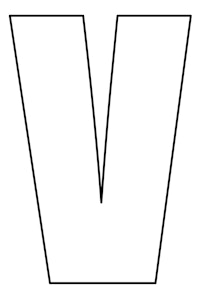
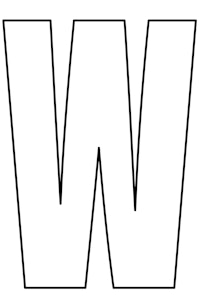
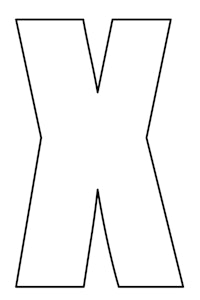
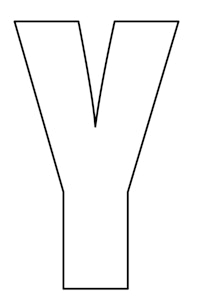
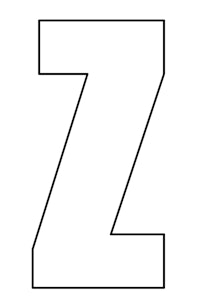
To print the pages out you’ll need to use Adobe Acrobat. If you don’t have the program, you can download a free version to use. I have included files with A-Z and 0-9 in the font i used for my signs at the end of this post.
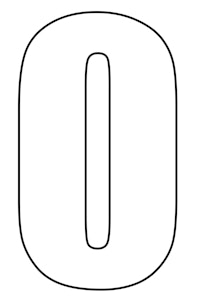
Click on the letter or number you want to print to download the file.
Then open the file in Acrobat and go to print the file.
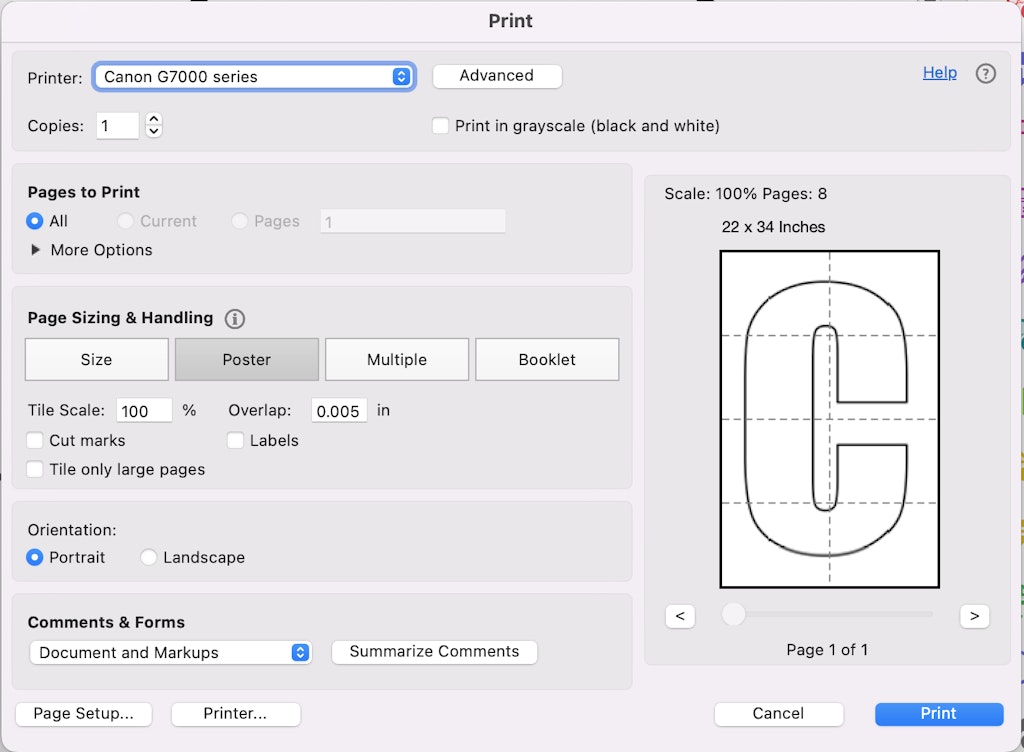
Your print screen should look similar to this. Choose the POSTER option for page sizing and handling. It might change the overall size of the “poster” to accommodate for the actual printer paper once assembled.
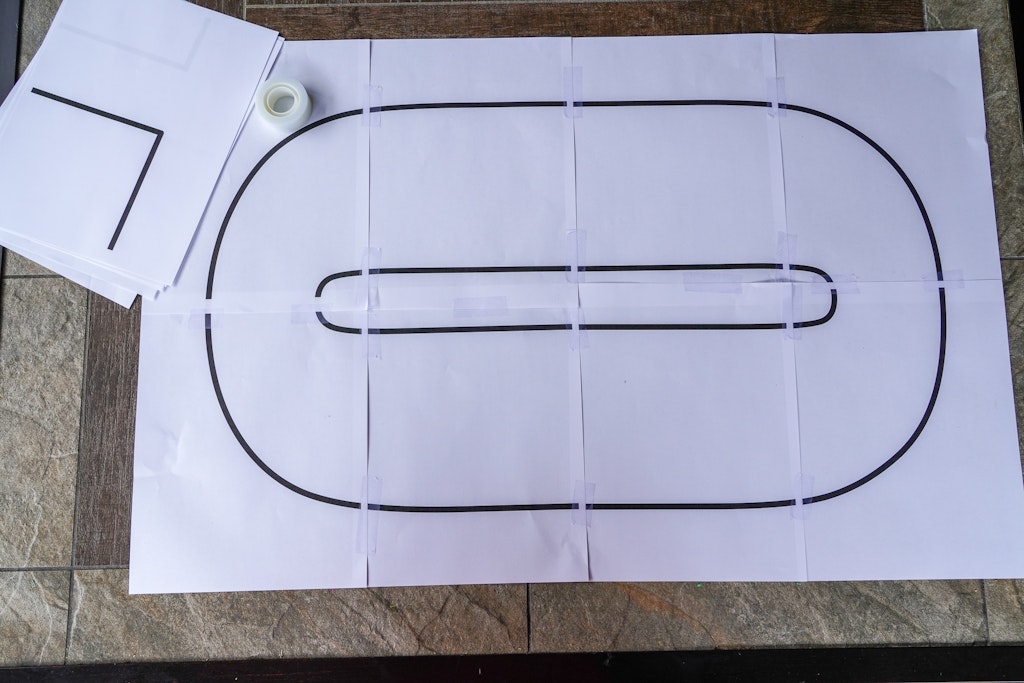
I would suggest printing one number stencil at a time and store them in separate piles. This will make assembling the letter more simple. You might need to trim some of the edges to have the letters line up correctly.I would suggest printing one letter or number at a time and store them in separate piles. This will make assembling the letter more simple. You might need to trim some of the edges to have the letters line up correctly.
Cut out each stencil.
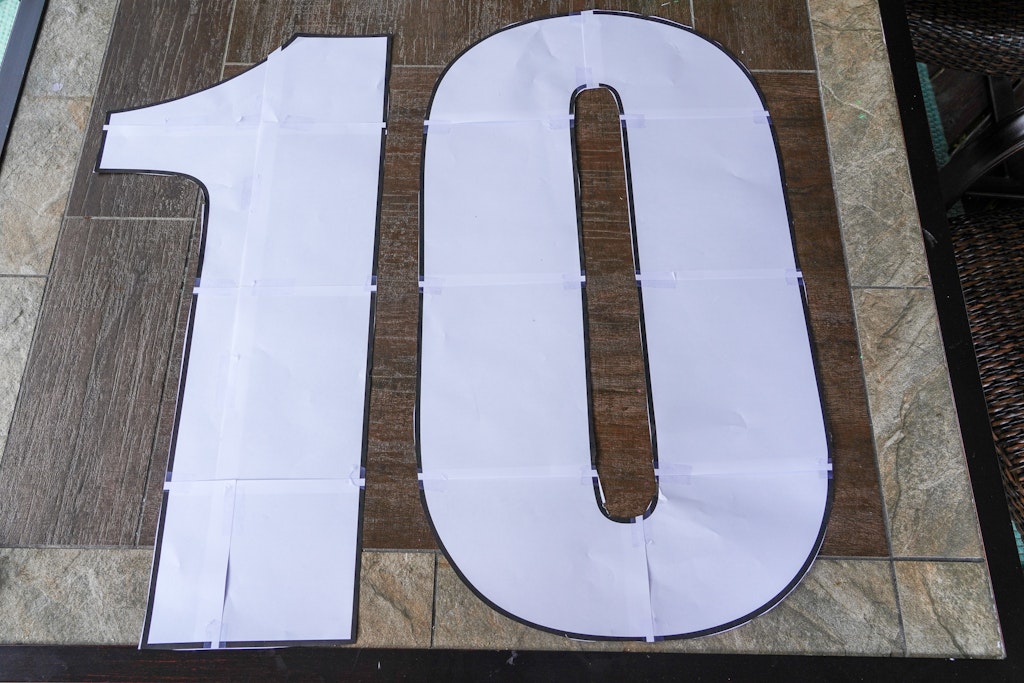
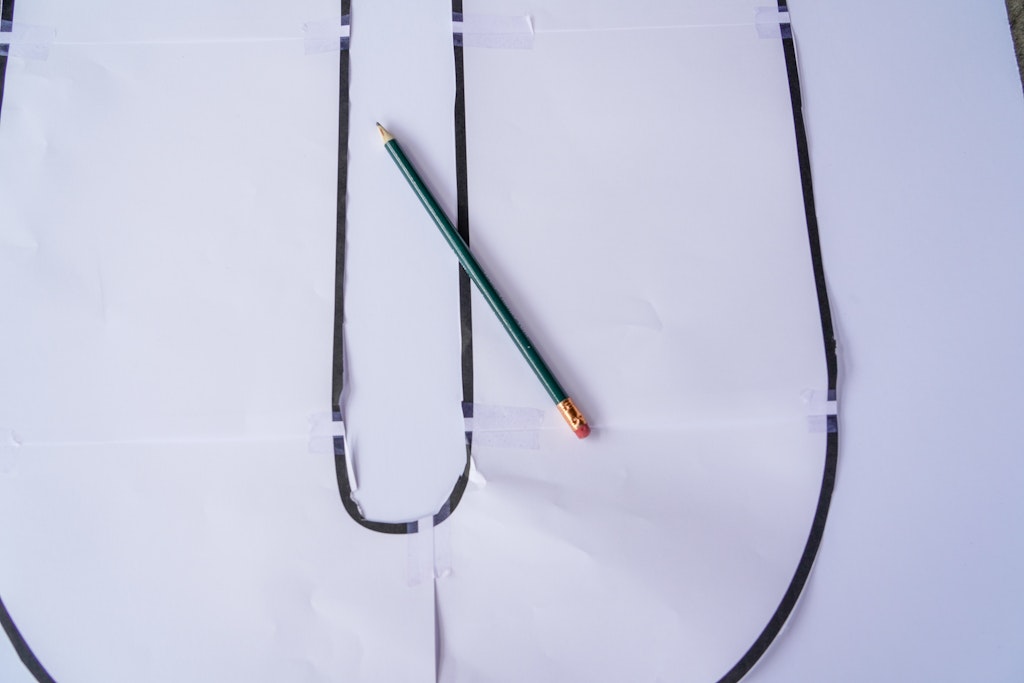
Place the stencil on top of a piece of foam core board and trace it using a pencil. Take advantage of any straight edges by lining your stencil up with the edge of the foam core board.
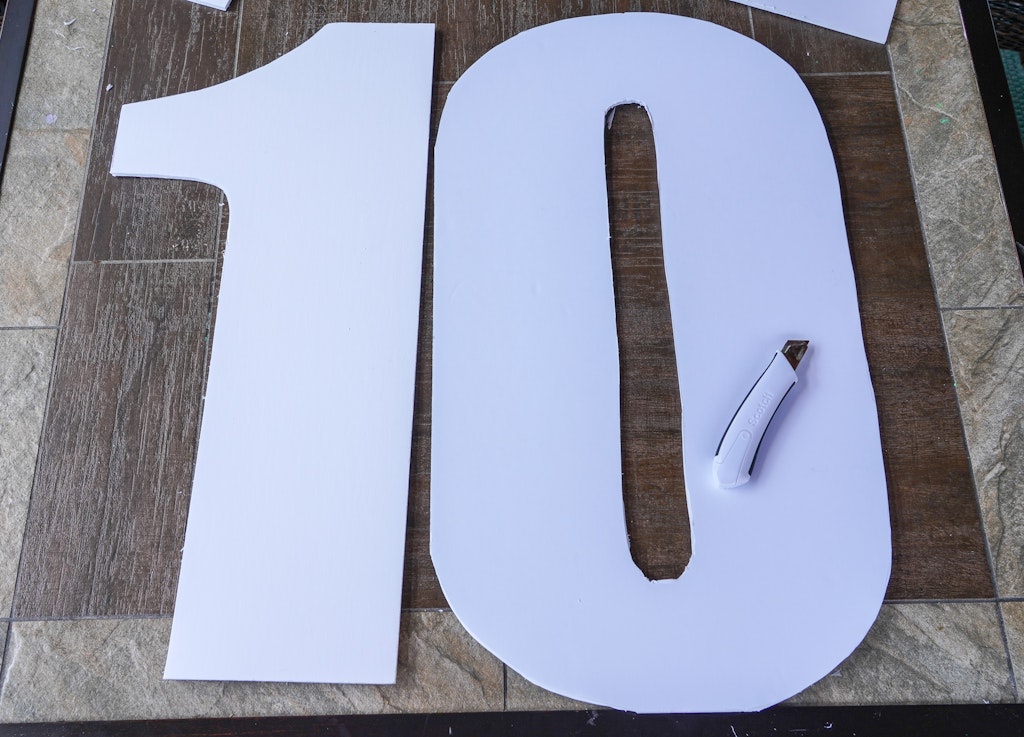
Make The Edges Of The Birthday Numbers
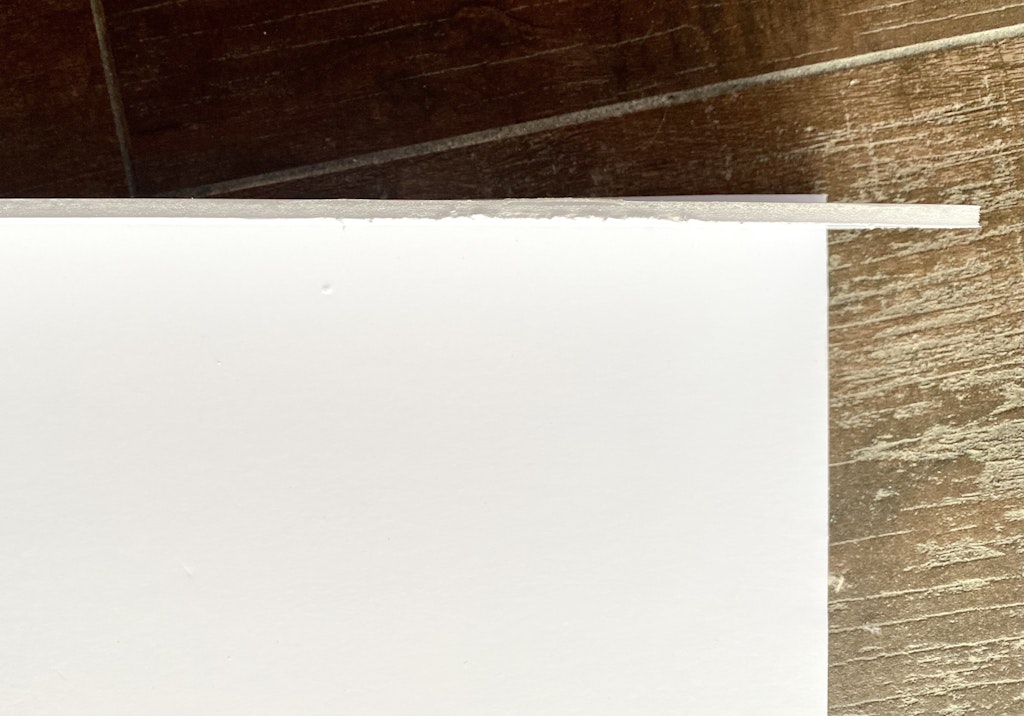
When I made the edges of these oversized birthday numbers I measured and cut strips of 3″ wide foam core board using my utility knife. I followed the same tutorial for my Marquee Numbers and Letters.
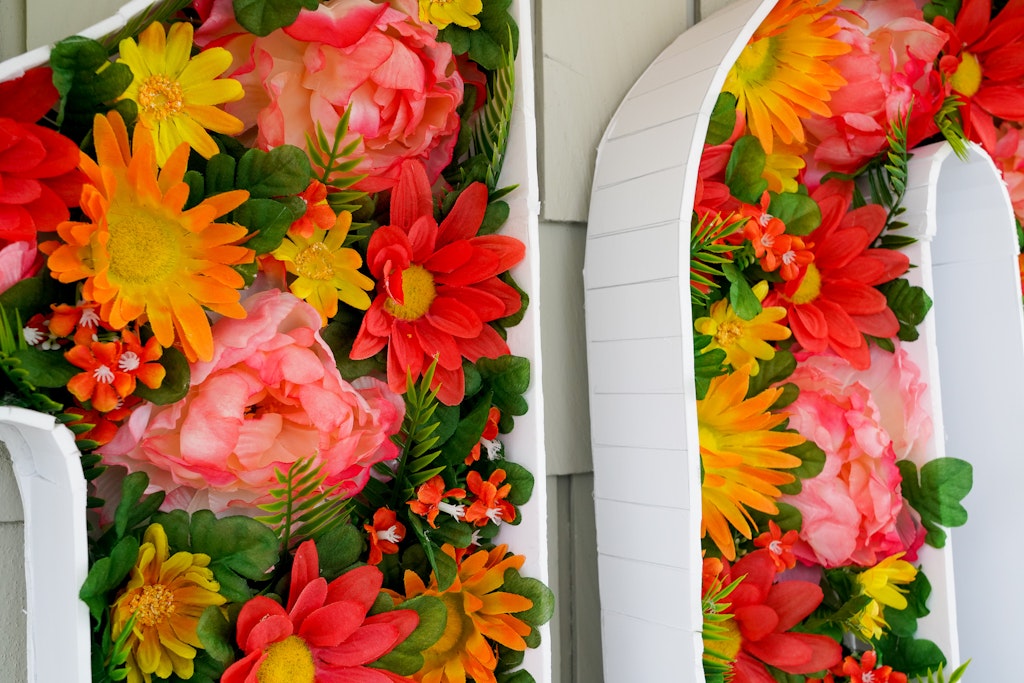
If I made this again, I would make the edges of the numbers more shallow. Maybe 2″ strips. The flowers sat a little too deep in the numbers with 3″ walls
You’ll need varying lengths, but I started by cutting them the length of the long side of the foam core board, 30″. This is where the ruler comes in handy.
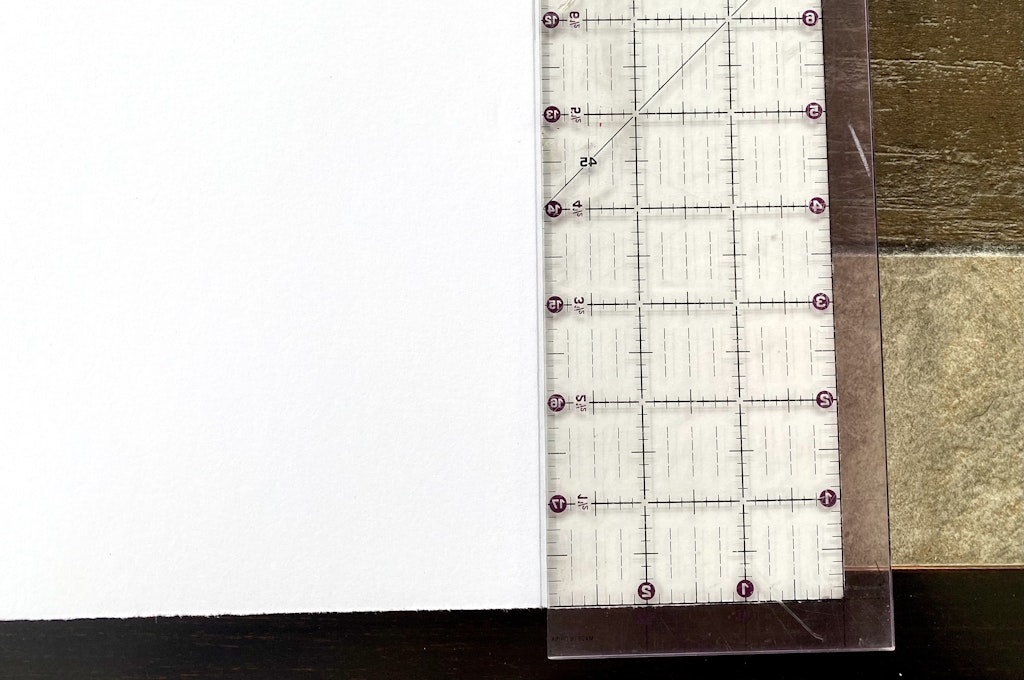
Hold the section up to the edge of your letter and mark where you’ll need to make a cut for the length to match the edge of your letter.
Hot glue the thin edge of your strip to the front edge of your letter to create a lip outlining the letter.
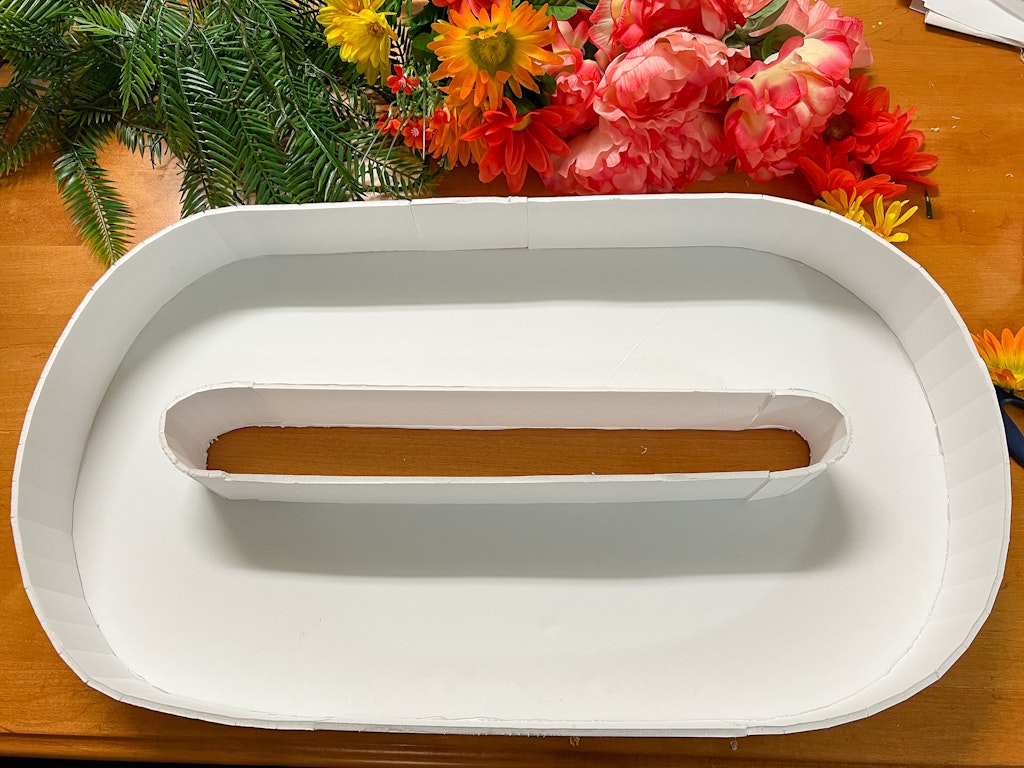
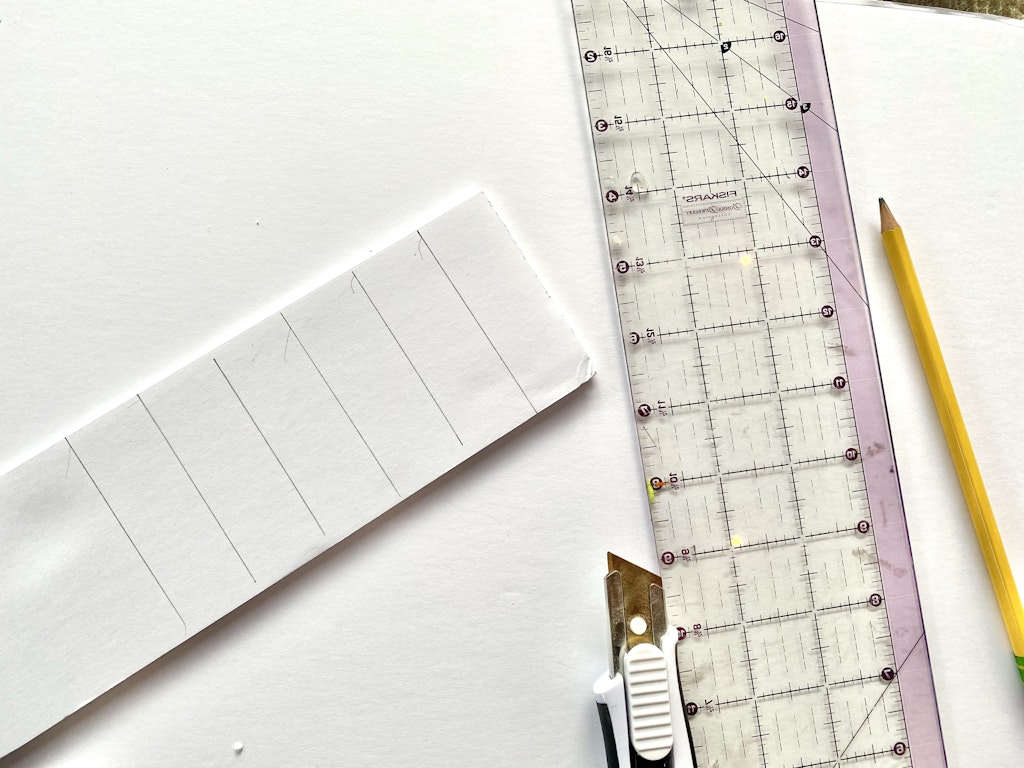
To make the edges for the curvy sections of your letters and numbers I drew lines an inch apart (1/2 inch apart for really curvy parts).
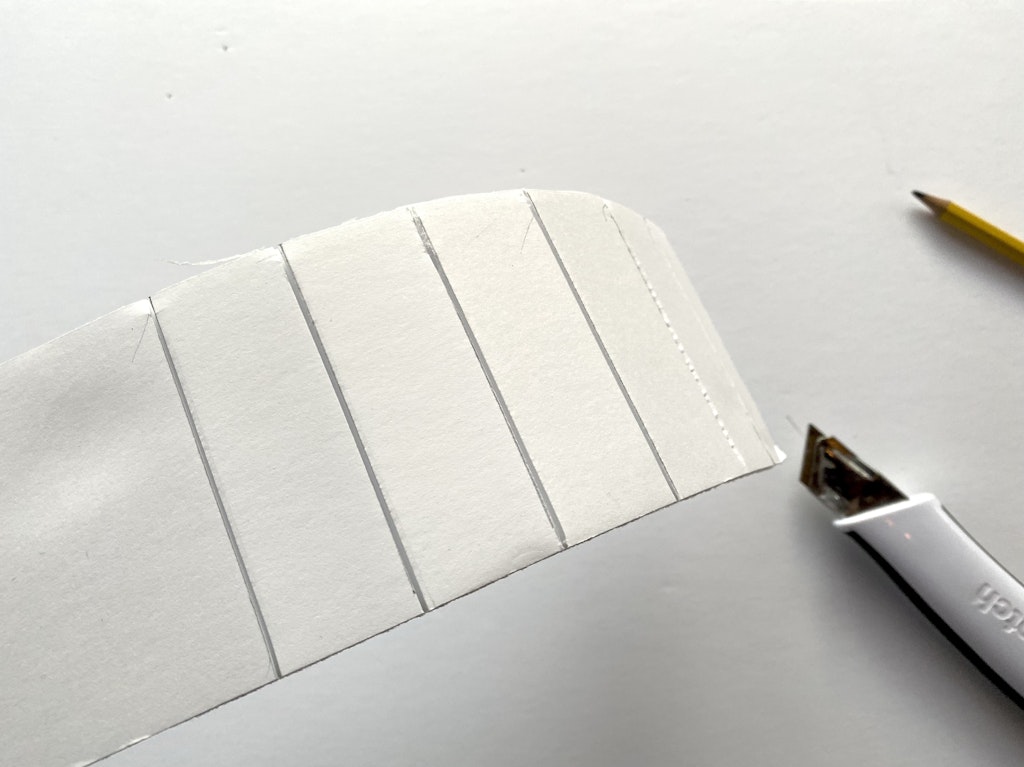
Use your utility knife to score the lines. Don’t cut all the way through.
Carefully snap along the lines to allow the piece to bend. The paper on the opposite side should remain in tact.
Line the curved strips along the curved edges of the letters or numbers and glue them down.
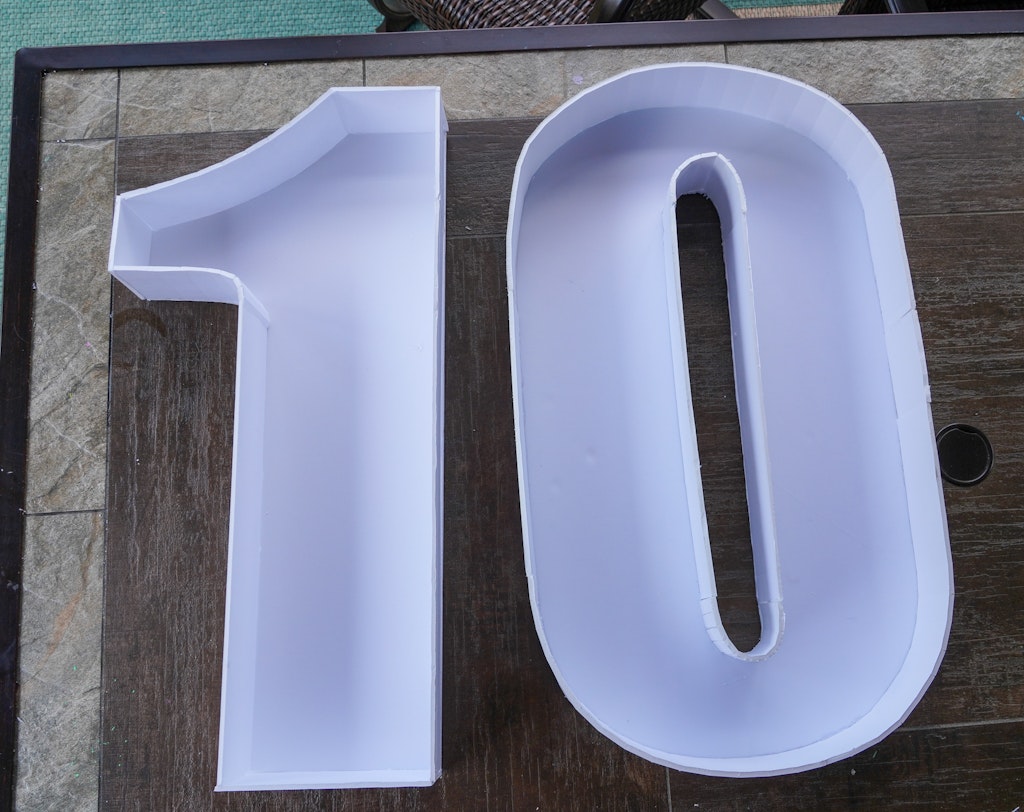
Fill Your Birthday Numbers With Faux Flowers
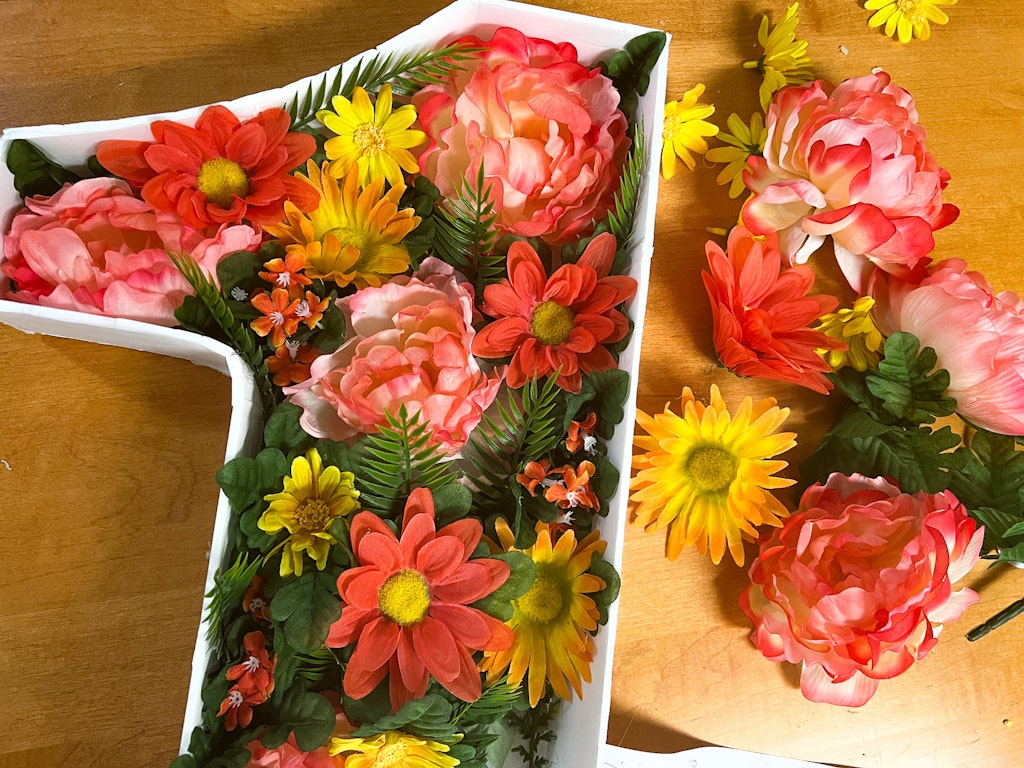
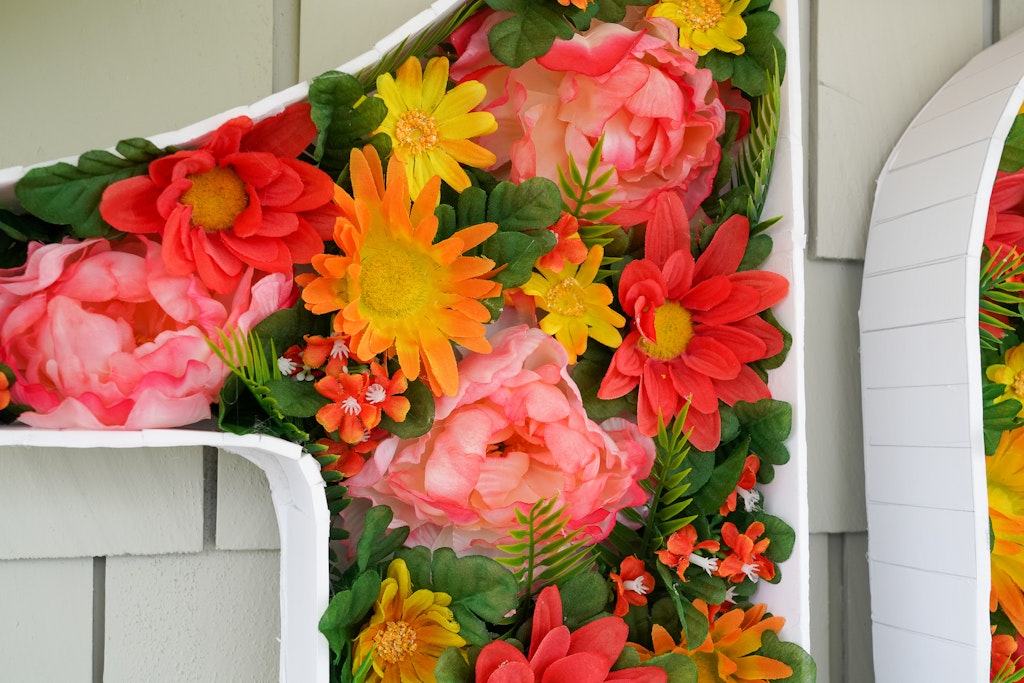
Pop off the heads of the flowers and greenery and start glueing them in with hot glue.





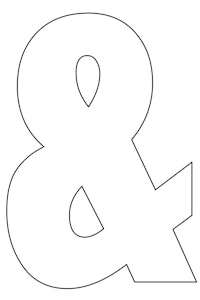

Hello do you have the Marquee Ampersand and pound sign as well?
I added them up there! Thanks for asking 🙂
Thank you! 🙂