Ski Trip Packing Checklist
The thought of taking the entire family skiing can be a little overwhelming with all of the necessary layers and equipment that each person will need. Take a look at the items below and print off our ski trip packing list. We put off our first family ski trip a couple years longer than we should have. All three of our kids have had a blast each time that we head up the mountain.
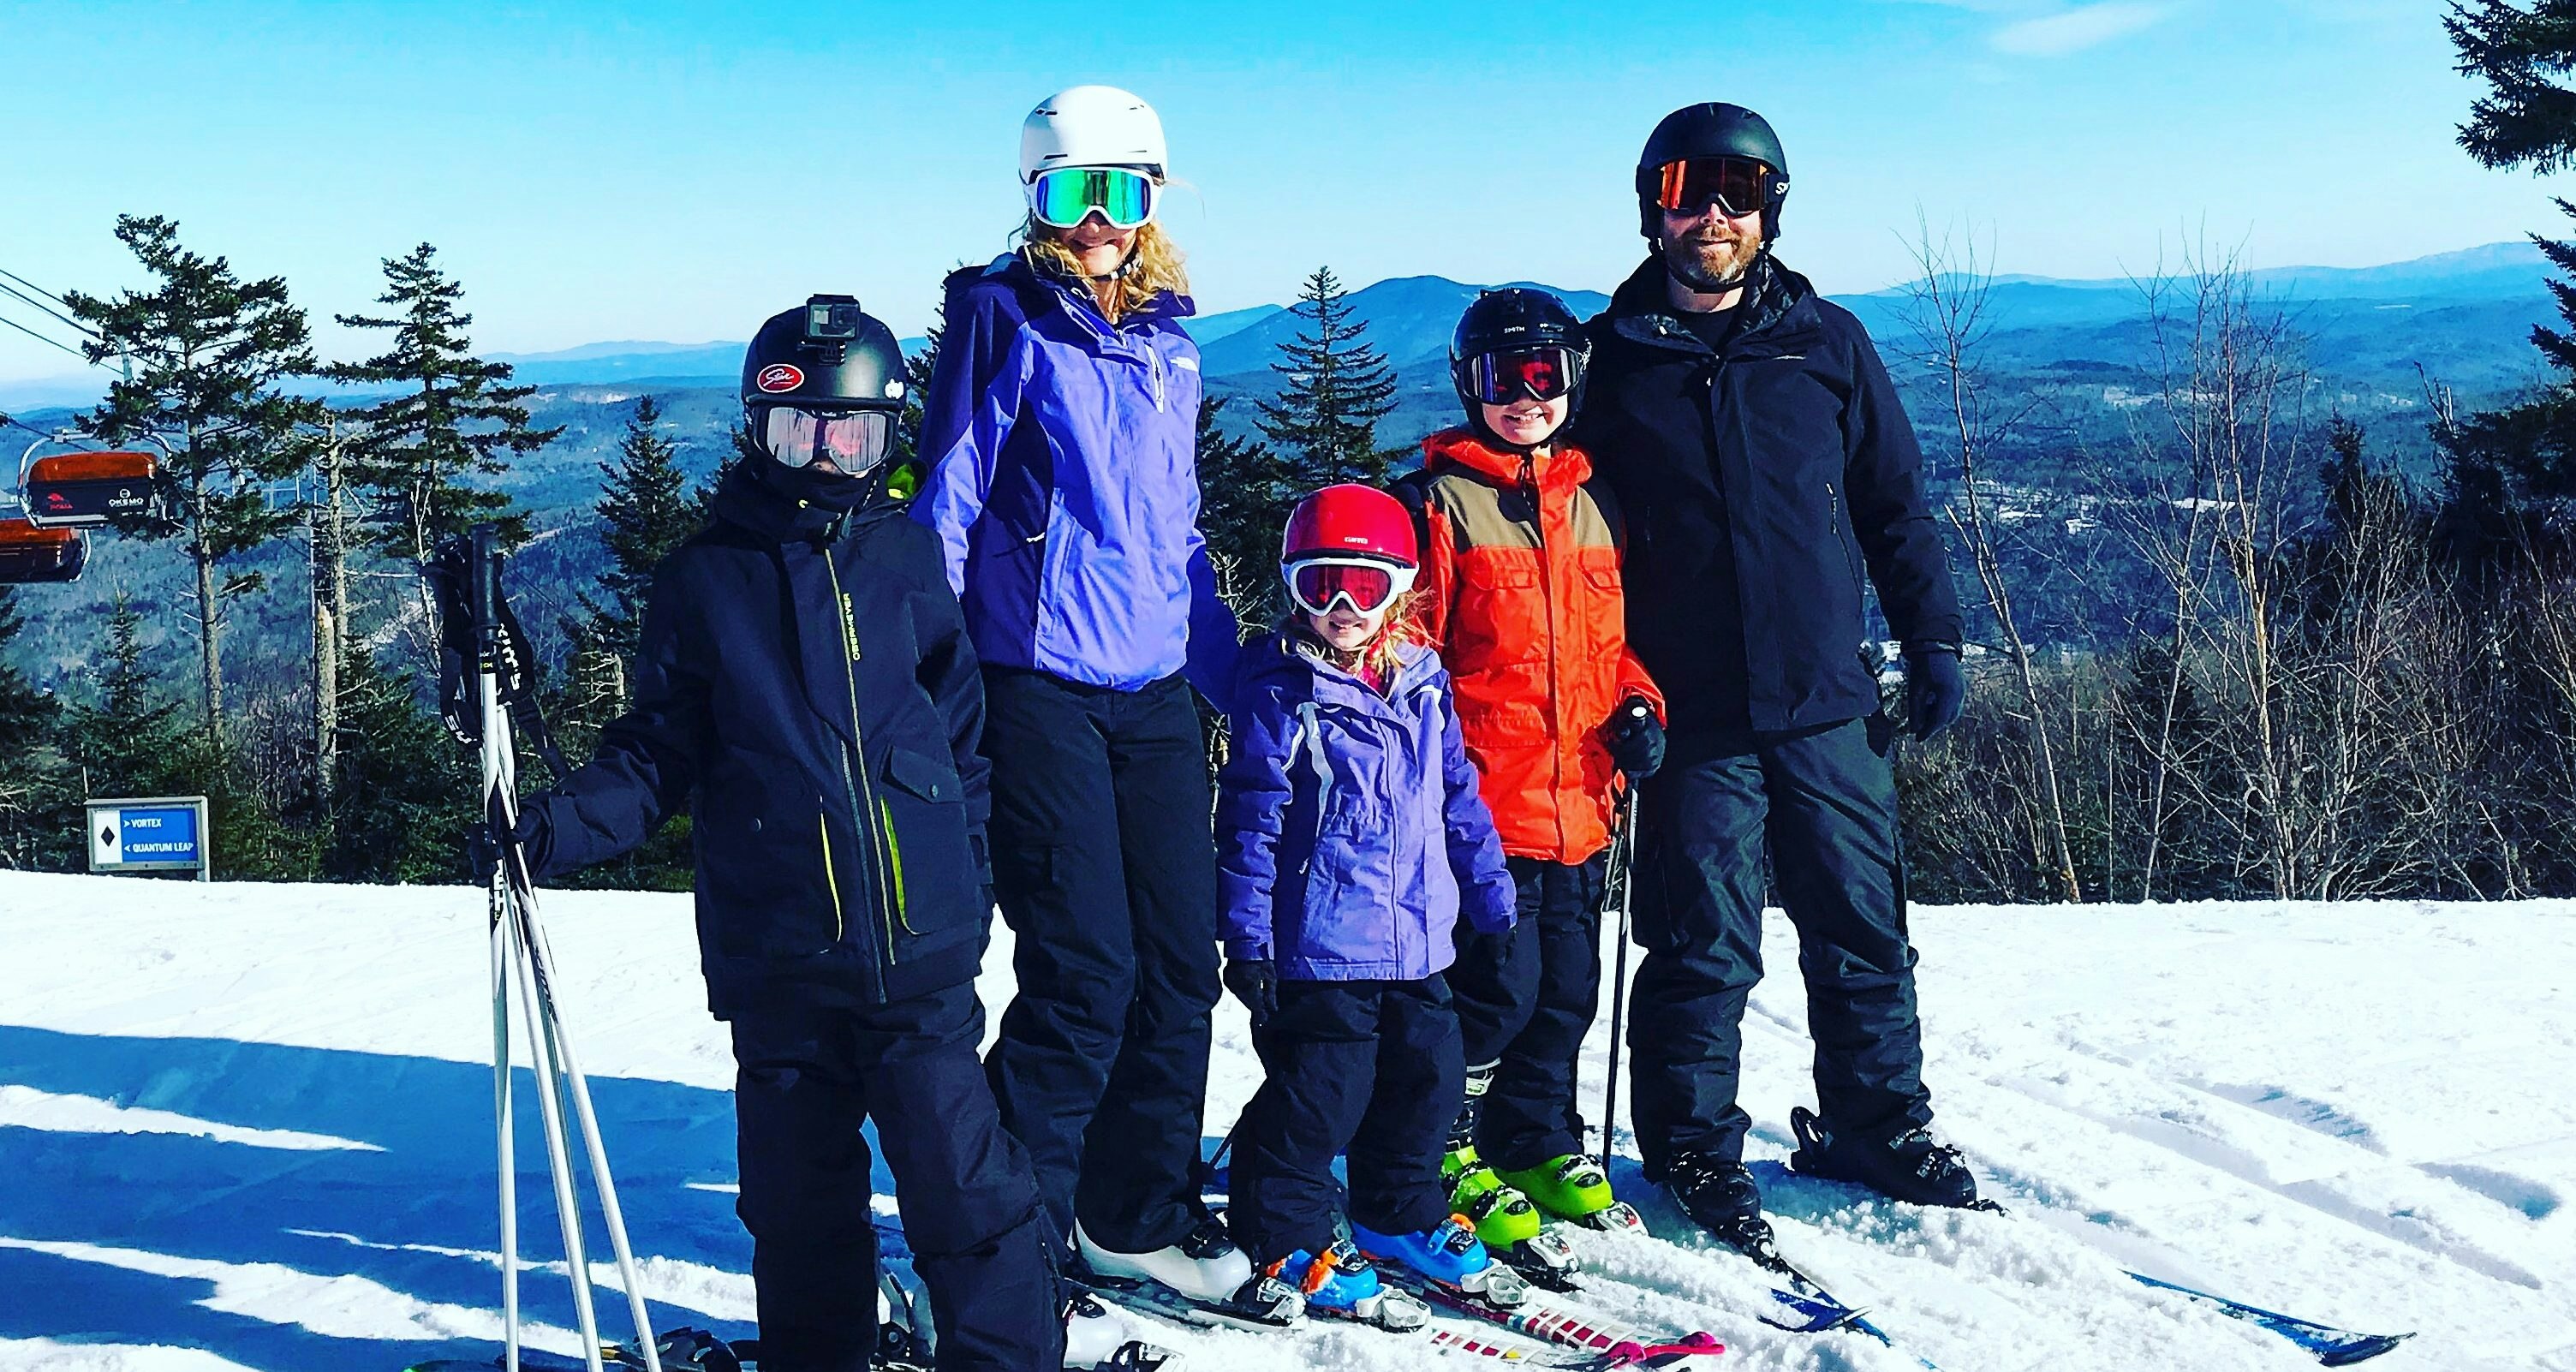
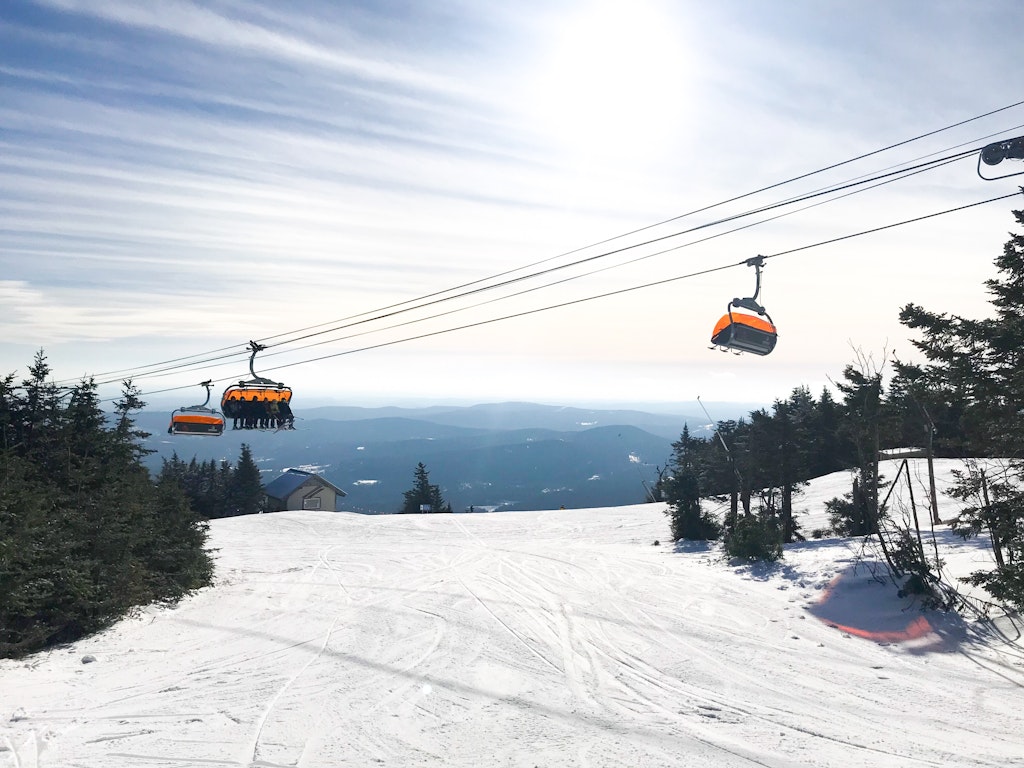
We just returned from a few days in Okemo, Vermont. On our trip up to Okemo Mountain Resort last year we braved temperatures way below freezing. We ended up having to make a few extra trips to the local ski shops for last minute items to keep them warm and safe in the bitter cold. Check out our list of suggested items on what to pack for your upcoming trip so you can spend less time shopping for necessary gear and more time having fun.
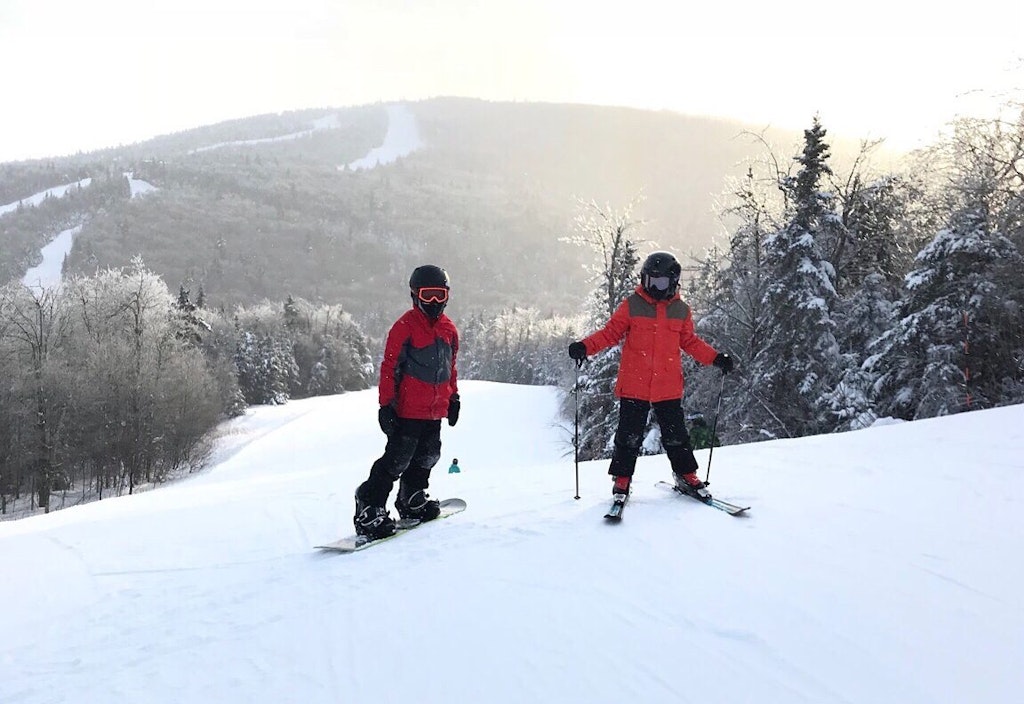
Whether you’re looking at subzero or slightly more comfortable conditions, we have compiled a packing list to help your family prepare for a great vacation on the slopes.
On The Slopes
Base Layer – This should be a tight-fitting layer worn directly next to your skin. The base layer is usually made of materials with moisture wicking abilities such as a technical fabric or merino wool. In my no-so-professional opinion, I feel like the more technical fabric makes a bigger difference in cooler temperatures. You could always start off with the more affordable option, then watch for some end of the season sales for the pricier option. It’s an investment, but ours have held up for a few seasons now. Hot Chillys brand is great but it’s definitely more pricey! Lands End, sweaty betty, REI, all have great options. You can also find thermal base layers at Target and even Costco closer to the season.
Mid Layer – This layer is worn over your base layer when temps drop pretty low. On our first trip up to Vermont when temperatures hovered around -14 we definitely layered up. On our most recent trip, temperatures were a “balmy” 25 degrees. We all wore only our base layers and outer layers and we were perfectly comfortable the entire time. You probably have clothing around the house that you can use as a mid layer such as a long sleeved t-shirt, a thin sweatshirt or a half zip activewear shirt on the top and thin, close-fitting athletic pants or sweatpants on the bottom. I wore fleece-lined leggings on the really cold days and didn’t need a mid layer on my legs, but we had the kids in a mid-layer sweat pant or athletic pant over their base layer. Be aware of the thickness of the ankle of the mid layer pants too. These are usually tucked into the kids’ boots and if the mid layer pant legs are bulky, it can feel uncomfortable with too much bulky fabric inside of their ski boots.
Waterproof Parka or Coat – This is your outermost layer that will protect you from the wind, snow, and rain. We highly suggest that you look for waterproof fabrics rather than water-resistant fabrics.
Waterproof Ski Pants / Snow Pants or Bib – Gone are the days of skiing in jeans my friends. Yes, children, people did that 😉 Ok my brother did last year but we don’t talk about that hahahaha. These pants will serve as your outermost layer that will protect you from the elements. Again, look for waterproof fabrics to keep you dry and warm. Our kiddos wore the Lands End Boys Squall Snow Bibs. They are adjustable and have lasted us a couple of seasons already. The kids stayed perfectly dry and warm. As for the teens and adults there are so many great brands out there. If you are near a ski shop and can try them on that’s your best bet.
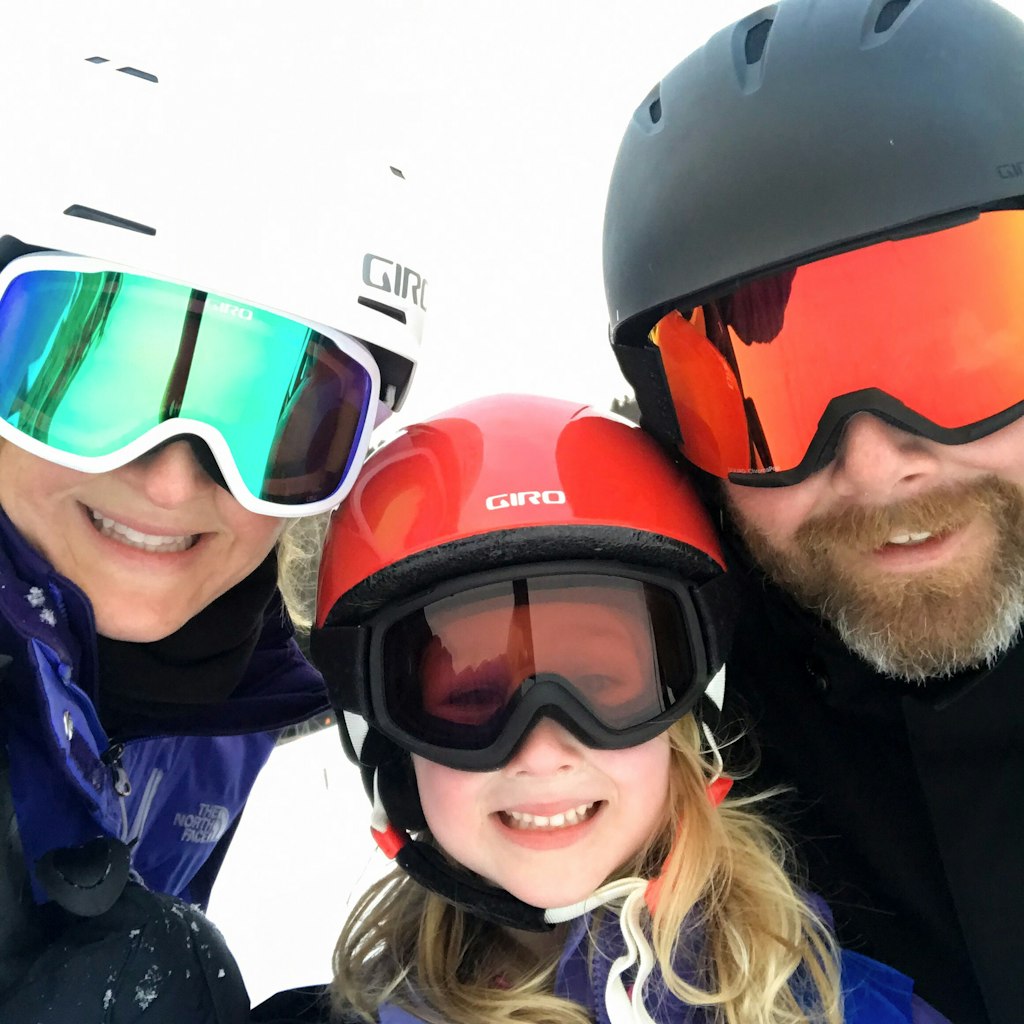
Helmet – Most ski and snowboard rental facilities also rent helmets, or you can purchase your own helmets at a ski shop, online or at some big box stores. Ski helmets are not the same as bicycle helmets. As tempted as you might be to strap the kids in their bicycle helmets and call it a day, resist the urge and rent or buy the actual ski helmets. Like most equipment, there is a price range available, but most helmets usually run around $50 a piece and, because they are slightly adjustable, will most likely last a few years.
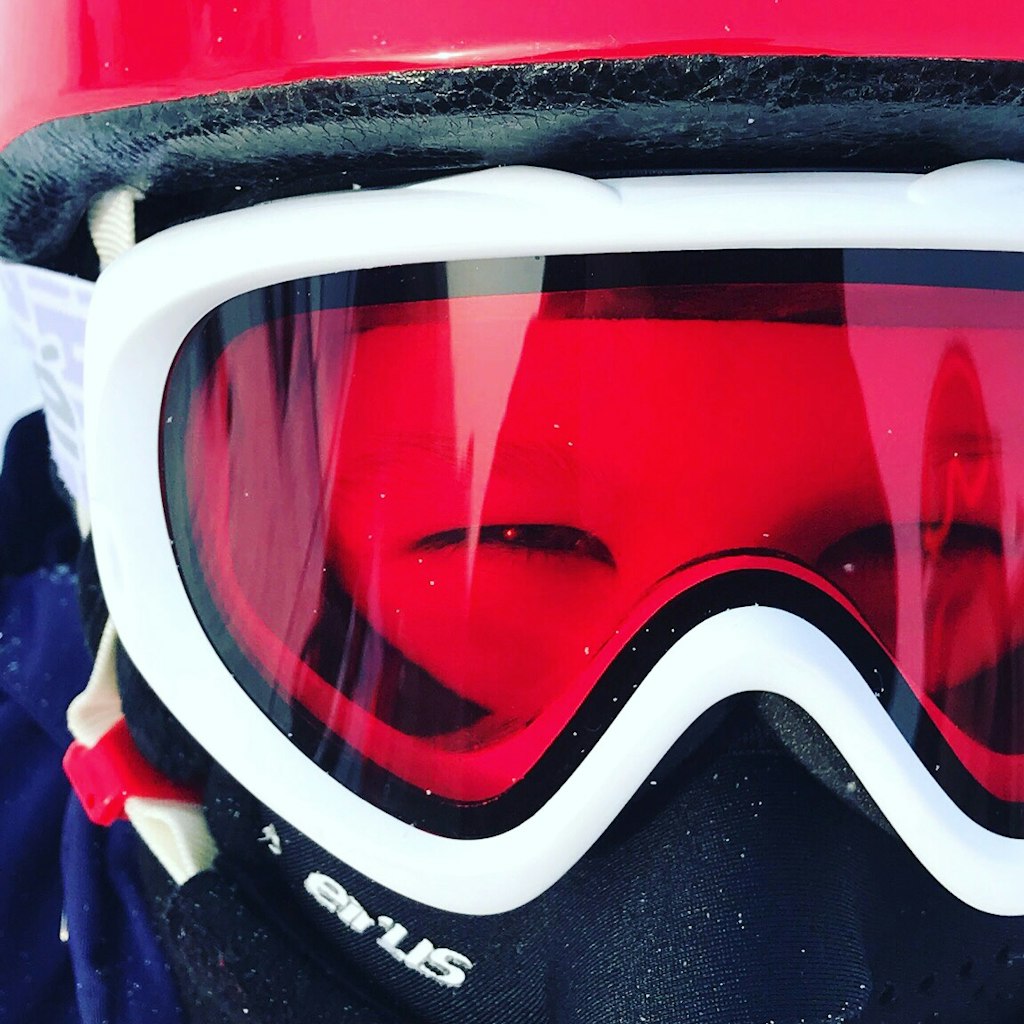
Goggles – Although most rental places rent helmets, you will need to purchase your own goggles. Make sure that you try on the goggles with the ski helmet you will be wearing to make sure that they fit within the space remaining after your helmet is on your head. Sometimes goggles that are too large will lift the front of the helmet up or push down on your nose too far. If you’re ordering online, pay attention to the return policies prior to purchasing on the off chance that you receive the equipment and it doesn’t fit together properly. There is quite a range is price when it comes to goggles. You can get them for around $40-$50 or you can spend well over $200-$500 or more. If you have a sporting goods store or ski shop near you, I would advise trying on a few pairs to see which ones are the most comfortable. If you wear glasses, make sure that you find a pair of goggles that are made for wearing over glasses. Most are marked as OTG for over the glasses 😉
Depending on the weather conditions, you might want goggles for those in your family who aren’t skiing but might want to go snow tubing or ride the mountain coaster. For two years now, my daughter and I have worn our ski goggles while snow tubing and while we were wandering around outside while it was snowing. Again, it’s not necessary, just makes the conditions much more comfortable.
Socks – It is so important to invest in a good ski sock. Look for socks that are made out of fabric that wick away moisture and insulate to keep your feet warm. When my husband and I were getting fitted for our ski boots we mentioned that we wanted some room for double socking… you would have thought we cursed at the man. Hahaha. He informed us that if you start off with a good ski sock you won’t need to do any of that silly double socking 🙂 We have since purchased a few pairs of true “ski” or “snowboarding” socks for everyone in the family and although they are a little pricier, they really make a difference. We love Smartwool, Ski PHD and of course Darn Tough Vermont socks.
Glove Liners & Waterproof Mittens – We found that the warmest combination for our hands was a pair of glove liners with separate fingers and a pair of waterproof mittens. My husband and I chose glove liners with touch screen fingers so we could still use our phones without having to take off both layers of gloves. The outer mittens keep your fingers close together and therefore warmer in the long run. We didn’t have any trouble using the ski poles with the mittens. In “warmer” skiing conditions you might not need both the liners and the mittens, it depends on your comfort level. We were in temperatures that hovered around zero and greatly appreciated the double layers of gloves on our hands.
Some of the mittens also have a built-in zippered pocket on the top of the gloves where you can place your hand warmers. 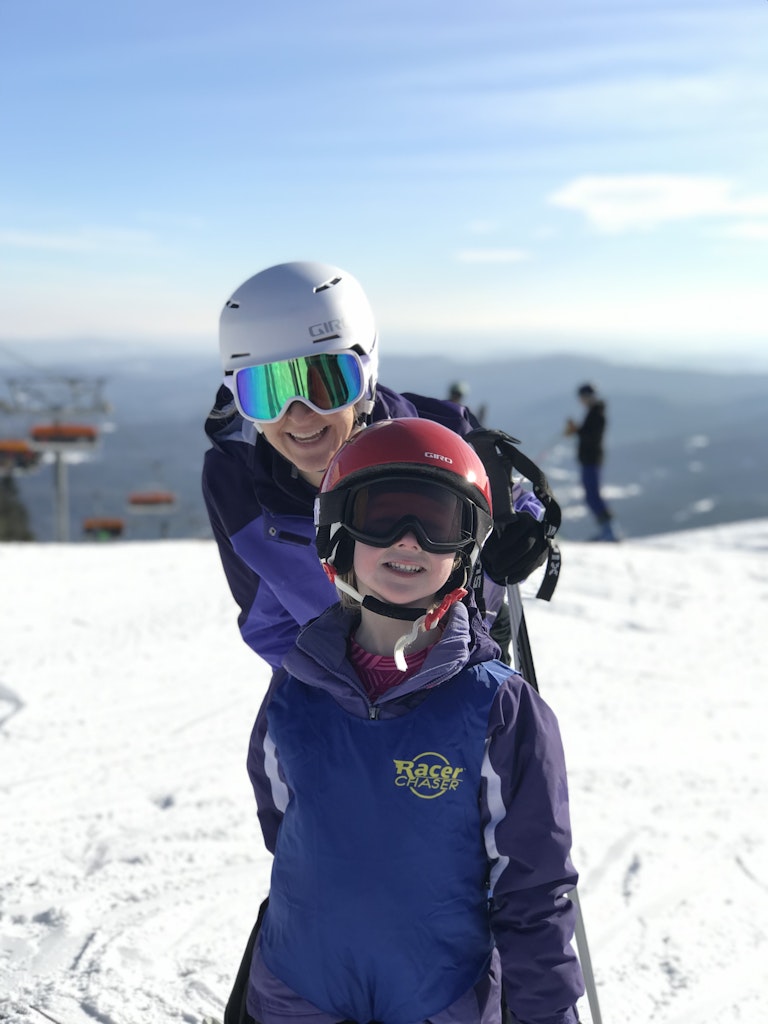
Fleece Face Mask / Neck Gaiter / Balaclava – In cold and/or windy conditions it’s a good idea to have some sort of face protection on the slopes. There are many different styles available depending on the weather conditions and your personal preference. Since we were skiing in some pretty cold conditions we chose fleece balaclavas with built-in face masks. These have a built-in headliner that you wear under your helmet to keep your head and ears covered and warm and most styles only leave the portion of your face where your goggles would be worn exposed. TI love my snuggly neck gaitor from Turtle Fur. They also have a combination neck gaiter and balaclava called a shellaclava
Defogger For Glasses And Goggles – You first want to make sure that your goggles are fitting correctly. If they are too loose and letting air up the bottom, they will fog up quickly, then in some cases freeze right up. This happens a lot when you tuck a face mask or balaclava under the bottom of your goggles. Before heading out of the slopes you can coat your goggles and spectacles with an inexpensive lens defogger like this Cat Crap Anti Fogger or Quick Spit. This was necessary on our trip last year when temps were below zero. We didn’t need these with temperatures in the 20s this year.
Hand Warmers And Toe Warmers – These little magic packets of comfort keep your fingers or toes warm for 8-10 hours. You can find them online, in sporting goods stores or big box stores like Costco, Walmart or Target. Again, we blew through these last year when the weather was super cold. This year with temperatures around freezing, we didn’t end up using any.
Dermatone – Dermatone is a pomade that protects skin from both windburn and frostbite. We found out about this on our last trip when weather conditions threatened the possibility of frostbite. You apply Dermatone to where your skin might be exposed like where your helmet and goggles meet, around the side of your goggles and on your nose, chin, etc. Not taking any chances, we applied a thin layer of pomade to our entire faces. It worked perfectly.
Chapstick – Dry and windy conditions lead to dry, chapped lips.
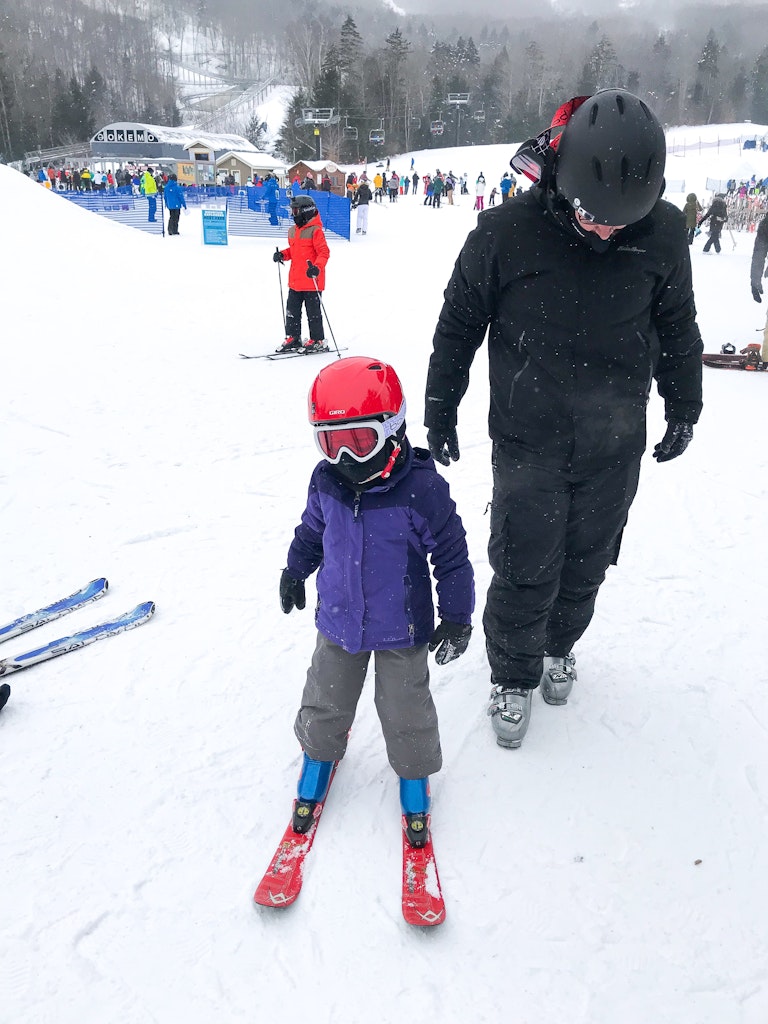
Equipment – Do your research. If you don’t own your own equipment check into rental pricing at the slopes or local ski shops around the mountain. Take into consideration if you are flying in, driving in and how much extra room you might have or not have in the car. If you live within a couple hours of a ski slope, you might have local shops that offer rentals as well. We were able to do a season-long lease on some equipment for the kids for the same cost as renting their equipment for a few days directly from the ski resort. If you are thinking about signing you or your kids up for ski school or some lessons, check out the details on what the ski resort offers. Some places include rentals with their learn-to-ski packages.
Wherever you decide to get your equipment make sure that you try on the boots with the socks that you will be wearing while you are skiing/snowboarding. If you are planning on wearing two pairs of socks, try on your boots with two pairs of socks.
- Skis, Ski Boots, and Poles
- Snowboard, snowboard boots
Phone battery charger – Check on the resort website before you go about cell coverage on the mountain. You might want to carry a portable battery charger for your phone. Sometimes those cold temperatures can drain your battery pretty quick.
Off the Slopes
Warm Hat – You’ll need a warm beanie to wear outside when you’re not wearing your balaclava and ski helmet. Something to keep your noggin warm and hide your crazy helmet head on your way to your apres-ski dinner.
Snow Boots Or Warm Boots – You’ll need something warm to trek around in outside and around the lodge or house after the ski boots come off.
Swimsuit – If your hotel, inn or house has a hot tub or indoor/outdoor pool you might want to pack the suits.
Board Games, Magazines, Books, Decks of Cards – Create your own family-friendly apres-ski spot. Order some pizza and snag a spot in the lobby, the lodge or in the comfort of your room and play your favorite board game, read a book or play some good old fashioned card games. Last year, our daughter who was four at the time was happy as can be hanging out with mom in the lobby playing Candyland with a cup of hot cocoa.
Small Sled For Your Nonskiing Tots- It really depends on the ski resort. You obviously can’t ride these on the slopes but if you have a little one that won’t be skiing, they might enjoy being pulled around in the sled while you watch the skiers come down.
Extras
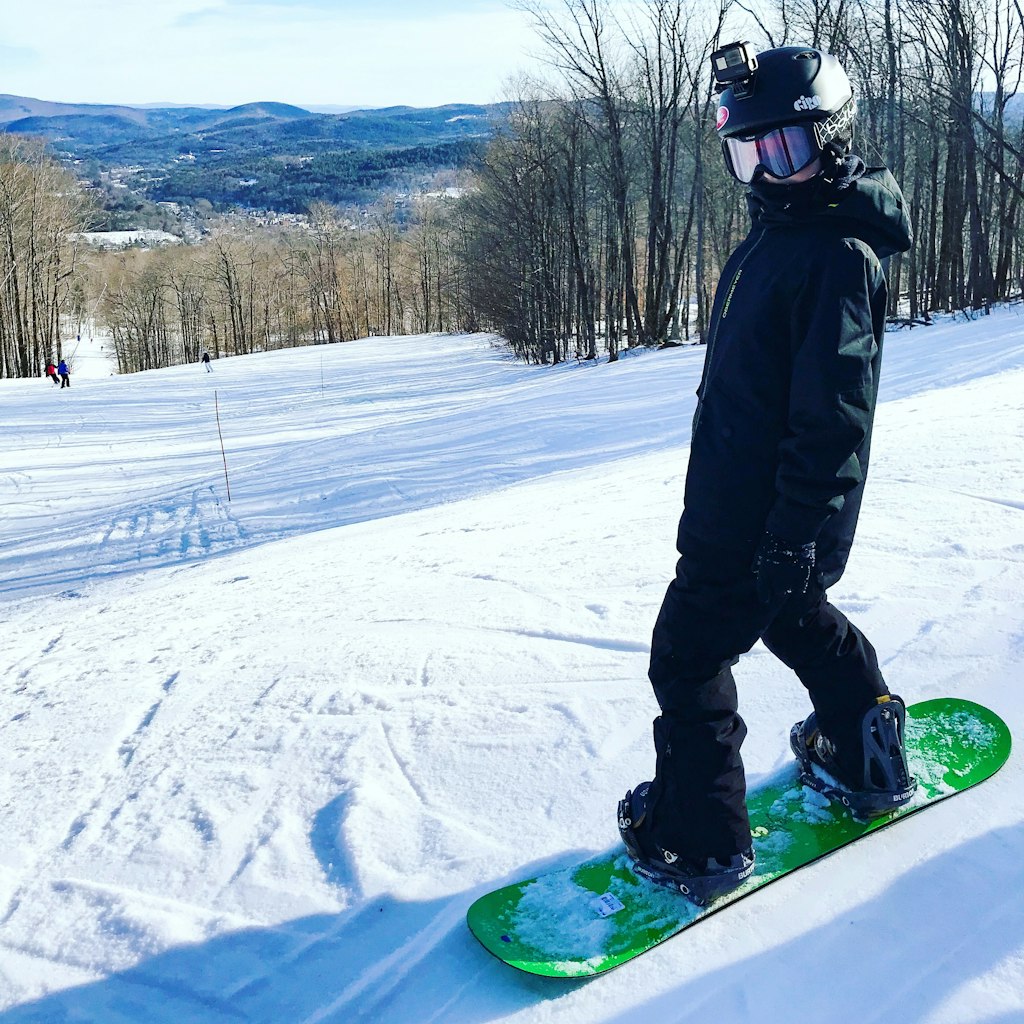
GoPro Camera – These cameras are a ton of fun to bring with you while skiing, snowboarding, snow tubing, etc. They have attachments that you can buy to mount them to your helmet for snow sports as well as other sports. If you have one camera and multiple kiddos, we suggest purchasing a mount for each of their helmets. We only had one mount on one of our kid’s helmets and realized that we didn’t get any footage of him since he was wearing the camera the entire time. If you’re bringing the GoPro, don’t forget the charger, micro SD card and any attachments you might be using.
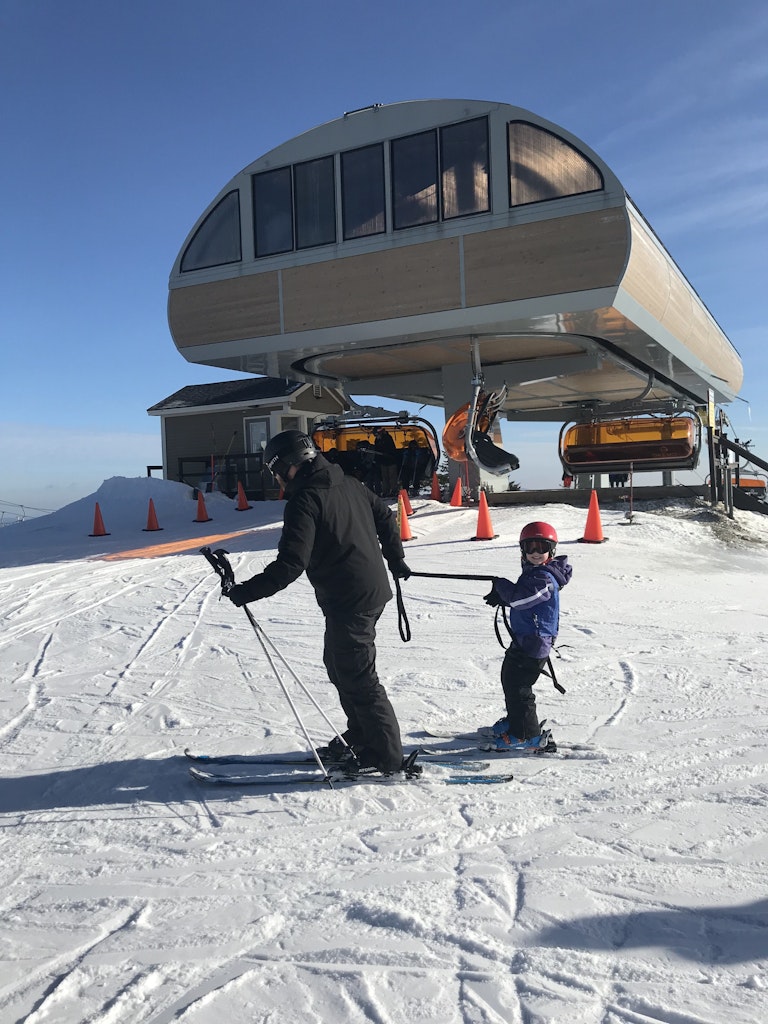
Ski Harness – We have one similar to this for our youngest. Luckily, my husband is a decent skier and can handle both her and himself on the slopes. This helped a lot with her confidence as well as slowing her down on steeper hills. I don’t recommend using one of these unless the person holding the reins is comfortable skiing. There’s a little backpack on this one to store the straps in when you’re getting on and off the lifts. You definitely don’t want the straps loose when you’re using the lifts.
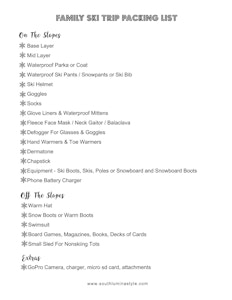
We’ve included a printable version of our Family Ski Trip Packing List
HAVE FUN!!!

