DIY Halloween Shirt Design
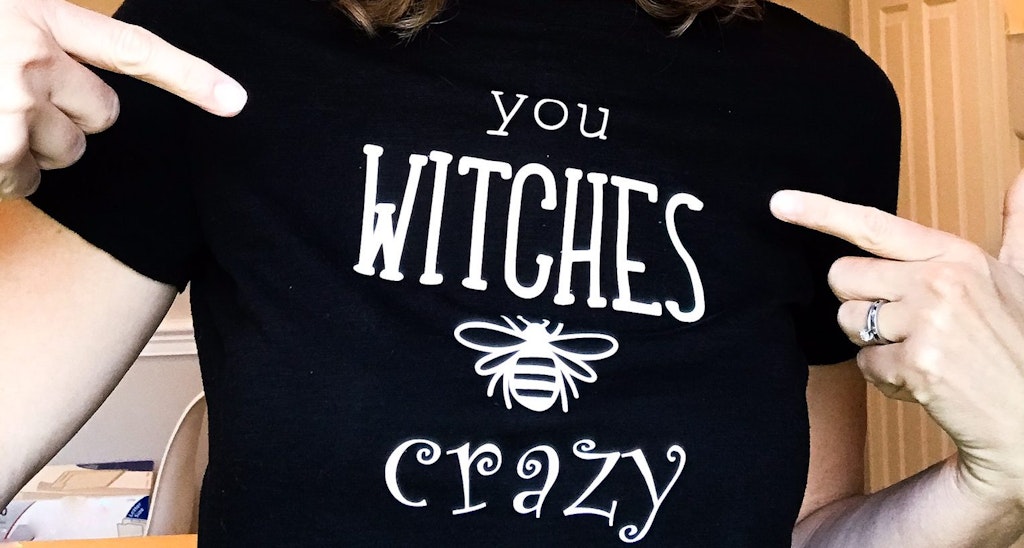
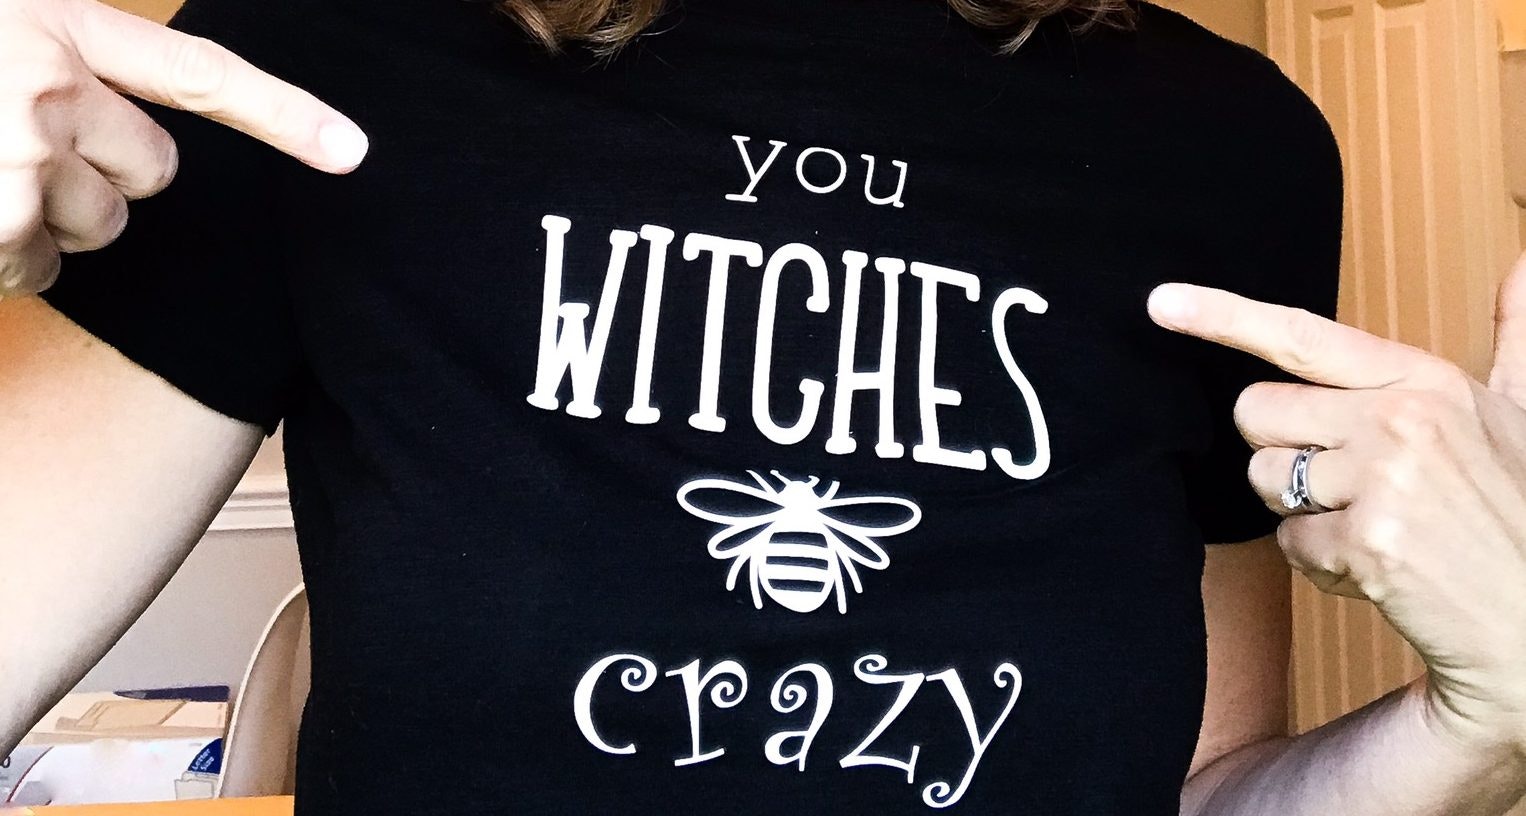
We came up with this fun Halloween shirt design that’s perfect to wear to your upcoming Halloween shindig or out trick-or-treating with your kiddos.

I picked up a plain black tshirt from Target and white heat transfer vinyl from our local craft store. If you’re using printable tshirt transfer material i would suggest doing a white shirt with the black lettering in the design.
If you’re using tshirt transfer, print out the design on your inkjet printer. If you’re using heat transfer vinyl with your cutting machine, cut the design out according to your machine’s instructions.
Here’s a quick trick to help you line up your design on your tshirt. Fold your tshirt in half length wise and lightly iron the crease. Open the shirt back up. This will show you the center of the shirt.
If you’re using heat transfer vinyl you can also line up the outer non-sticky sides of your design and add a couple of creases in the center where there is no heat transfer vinyl to show you the center of your design. Be careful not to crease the heat transfer vinyl.
I placed the top of the design about 2.5 inches down from the collar of my shirt, but lay it out and see what looks best.
Follow the ironing instructions on your heat transfer vinyl or t-shirt transfer paper to apply to your shirt. Make sure that your shirt is free from wrinkles and on an ironing board or a surface protected from heat prior to ironing.

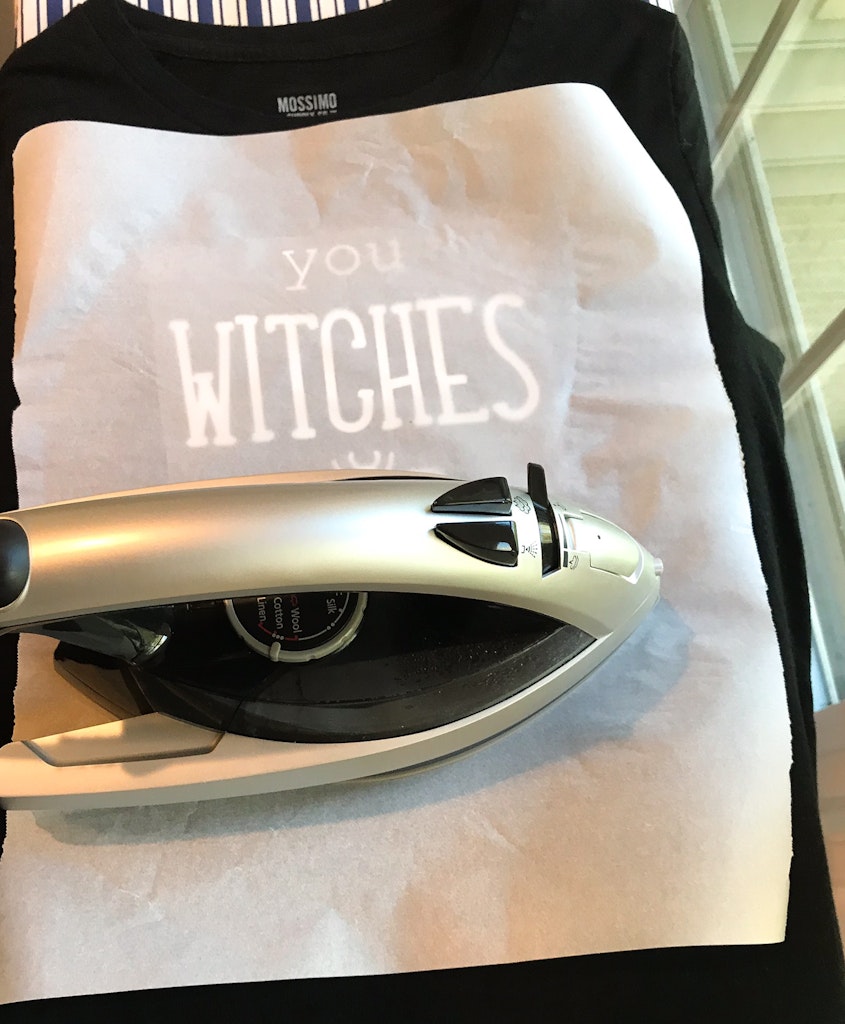
I used a sheet of parchment paper on top of my design when ironing to adhere it to the shirt. Then peeled off the plasticy transfer paper and ironed the design again with just the parchment paper on top of the design.
I’ve included the mirror image of the design as well as the original design. Keep in mind that if you’re applying this using heat transfer vinyl or most tshirt transfer paper, you will need the mirrored image.
Click on the image below to open the PDF.
Hold up your shirt and marvel at your amazing-ness.
Happy Halloween my witches!!!! 😉


