Acrylic Paint Pour On Dollar Store Valentine Sign
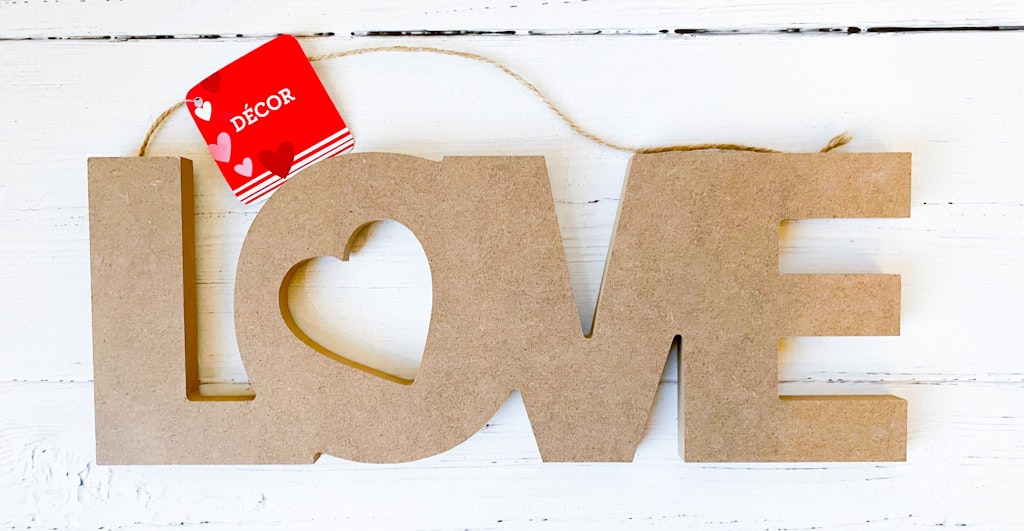
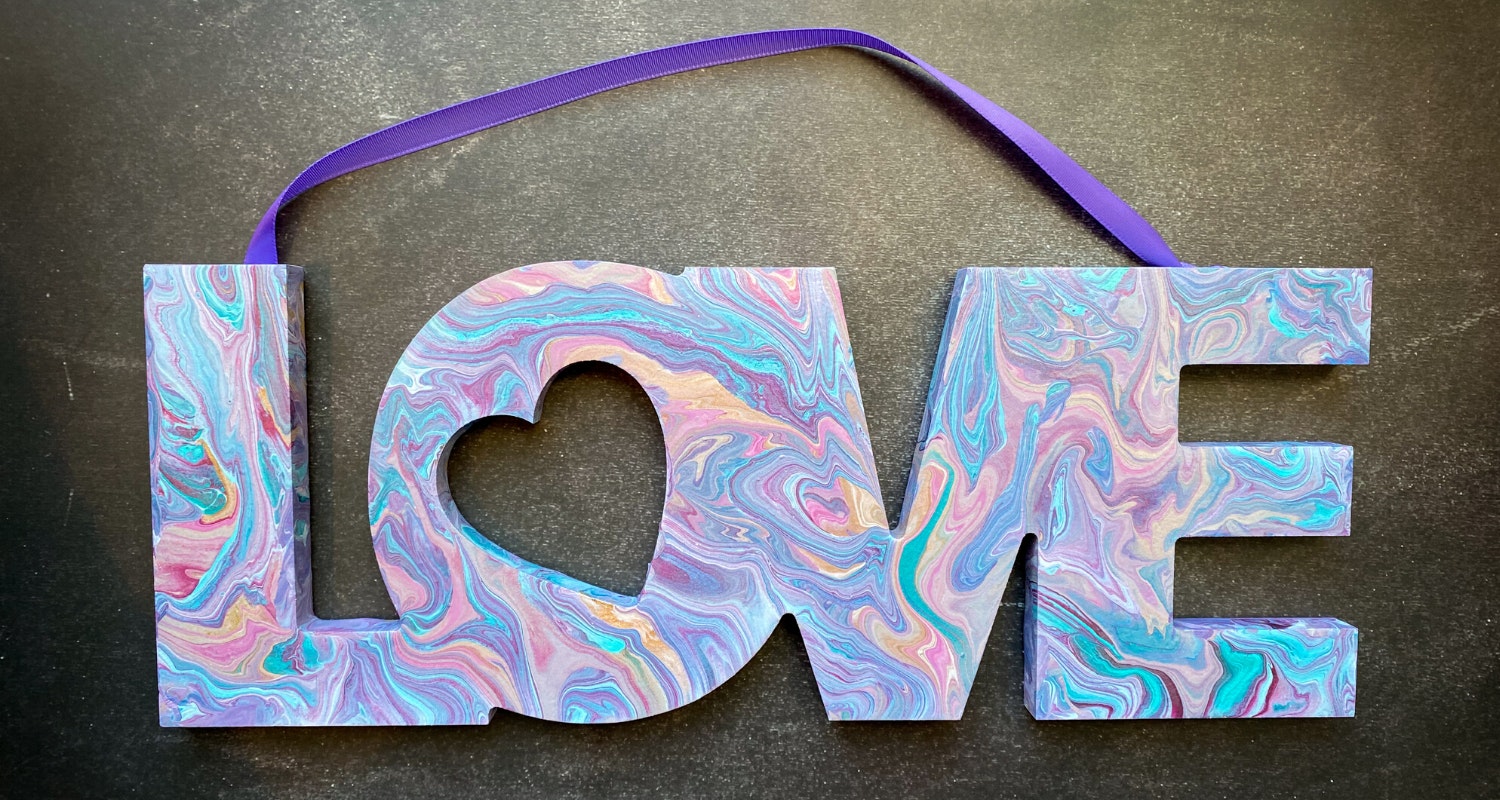
We recently learned how to do acrylic paint pouring. If you’re unfamiliar with this technique you can read some helpful tips here in our How To Do An Acrylic Paint Pour post. We started off paint pouring on clay flower pots. After testing out a few different color variations, we had a bunch of different paint left over. We found this LOVE Valentine sign made out of MDF at our local Dollar Tree and used all of our remaining paint pours on the sign. I really love how the different colors stand out.
Supplies For Acrylic Paint Poured Valentine Sign
- LOVE sign from Dollar Tree (I couldn’t find it online but it was in a few of our local stores or any of their MDF signs like this Easter one too.
- Paint Pouring Marbling Medium – We picked our Testors Craft marbling medium up from Michaels many different ones can be found on Amazon like this one.
- Multiple colors of acrylic paint. At least 3 or 4 different colors. We really liked the end results of the projects that used a lot of different colors.
- Popsicle sticks for stirring. You can pick these up from craft store, dollar store or find some buried in your kids’ craft supplies like we did.
- Paper plates, newspaper, drop cloth to keep workspace clean. The excess paint will need to drip off of the object your decorating.
- Small disposable bathroom cups – You’ll need one cup per color. These can be found at the dollar store, grocery store, etc.
- Larger disposable cups like solo cups for combining the colors for the pour and to prop up the finished products to dry.
- Paper towels it can get messy
- Multiple sets of disposable gloves
- Garbage bag for easy clean up
- Extra ribbon or twine in case you accidentally cover the twine that was originally attached with paint like we did. You could also probably cover the twine that comes attached to the sign with painters tape to keep the paint off while you’re decorating it.
How To Mix The Acrylic Paint With The Marbling Medium
Mix equal parts of acrylic paint and marbling medium in a small disposable cup. Mix each color separately. Stir together with a popsicle stick until the paint color and marbling medium are thoroughly mixed. The marbling medium is that it thins the paint without changing the color cup.
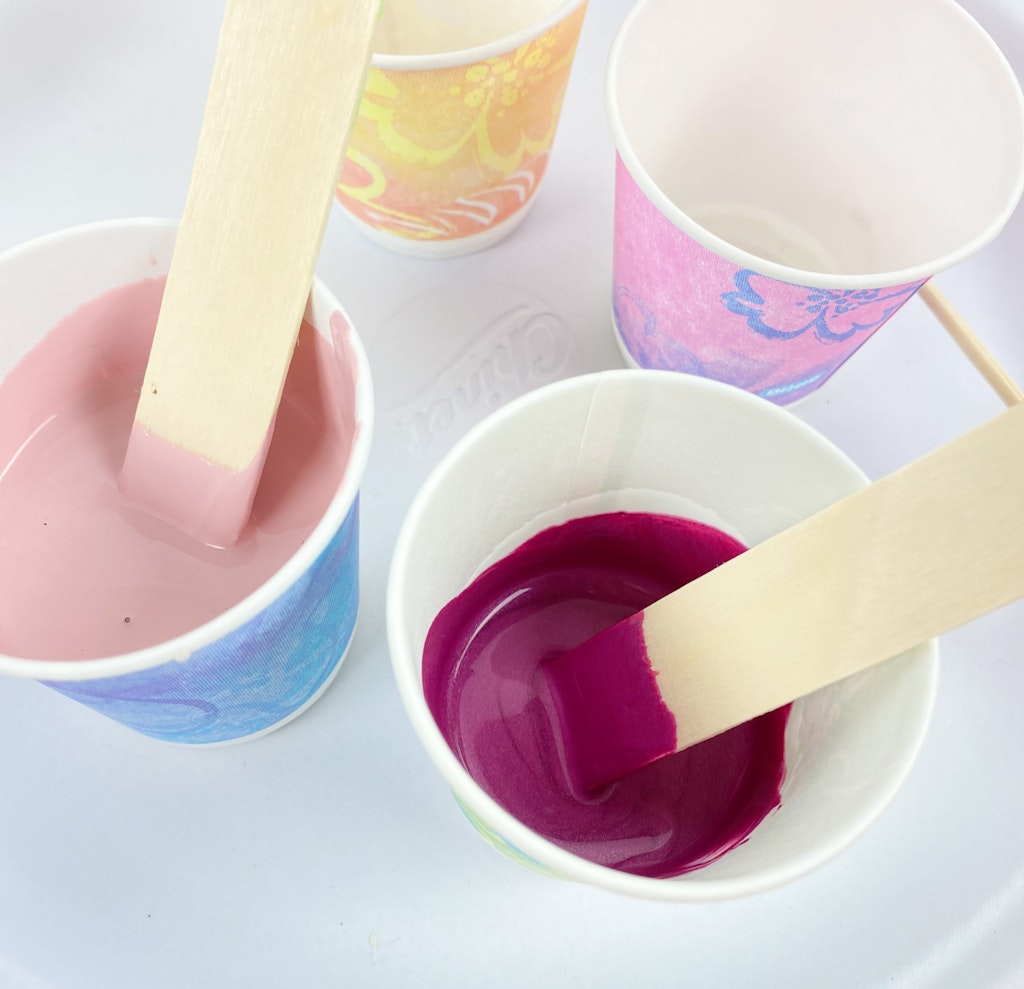
Let the paint sit for about a minute to get rid of any bubbles. Pour the different colors into one of the larger solo cups.
Again let the colors sit for a minute for any bubbles to pop.
Pouring The Paint
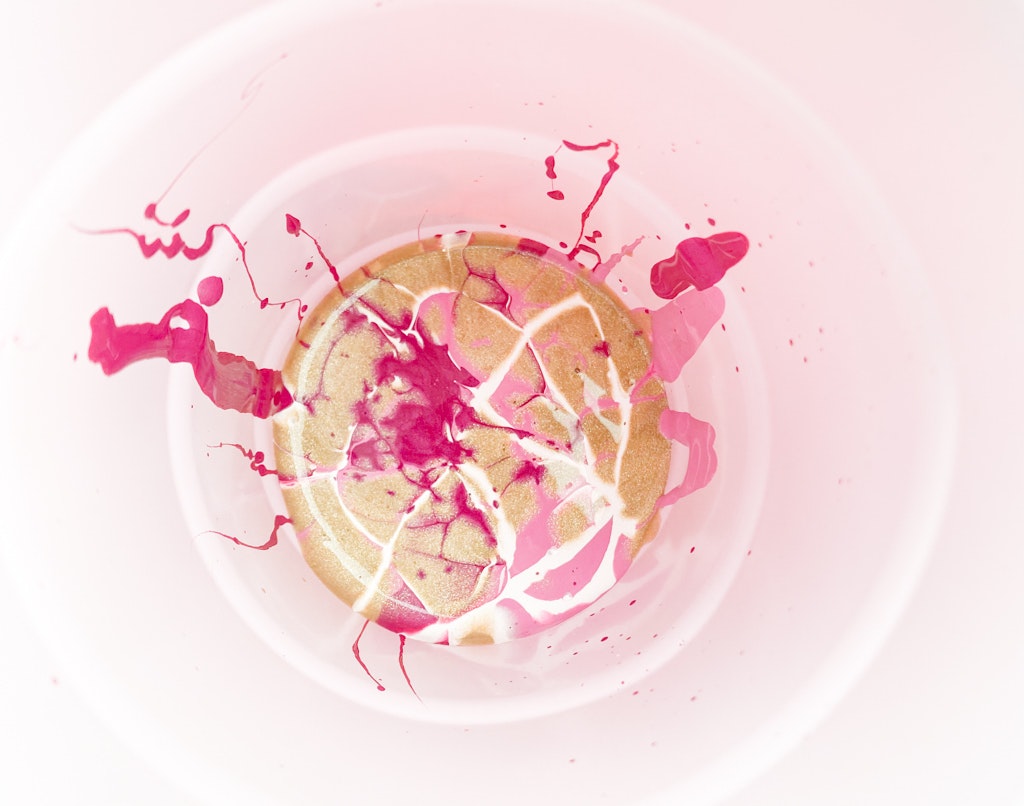
Start pouring a little of the paint from the cup of colors over your sign. Slowly tilt the sign to let the paint run off the sides in different directions. Continue to pour the paint onto the sign and tilt the sign to cover any bare areas until it’s completely covered. Collect drips off the edge until the paint has stopped moving. Prop the sign up on something like a few disposable cups and let the sign dry overnight.
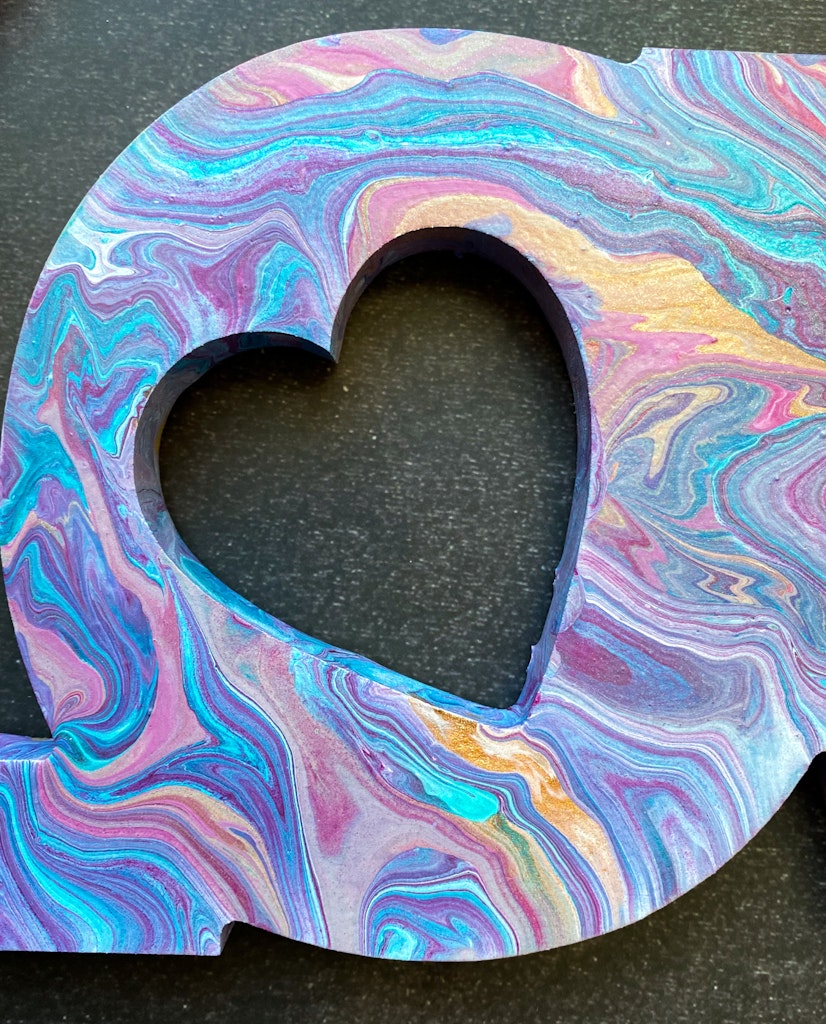
All of the different colors added a lot of dimension to the sign.

For more DIY Valentine crafts check out our Dollar Store Valentine Heart Banner and our DIY Conversation Heart Frame.
Also, learn how to create pink bottle brush trees using our How To Bleach And Paint Bottle Brush Tree Tutorial.

What year did you do this. I can’t find any online.
Oh no! It was a few years ago. It doesn’t look like Dollar Tree is selling it this year. Target has a few large wooden hearts, one with love written inside and hobby lobby has a thinner cursive font option