Easy DIY Skeleton Serving Dish Halloween Decoration
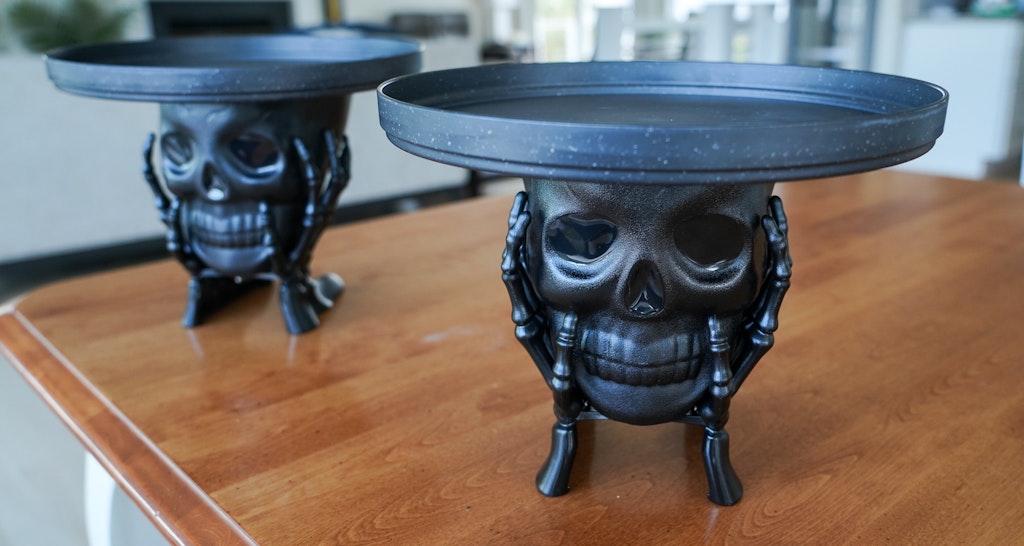
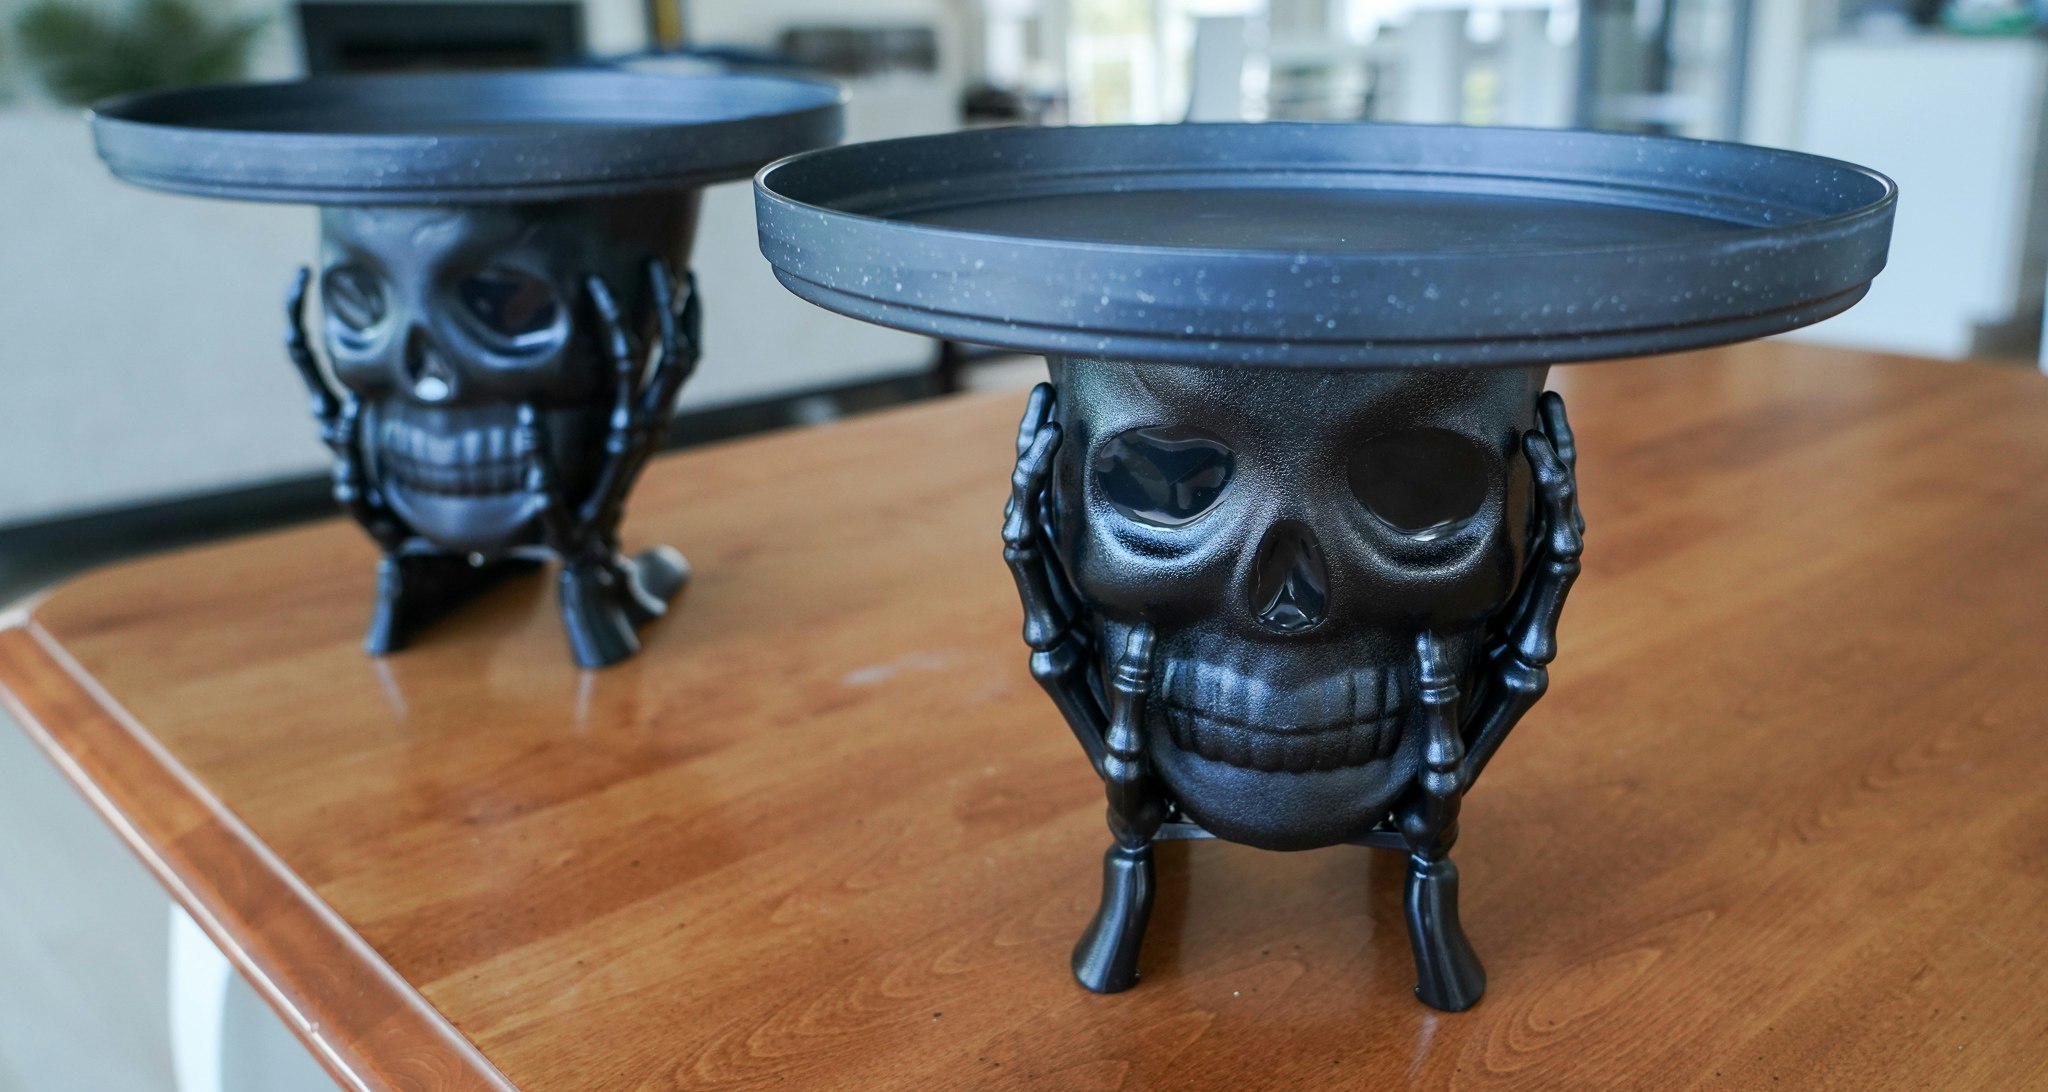
This easy Halloween decoration you can make in under five minutes. It took me longer to find a pencil then it did to finish putting this together.
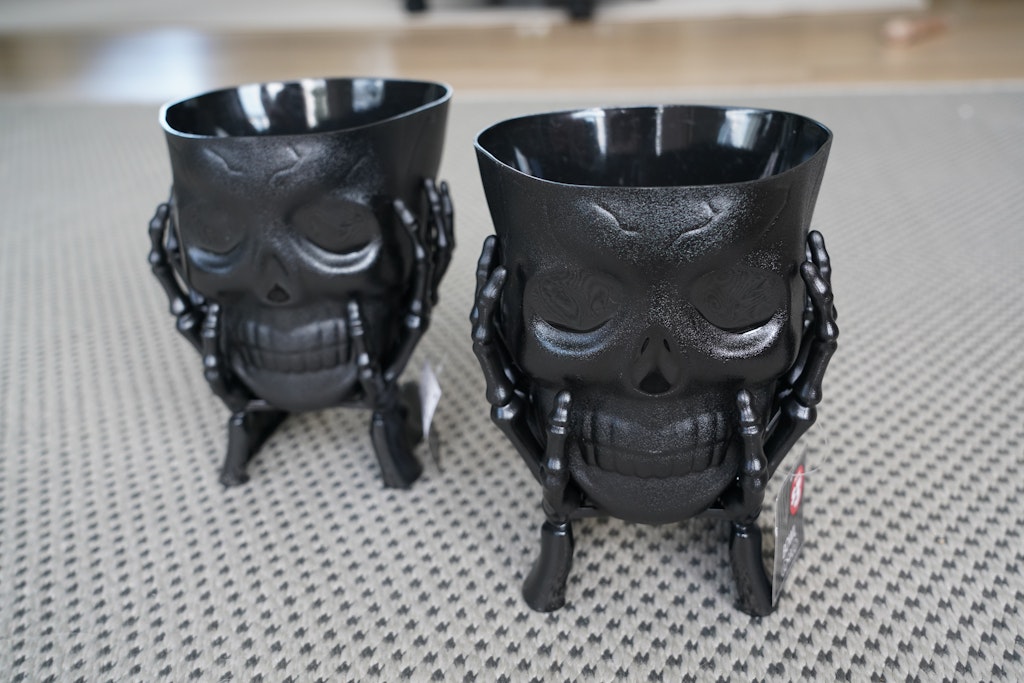
Easy Skull Platter Halloween Decoration Supplies
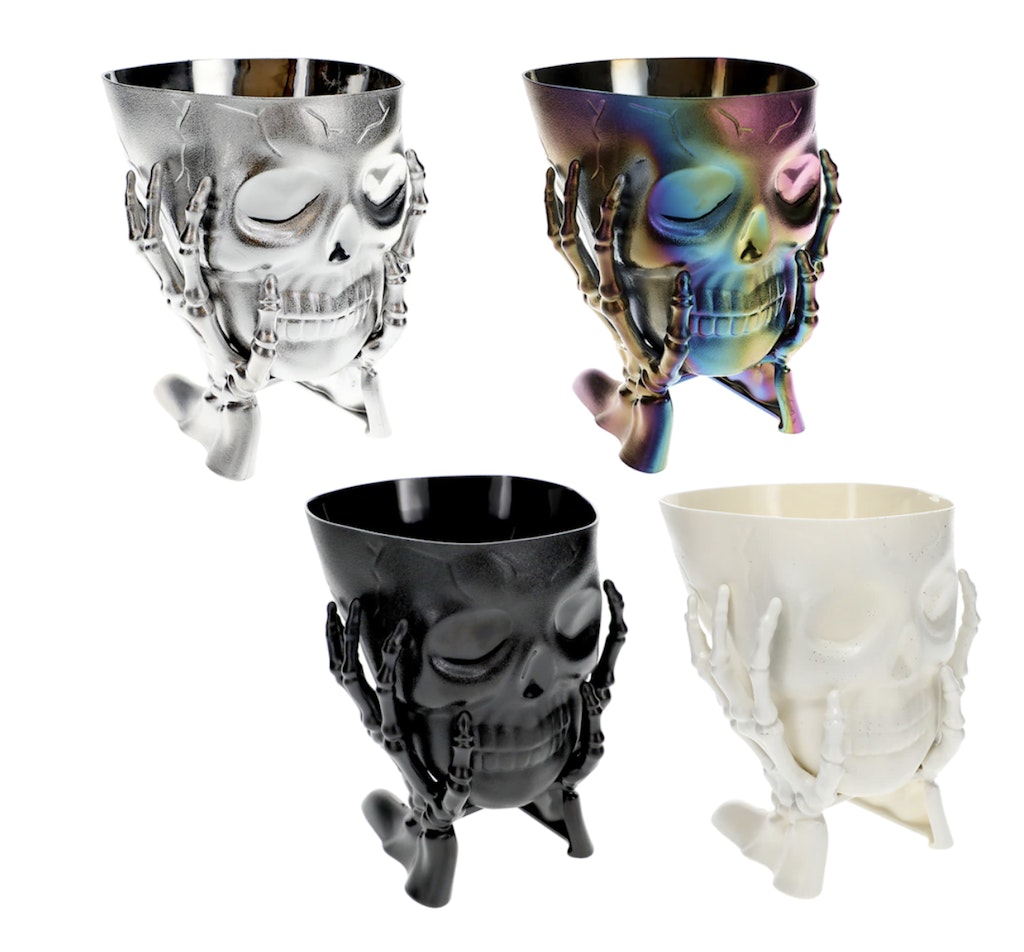
Dollar Store Skull Snack Bowls – $3 each (the dollar store confuses me now hahahaha) They come in 4 different colors.
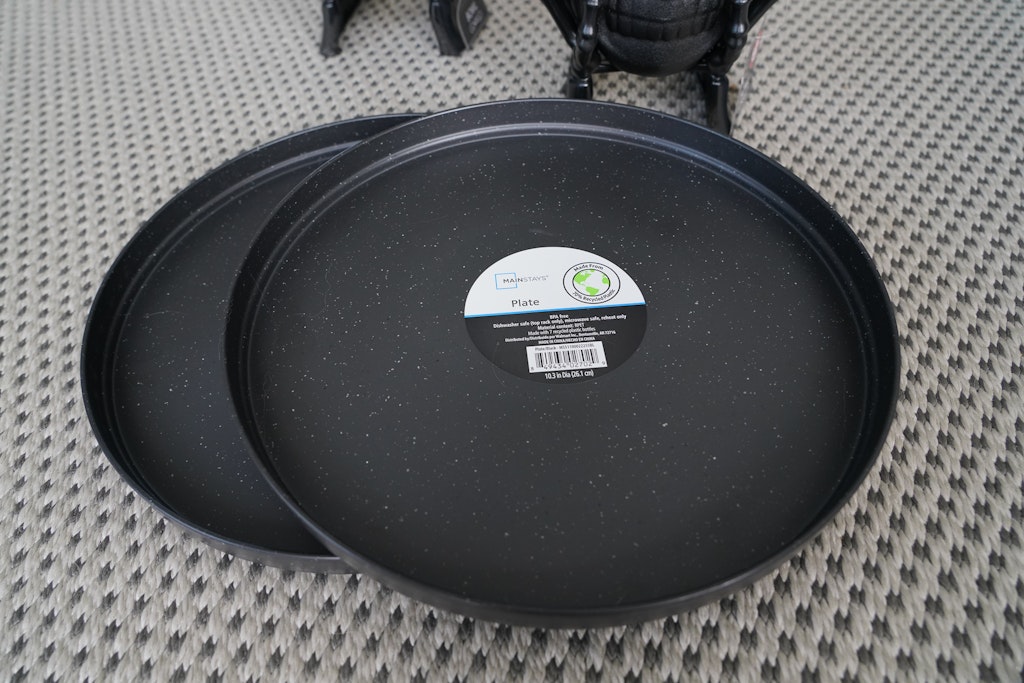
Plastic plate or charger – We found ours at Walmart.
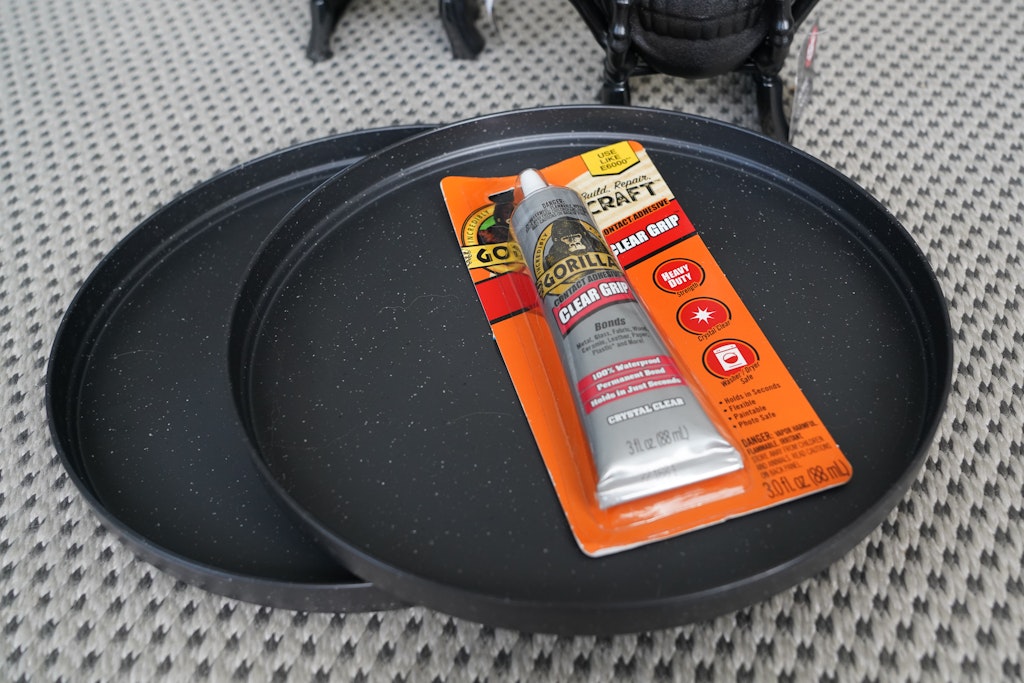
Gorilla Glue Clear Grip Glue – We found ours at Walmart, but it’s carried at most craft and hardware stores.
You’ll also need to grab a pencil and garbage bag or drop cloth to protect your workspace.
How To Make Your Skeleton Serving Platter
Step 1 – Trace Your skeleton noggin on the bottom of your plate.
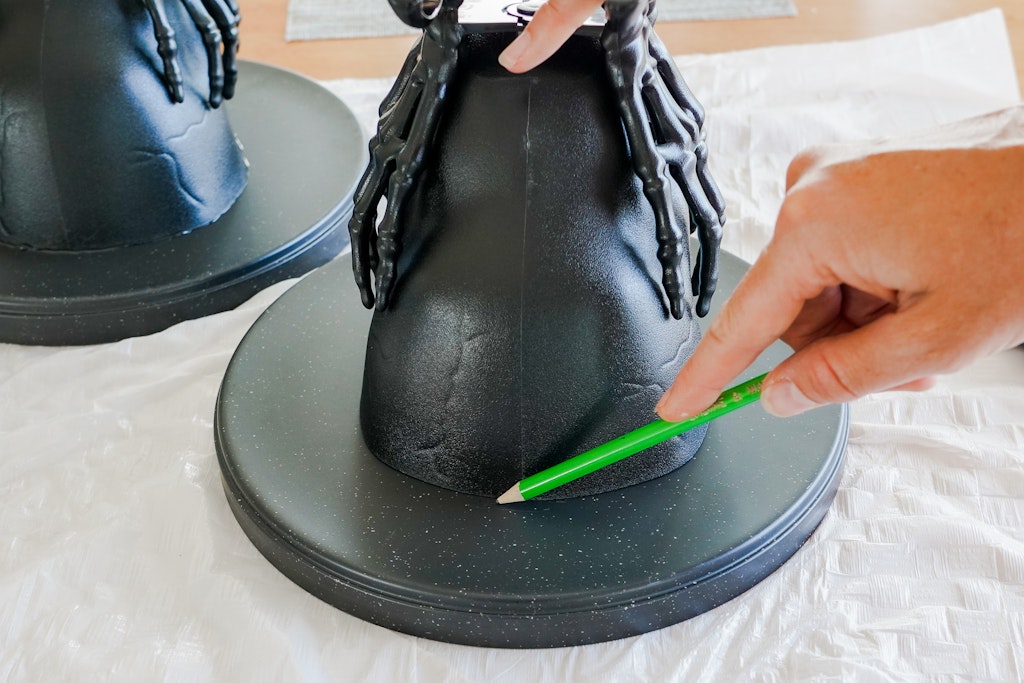
The glue instructions say to apply glue to both things that you are glueing together. To easily have those glue lines align we centered the skull on the plate and traced around it, giving us a guide for the glue line.
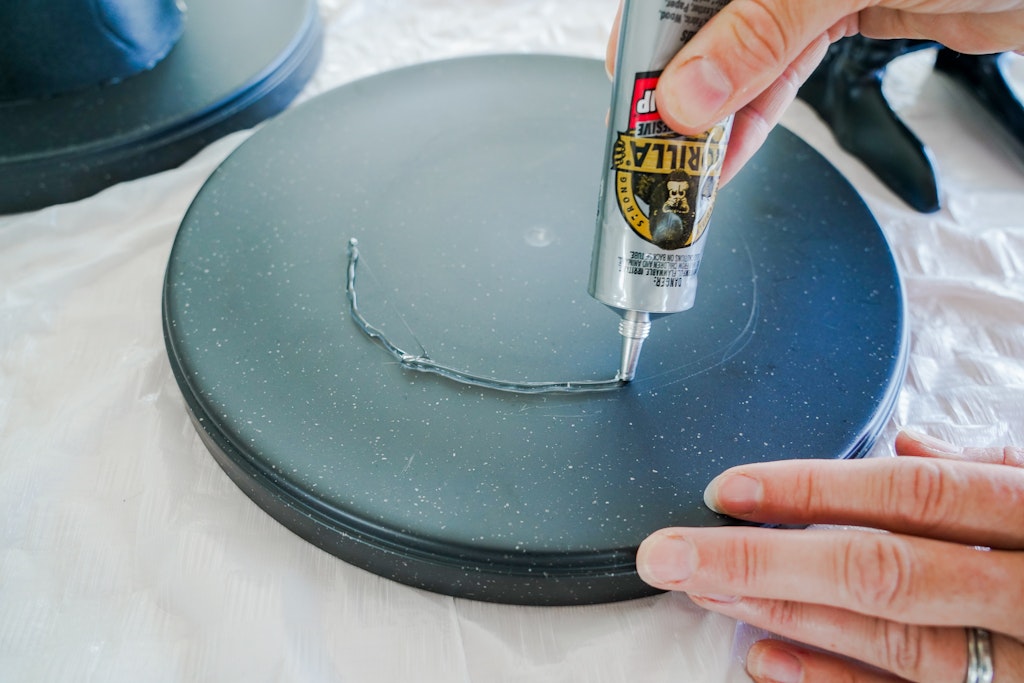
Step 2 – Apply The Glue
Apply your glue line you just drew on the bottom of your plate and along the top of the opening of the skull dish.
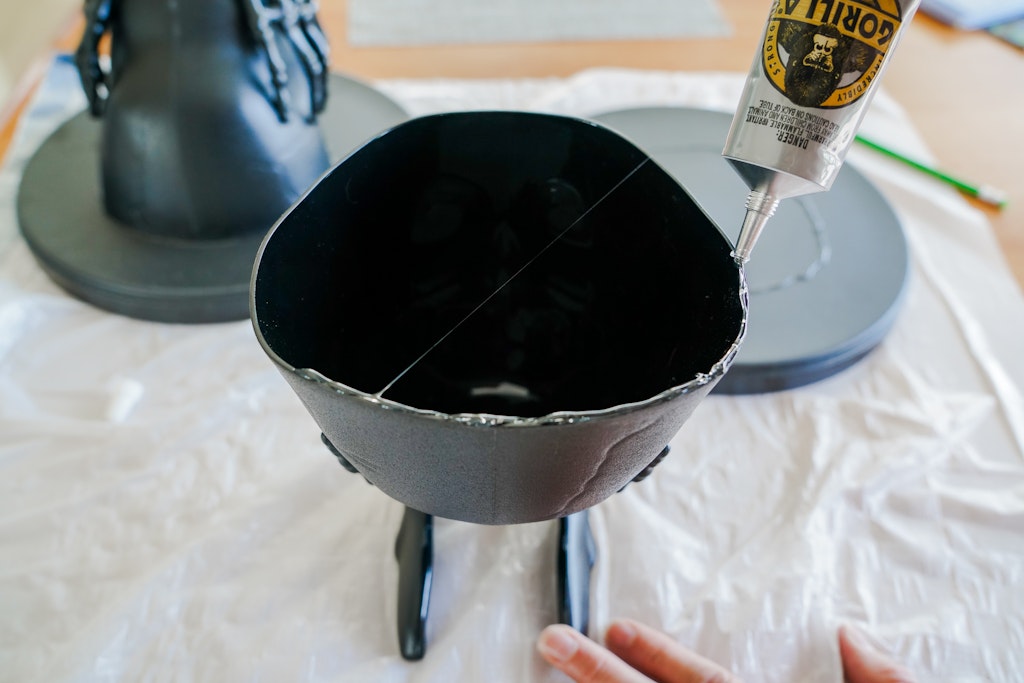
Let both sides sit for 1-2 minutes.
Step 3 – Attach both pieces
Flip the skeleton candy dish oven and place it right on top of the glue line on the bottom of your plate.
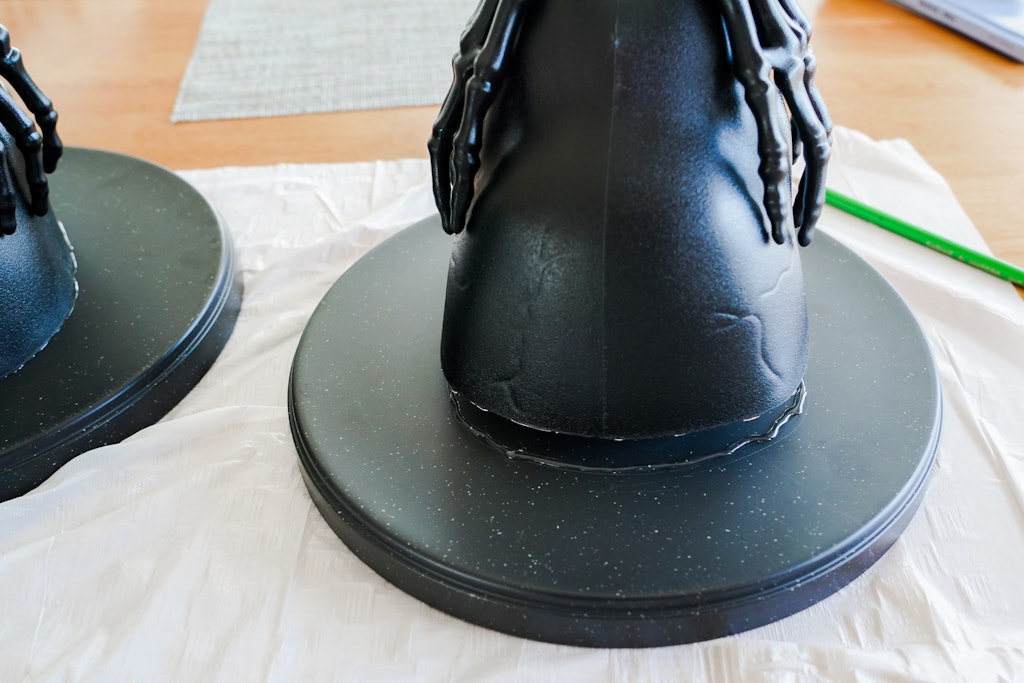
Step 4 – Let The Glue Cure
Let the glue cure according to the package directions. Ours suggested 2 hours before moving it and 24 hours to fully cure.
Now it’s all ready for your party!
Make sure to check out our other easy Halloween decor ideas!

Very original and fun