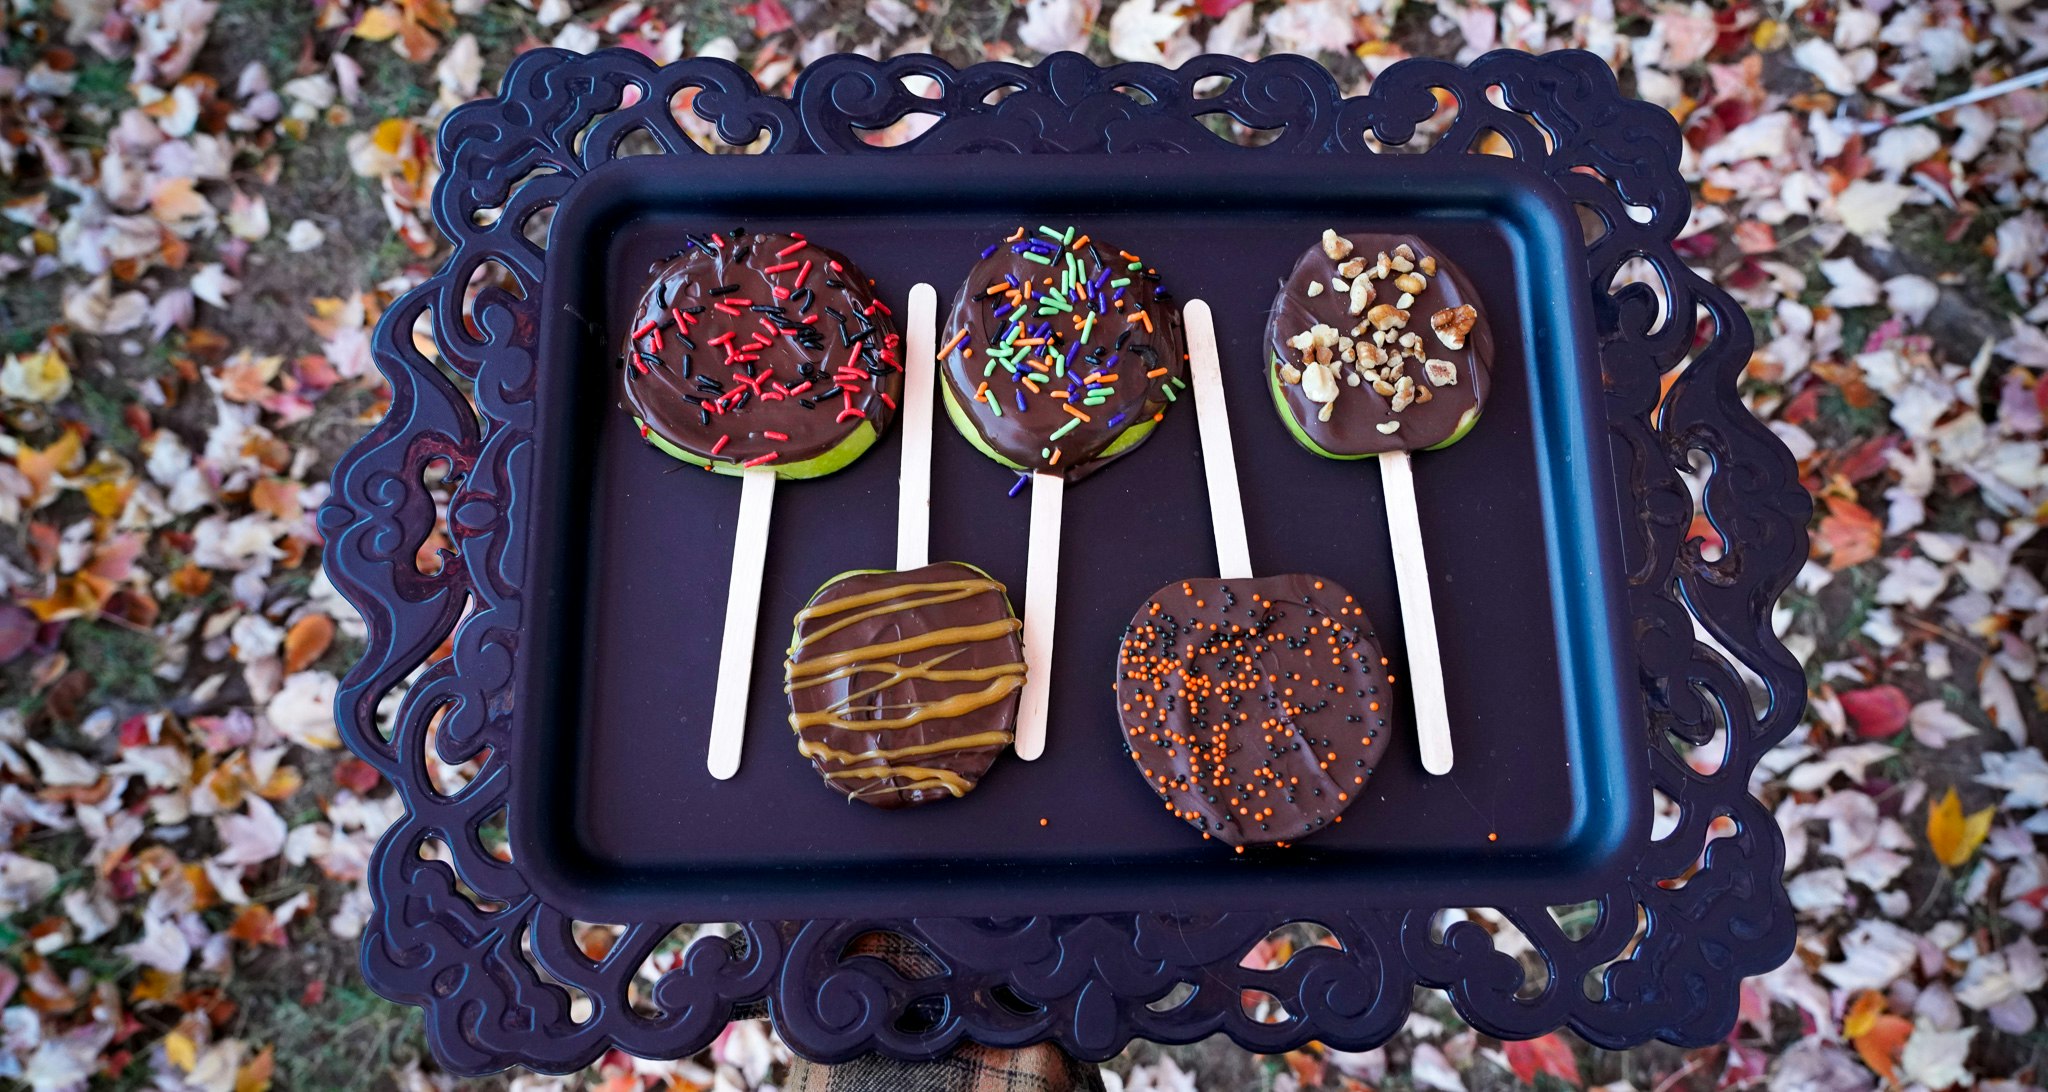
Chocolate Covered Caramel Apple Pops
If you’re looking for a fun and mostly healthy Halloween treat, these chocolate covered caramel apple pops are a twist on traditional caramel apples. You can made them ahead and they store in the fridge for at least a day or two.
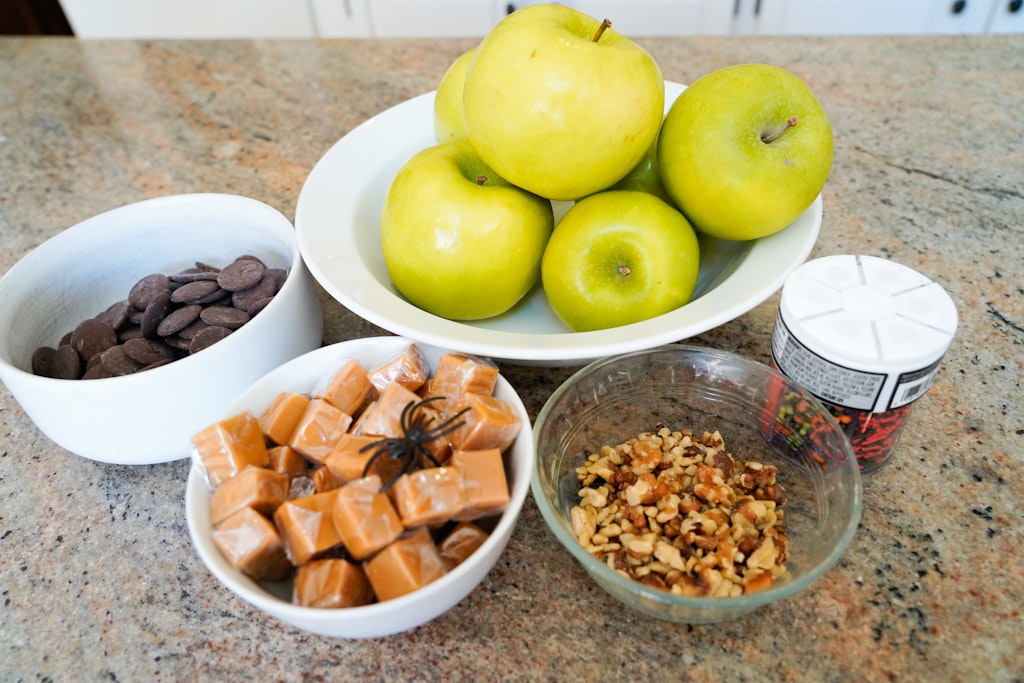
Apple Pop Supplies
Apples – I used granny smith apples, but honeycrisp would be delicious too.
Chocolate melting wafers or chocolate chips
Caramel candies
Toppings – nuts, sprinkles, small candies
Popsicle sticks
Parchment paper or nonstick silicone baking mat
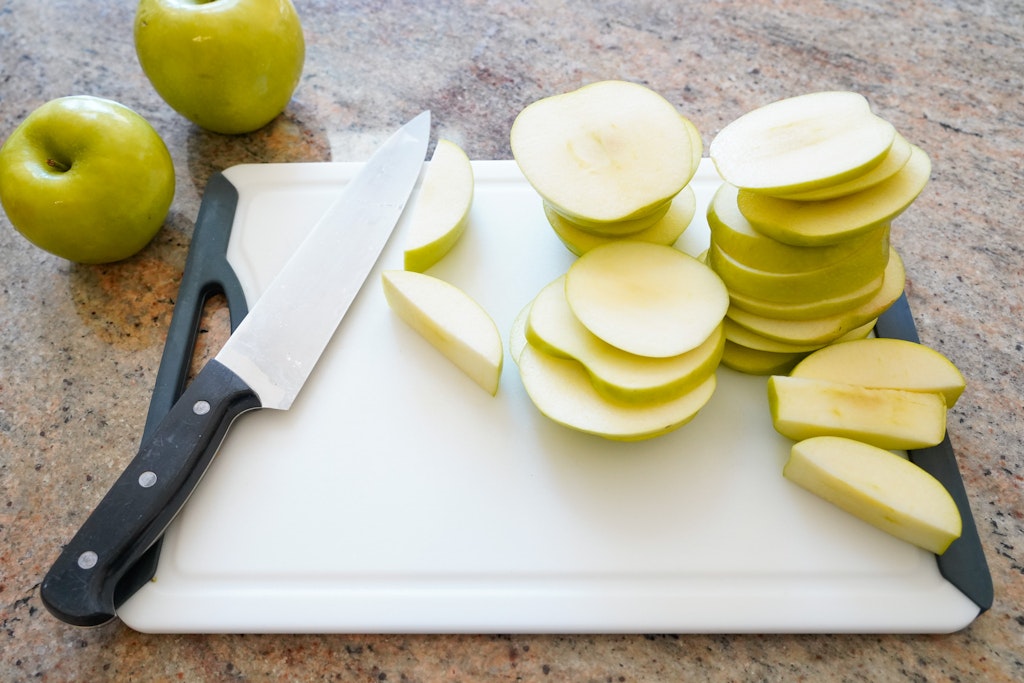
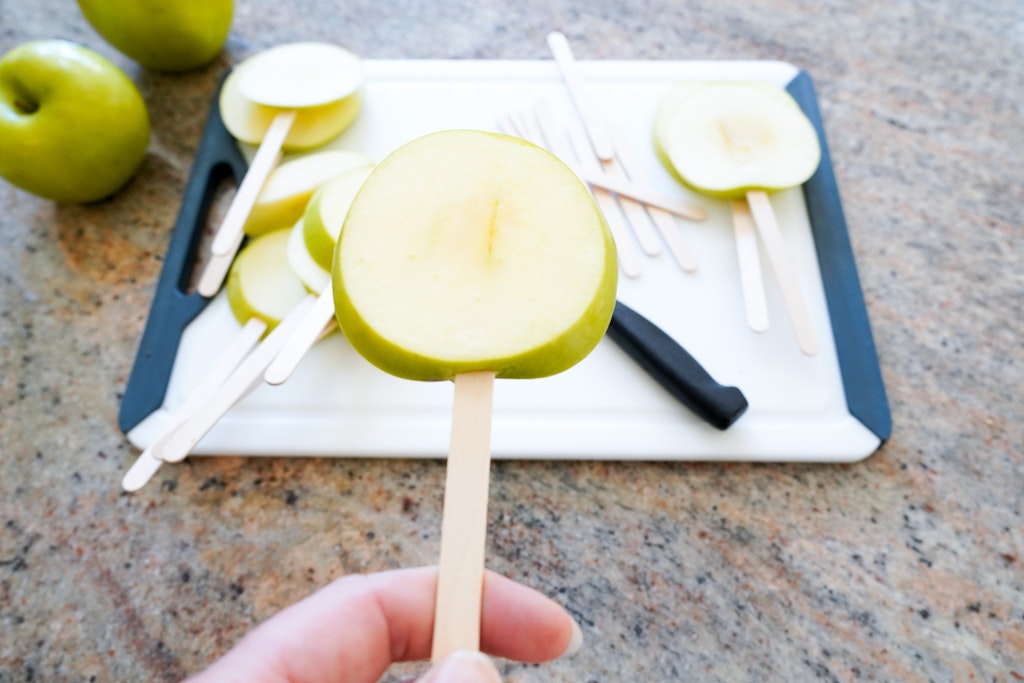
Slice apples into full thin slices. I used the ones surrounding the core as practice and snacking 🙂
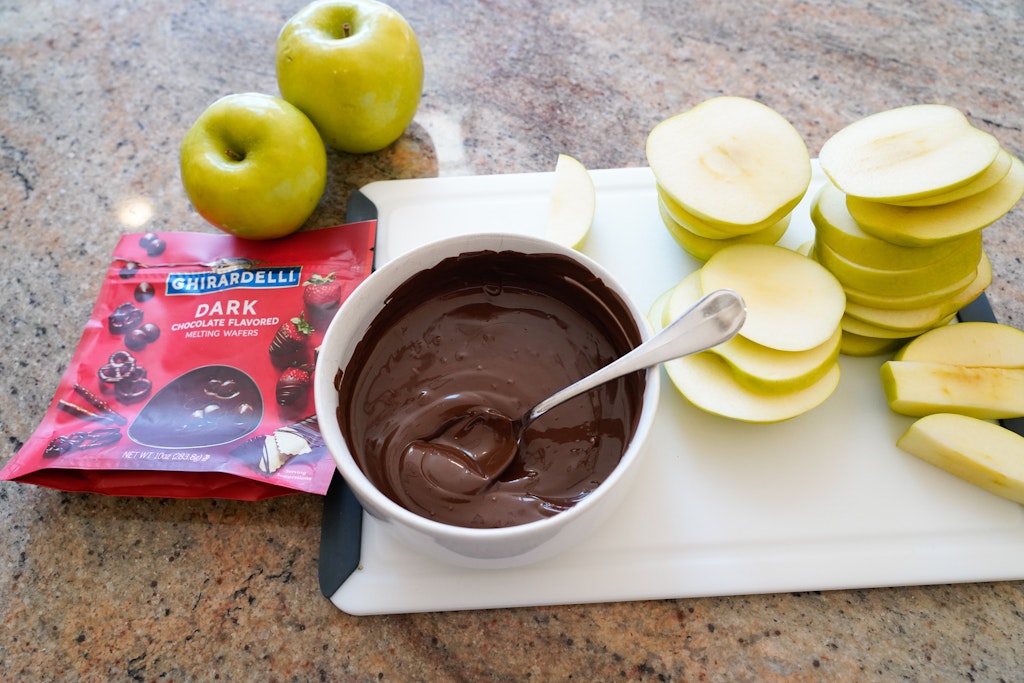
Melt your chocolate according to the package directions. I used these dark chocolate flavored melting wafers from Ghiradelli and they worked great.
While the chocolate is in the microwave start adding the popsicle sticks to the apple slices. I cut a small slit with the knife in the side of the apple to help get the stick in the apple.
Lay out your silicone baking mat or parchment paper where you will place the apples after it’s covered in chocolate.
Pour some of your chocolate onto a flat surface and dip each side into the chocolate. Next time i will put parchment paper down on the counter and use that instead of a plate. Even the small ridge of this plate made the dipping a little difficult because of the angle.
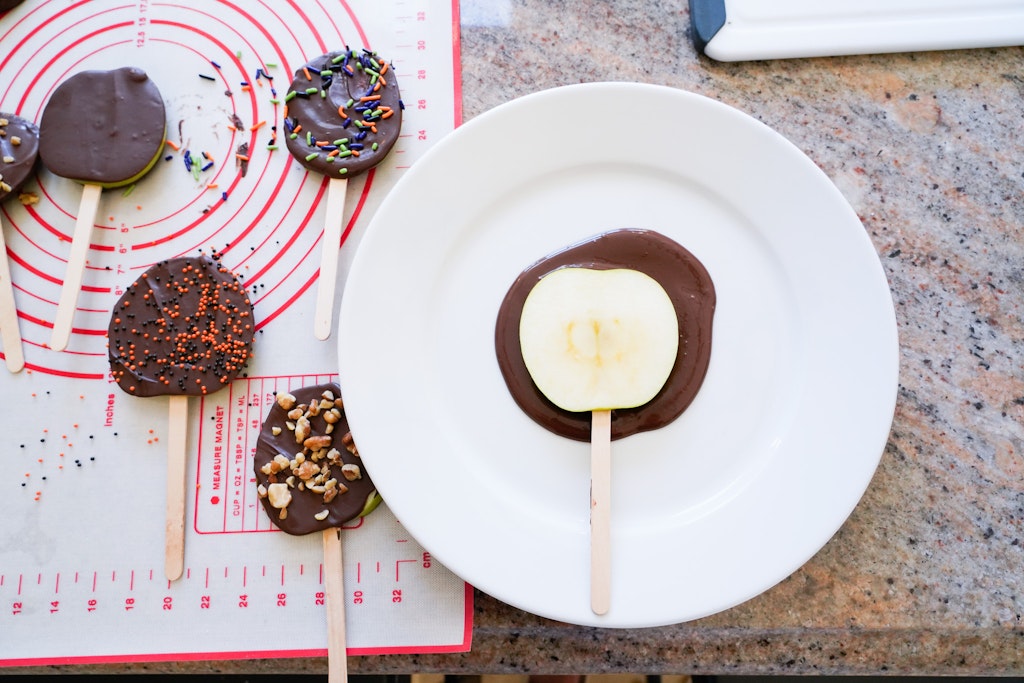
Place the chocolate covered apple pop onto the silicone baking mat or parchment paper. While the chocolate is still warm, add your toppings. The sprinkles and nuts won’t stick to the chocolate once it’s cooled off and hardened.
Next we add the caramel! Remove the caramels from the packages and add a couple tablespoons of water to a saucepan. Heat it up on the stovetop while constantly stirring.
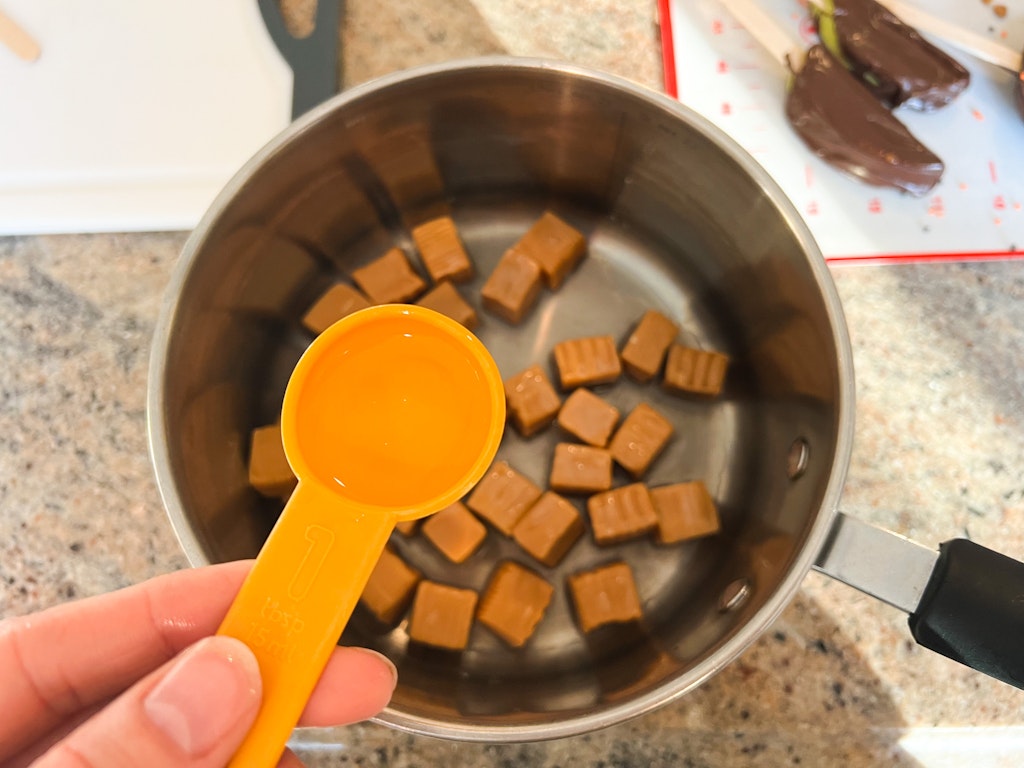
Once caramels have melted you can drizzle them on top of your apple pops.

Serve these chocolate covered caramel apple pops within a few hours or store in the fridge for a couple days. Check out our other Halloween DIYs
