How To Caulk Your Bathroom In 5 Easy Steps
This past weekend we noticed that the caulk in the cabin bathroom was pulling away from the sink and bathtub. This can quickly lead to problems if water can easily sneak into those seems. The good news is you can easily replace this on your own and not only give the sink or tub a cleaner look, but also prevent leaks and damage in the future.
You’ll need a few tools to get the job done and a little patience.
Step 1 – Choose The Correct Materials
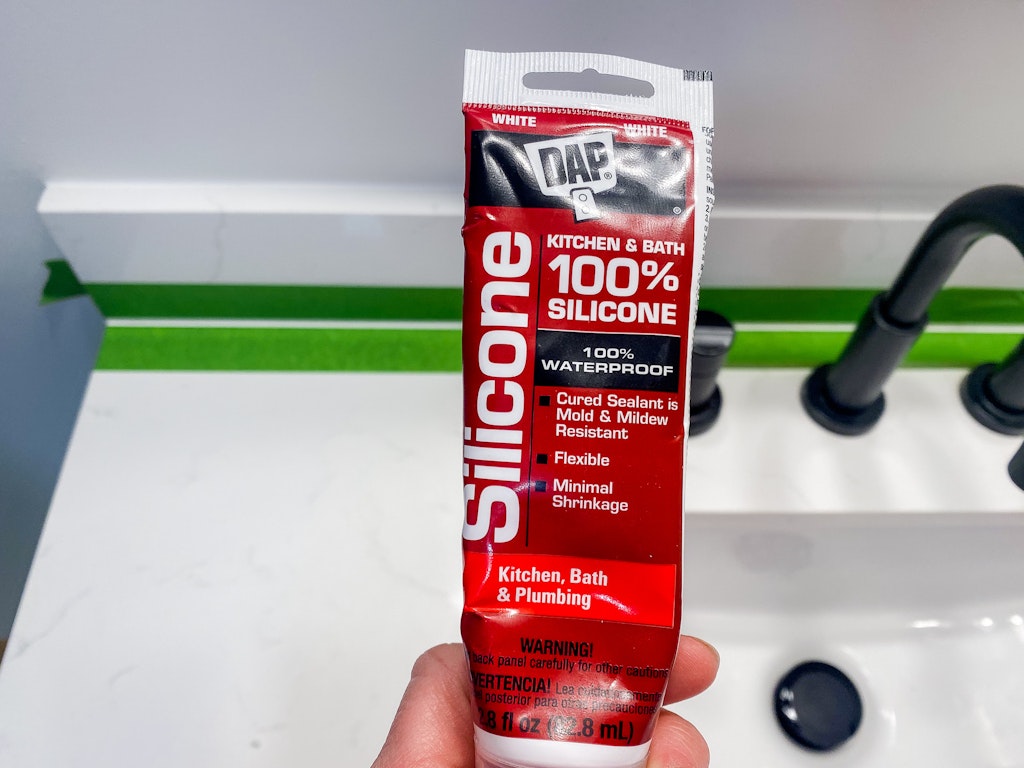
Make sure that you choose the correct material for what you are caulking. Use silicone caulk for bathrooms or anywhere that will most likely come into contact with water. I mostly use acrylic caulk around trim work where it can be painted if necessary.
Silicone caulk
Putty knife
Scissors to open caulk
Painters Tape
Paper towels
Step 2 – Remove Any Old Caulk
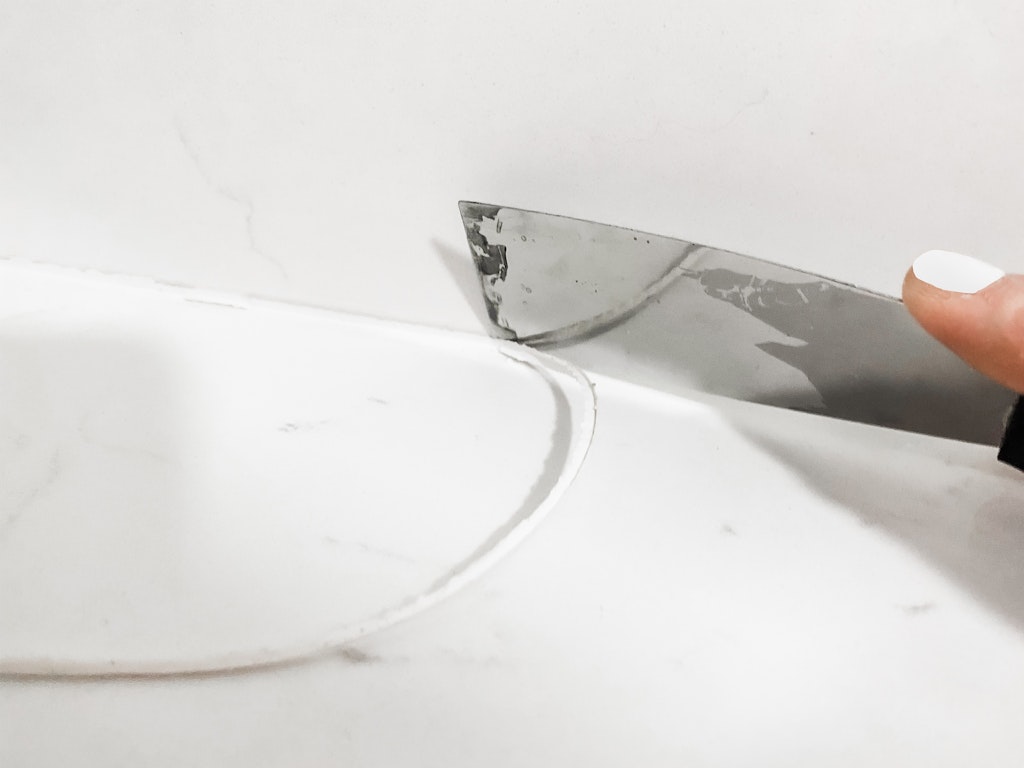
Use a putty knife to help remove any old caulk from the surface.
Step 3 – Tape
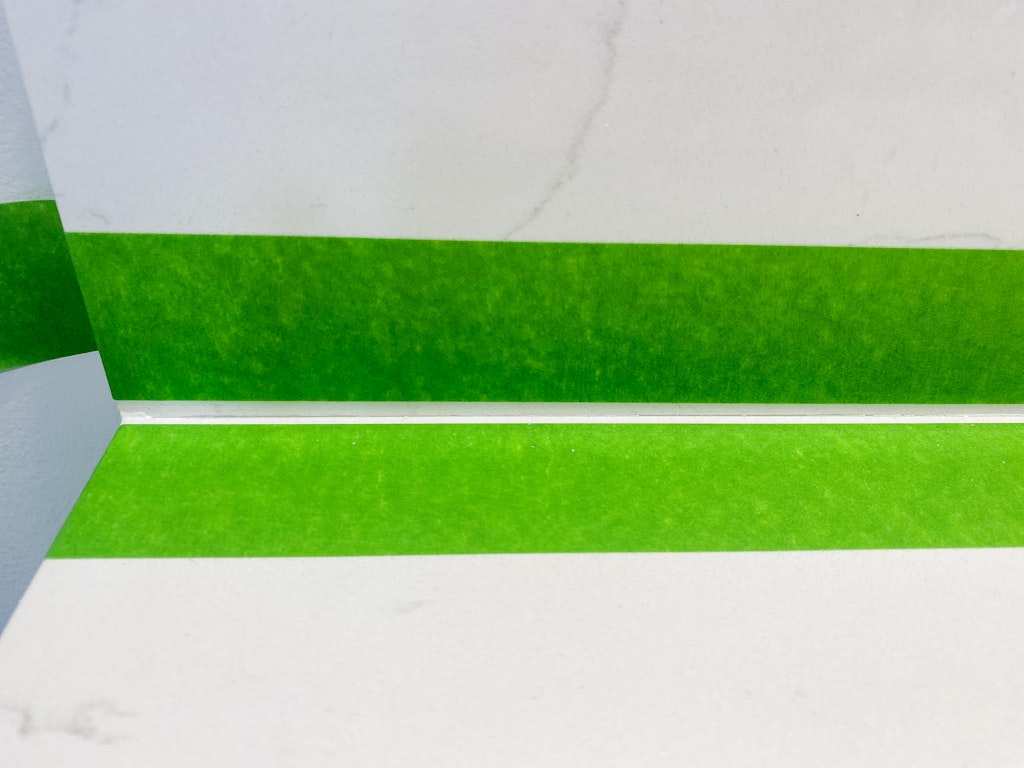
Apply painters tape approximately 1/4 inch above and below the seam where you will be adding the caulk.
Step 4 – Apply Caulk
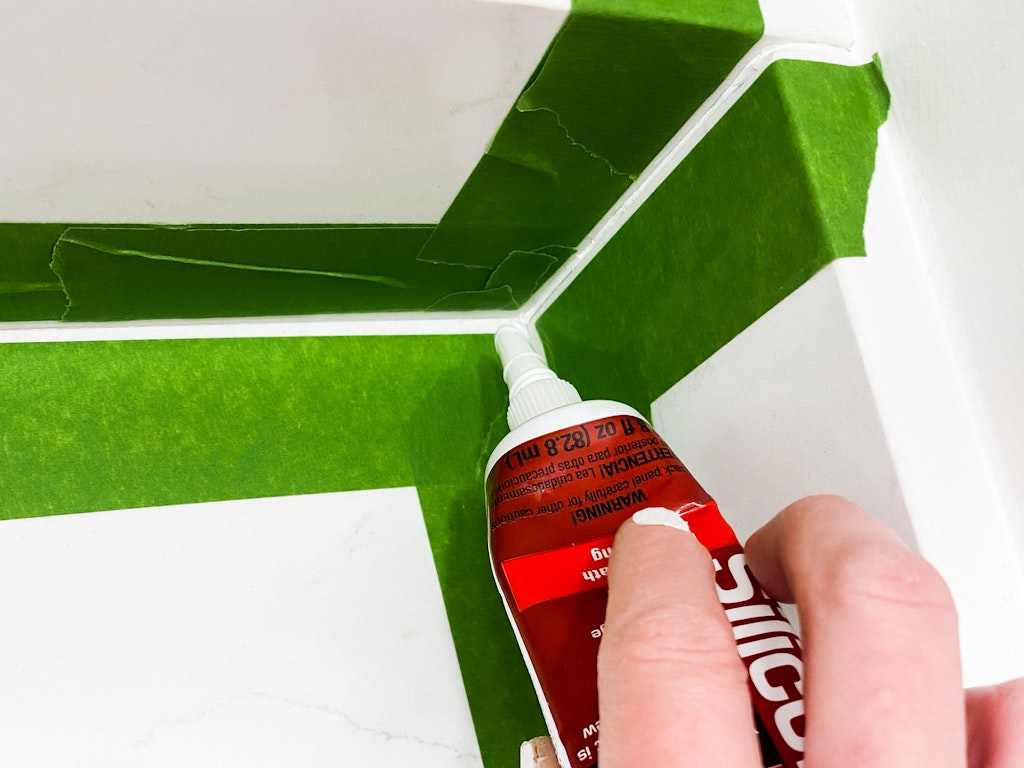
Cut the tip off of the tube at a slight angle. Push the opening into the seam and slowly squeeze the caulk out as you glide over the opening. Try to avoid adding too much as this will result in a ridge when you remove the tape.
Step 5 – Smooth It Out
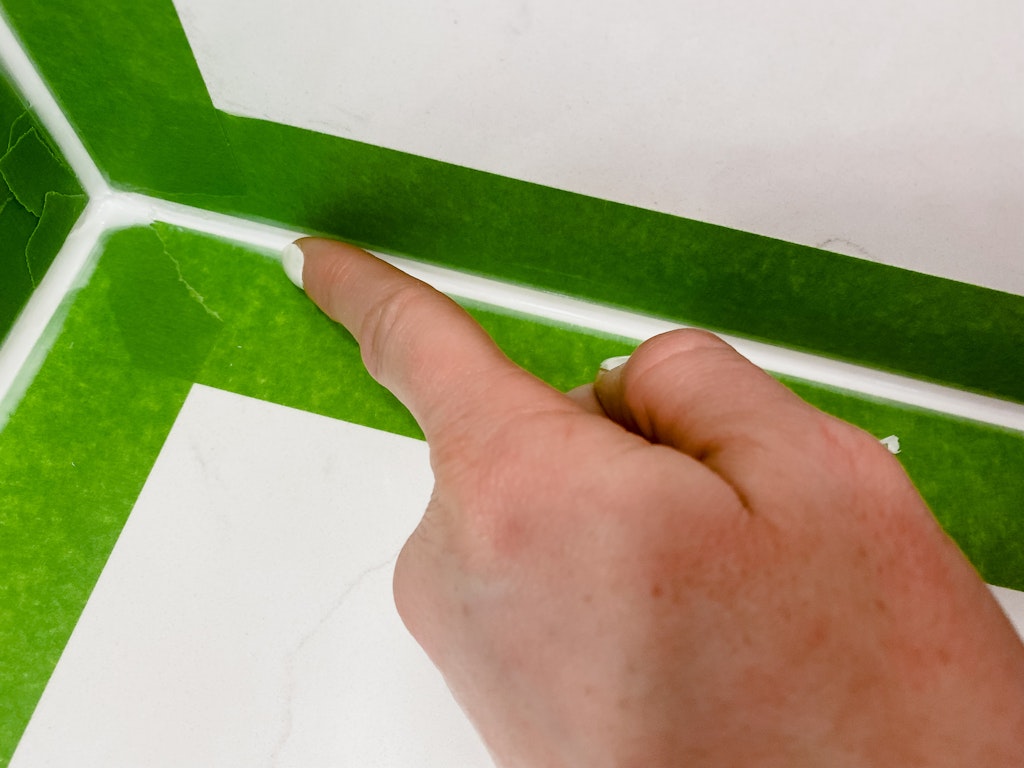
You need to smooth out the caulk soon after applying the thin bead along the seam. Use your finger to smooth out the line of caulk. Start in the corner and run your finger over the wet caulk gently smoothing it out and spreading it across the area in between the lines of tape. Wipe any excess caulk from your finger onto a paper towel and continue to the next seam.
Gently remove painters tape while the caulk is still wet.
After removing the tape you might want to carefully run over the caulk line with your finger again to smooth it out if the tape guides left behind a little ridge.
Let the caulk set for 24 hours before using the sink, tub, toilet wherever you just caulked.

