How To Make A Llama Valentine Box
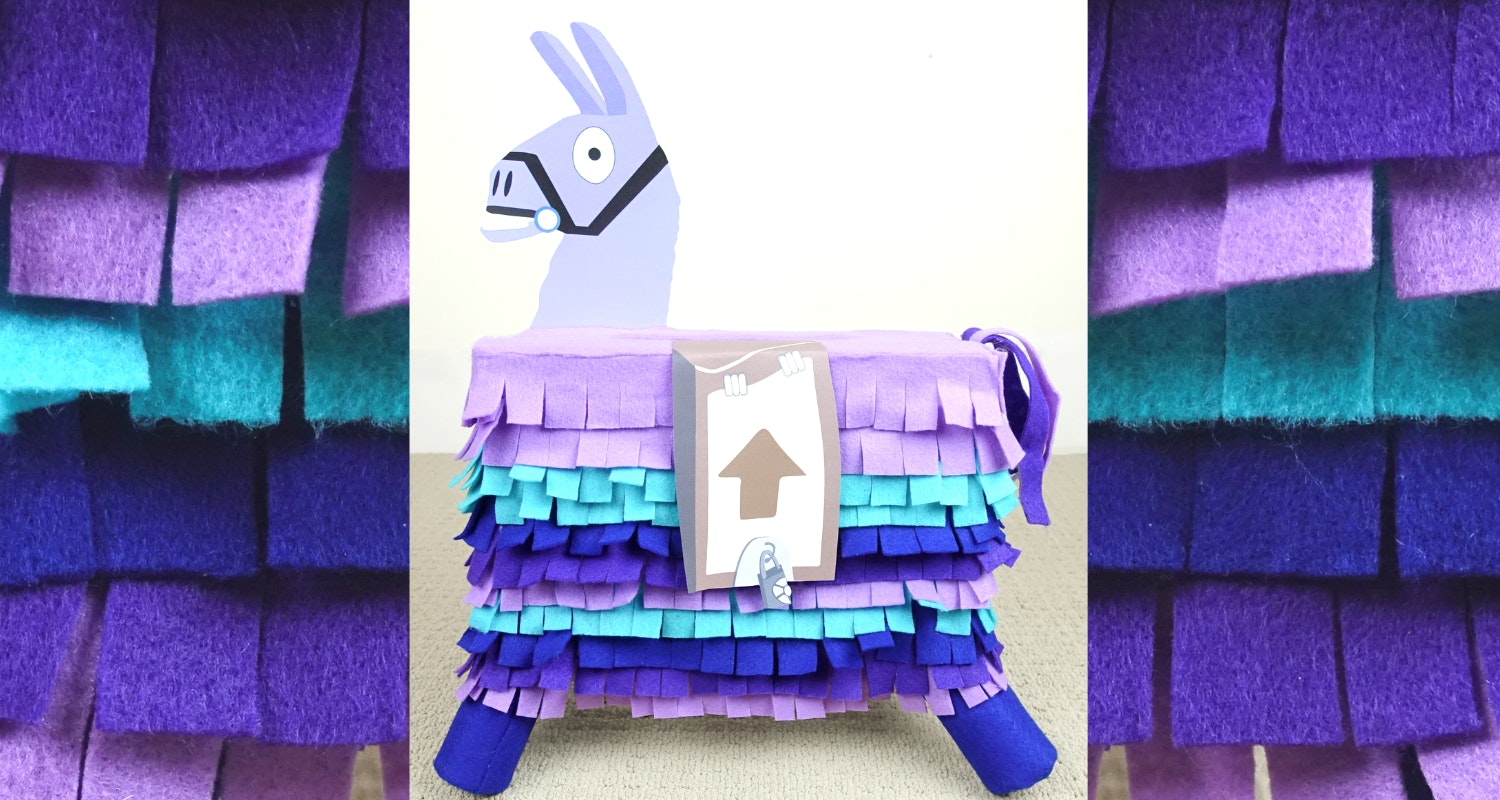
We have a super easy tutorial on how to make your own Fortnite llama Valentine’s Day Classroom Mailbox. If your kids are obsessed with Fortnite like ours are, they will love this super simple Valentine’s Day Mailbox.
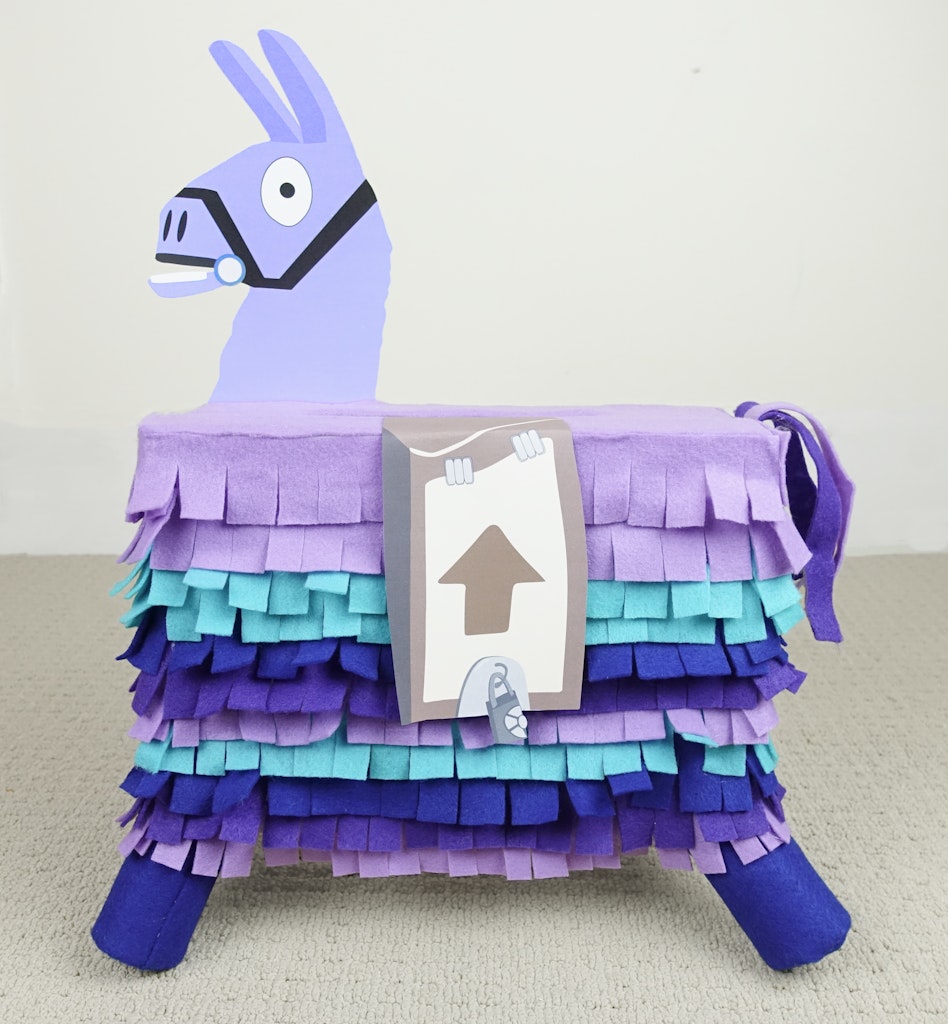
You could use this same tutorial and use tissue paper or colored cardstock instead of felt. We found that using felt was cheaper than buying packages of all of the different colors of tissue paper. We found all of the supplies we needed at Michaels, but we saw similar colors of felt and supplies at our local Walmart as well.
Supplies For Fortnite Llama Mailbox
Felt
2 dark blue pieces of felt
2-3 teal pieces of felt
2 dark purple pieces of felt
3-4 pieces of light purple felt
Hot glue gun
Glue Sticks
Shoe box or photo box (we found this photo box at Michaels for a few dollars)
4 toilet paper rolls or 2 paper towel rolls cut in 4-5 inch sections.
X-acto knife or box cutter
Scissors
Masking Tape
White Cardstock (2 sheets)
Making The Llama Body
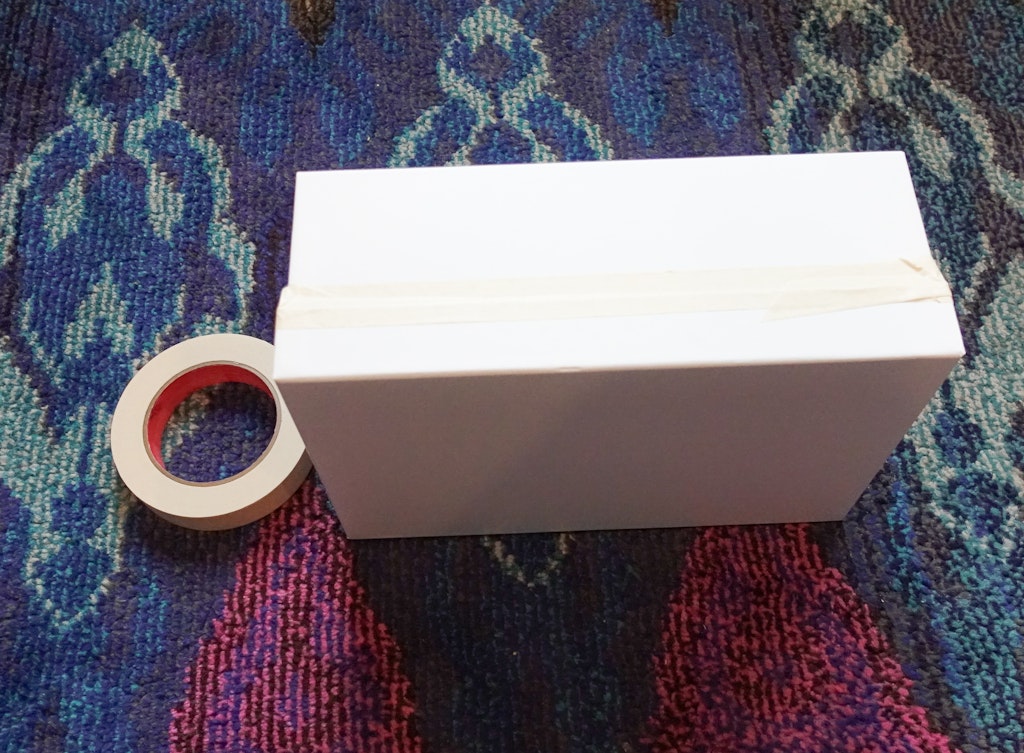
Using your masking tape, secure the top of the box to the bottom of the box. We taped it all the way around the box.
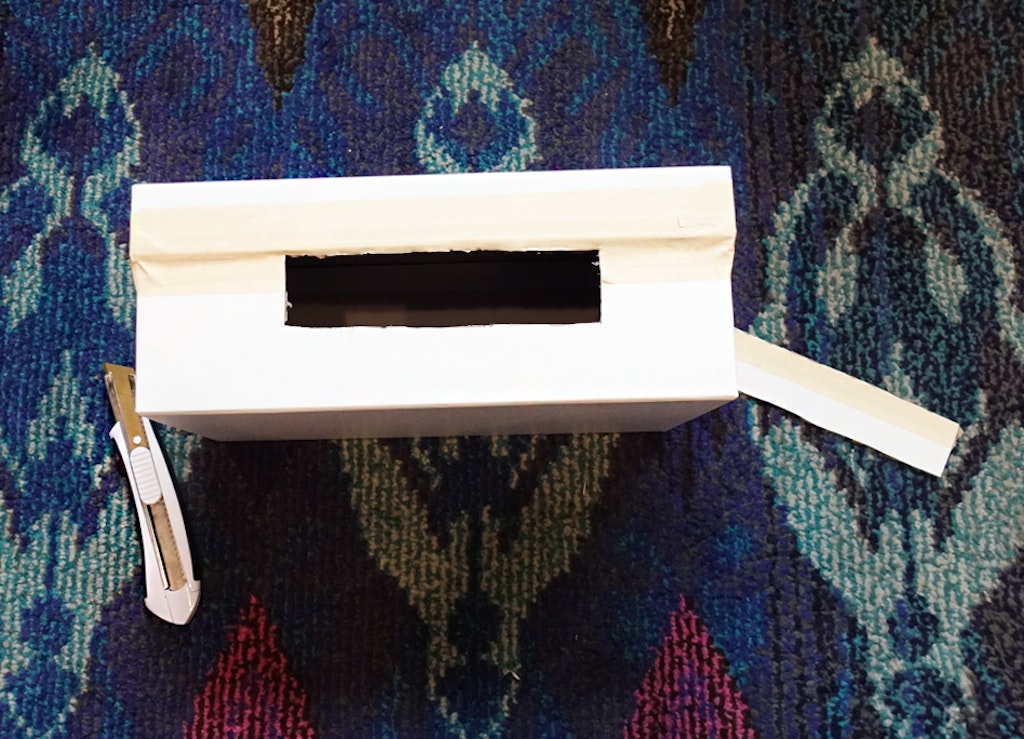
Turn the box on it’s side. (one of the skinny long sides) Using a box knife or X-acto knife, carefully cut a rectangular opening in the side of the box. This will become the “top” of the box where you can put the valentines inside of the box. You might actually want to cut it a bit larger than I did so you or the kiddos will be able to more easily remove all of the valentines from the box 🙂 . I would probably double its width so you can easily remove anything inside.
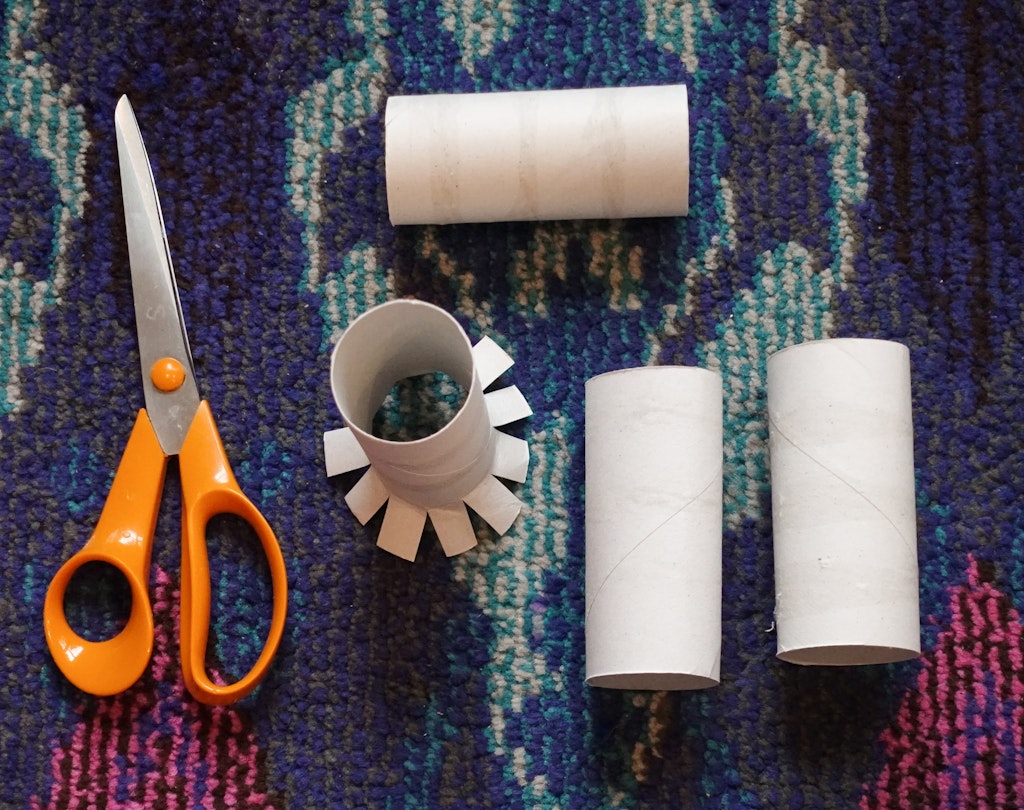
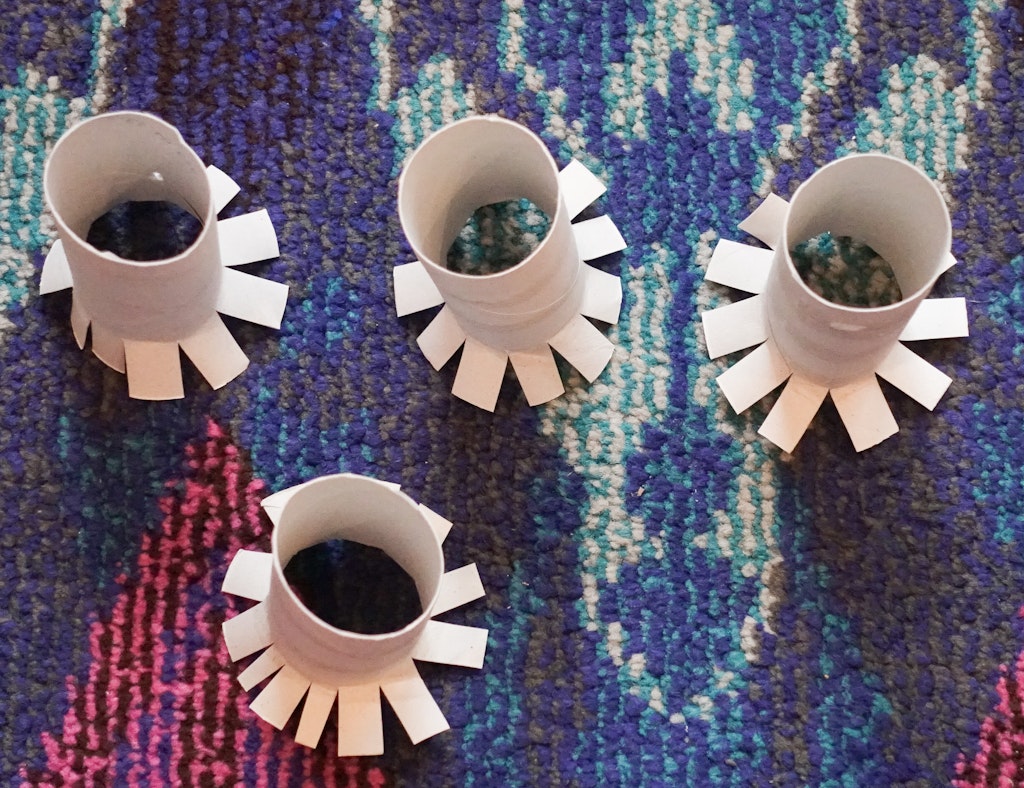
Grab your toilet paper rolls and cut small slits around one inch tall around one side about half an inch apart. It doesn’t have to be exact, just try to cut them about the same on each roll so the llama’s legs will end up being about the same length.
Tape them on the bottom of your llama bodice angling outwards.
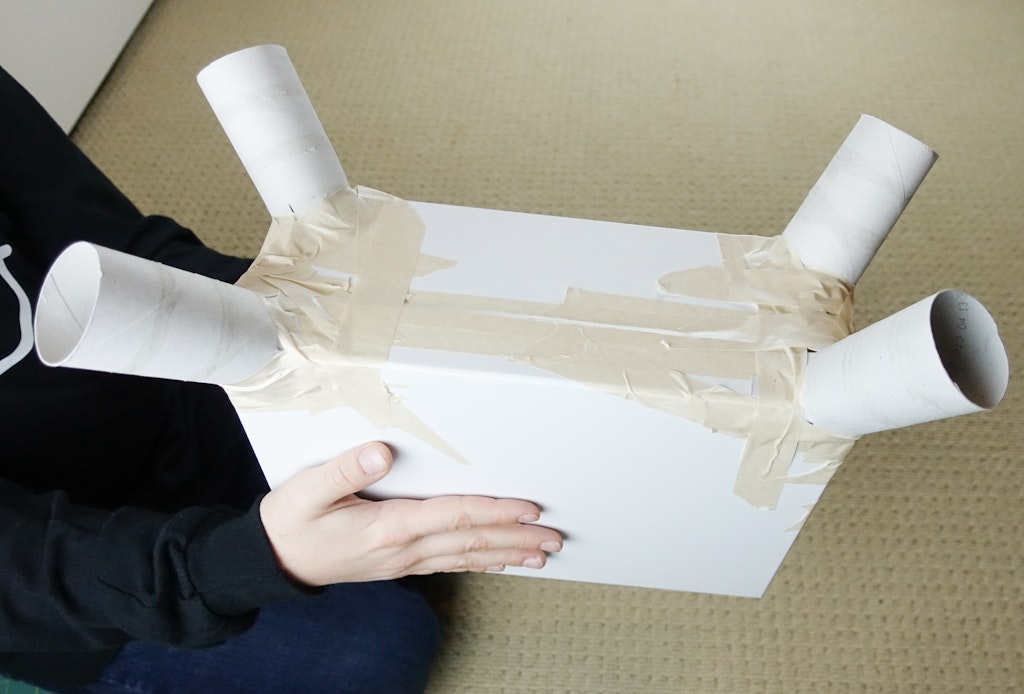
If you place the corner of the box in the middle of the tube then tape all of the edges down it should be about the right angle.
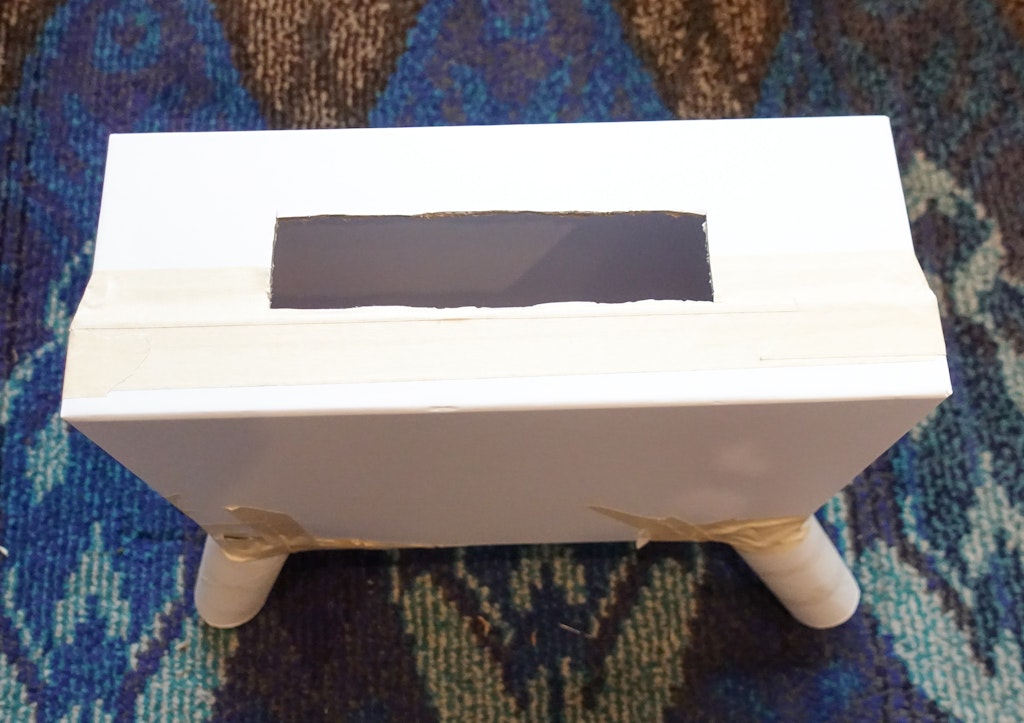
Flip him over and make sure that he can stand upright on his own. If not, carefully remove the tape and readjust the legs until he can stand upright.
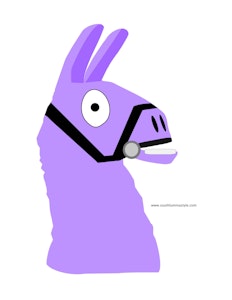
Print Out The Llama Noggin
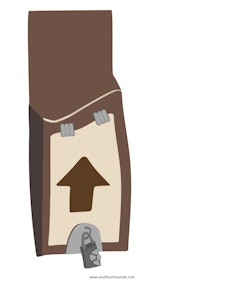
Click on the Fortnite llama head and llama bag PDFs above and print them both out on white cardstock. Set the llama bag aside for a little later.
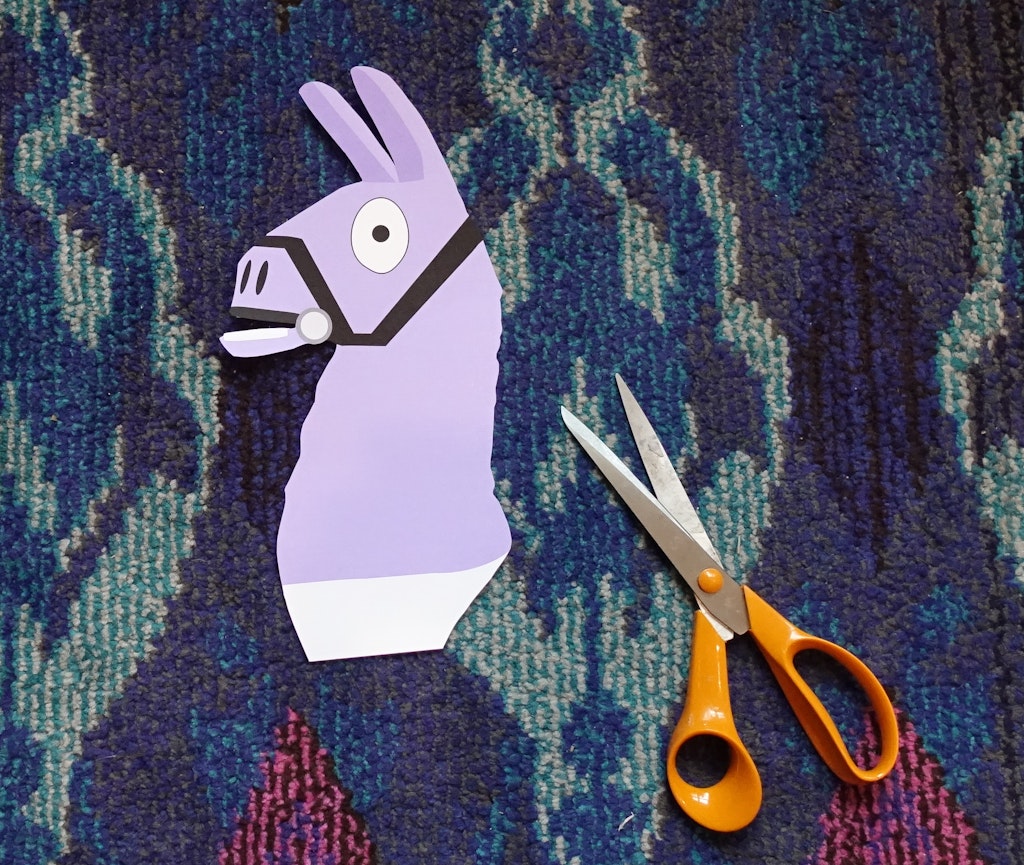
Cut out your Fortnite llama noggin. You can leave about an inch of white space or more at the bottom if you want the head to stick up a little higher like ours. 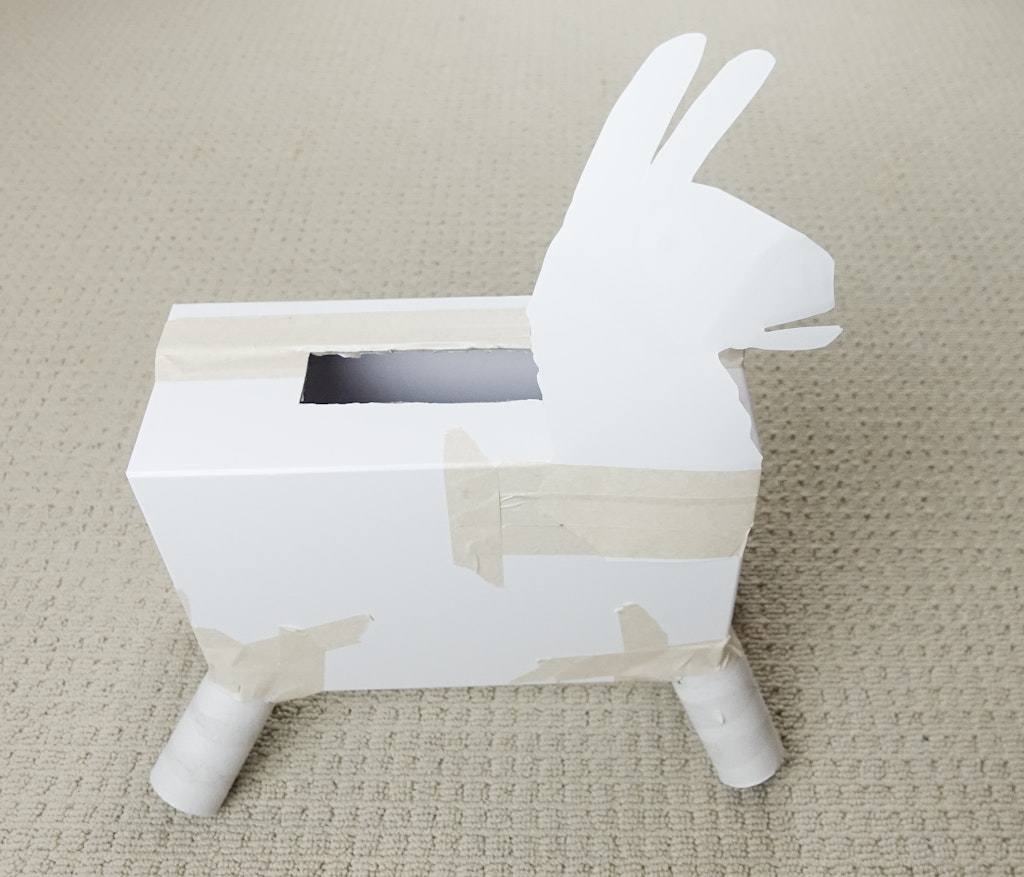
Attach the llama head to one side of the box.
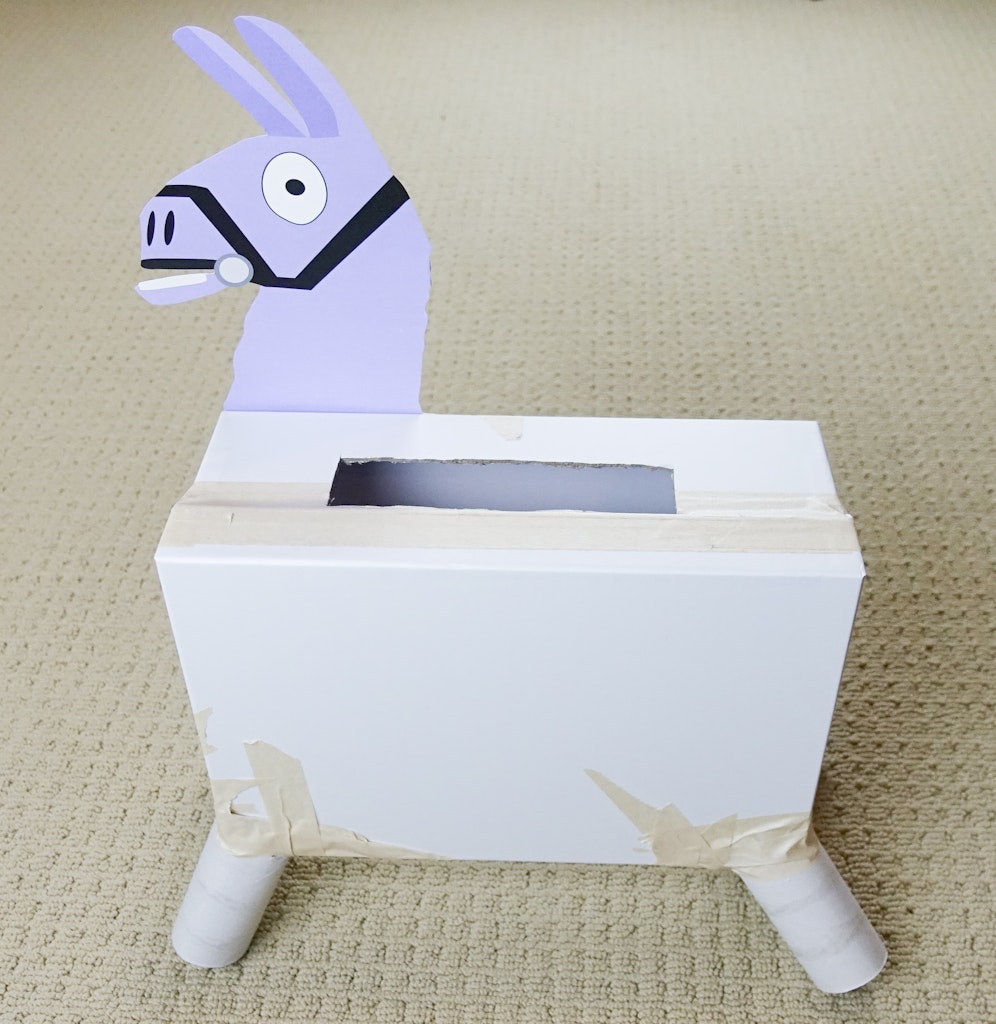
Adding The Felt
I taped it on the far side of the box so you wouldn’t have to reach around his head to put something into the top of the box.
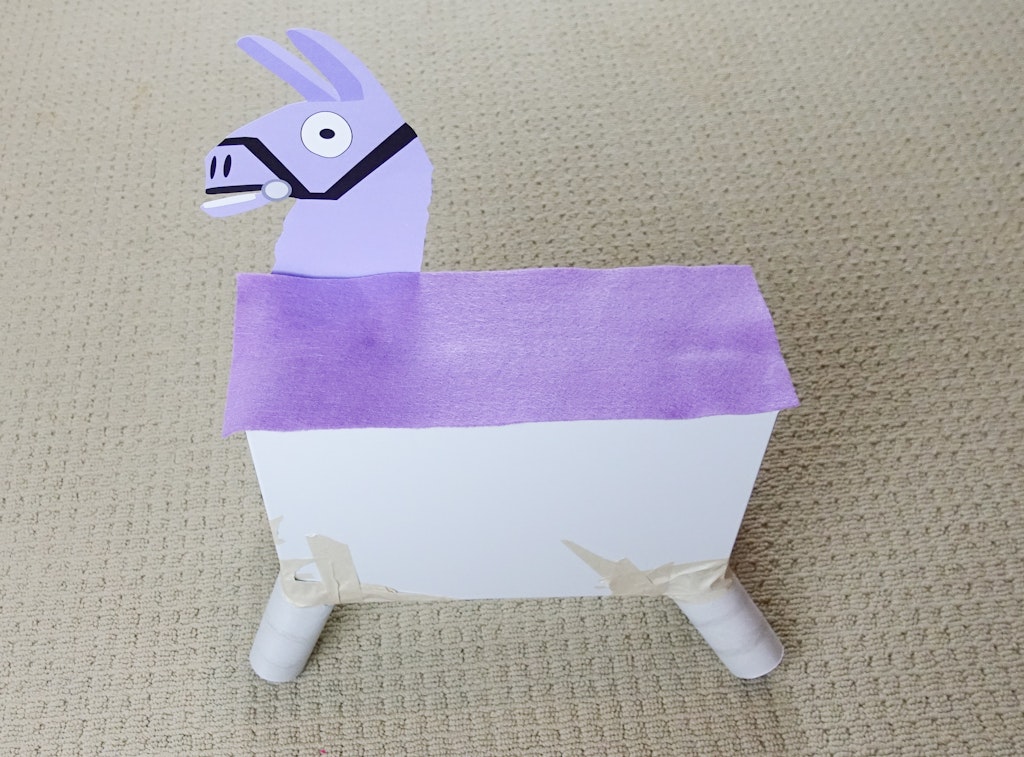
Cut a piece of your light purple felt in half length wise and use your hot glue gun to secure it to the top and sides.
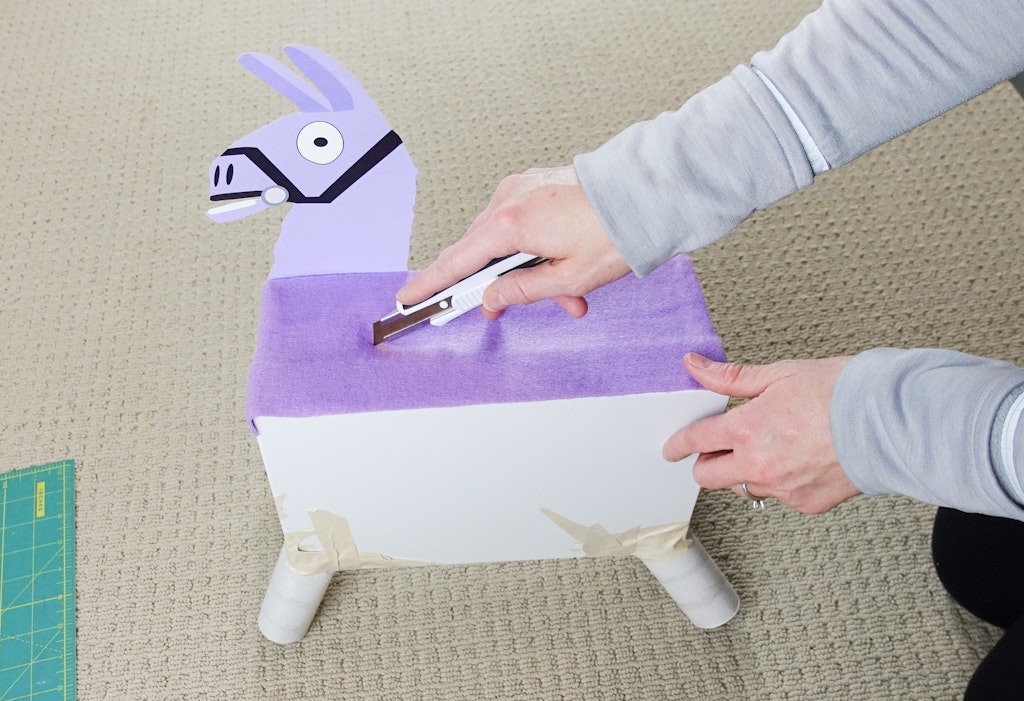
Use your X-acto knife or box cutter to cut a slit in the felt down the center of the opening and then along the skinny edges of the top and bottom of the opening.
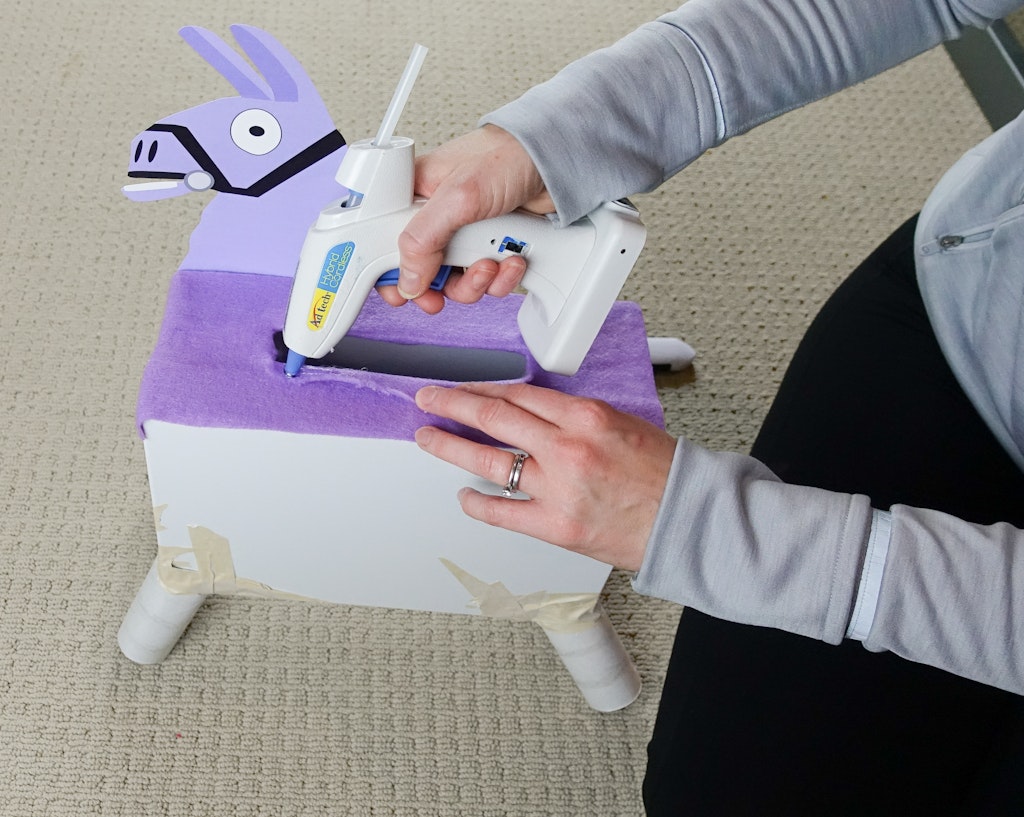
Gently fold back this opening in the felt and glue it to the inside to the opening in the cardboard to create a clean finished edge.
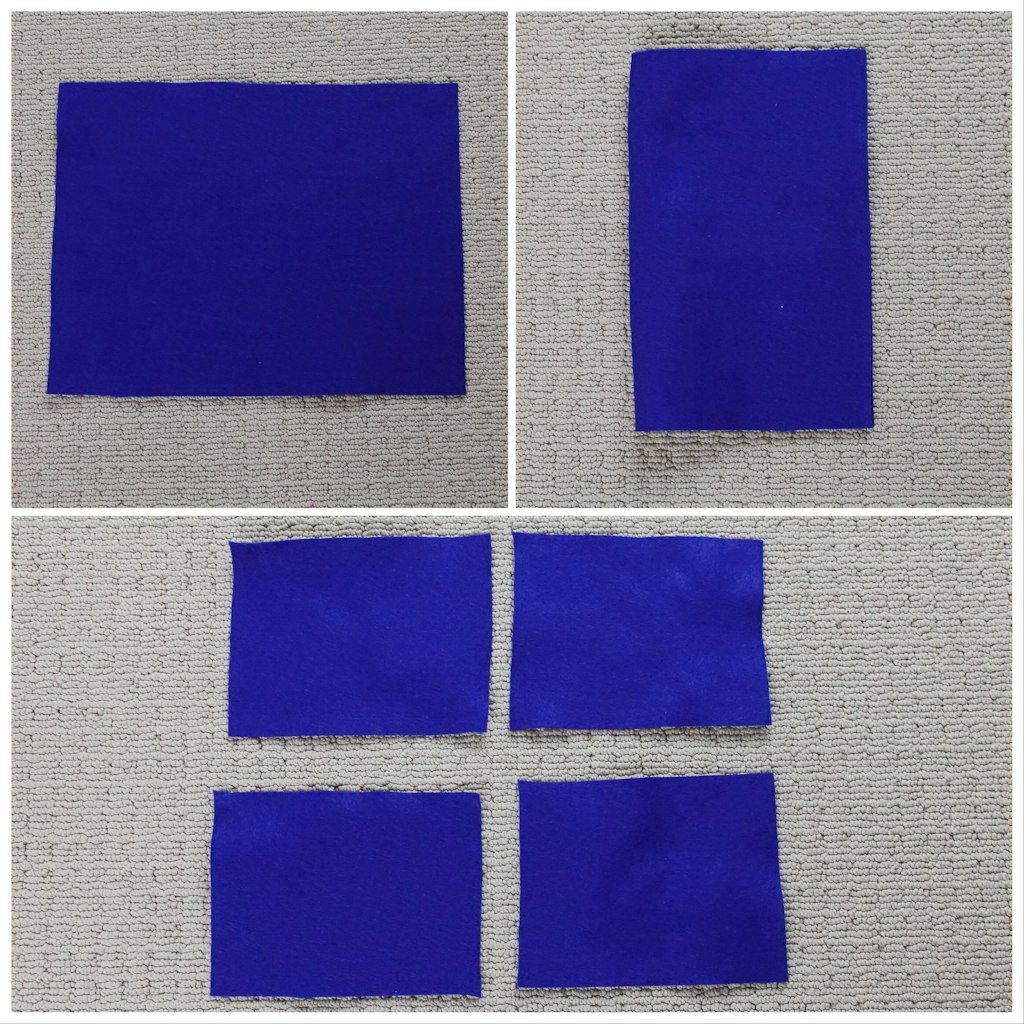
Take one of your pieces of dark blue felt and cut it in half, then cut it in half again.
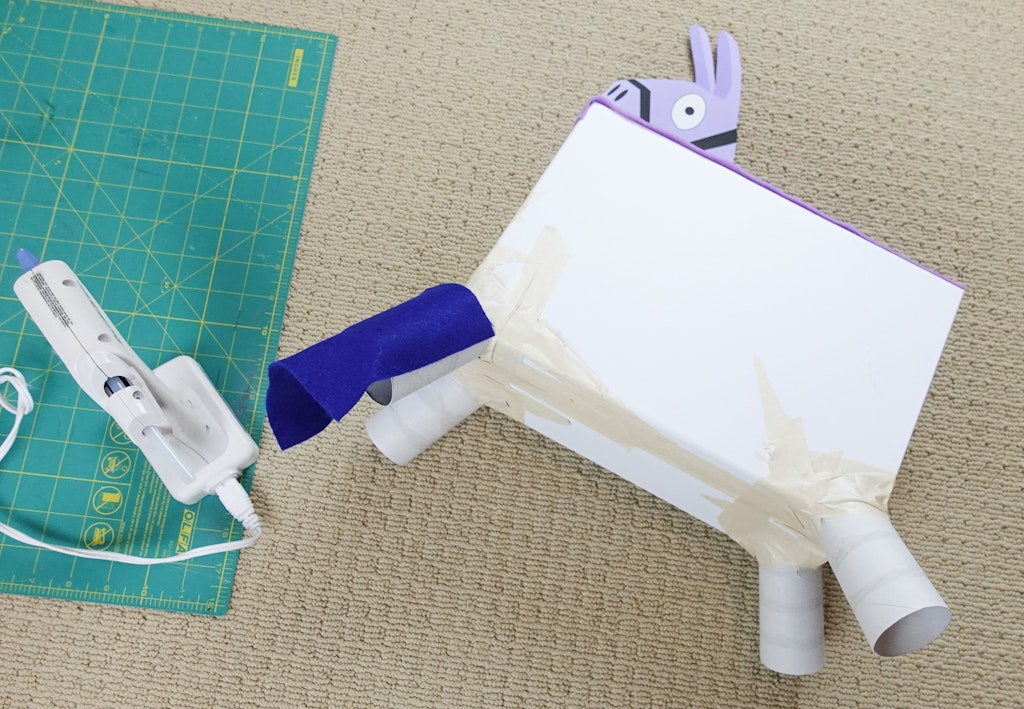
Glue one edge to one of the llama legs leaving the extra at the bottom of the leg. 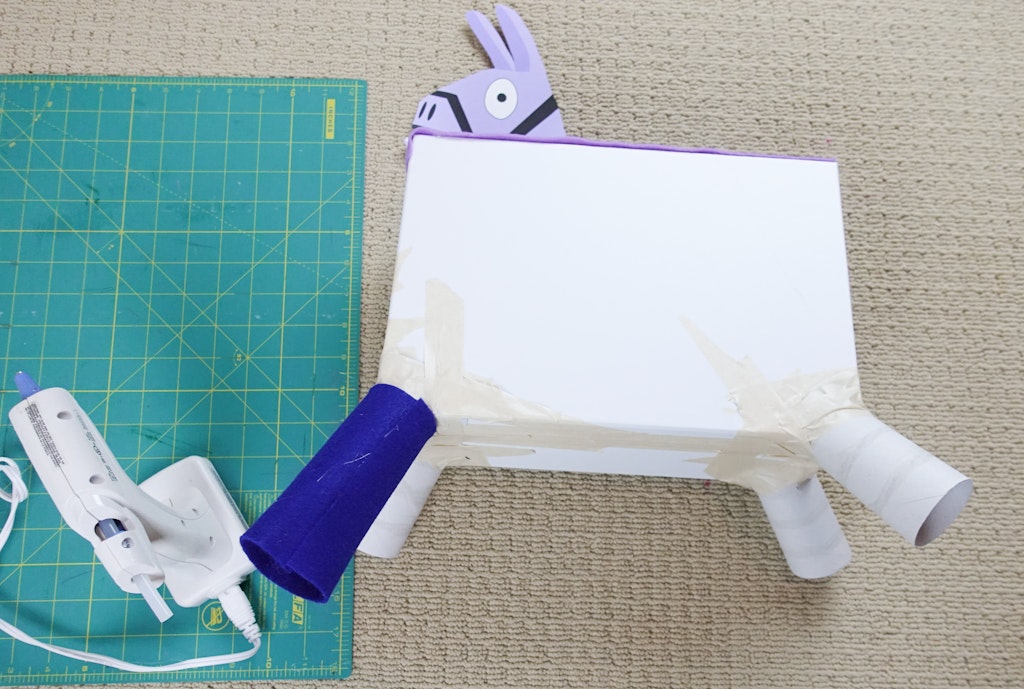
Pull the other side of the piece of felt around the leg and glue it down so the entire cardboard leg is covered with the piece of felt. Leave the extra hanging off the bottom.
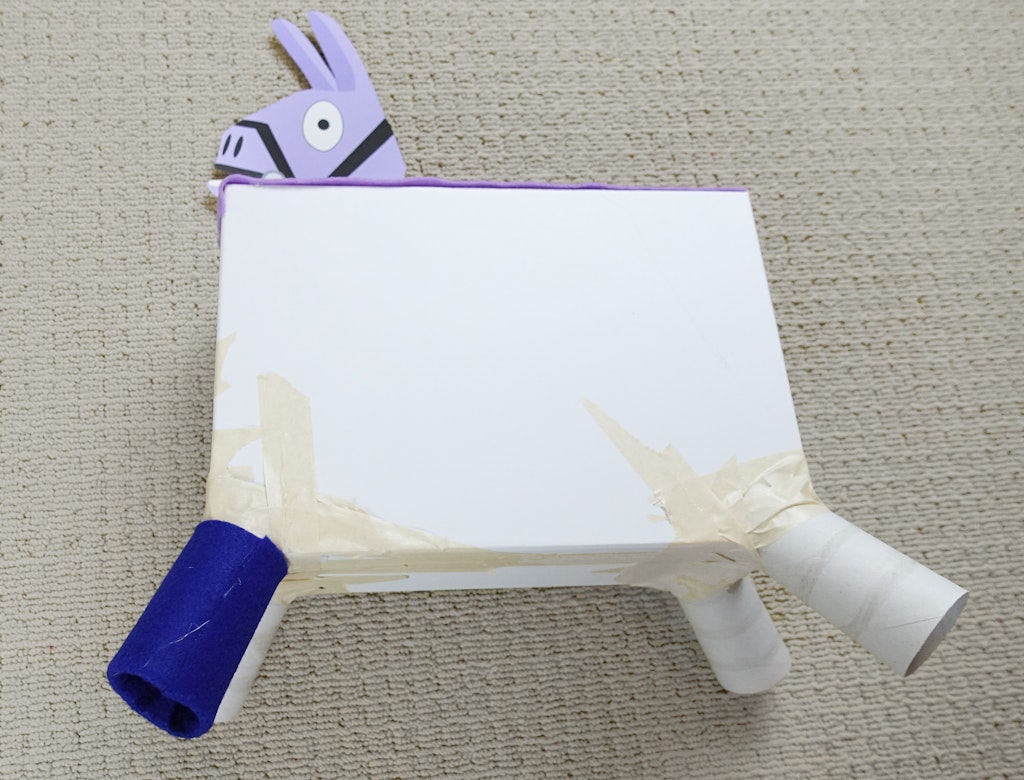
Tuck the excess felt into the inside of the tube.
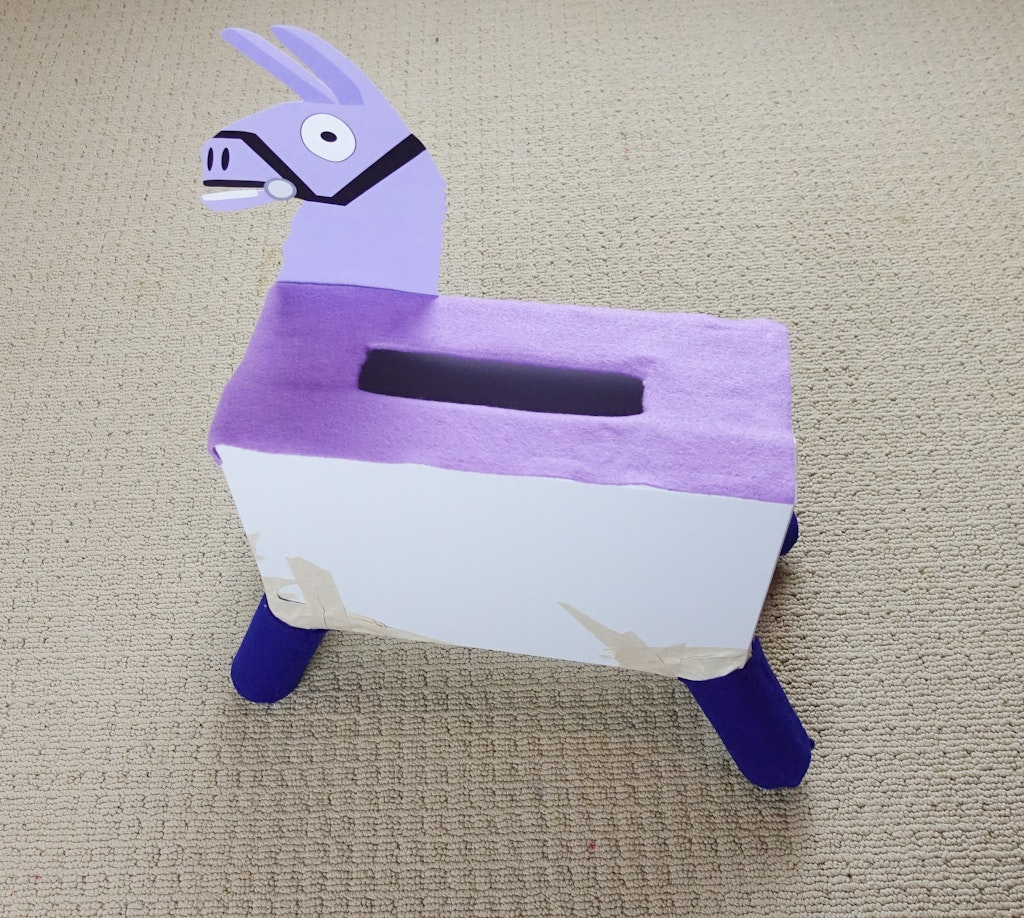
Repeat on the rest of the llama legs.
Adding The Fringe
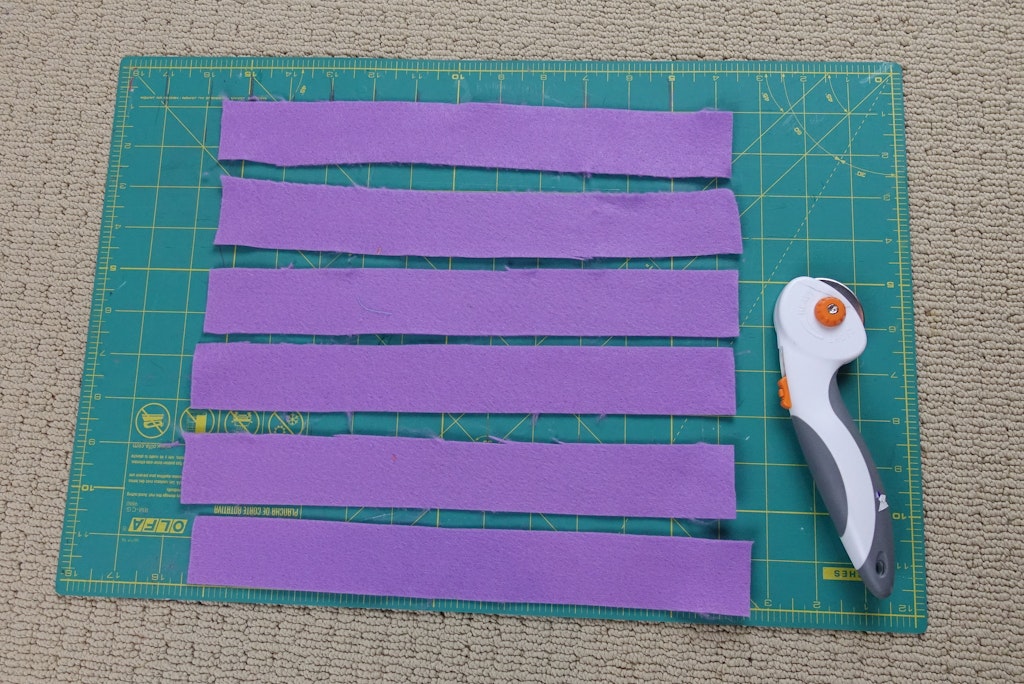
Take a piece of your light purple felt and cut it into long strips. We cut it 1.5″ long and got 6 strips of felt out of one full piece. You could also fold it in half lengthwise and cut it and fold it again lengthwise and cut it again. This would give you 4 thicker strips of felt. You could cut the fringe a little longer on these and you might not have to do as many layers as we did. Totally up to you.
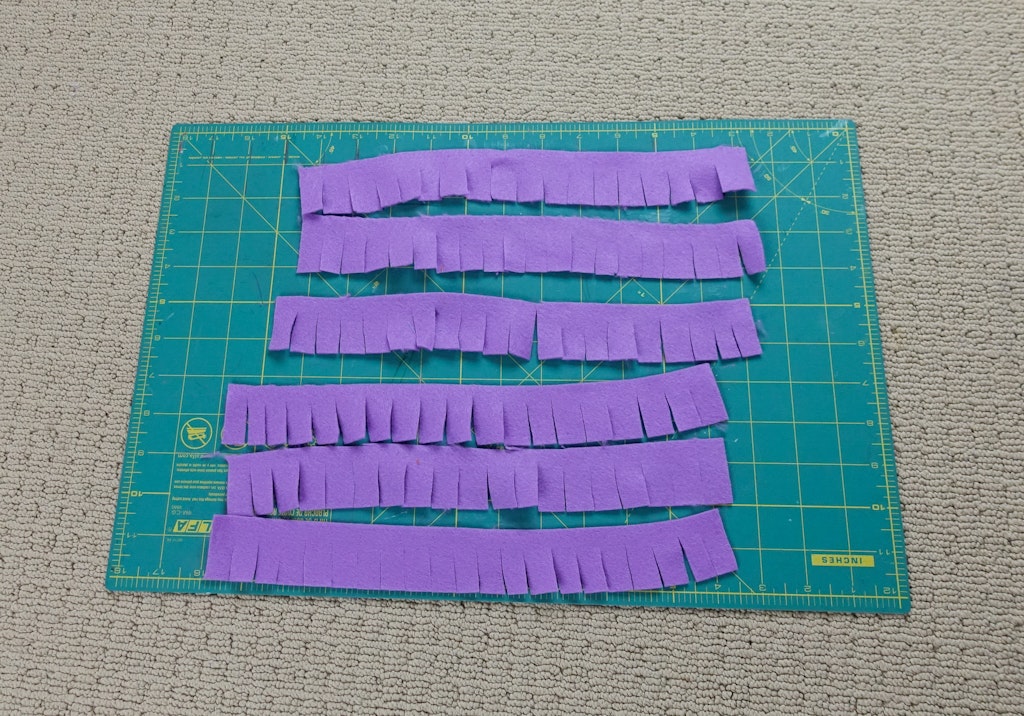
Fringe one of the long edges on each of the strips of felt. We used one long piece on each long size of the box and 1/2 of a strip on each shorter end, but this might vary based on the size of your shoebox or photo box.
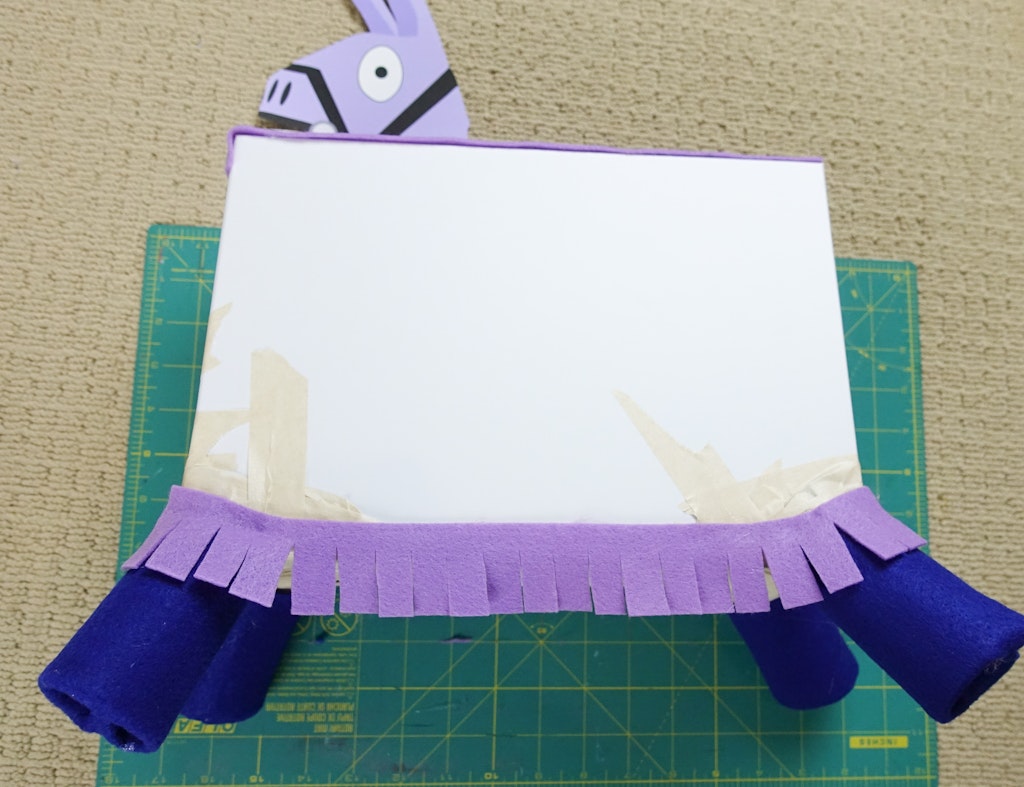
Start at the bottom of the box near the legs. Let the fringe hang off a little to cover the bottom of the box and secure the top with hot glue to the box. Continue with the same color on each side of the box. Work your way up overlapping the next layer a little and attach the top right above the last layer you did.
We used this pattern….
light purple, dark purple, dark blue, teal, light purple, dark purple, dark blue, teal, teal, light purple, light purple. Try to space them out so you cover the entire box.
Add The Llama Tail
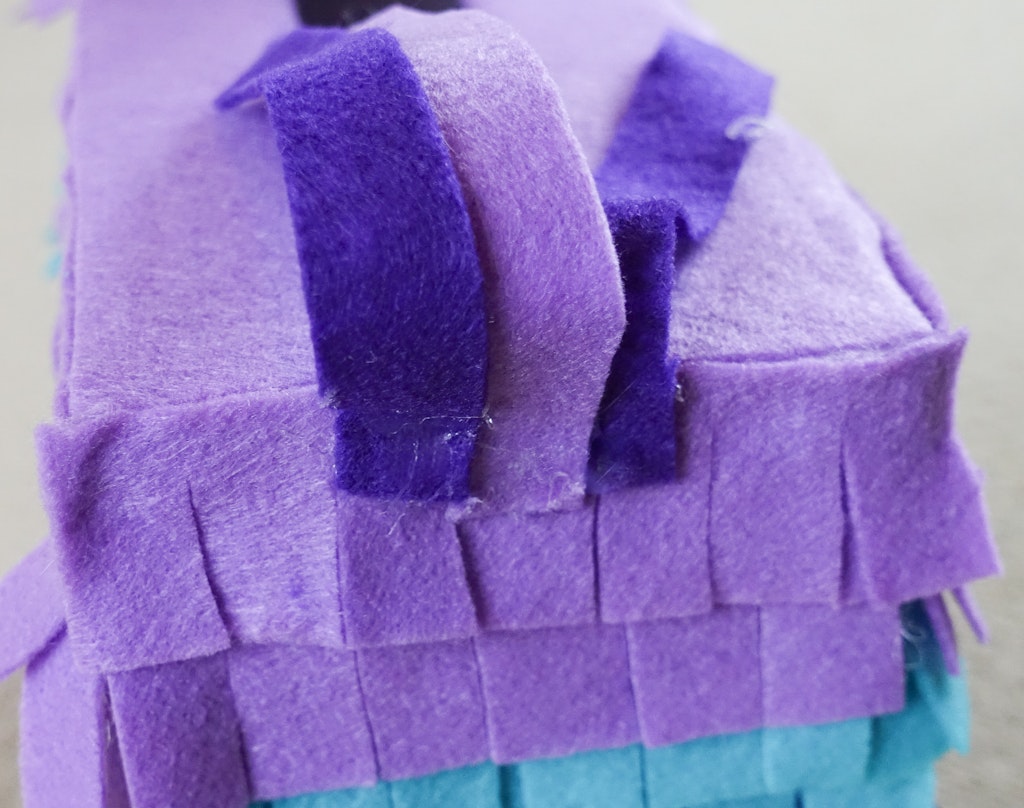
To add his tail, cut a couple strips of light purple and dark purple felt and attach them with hot glue upside down like shown above.
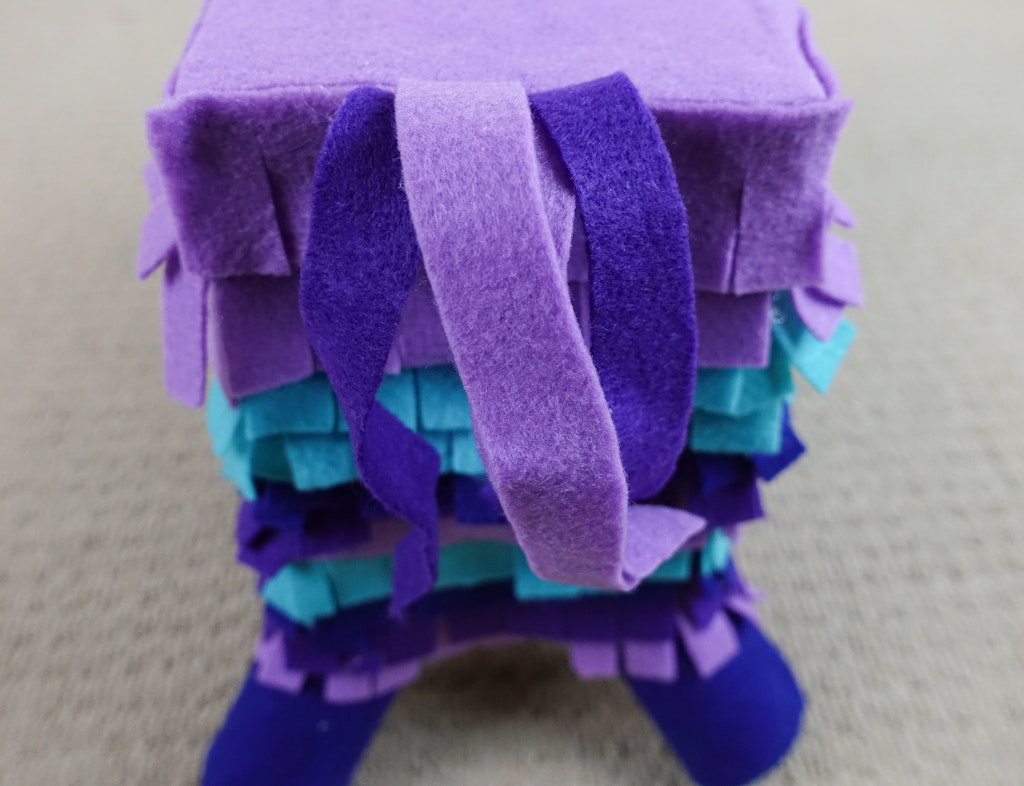
This will allow the tail to curve around farther away from the box. Scrunch the tail pieces with your hand to give them a more textured look.
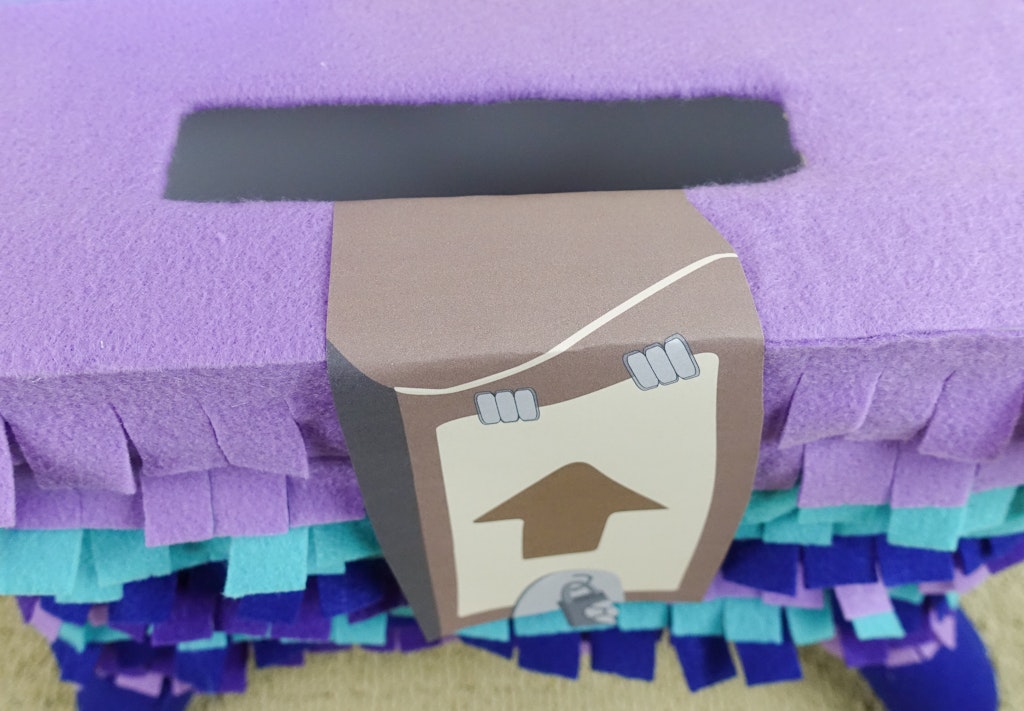
Attach your llama bag to the front of the llama. We folded the paper into the opening and secured it with hot glue.
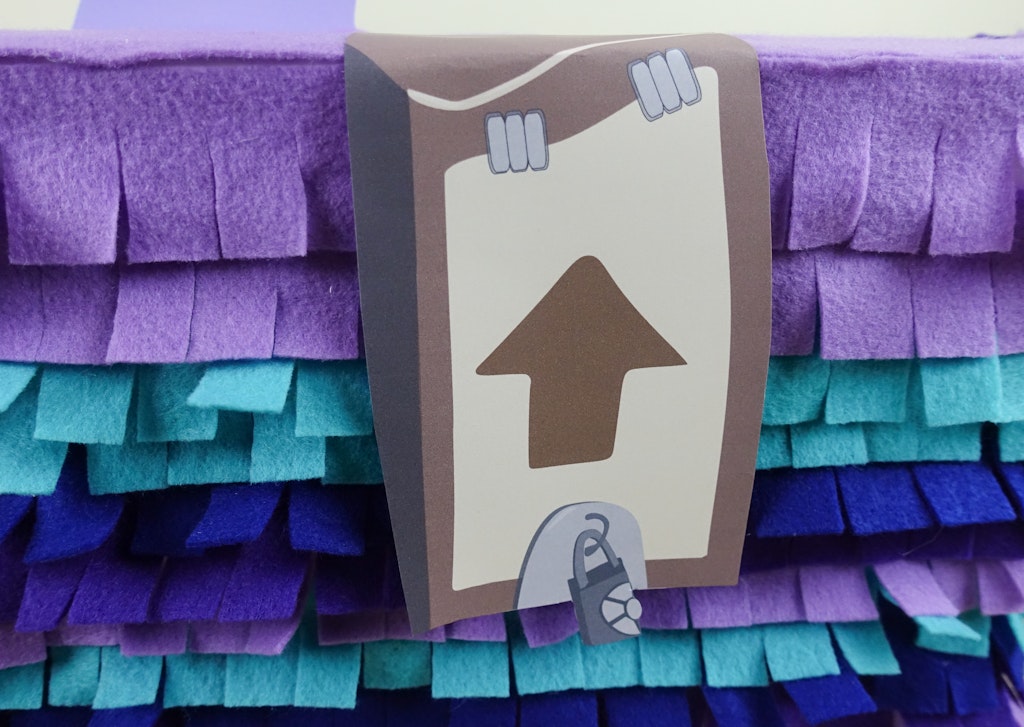
We secured the sign to the front with a little hot glue as well.
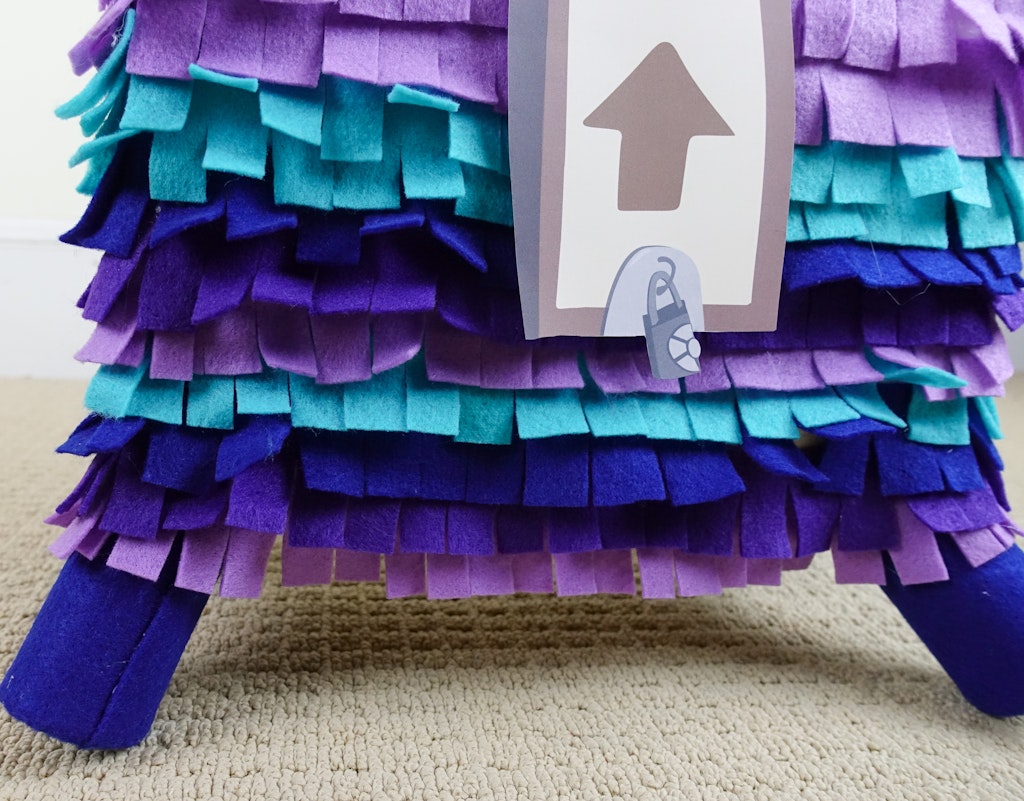
Fluff up the fringed layers with your fingers so they look more full.
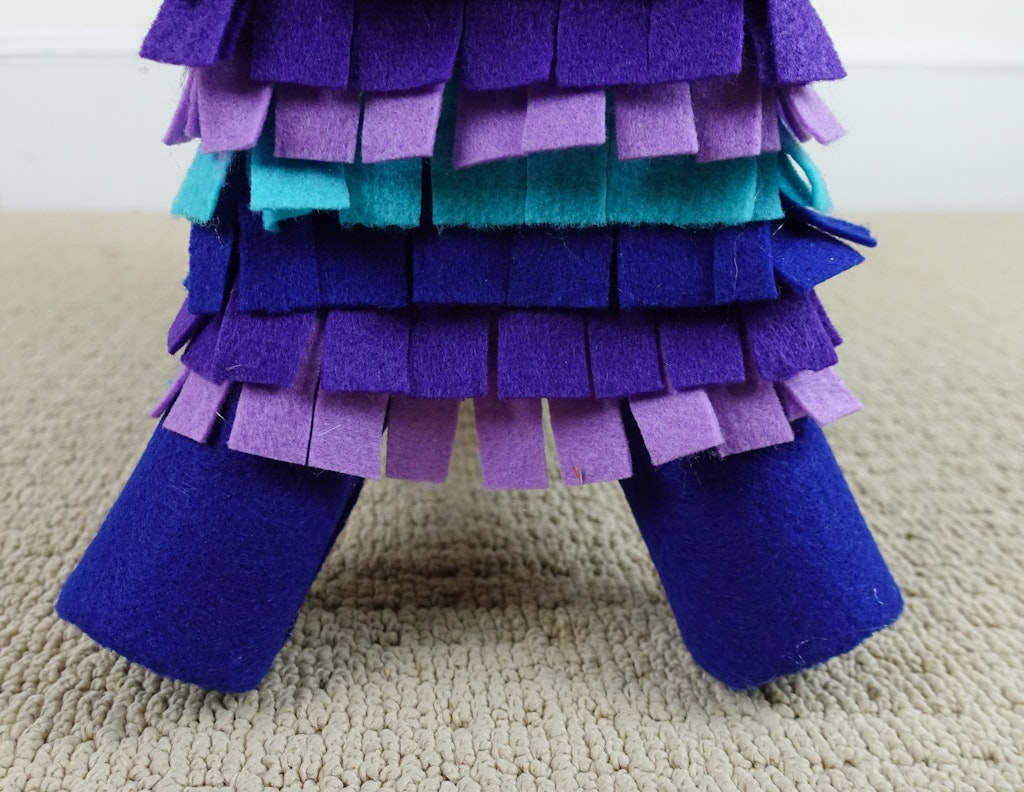
Look at those cute lil llama legs!!!

And you’re done!! Present this super cool Fortnite llama valentine box to your Fortnite obsessed kiddos and watch them squeal with glee 😉
Check out our other version as well made from a pre-made llama mailbox kit.

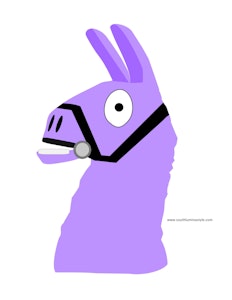
Is there anyway to flip or print mirror image of the llama? I can’t seem to figure that out?
Sure! I’ll add the mirror image of the llama noggin up on the site in a bit!
Thank you! It worked perfectly!
Great! Thanks for the suggestion! Our llama noggin only had one side hahaha
Thank you so much, ours turned out better than fantastic! We used the foam sheets instead of felt bc less expensive. Love this!
Perfect!! Ohhh foam sheets are a great idea!
I am the least crafty person, and this is actually something I could be proud of. You made it so easy with the printables, supply list, and step by step instructions/pictures. Thank you so much!!! This was the first Valentine’s box I was able to do for my twins.
Thank you! Thank you!
Megan you made my day!!!!! I’m so glad it turned out so well!!!!! You go momma!!!!!
Can’t wait to make this with my boy. Thank you for the great idea!
Yay! It really came together quickly! Have fun!
Do you think I could use tissue paper?
I bet you could! My only concern would be if any writing or logos on the box would show through under the thin tissue. If you’re using a plain box or maybe layer a piece of white printer paper behind each layer of tissue fringe it would hide anything just fine 🙂