

Easy DIY School Supplies Painted Pencils
It’s back to school time ya’ll! DIY marble painted pencils are a fun and easy project that the kids or teens can do to spruce up their school supplies.
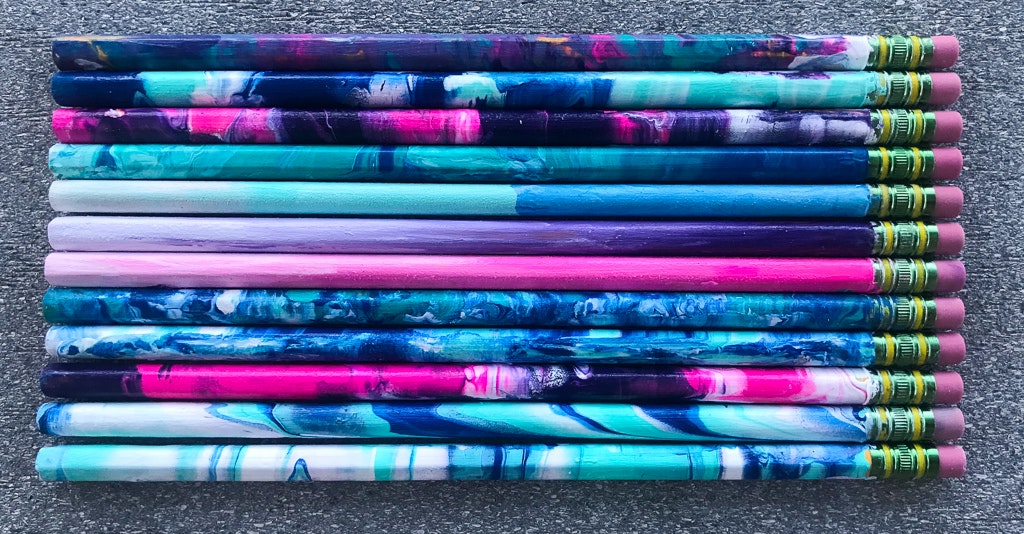
We tried a few different techniques on the pencils from ombre to marbling. You’ll only need a few supplies that you can easily snag while back to school shopping.
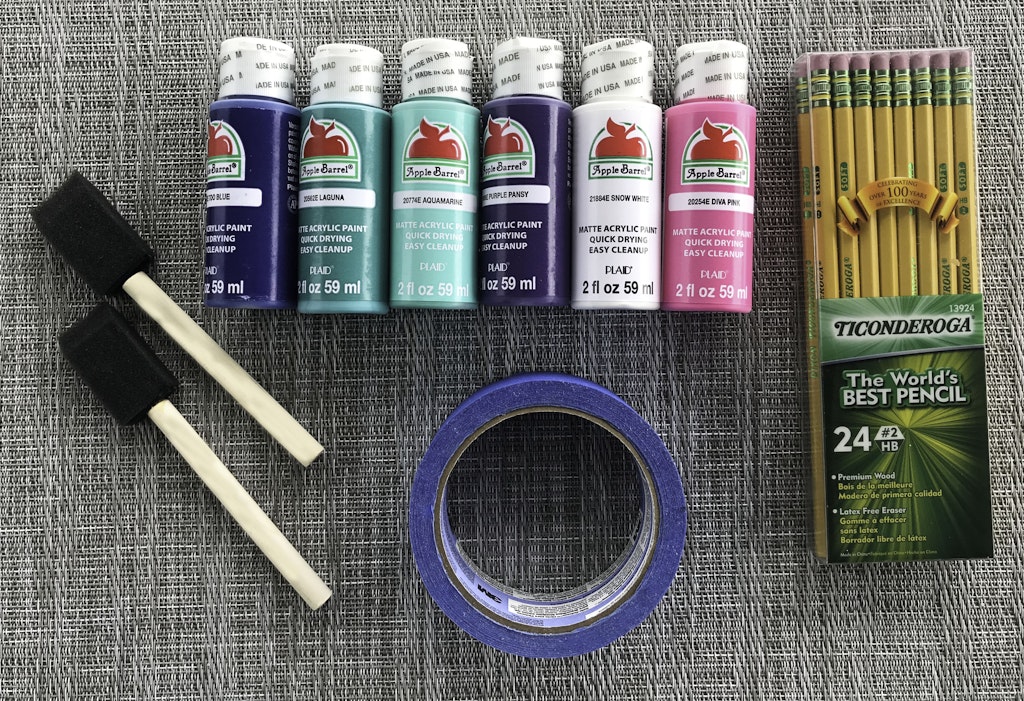
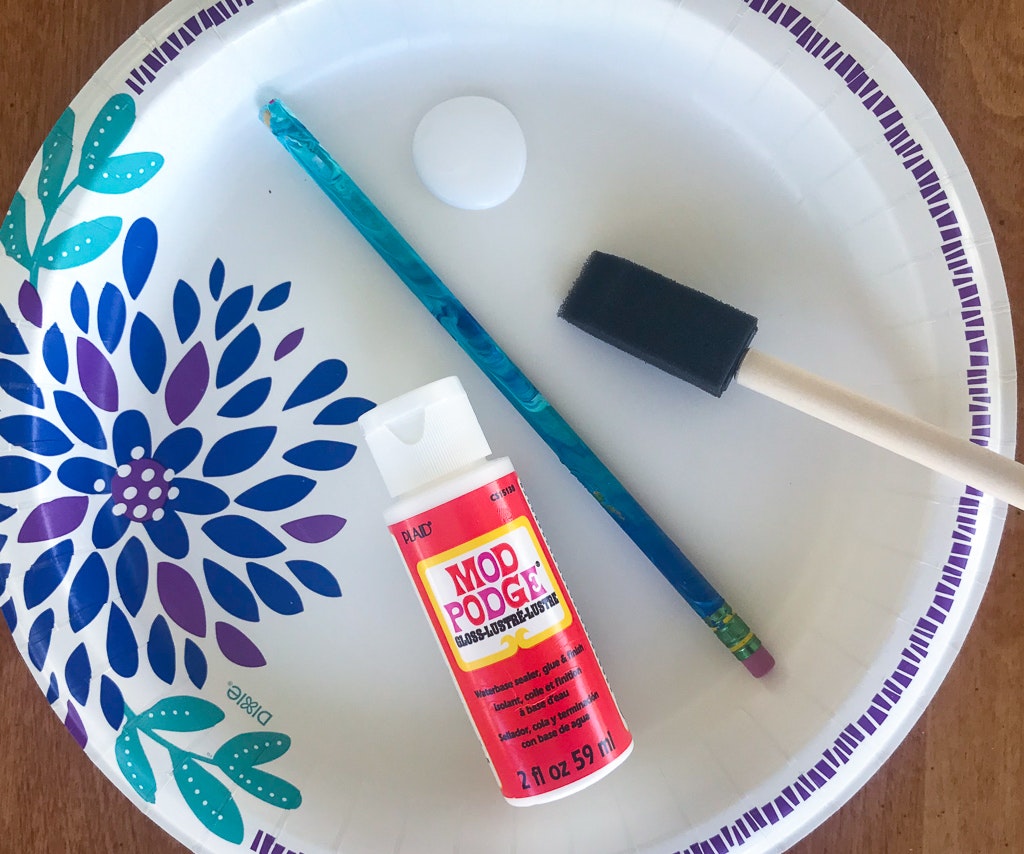
DIY Marble Painted Pencil Supplies
-
- Pencils
- Foam paint brushes or small paint brushes We usually use the paint brushes to add paint directly on the pencils and the foam brushes for the modge podge top coat. But you can use either brushes for both paint and the topcoat.
- Modge Podge – we used the gloss finish topcoat
- Acrylic Paint – these can be found at stores like Walmart, Target, and craft stores. We used the matte finish.
- Masking tape or painter’s tape
- Dropcloth or something to cover your workspace
- Tin foil
- Paper towels
- Paper plates
- Clothespins (can be found at the dollar store, Walmart, Target etc) to clip on the eraser as a stand when the paint is drying. You could also use something like a cereal box or small shoe box to rest one end of the wet pencils on the top edge of the box so the paint can dry
Painting Your Pencils
Make sure to cover your workspace before you begin. Using masking or painter’s tape, cover over the erasers of each of the pencils.
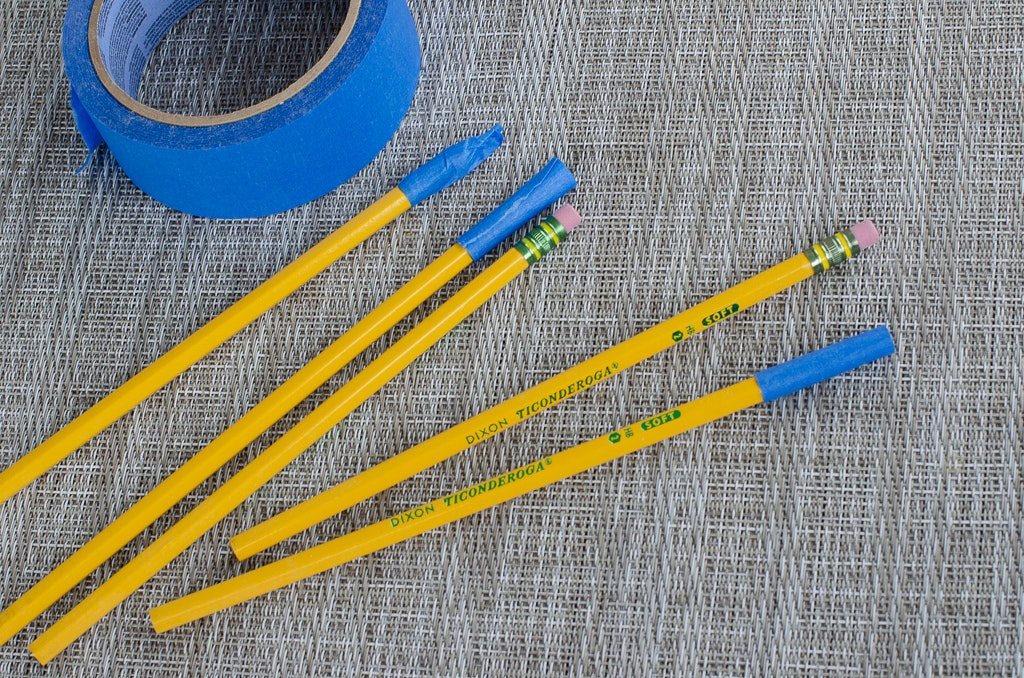
Enlist your little helpers. If the pencils come pre-sharpened, you might want to cover the sharpened tips with tape as well.

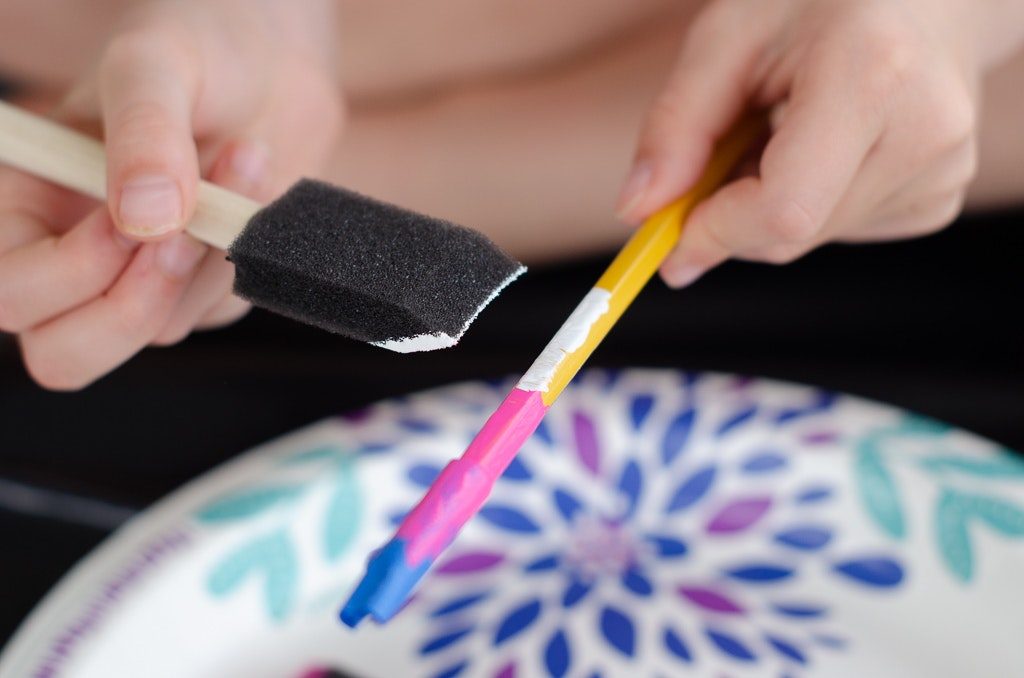
My 6 year old daughter could have painted the entire box of pencils herself. She loved creating different patterns of her own. If they choose to paint their own designs a small paint brush might work better.
These little hands loved working with the foam brushes. You might need to let the pencil dry and add a second coat of paint if you are hand painting them.
We used paper plates we had around the house to paint on. The are great for painting craft projects because you can add the colors you want to use directly to the plate as your palette. It makes mixing colors a lot easier when creating different colors or an ombre effect.
Creating The Marbled Look
To create a marbled look we spread out a sheet of tin foil and added splatters of at least two different colors of paint.
Make sure that the “pool” of paint is as long as the pencil so when you roll the pencil it covers from the tip of the pencil to the eraser.
Use a new sheet of tin foil for each of the different color combinations.
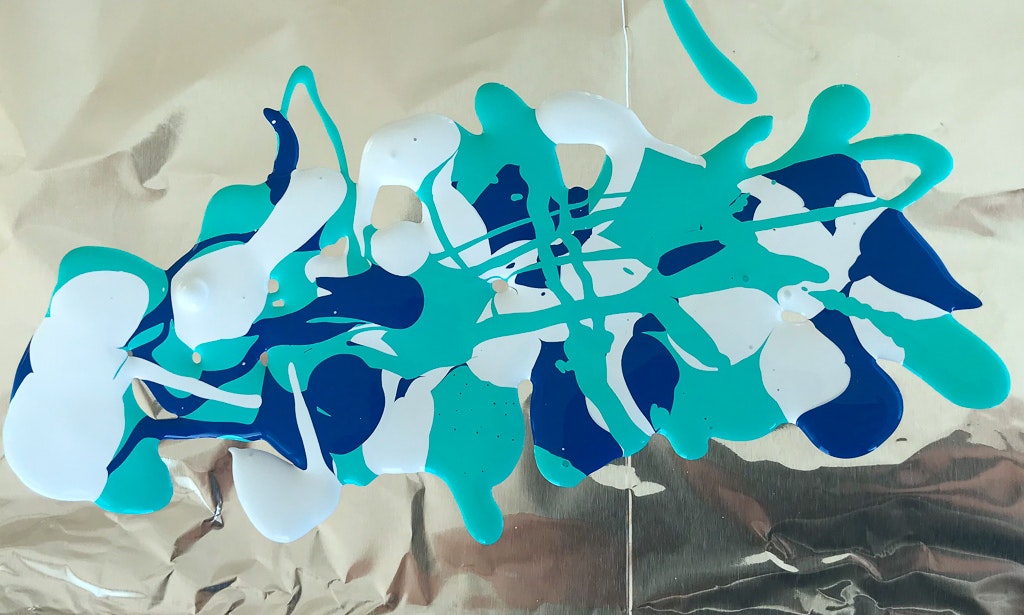
Place the pencil down and gently roll it across your color combination to cover all of the pencil in a thin coat of paint.
Let the pencils dry. You can clip the eraser end of the pencil with a clothespin and stand up the wet pencils to dry or try leaning the erasers against a slightly raised surface like the lip of an old cookie sheet or even a small box out of the recycling. Something to rest one of the edges of the pencil to keep it slightly elevated and not sitting flat when it’s drying.
Adding The Top Coat
Once the paint is dry it’s time to add the top coat. Apply a thin layer of modge podge to each pencil and let it dry. Gently remove the masking or painter’s tape and marvel at your craftiness.
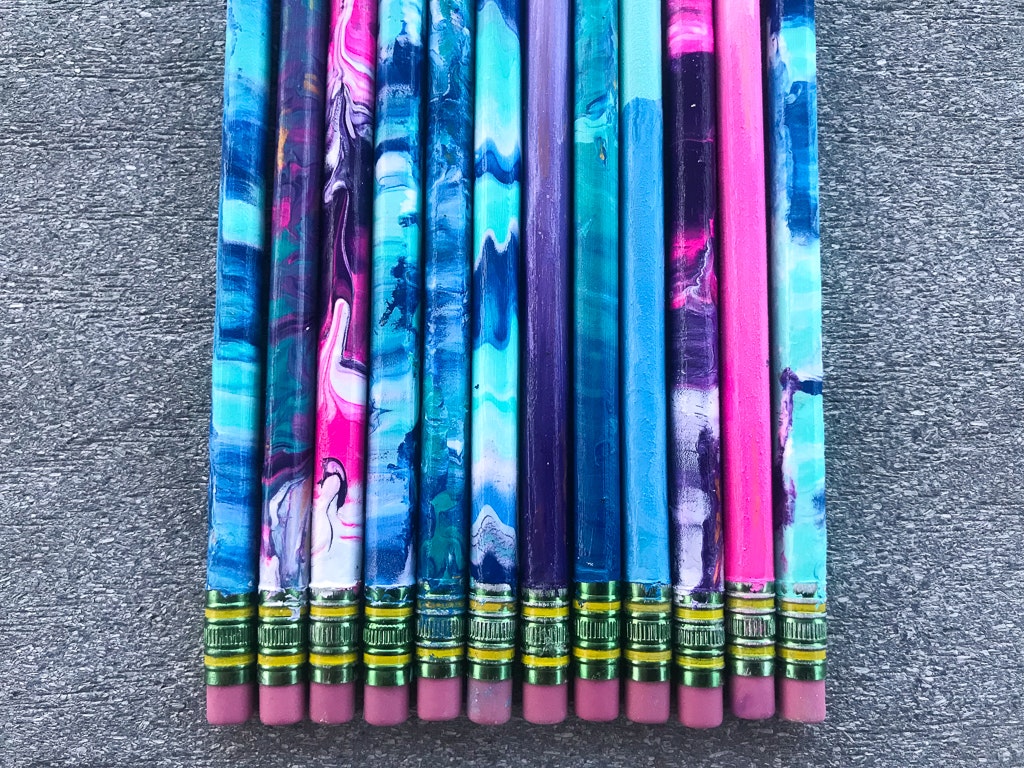
We had fun creating all of the different looks. Sharpen those beauties up and they are ready to roll.

Just a heads up to anyone looking to try this, you must use acrylic paint. I tried tempera because that’s what we have, but when the paint dried it cracked and fell off of the pencil.
If you have lots of nail polish around the house you could use that also