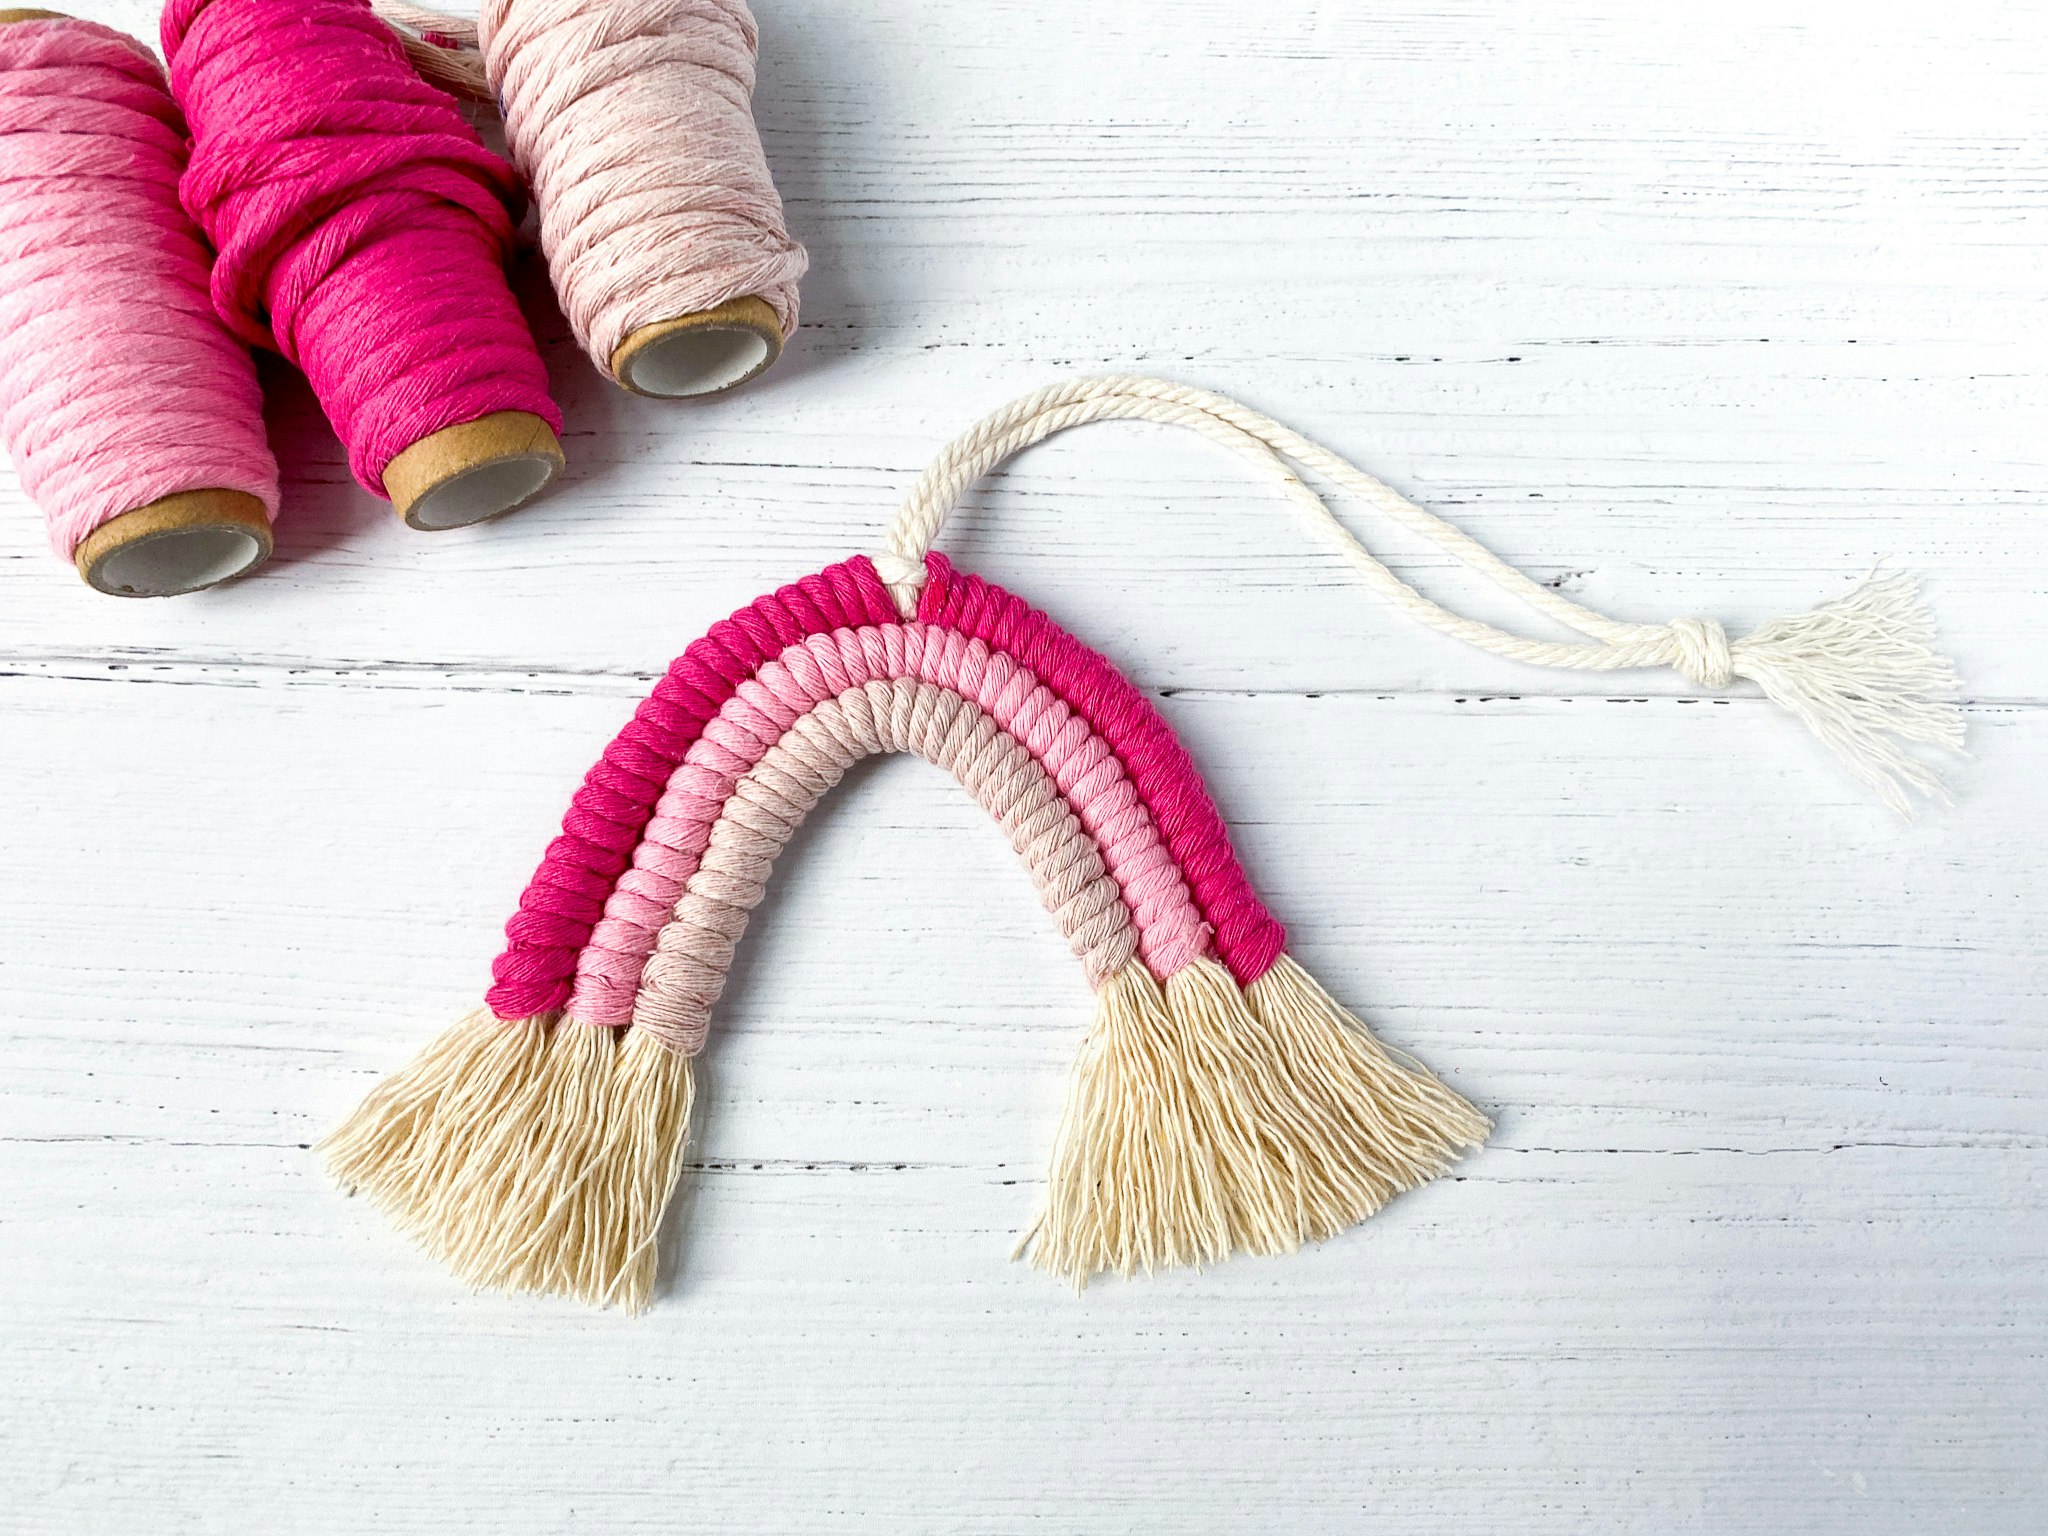
How To Make A Macrame Rainbow
I made this adorable macrame rainbow for my daughter. We chose to make an ombre pink rainbow, but you can use whatever colors you like. You can make it whatever size you like. Smaller versions make great keychains for backpacks and larger versions make perfect wall decorations.
What Supplies You’ll Need For The Macrame Rainbow
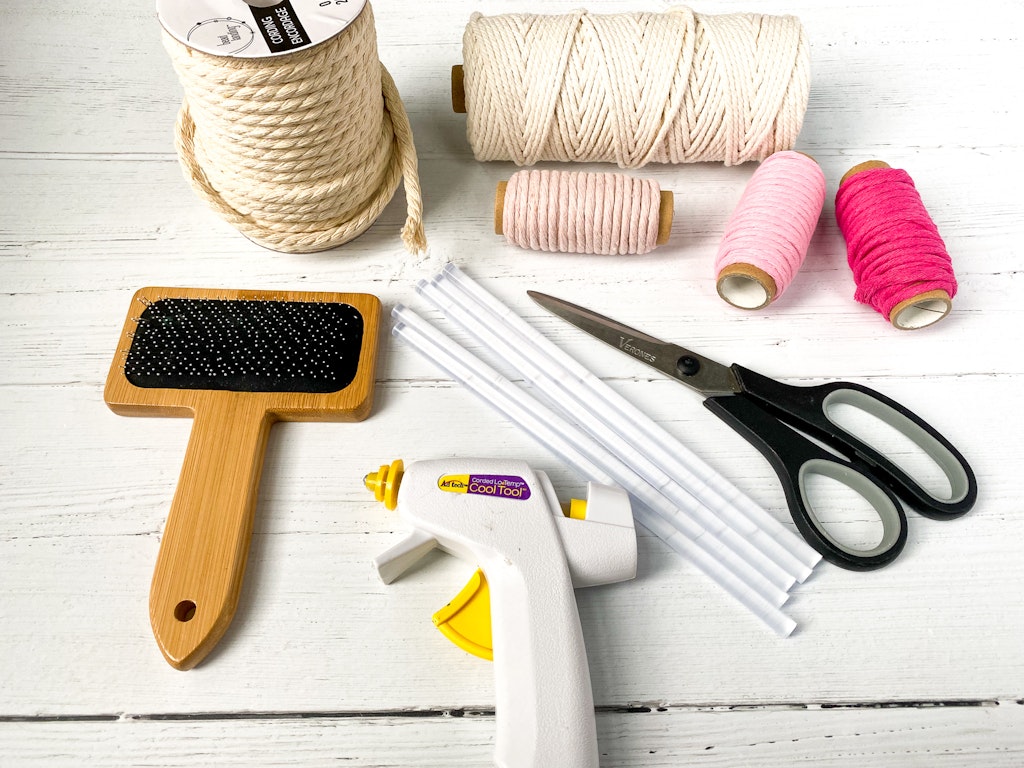
- 3mm Macrame cord in varying colors for rainbow arches and tie at top can be found here and here
- 6mm – 9mm macrame cord to wrap color cord around (i used 6mm) If you want thicker arches, you’ll need thicker cord. You can also double or triple up on the 3mm cord
- hot glue gun and glue sticks
- scissors
- macrame brush or comb (i’ve used a hair comb before too hahah) many people use a pet brush (that’s designated for crafting haha) I have both this one and this one
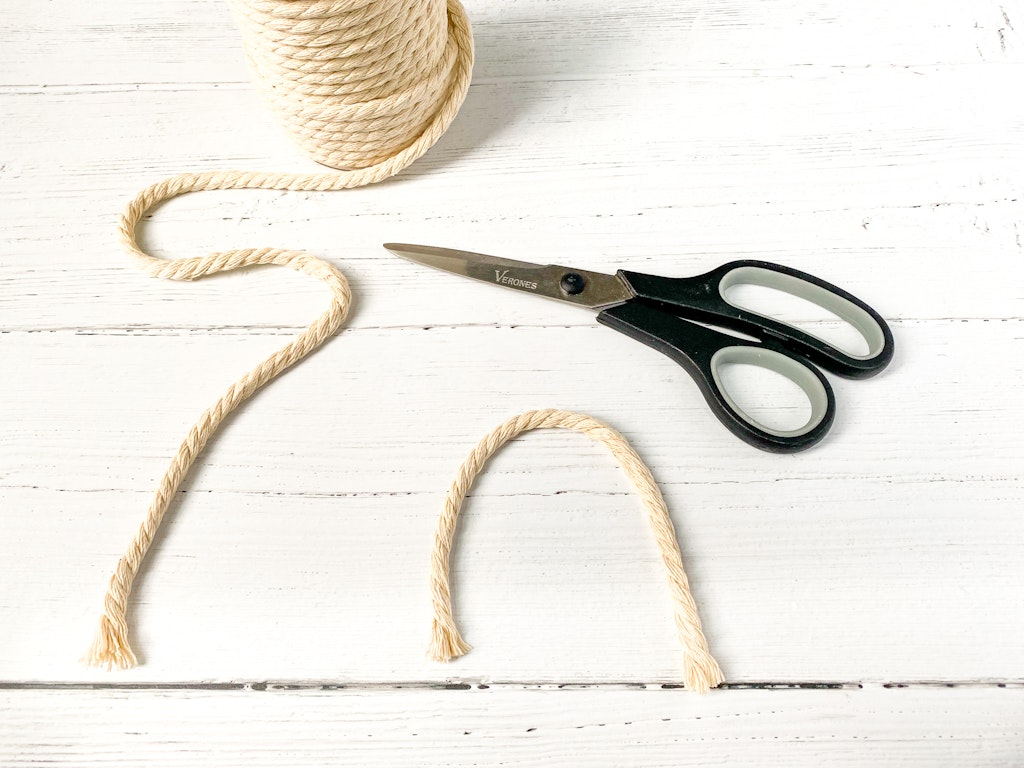
Cut a piece of your thicker cord to the length of rainbow arch you’d like.
Continue to line up the cut pieces of the thicker cord and trim ends to line up.
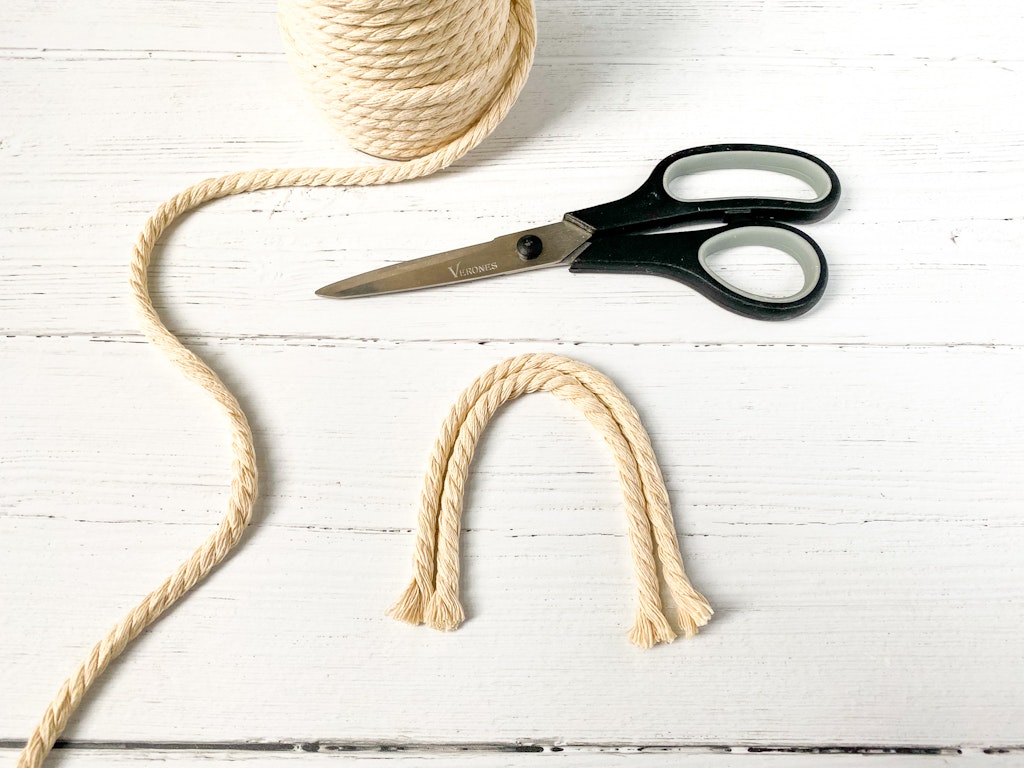
We chose only to do three arches but you can do as many as you want.
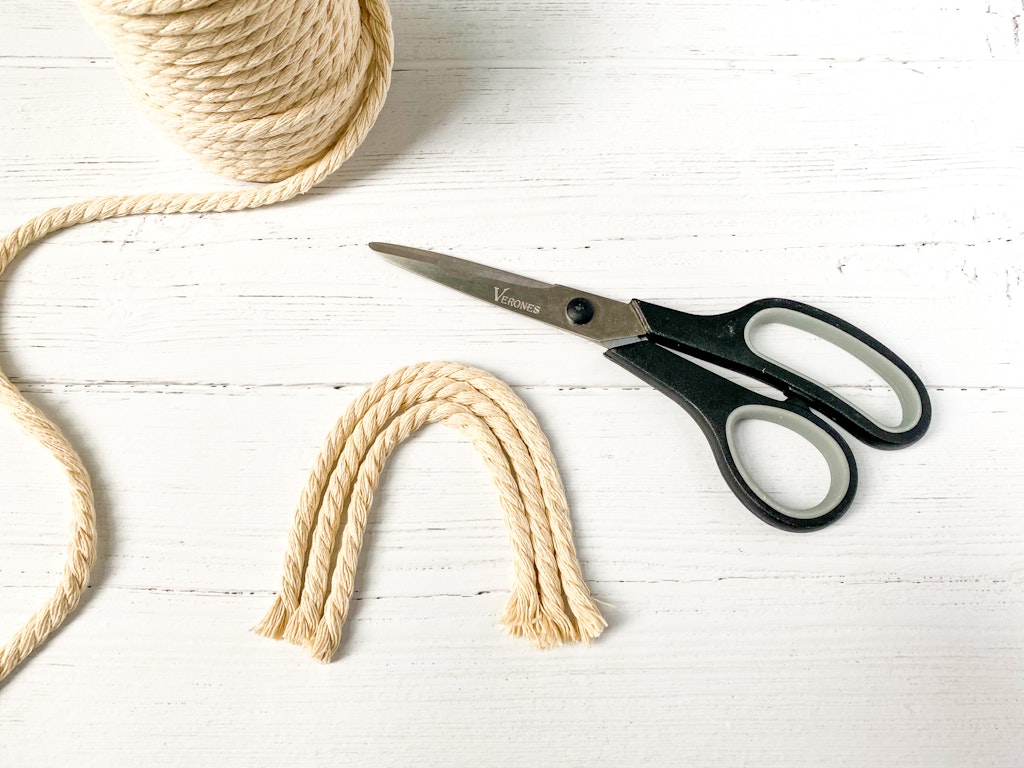
Cut a piece of thinner cord to use as a tie.
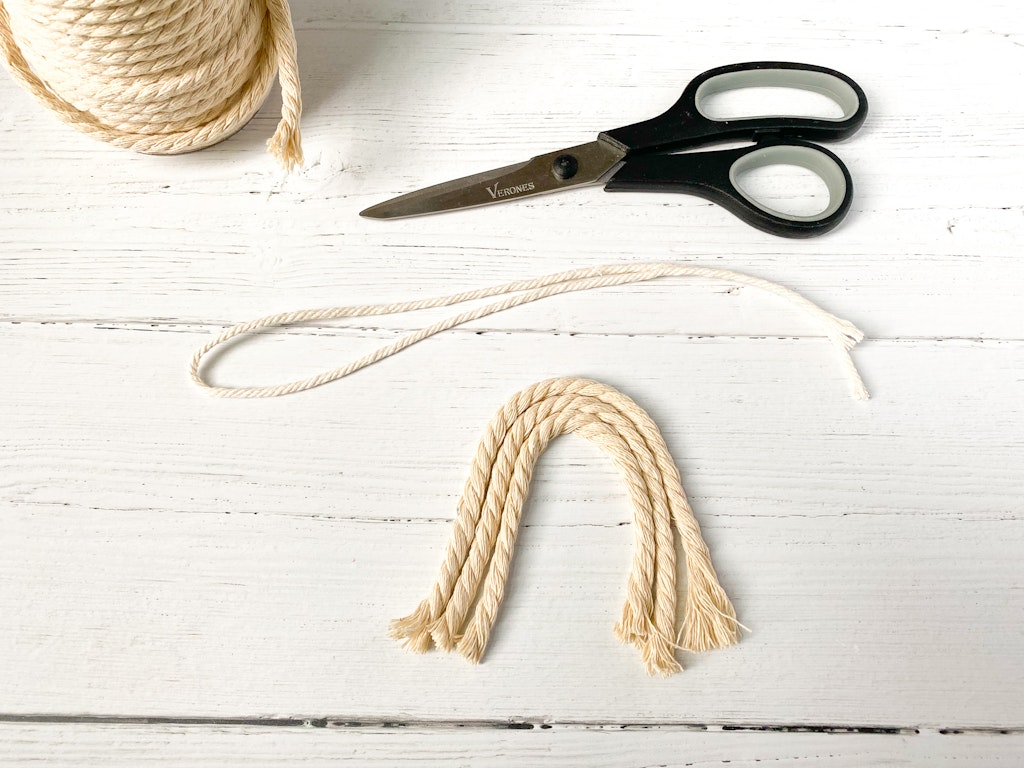
Attach it to the top top arch.
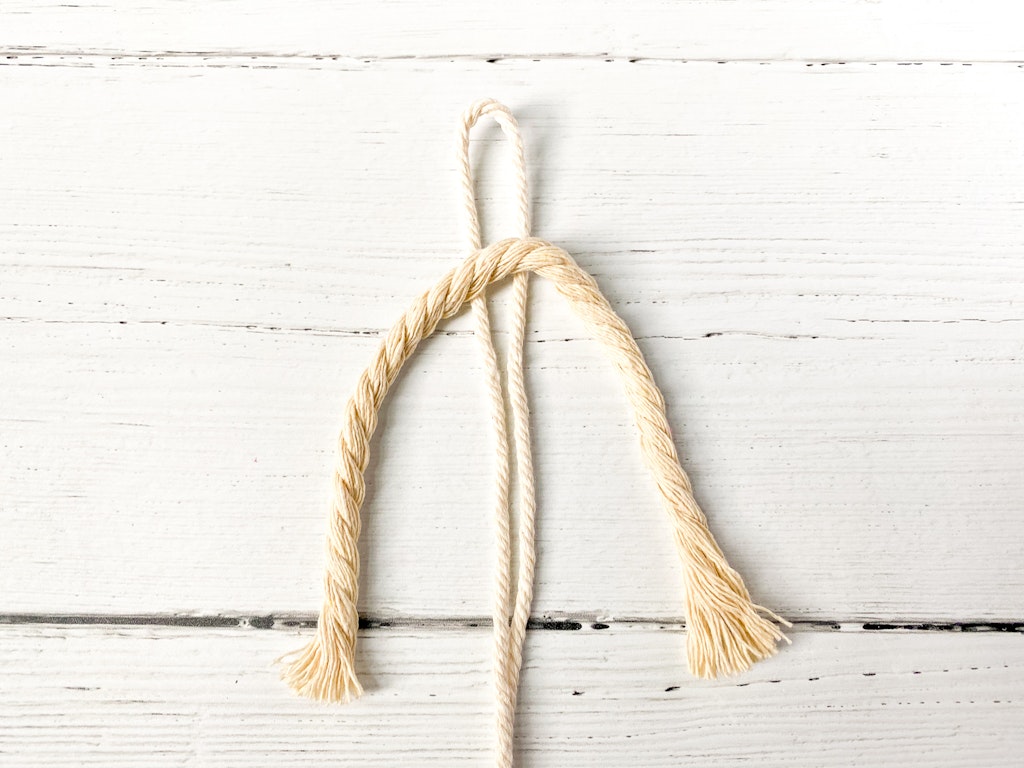
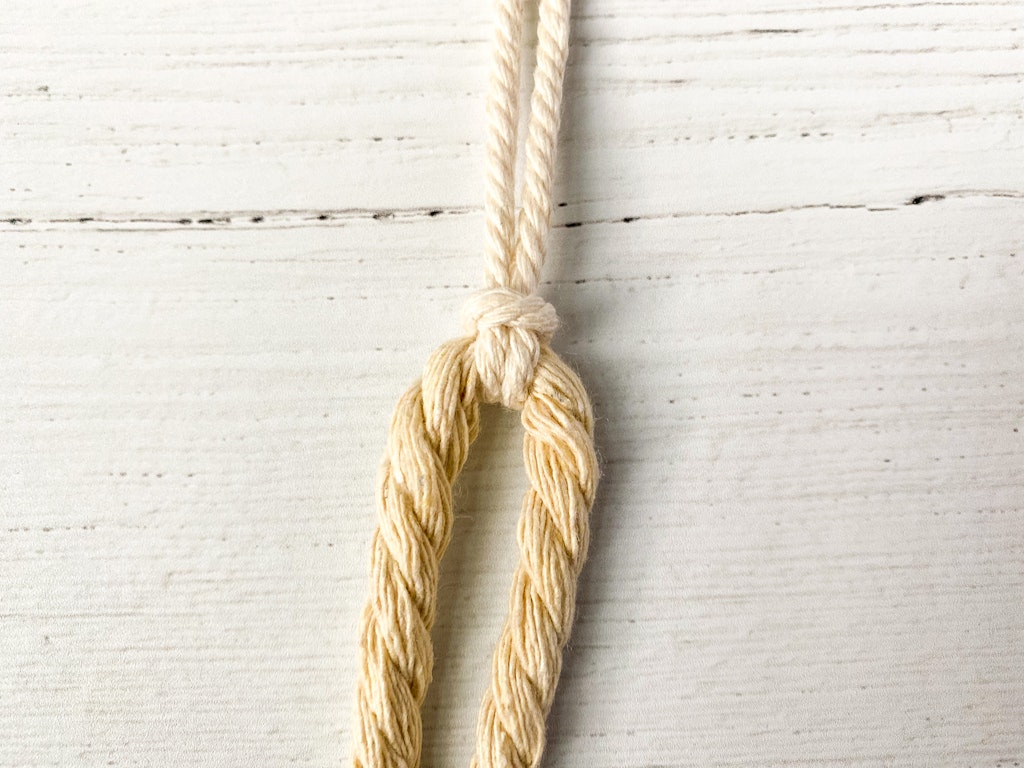
Adding Color To The Rainbow
Take the 3mm color cord you’re using for the top arch of the rainbow and begin wrapping it around the thicker cord. We bent the end up and wrapped it against the cord.
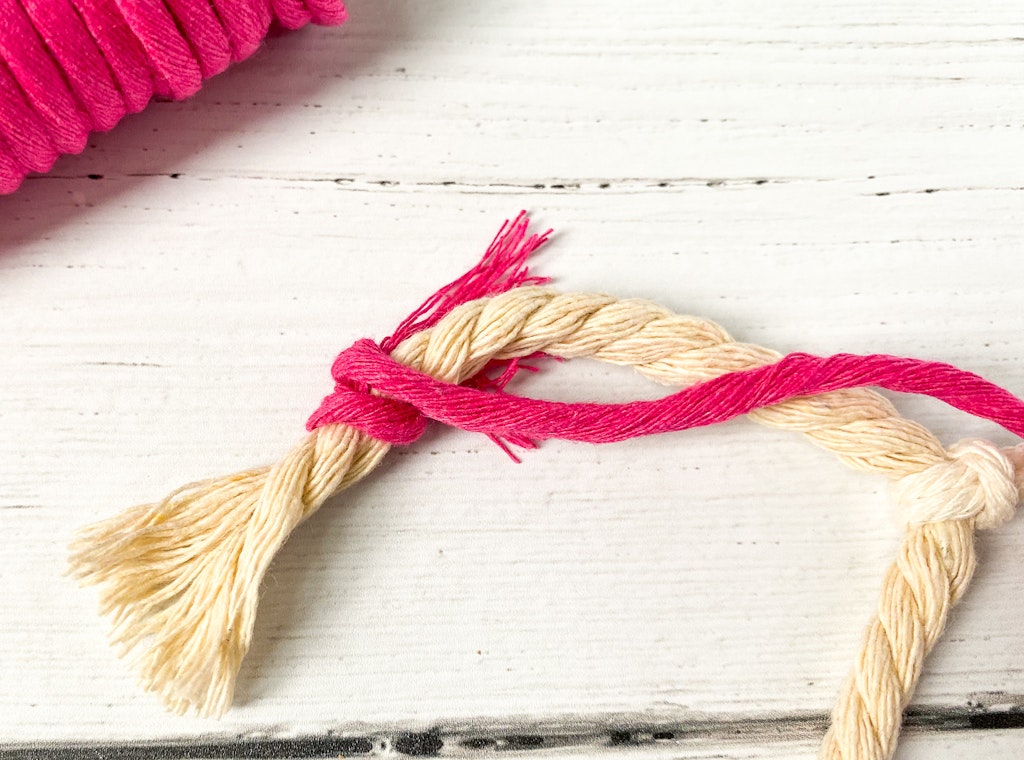
Continue wrapping around the colored cord around the entire strand.
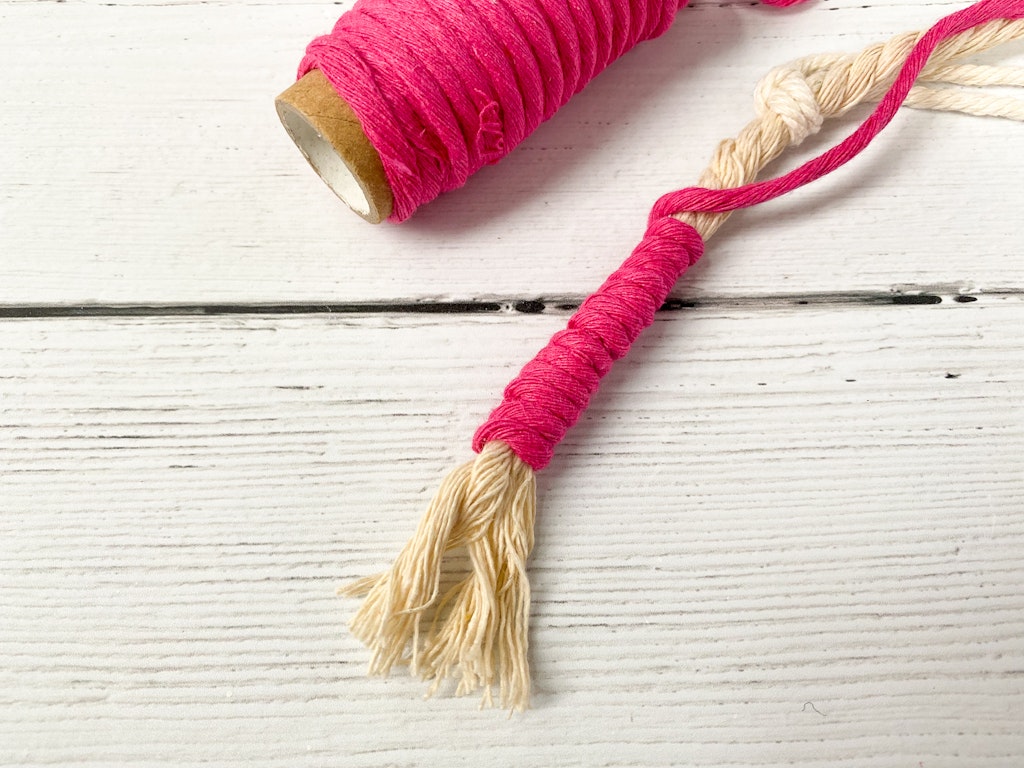
Once you get to the end of the arch with the cord trim the end. And add a dot of hot glue to secure the colored strand to the arch.
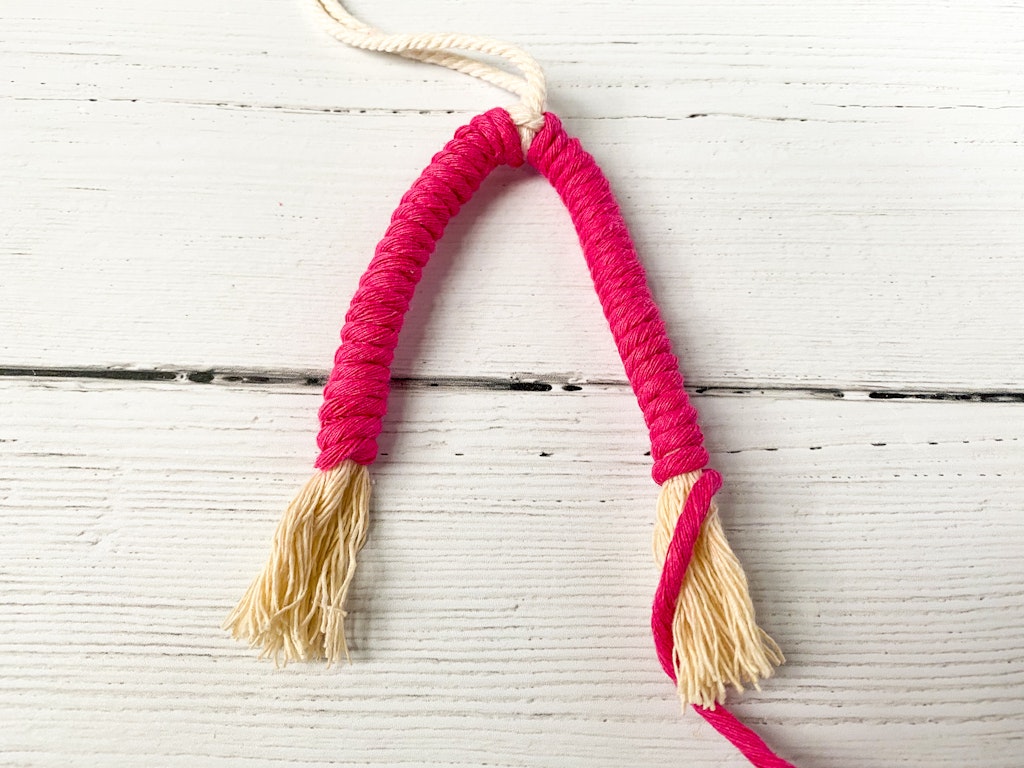
Line up your next arch to see where you should start wrapping the next color.
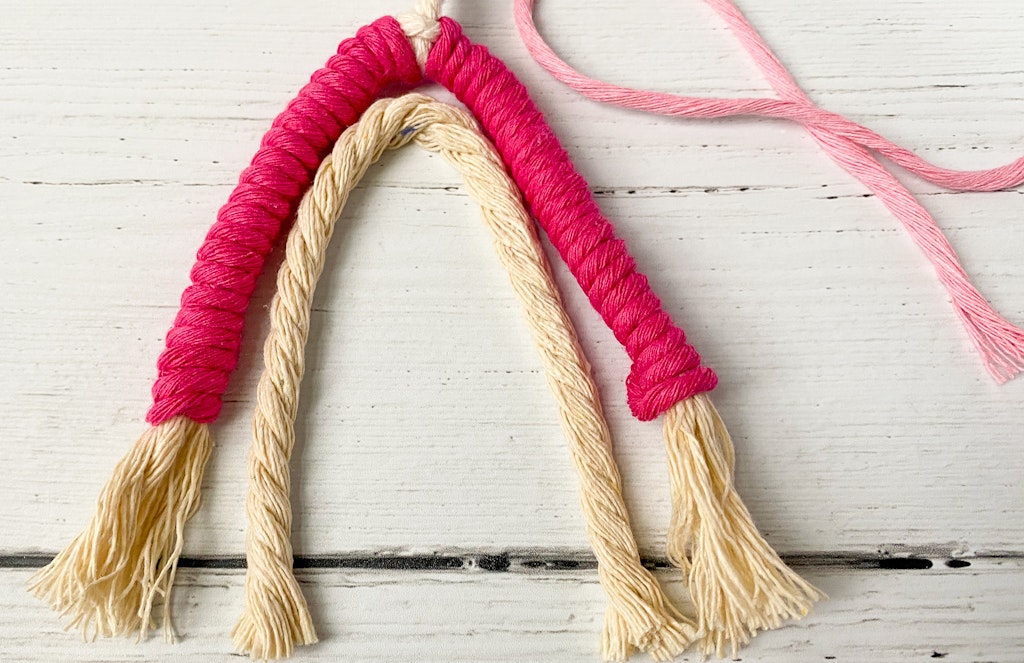
Repeat these steps with each row. You wan to line them up so you make sure that you start and stop wrapping them at the same point on each arch so the bottoms on each side match up.
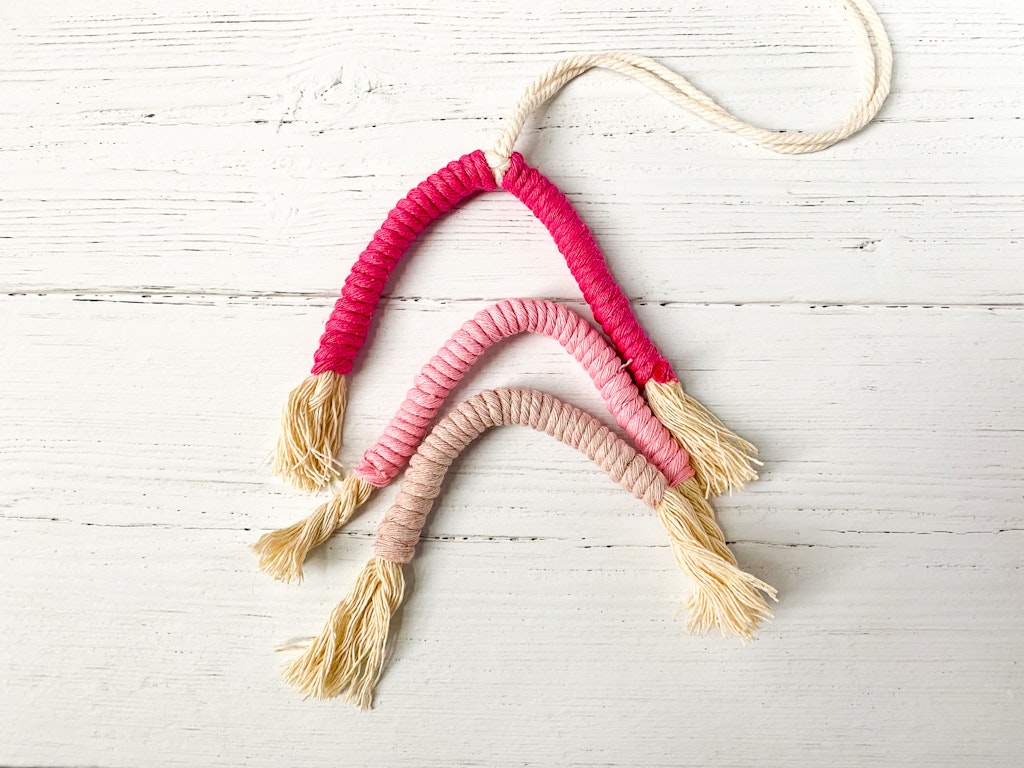
Now you need to attach the arches together. Add a thin line of hot glue to the side of one arch and press it together. Work in small sections.
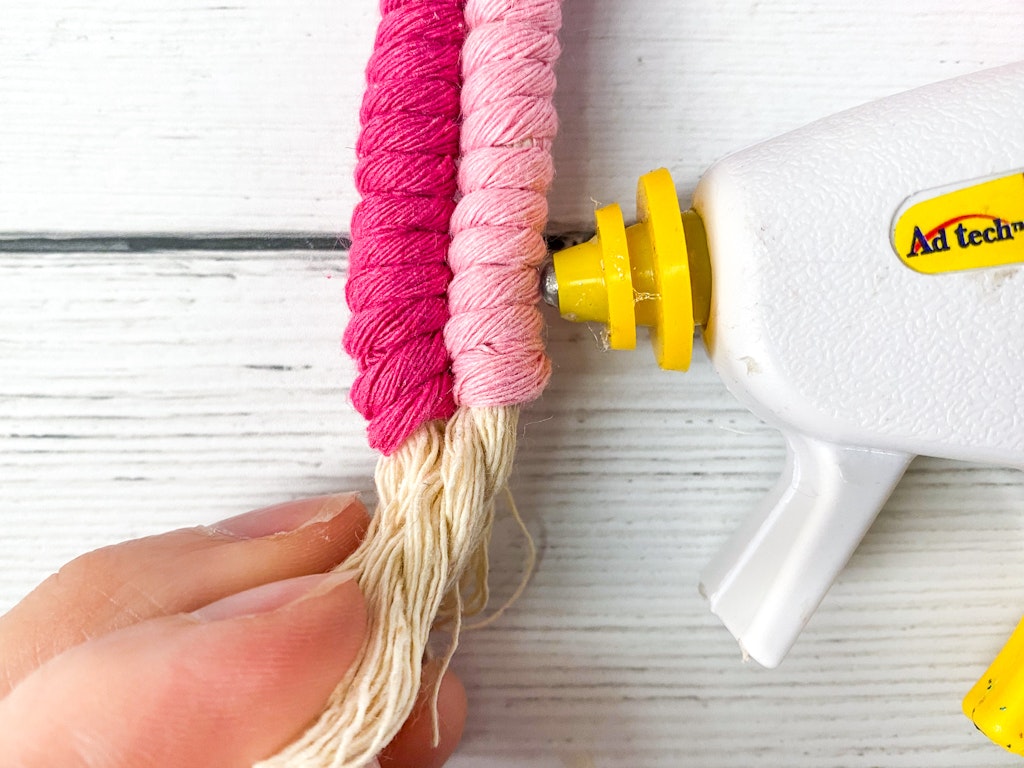
EEEEE! It’s coming together.
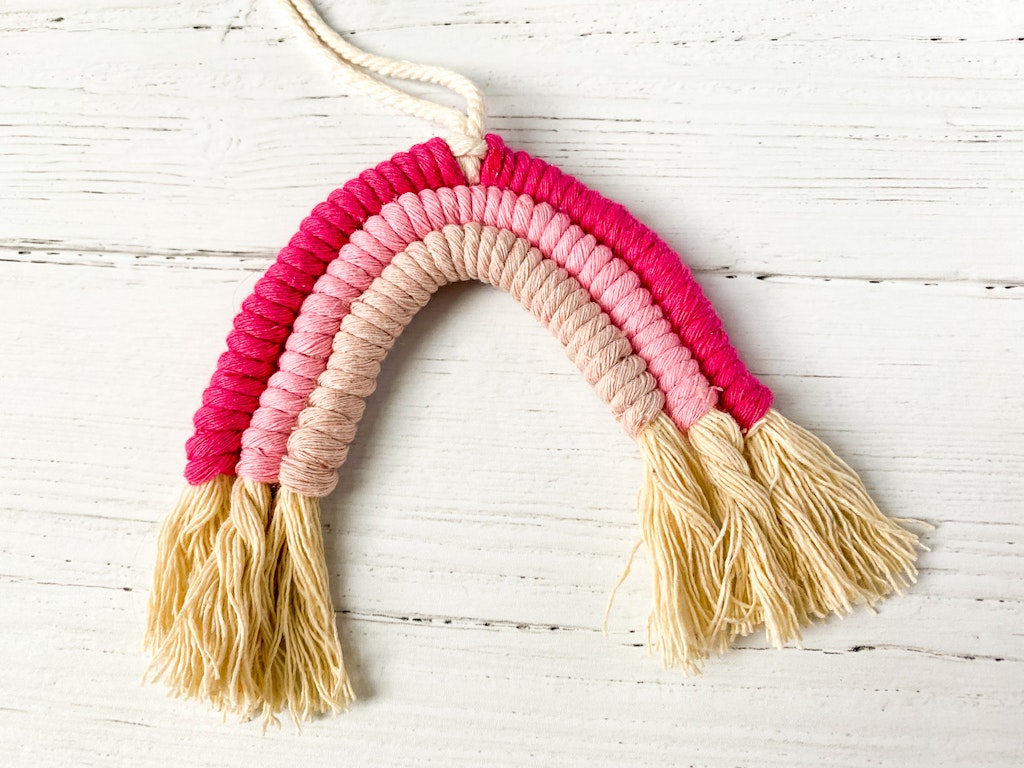
Next you’ll comb out the loose strands at the bottom of the rainbow. Use your macrame brush (or pet brush haha) to cob out the strands.
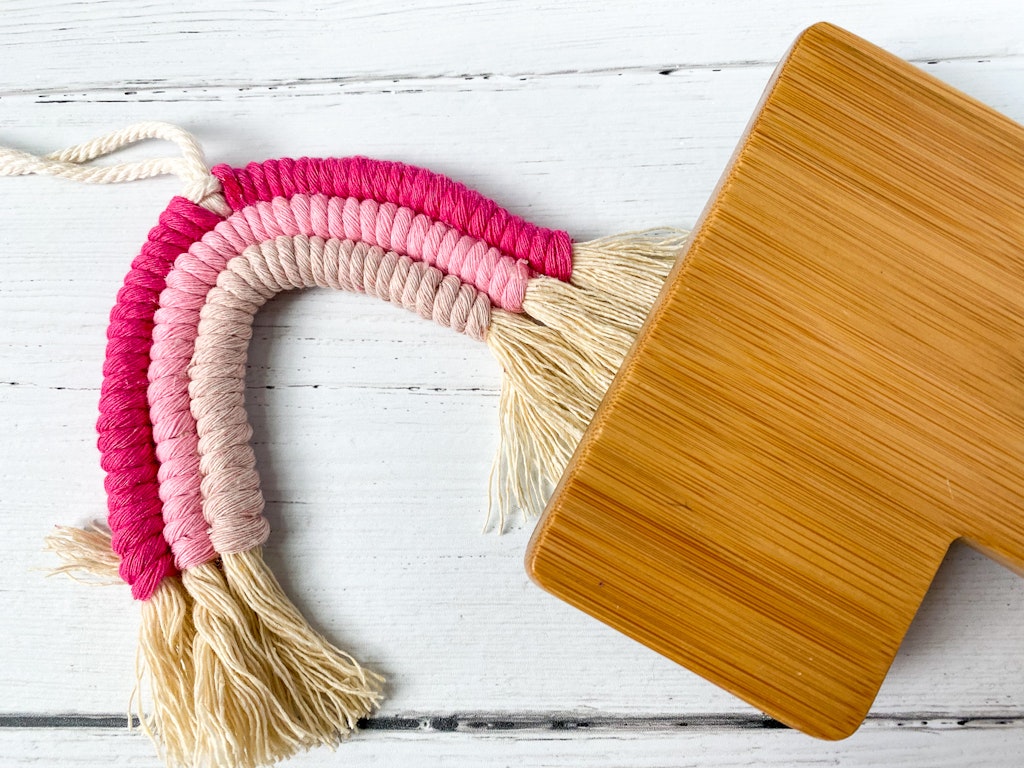
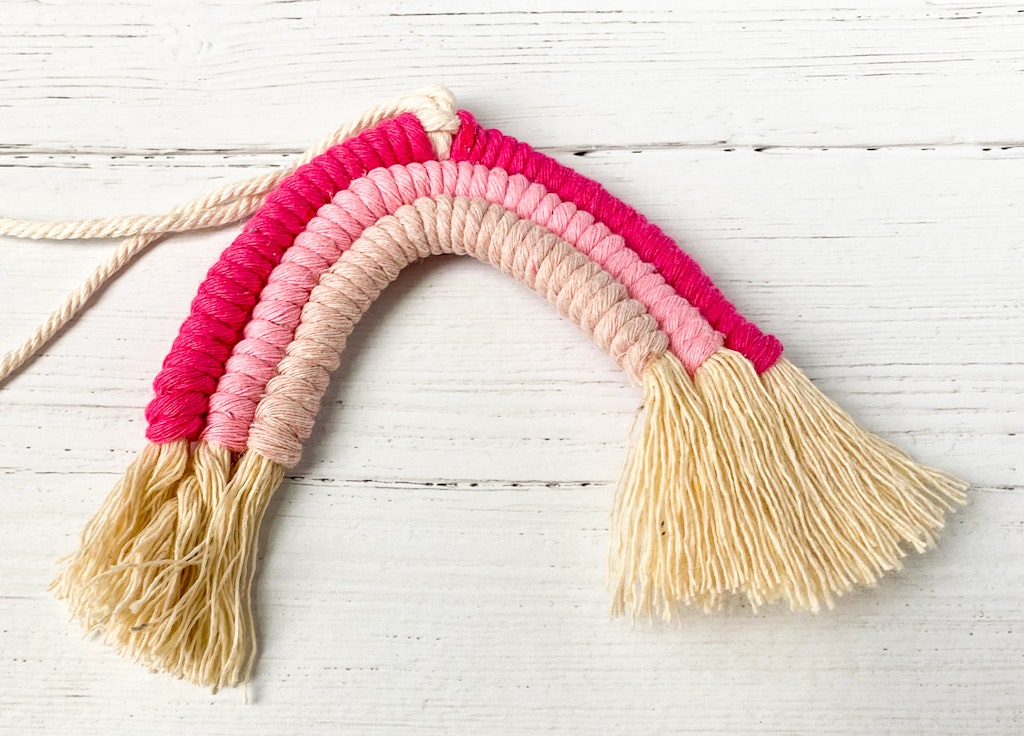
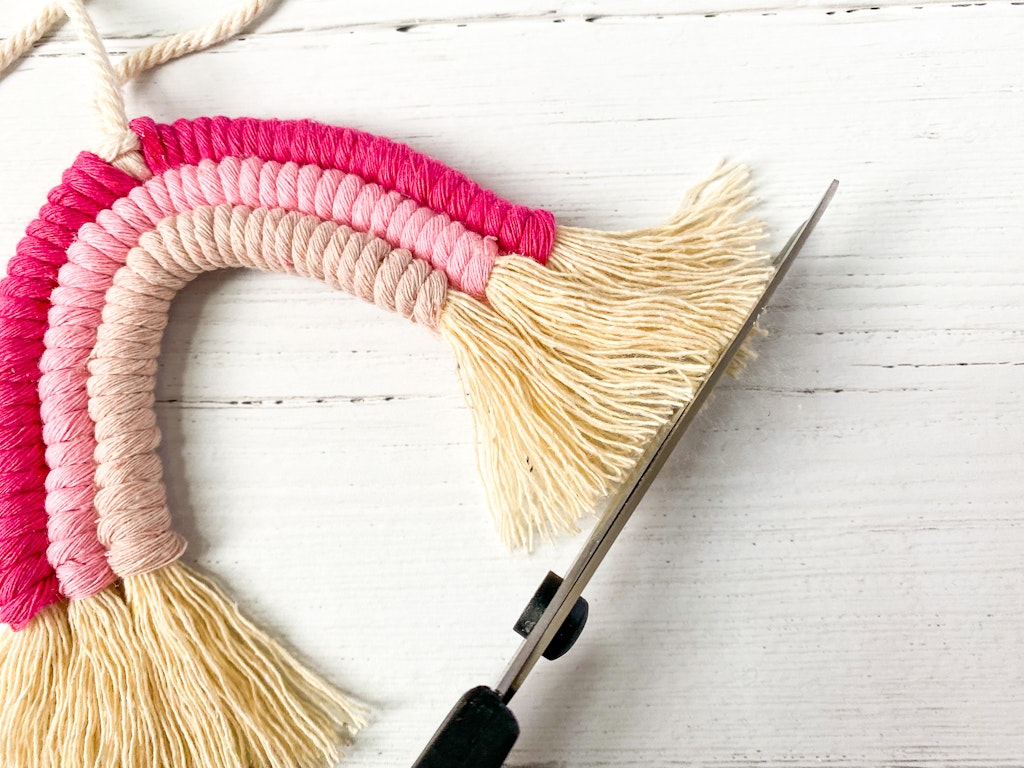
Trim the edges.
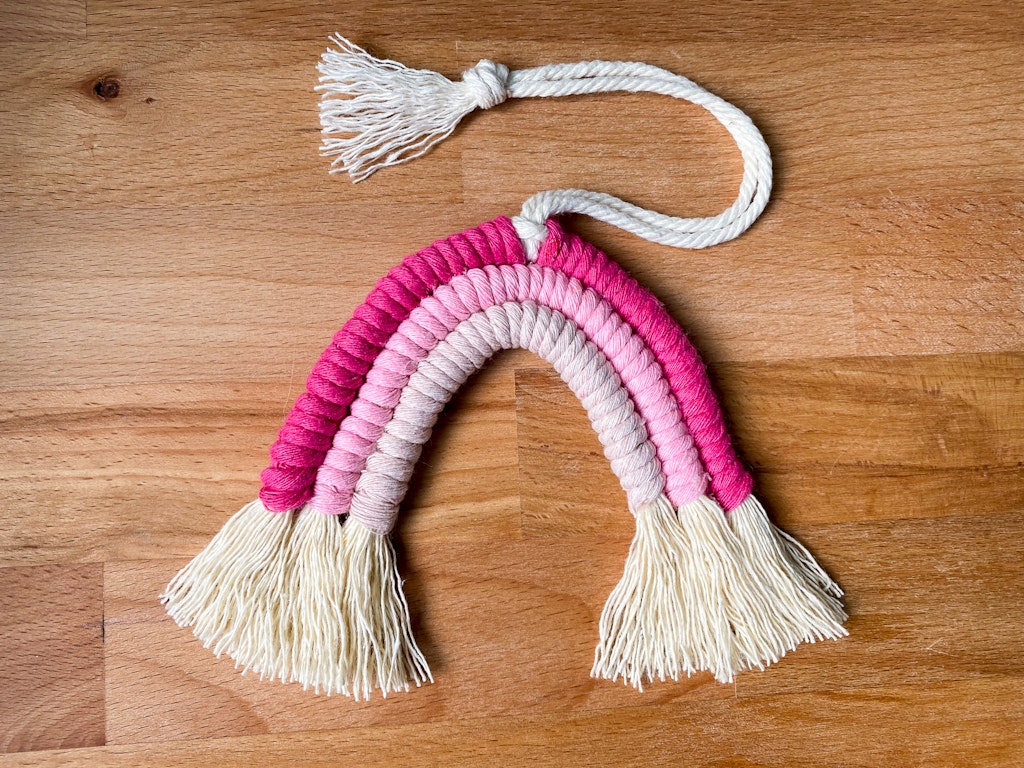
I secured the top of the hanger strands with a knot and brushed out the ends with the macrame brush. All done!!!
Check out other crafts using macrame cord like these simple DIY Macrame Feathers.

