How To Make An Infinite Fidget Cube
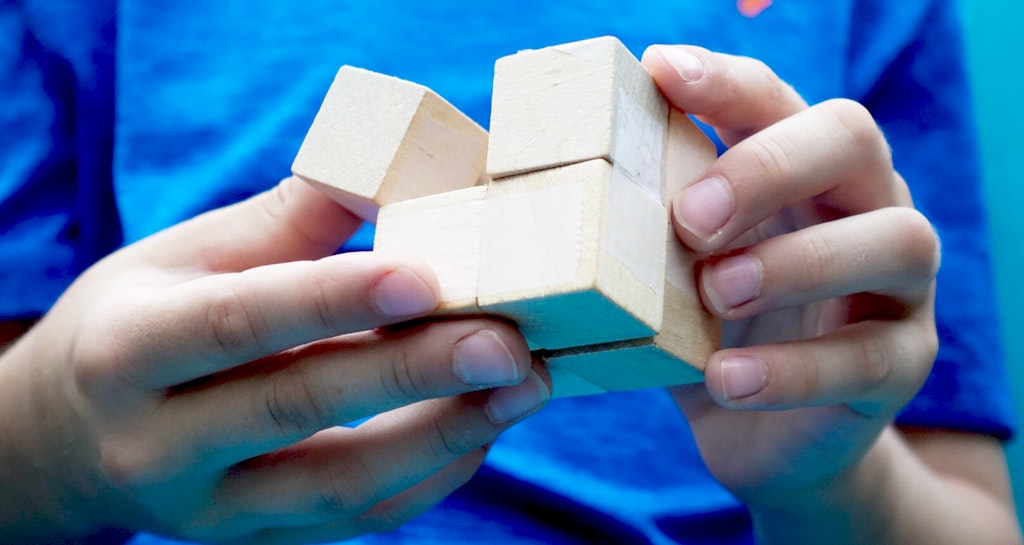
The kids had a blast making these DIY fidget cubes today. We have included some videos of the different steps below to help. Here’s what you’ll need….
- 8 wooden cubes – we found these cubes at Michaels. They are the Laura’s Crafts 1 inch cubes. They are $4.49 for a set of 13. We also found some alphabet cubes at Dollar Tree that you could use. They were …wait for it… a dollar 🙂
- tape – scotch tape or washi tape. Try to use tape that is almost as wide as the blocks that you’re using. It will help hold the cube together a little better.
- different mini stickers or colored dot stickers to decorate the different sides or just leave them blank – up to you!
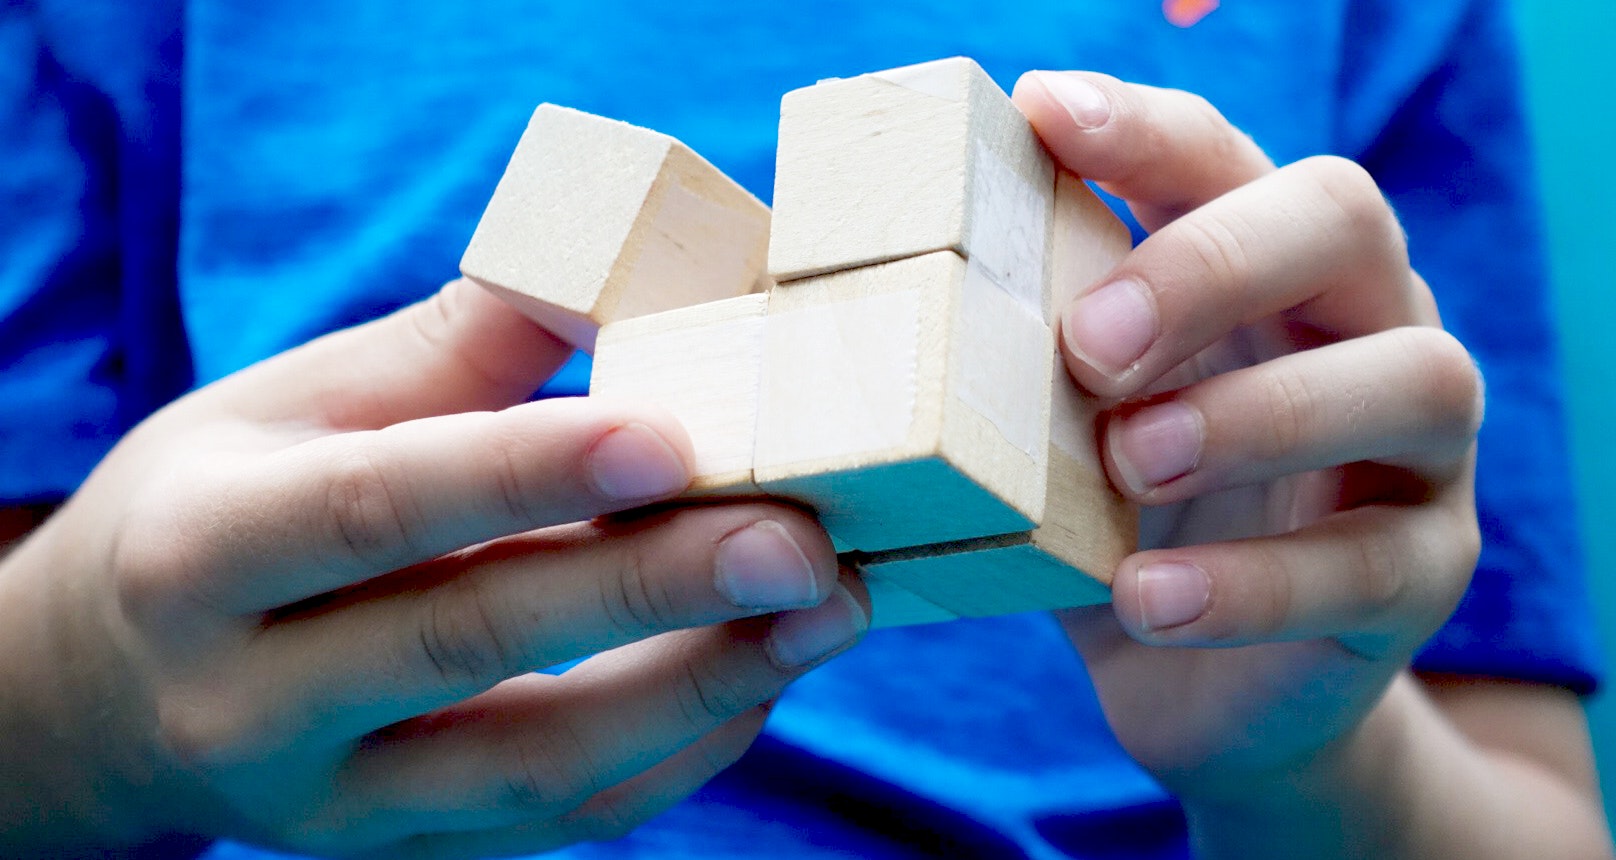
Here’s what it looks like when you’re all done…
Let’s get started!!!
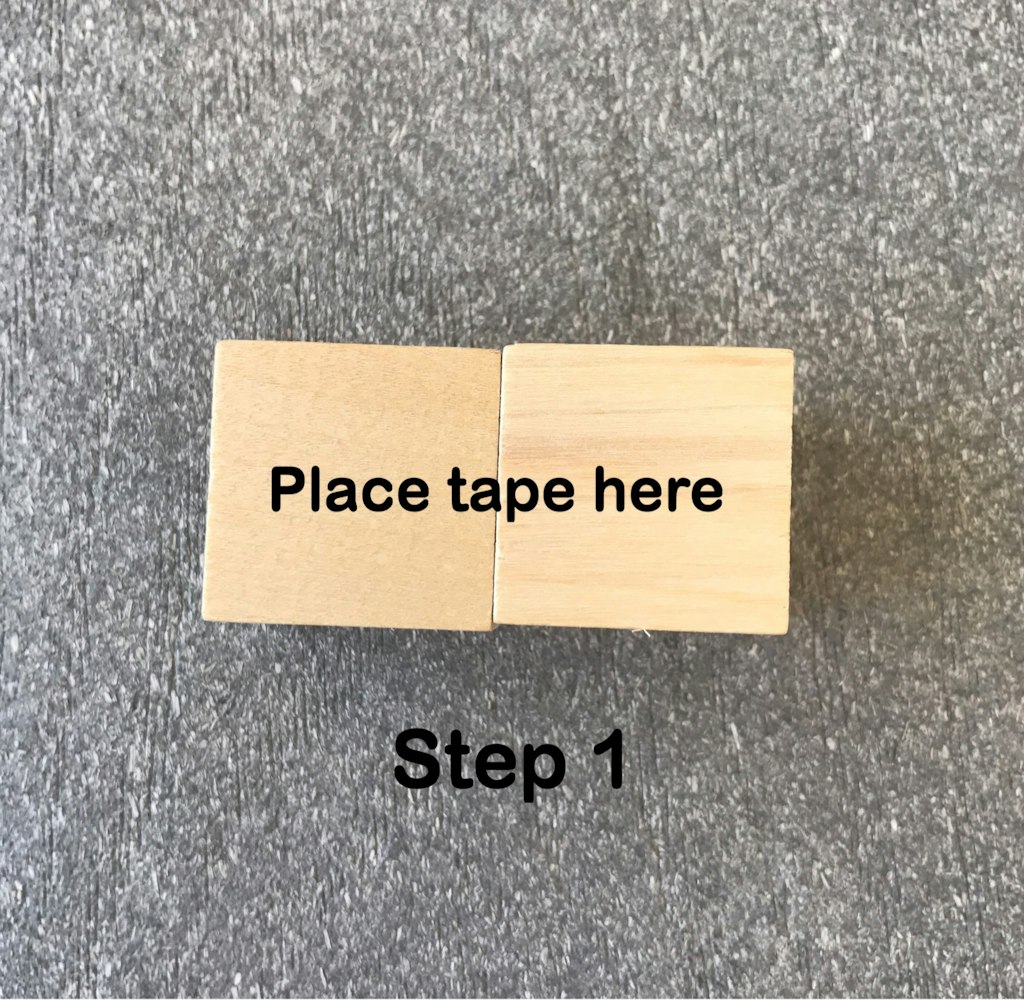
Place two blocks right next to each other and place a piece of tape across the top of blocks (left to right).
Lift one block up and stack on top of the other. Place another strip of tape on the same “joint”. Then return the joined blocks back to the Step 1 position.
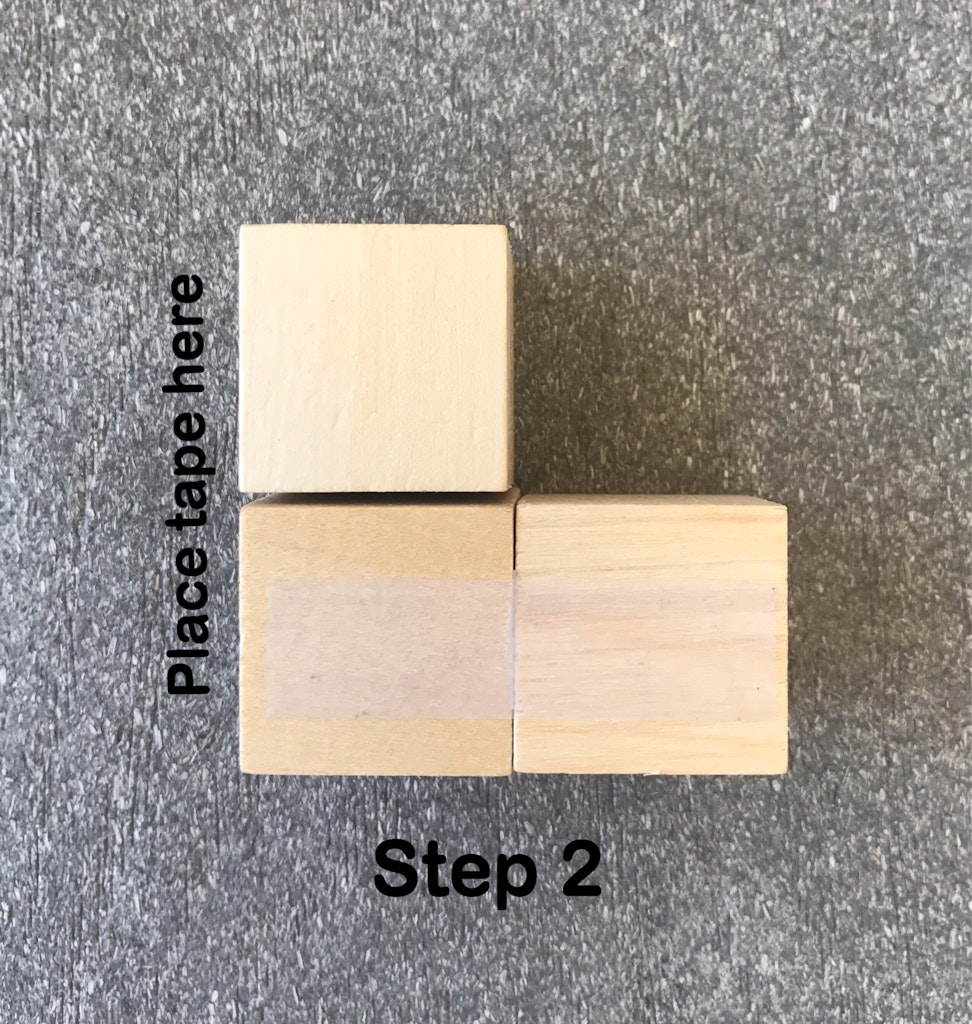
Add a block to sit on top of the left block. Add a strip of tape to join the left top and bottom blocks.
Fold the top block down and place another strip of tape on the same joint. Then return the block to the top.
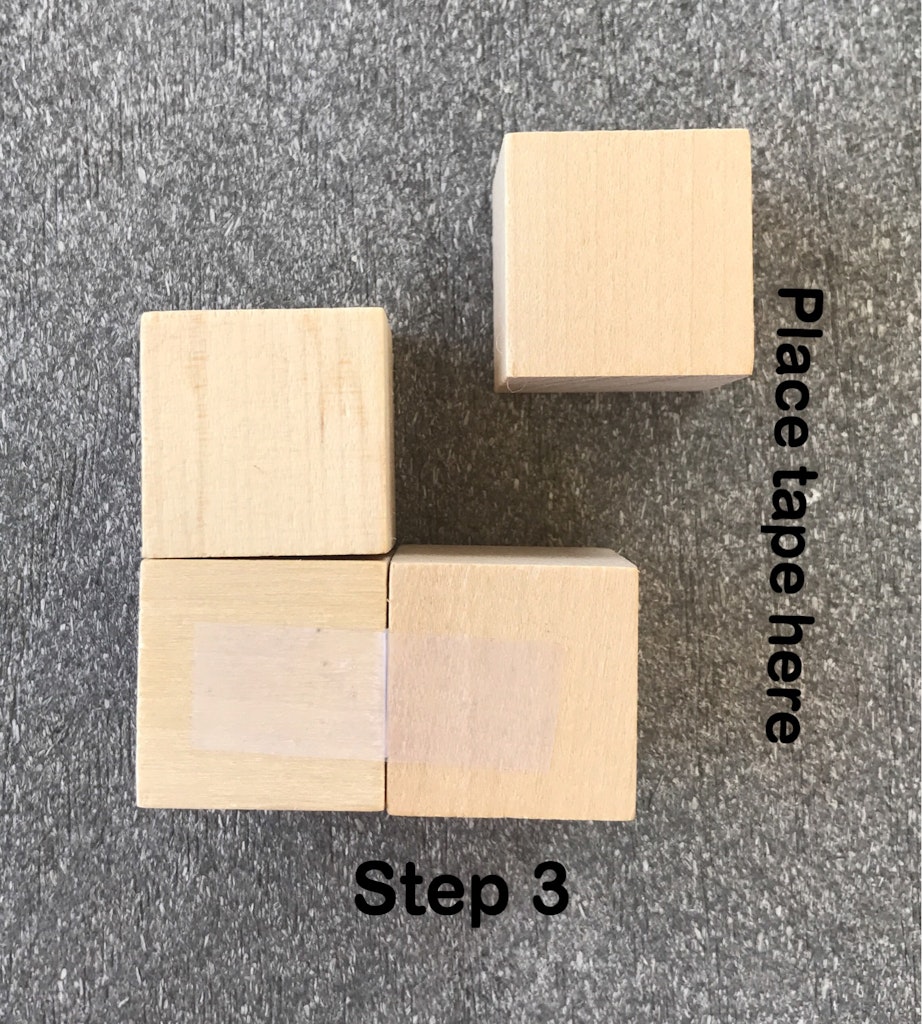
Place a block on top of the right block and join the top and bottom right blocks on the side seam.
Fold the top block down and place another strip of tape on that joint.
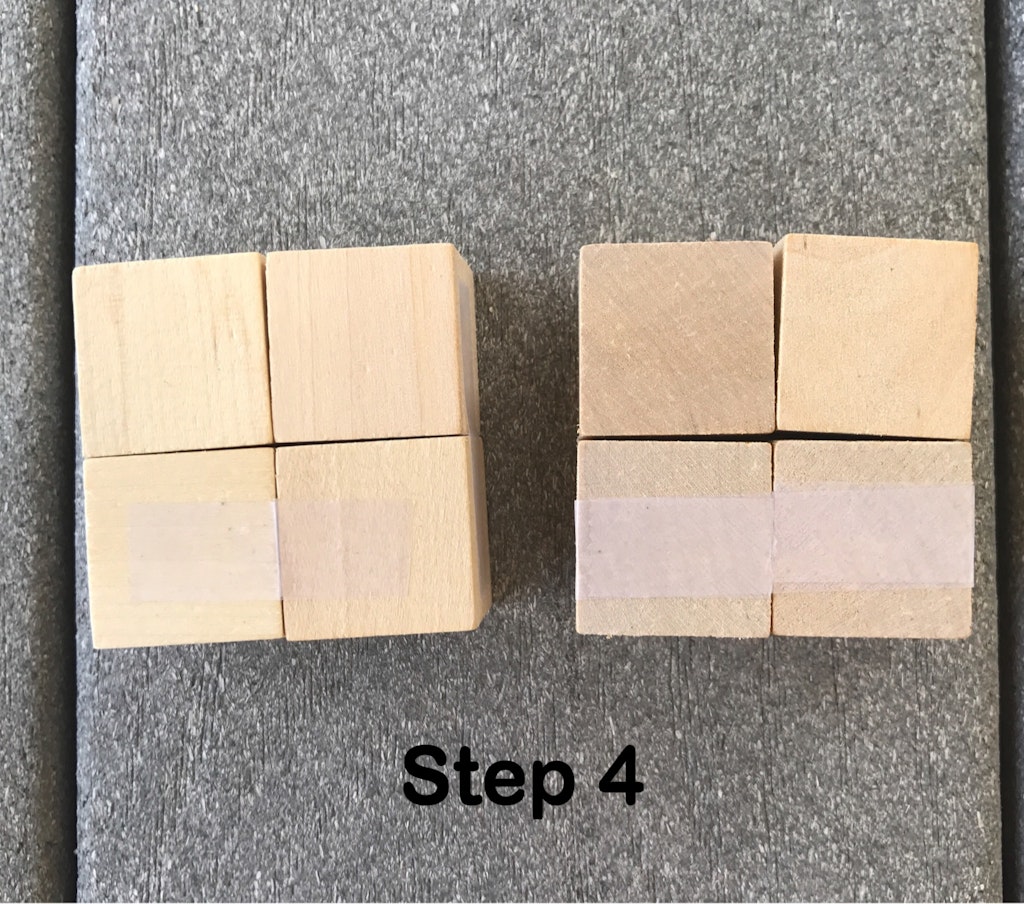
Repeat steps 1-3 to create an identical set of 4 cubes.
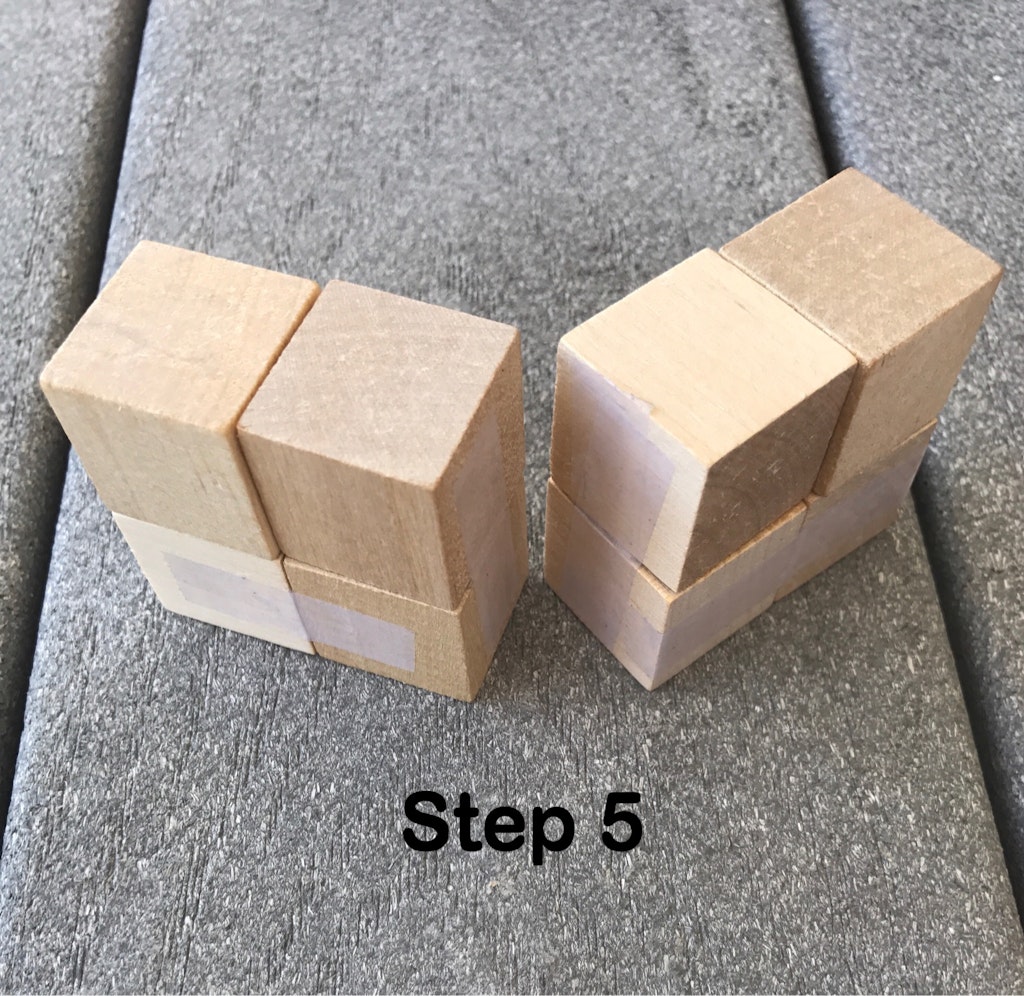
Stand each set of four cubes up. Swing the right larger cube back (like closing the door) so the “backs” of both cubes are against each other.
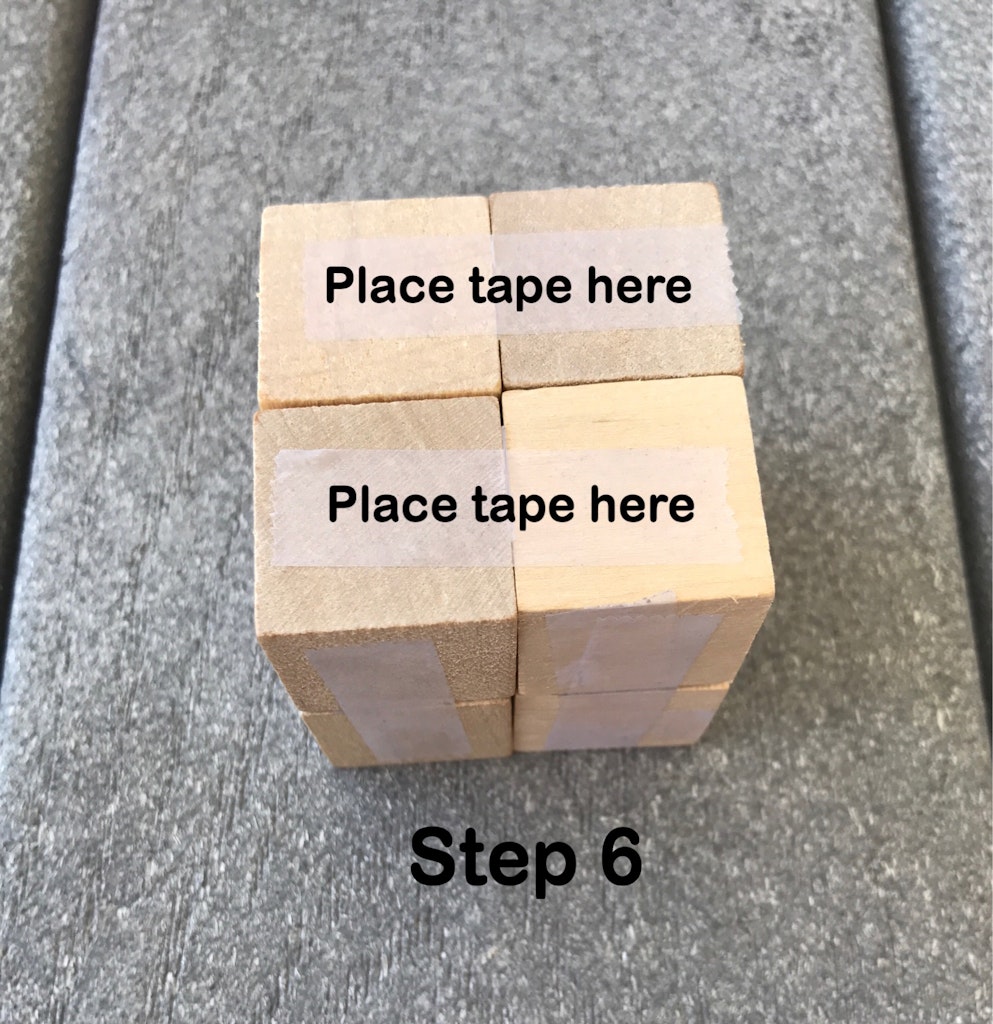
Place tape across the top two cubes and another across the bottom two cubes.
Fold the two sides up at the new seams and flip the cube over to add another strip of tape on the same joints on the other side.
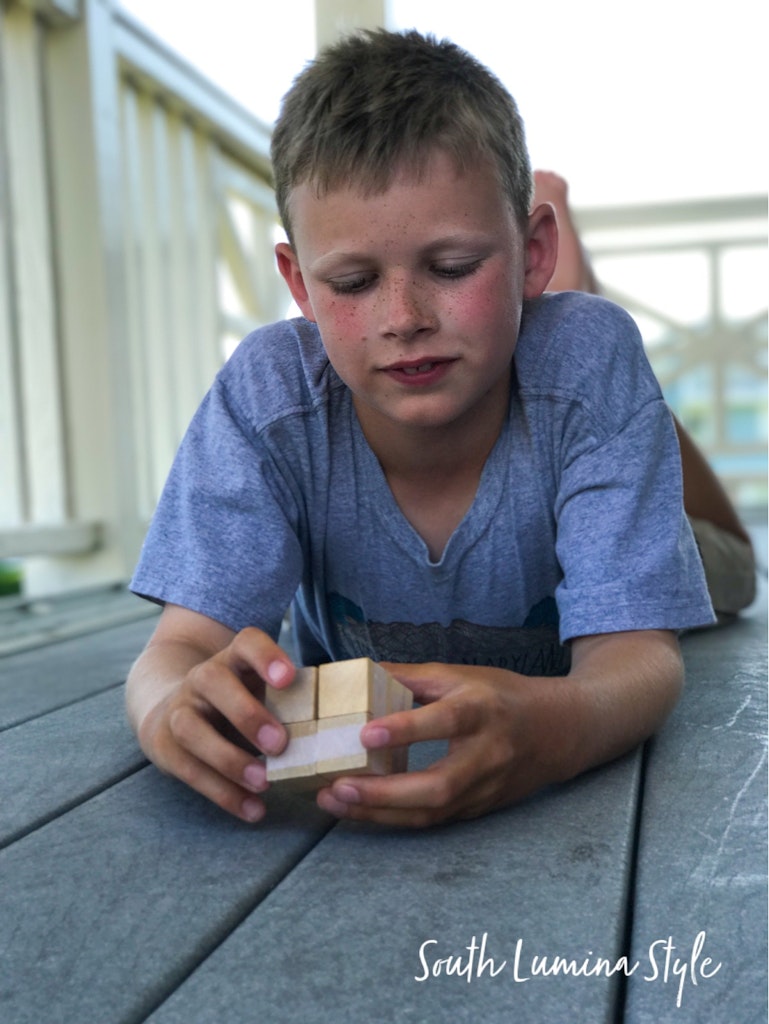
All done!!!! Thanks to my little helper for demonstrating how to make this fun project.
Happy fidgeting 🙂

3 thoughts on “How To Make A Fidget Cube”