It’s almost back to school time ya’ll! These adorable Rice Krispies Treats school buses are perfect for everything from the first day of school lunchbox treat to a PTA bake sale donation 🙂
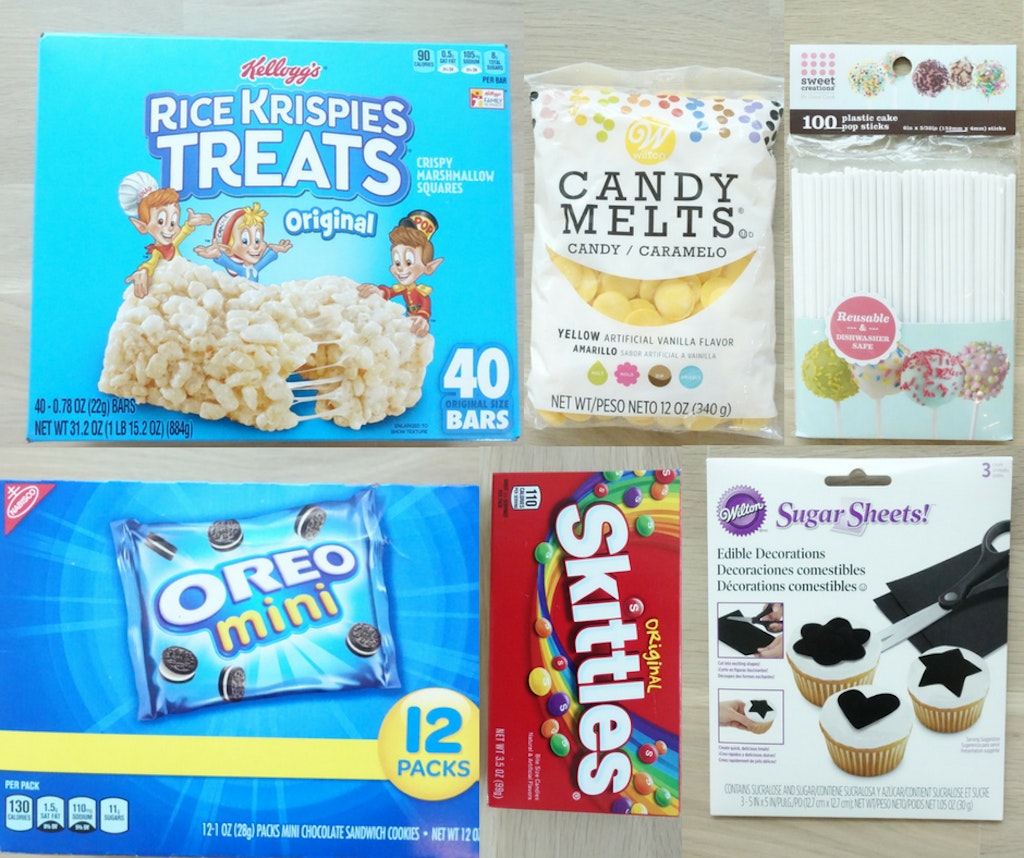
Rice Krispies Treats School Bus Supplies
- Prepackaged Rice Krispies Treats
- Yellow Candy Melts (one package covered approx 15 buses for us but we only coated the front)
- Mini Oreo cookies
- Skittles
- Black Sugar Sheets
- Cake pop or lollipop sticks
- Parchment Paper
We found all of our supplies in one trip to our local Walmart. I know that most Michaels stores carry the lollipop sticks, candy melts, and sugar sheets too.
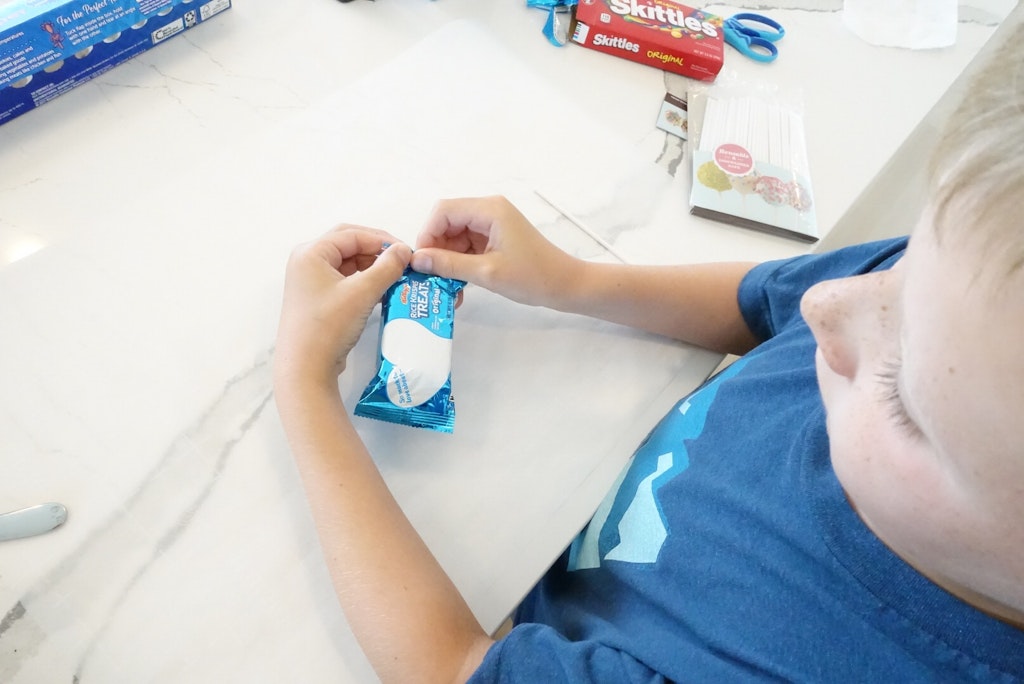
Gather up your cute little helpers and open all of the prepackaged Rice Krispies Treats.
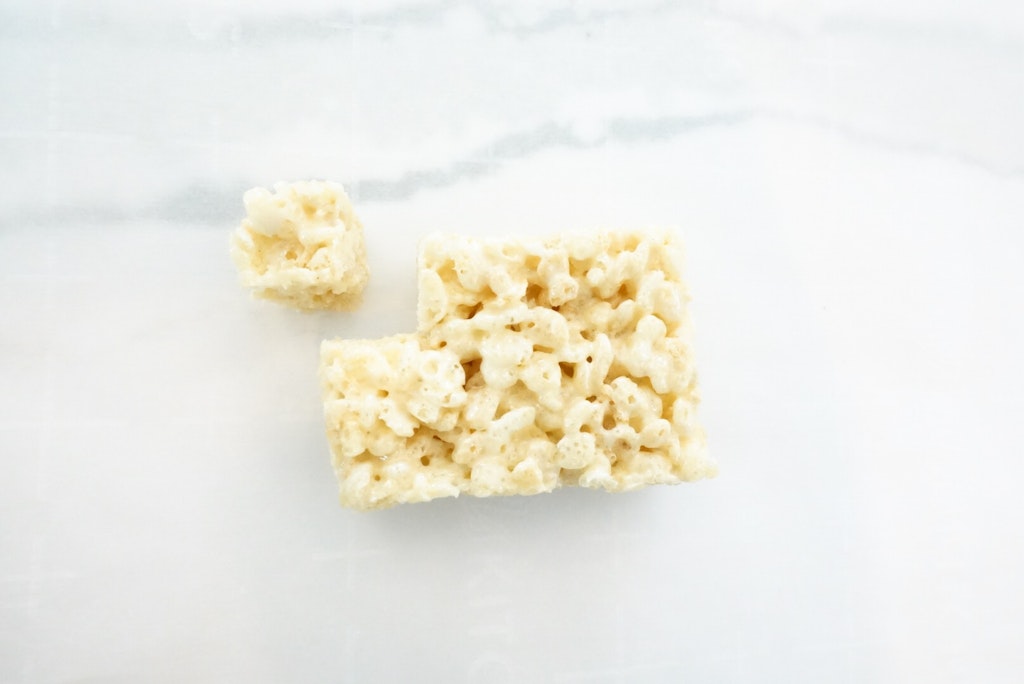
Cut a small square measuring approximately 3/4″ x 3/4″ off of one of the corners of each of the Rice Krispies Treats. Set the tiny squares aside for snacking later 🙂
It’s a lot easier to assemble the school buses quickly if you have all of the supplies cut, sorted and ready to go before you melt the candy melts.
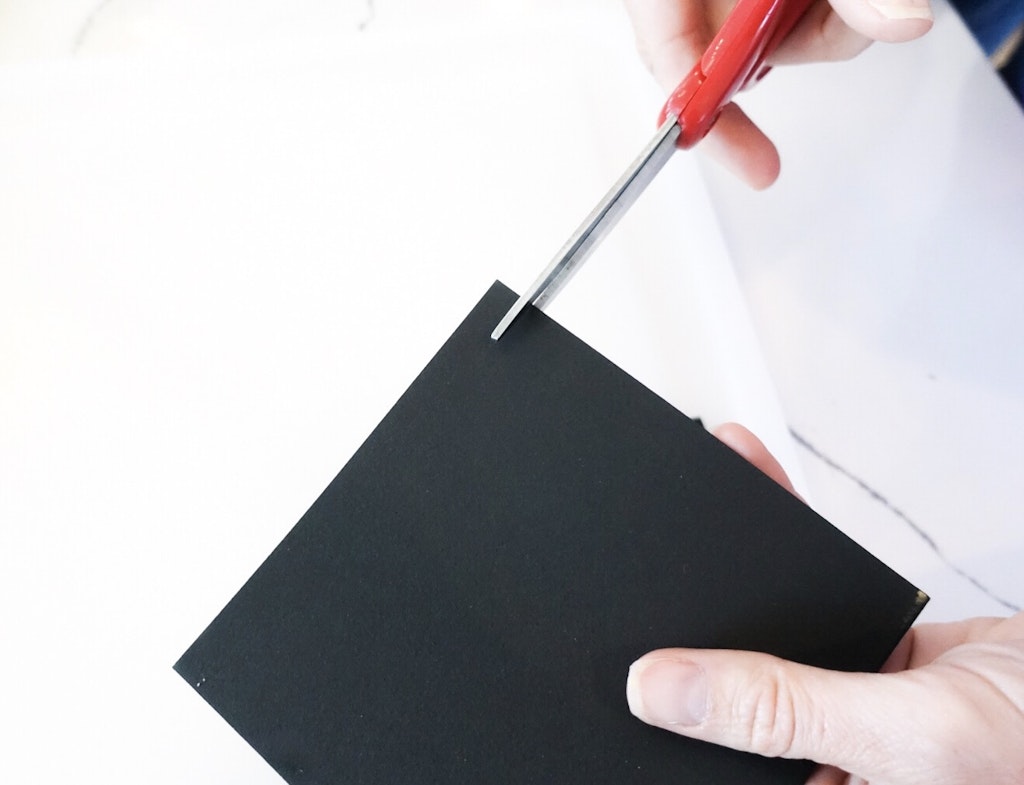
To make the school bus windows use kitchen shears to cut small little squares or rectangles measuring around 1/4″. We fit about 4 windows on each bus. Set them aside.
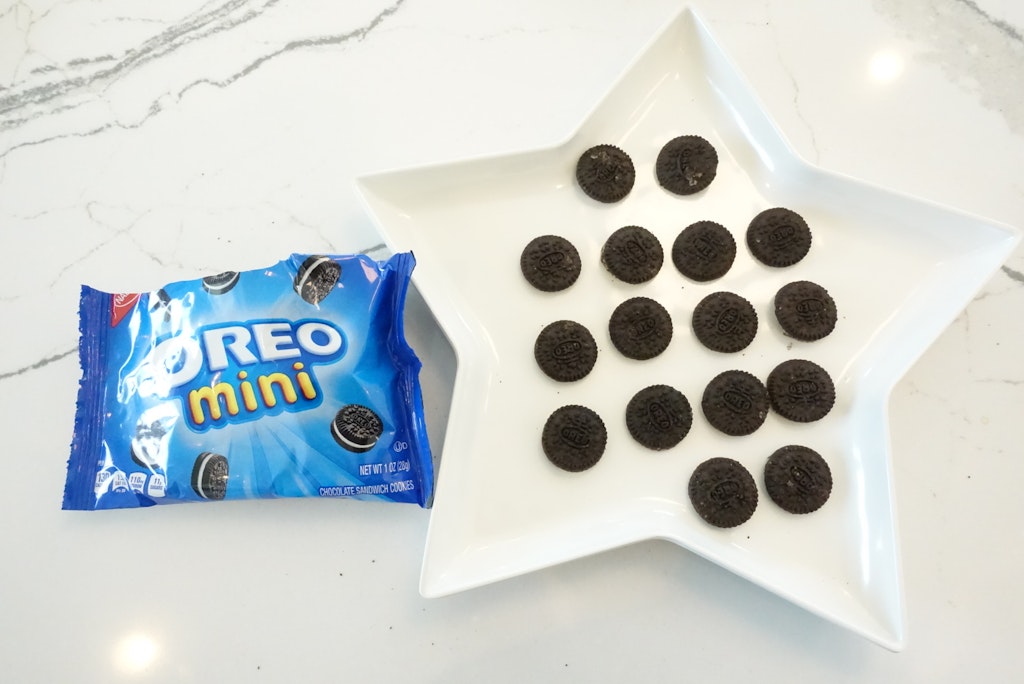
Open up the mini Oreos and separate the two sides of the cookies. These will be your bus wheels. Place them icing side down on a plate and set aside.

We found some very willing volunteers to sort all of the Skittles by color. Find all of the red ones and set them aside. These will be the school bus stop signs.
Line a baking sheet or two with parchment paper. You can also just place a long strip of parchment paper on the counter. It might be easier than working around the raised edge of the baking sheet while you’re assembling the school buses.
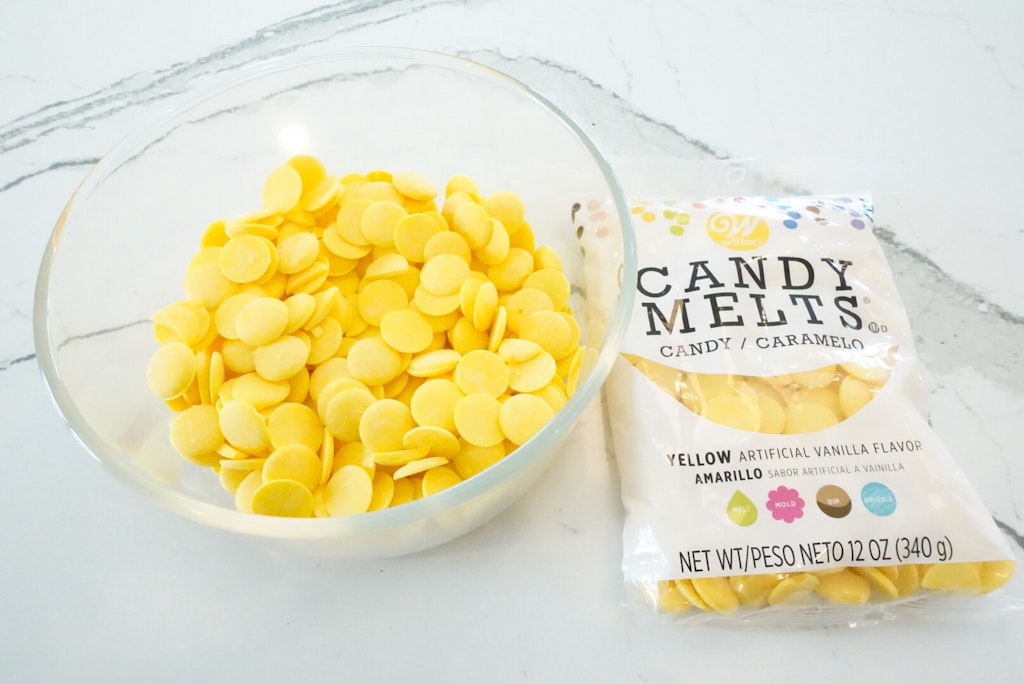
Empty the bag of candy melts into a microwave safe bowl. Heat according to the package directions. Usually, it’s about 1 min 30 seconds at 50% power then stir and continue in 30 second – 1 min increments at 50% power until it’s melted through and smooth.
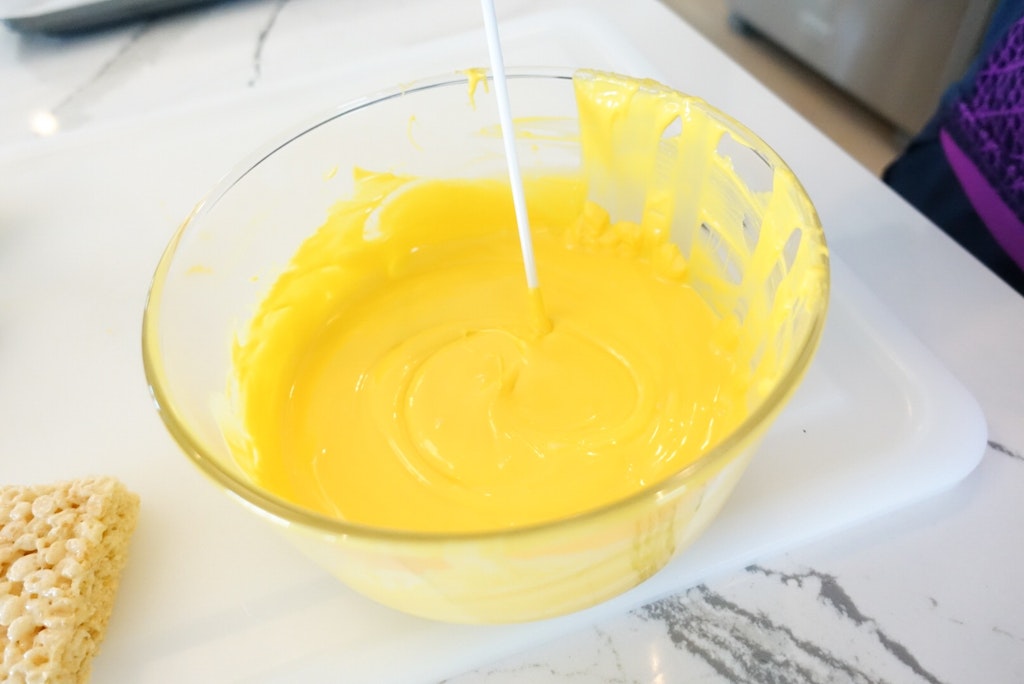
Dip one end of your candy stick into the melted chocolate and insert it into the middle of the bottom portion of the school bus.
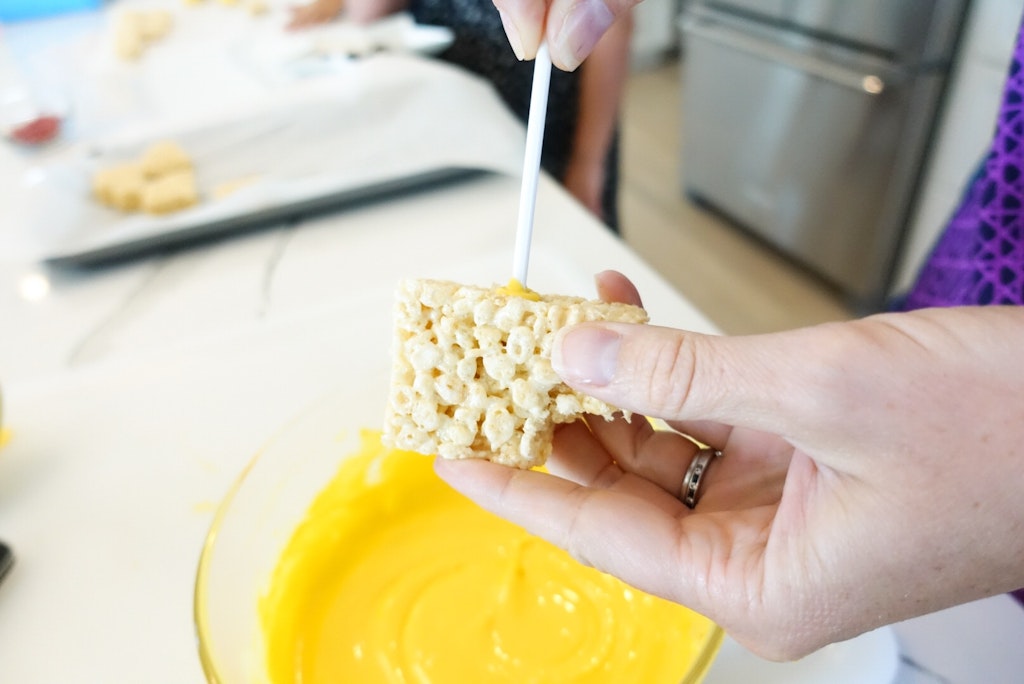
Let the buses sit for a few minutes allowing the chocolate around the stick to harden. This will keep the school buses from spinning around while you’re coating them.
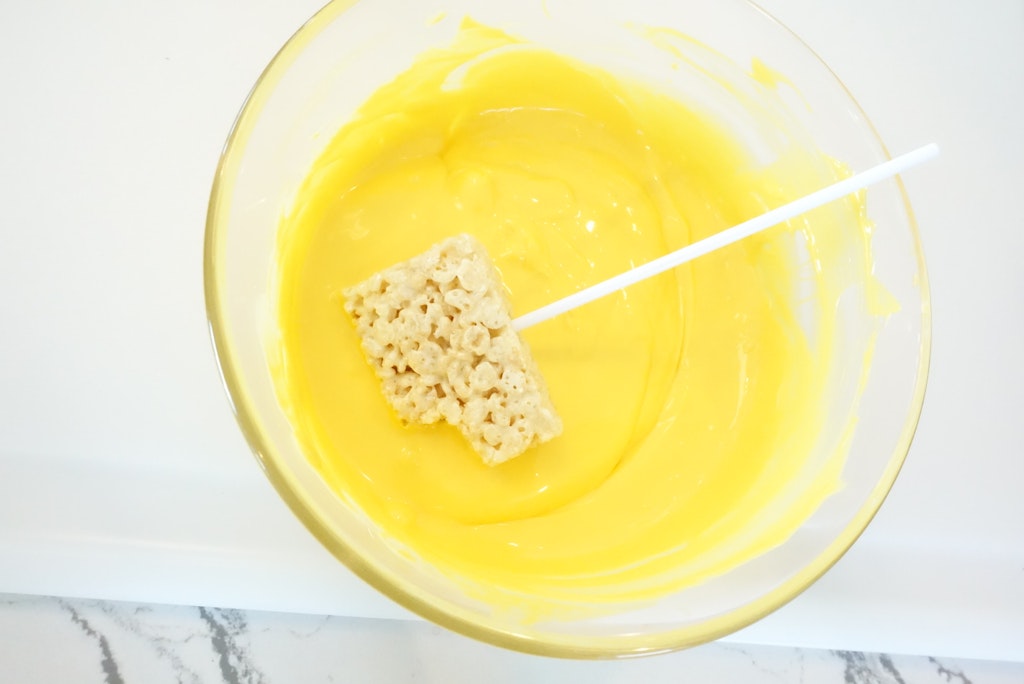
Now it’s dipping time! We found that it’s easier to pour some of the melted chocolate onto a shallow bowl or plate when coating it. We just coated the front side and edges of the school buses, but you can coat the back as well if you want a more finished look. We used a butter knife to smooth out the chocolate and help coat the sides of the buses. A small spatula would also work well.
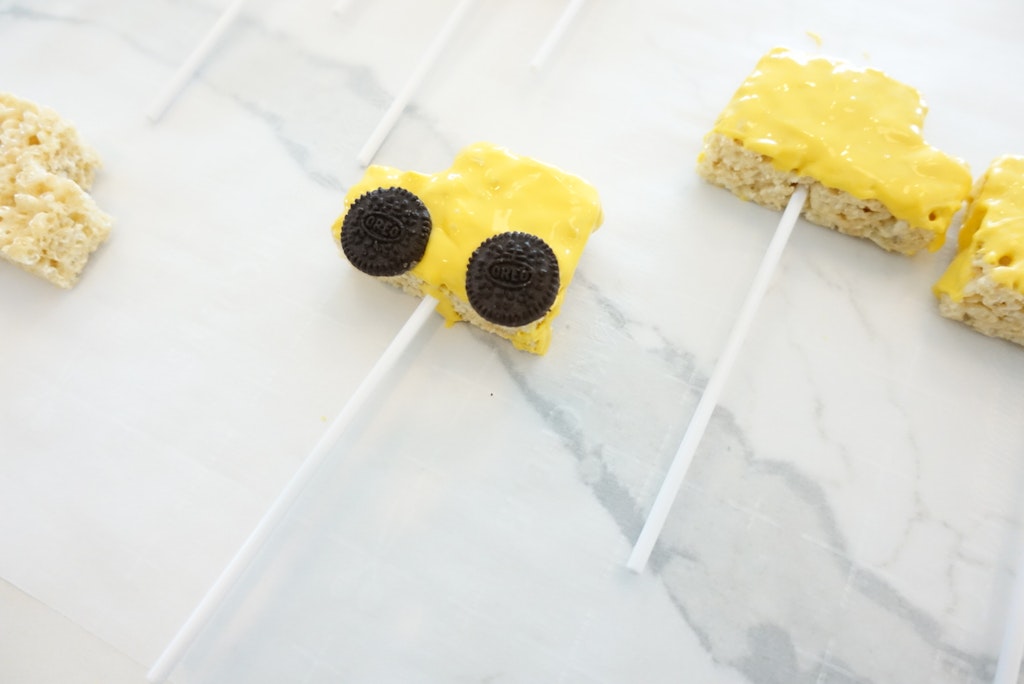
This is when it’s helpful to have a few helpers around. The chocolate coating starts to set quickly so it helps if you have one person dipping the Rice Krispies Treats into the chocolate and others adding all of the “accessories”.
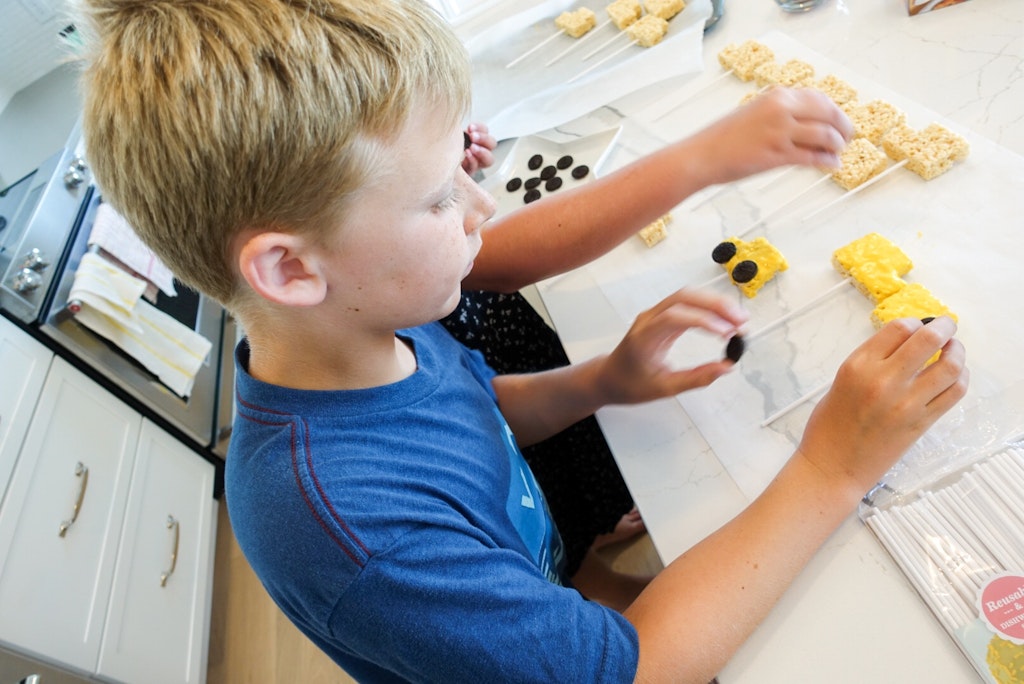
Add two of the mini Oreo cookie halves on the bottom of the bus as wheels.
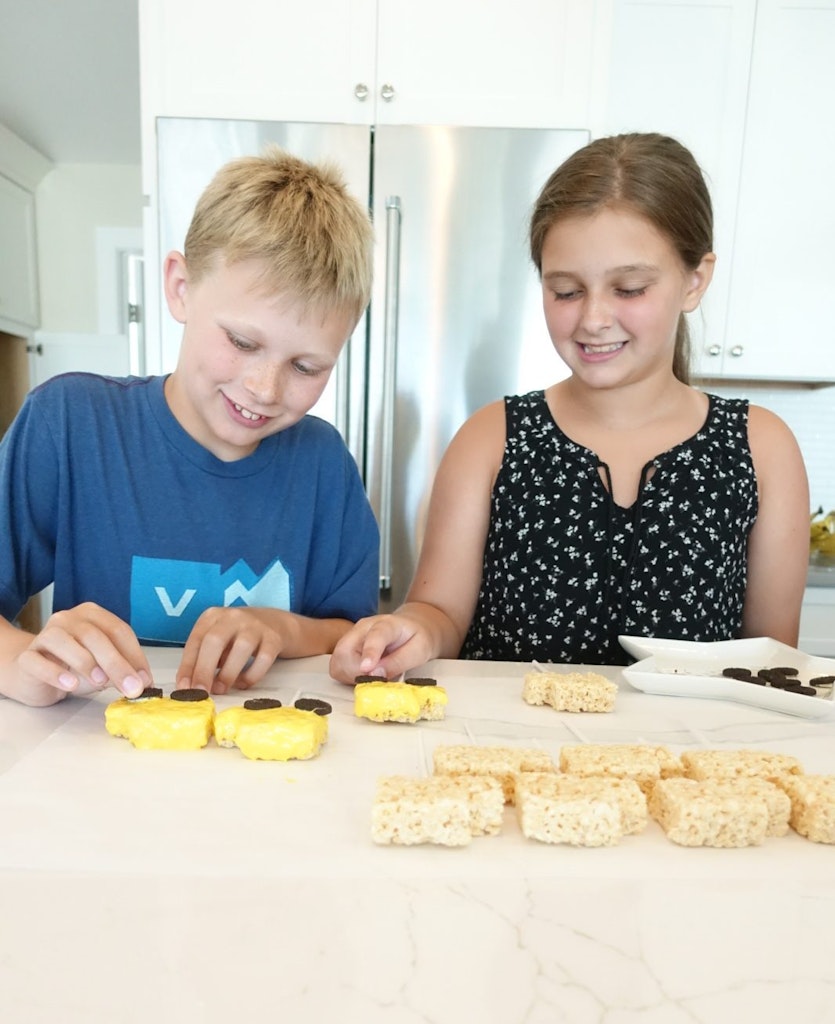
Add 3-4 sugar paper squares along the top of the bus as windows.
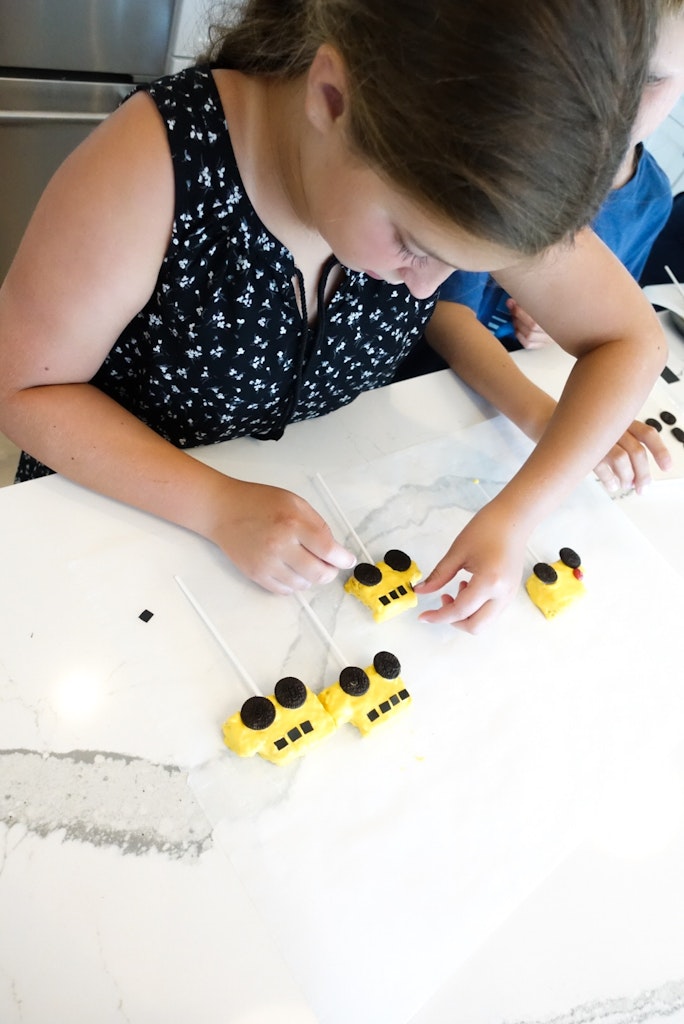
And add one red Skittle right above the front wheel for the stop sign.
If at any point the chocolate candy melts start looking not as smooth and pliable then pop the bowl back into the microwave for about 20-30 seconds at 50% power. Stir and continue working.
If you’re having trouble attaching any of the candy to the buses you can use a toothpick or teaspoon to add some of the melted chocolate onto the back of the candy and reattach to the Rice Krispies Treats.
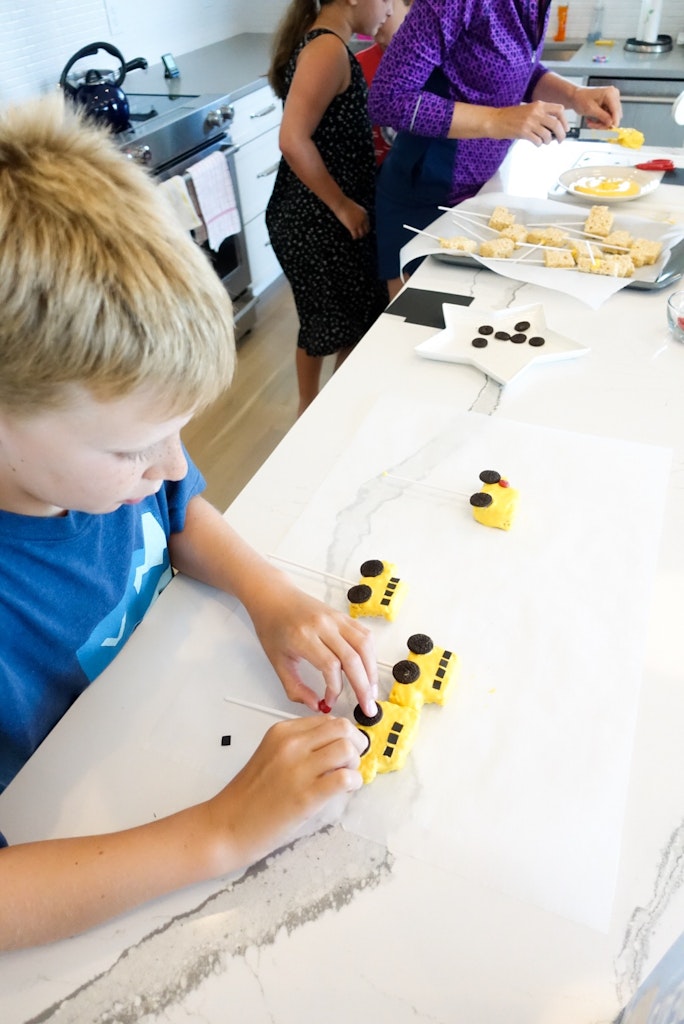
Let the school buses sit until the chocolate has hardened.
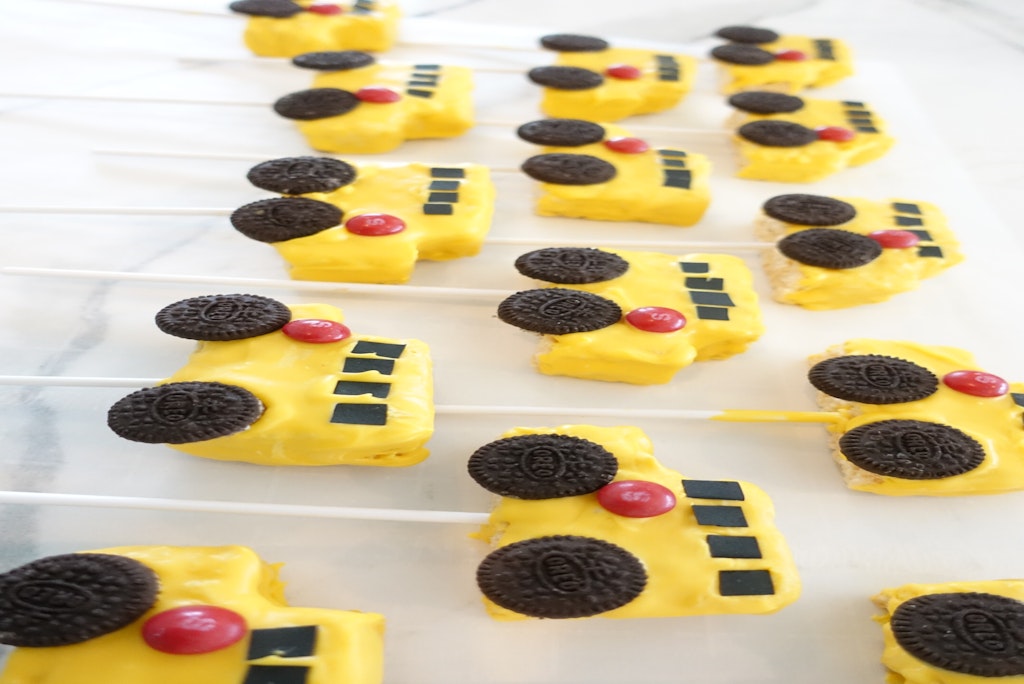
You can package them in little glassine treat bags with ribbon if you are using them for bake sales or want an easy way to hand them out. You can usually find these in the cake decorating section of Walmart or craft store.
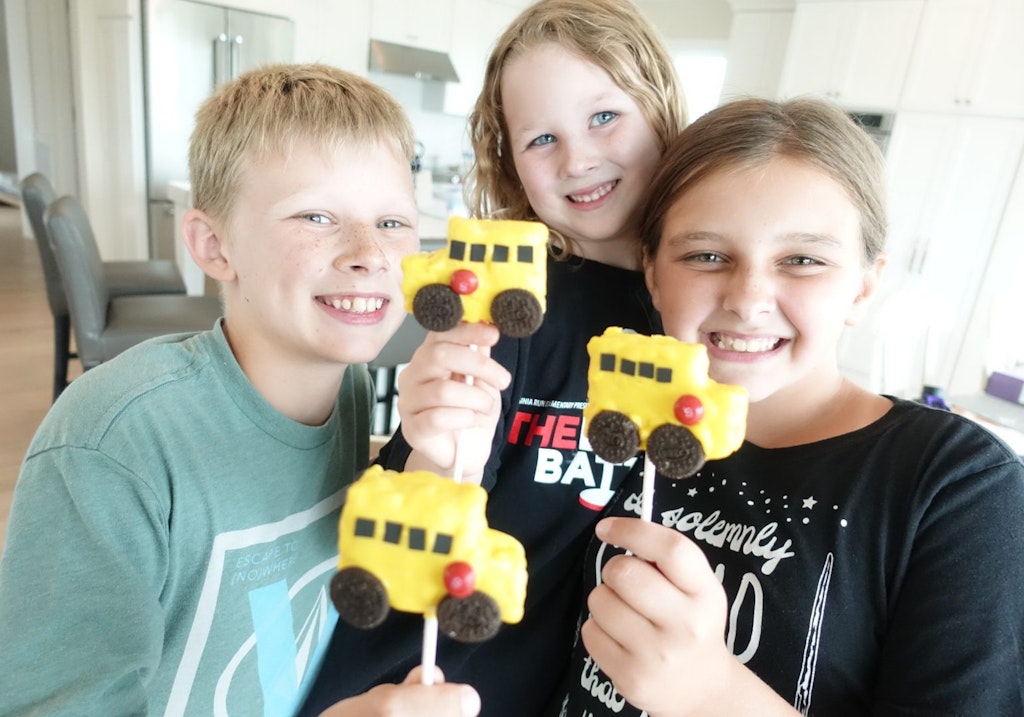
Most importantly make sure that your cute little helpers get to test them out 🙂


