Fall brings Halloween, Thanksgiving, leaves, and all things pumpkin but for our family, it also starts a long string of birthday celebrations. The first in the line up is my soon-to-be 7 year old son who is currently obsessed with skateboards. Because I just couldn’t fit 18 six year old boys in my house we decided to do laser tag with a skateboard theme for the party room. I know, I know, the two don’t really work together, and I have to admit that it’s driving my OCD party planning gene absolutely BONKERS but if he’s happy then I’m happy 🙂 so here we go…
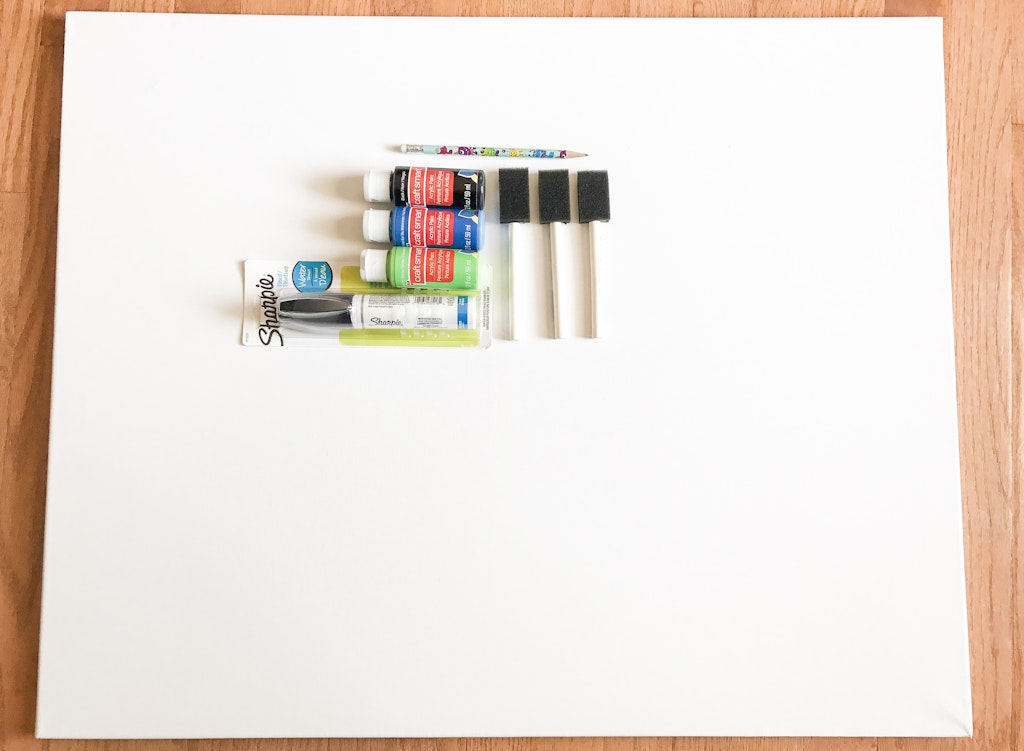
You have all seen them, the “party rooms” at pretty much any birthday party place with the blank walls you aren’t allowed to hang anything on. Our first party prep item was to tackle a large wall decoration that could be “balanced” against the wall AND doubles as a bedroom decoration after his big day!
Supplies:
24×30 Artist Loft Canvas – currently on sale for $6.89 at Michaels
Sharpie Water Based Extra Bold Point – $9.99 from Michaels
Craftsmart 2oz Acrylic Paint – $0.79/each at Michaels
Foam Brushes – $0.49/each at Michaels
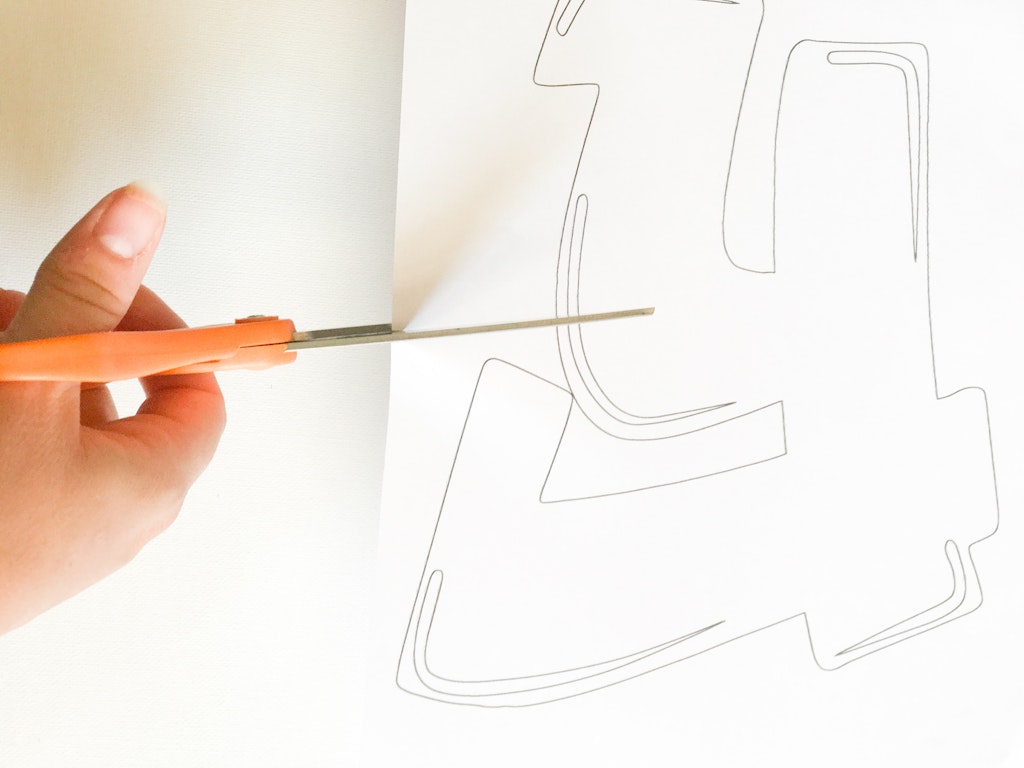
Download a graffiti style font (we used a free one found here). Enlarge each letter of the name so that only one letter fits per page. For example, we used a 400 pt. font size. Print each letter, then cut them out.
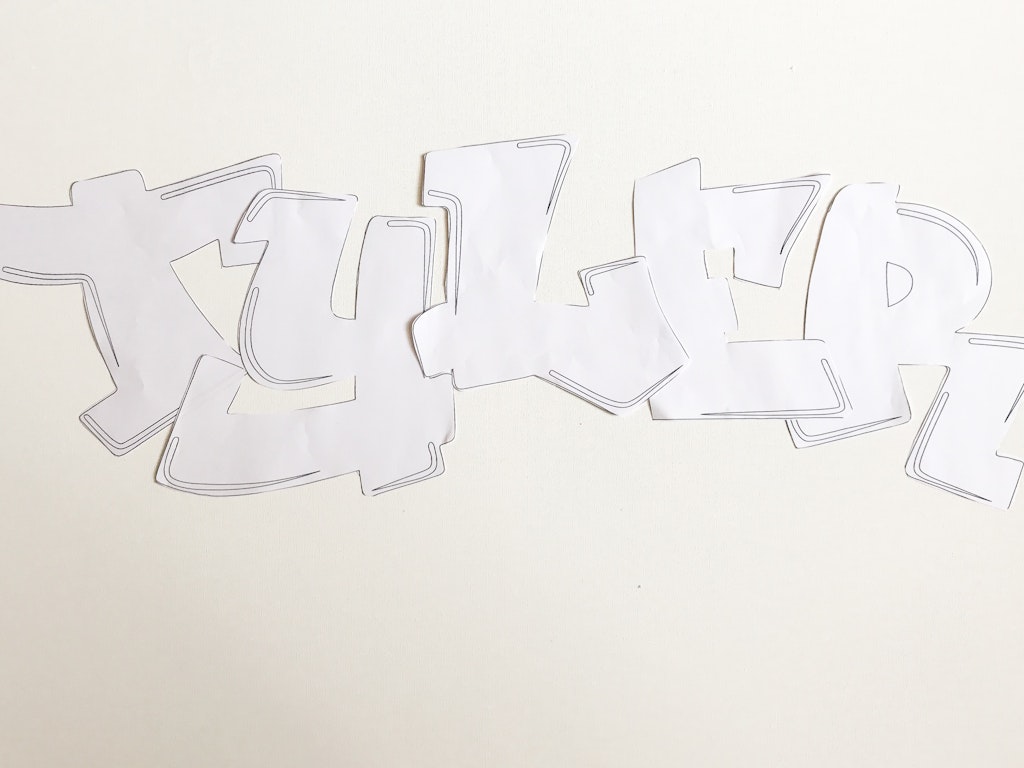
Arrange The letters on your canvas. Typical graffiti connects the letters together or overlaps so don’t worry if you squish it in a little.
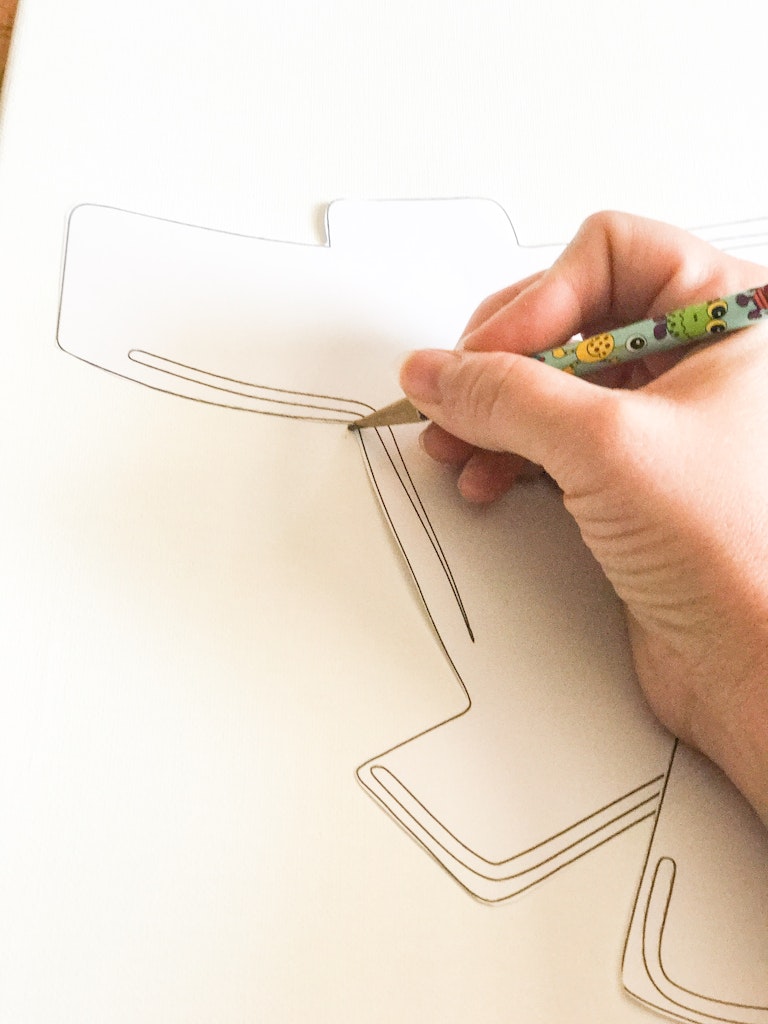
Trace the outline of the letters. I went ahead and traced the full letter to help know where to separate them later.
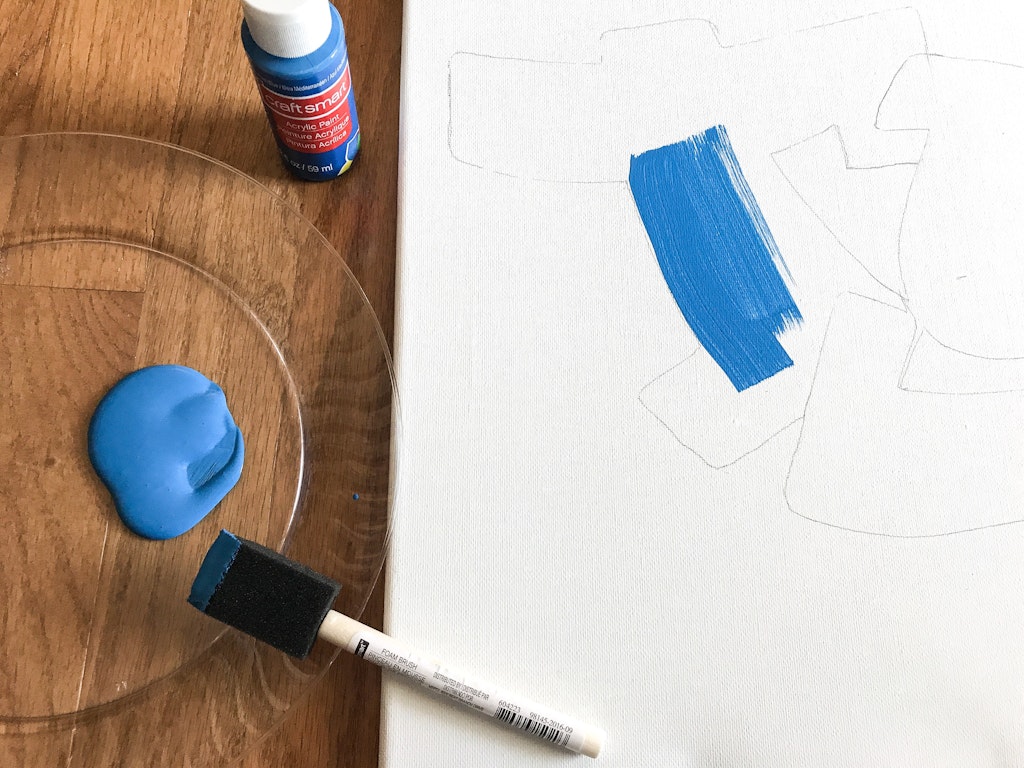
Using the Foam brush, fill in the letters with paint. Let it dry completely between coats. I did go back and touch up any white spots later with a smaller brush.
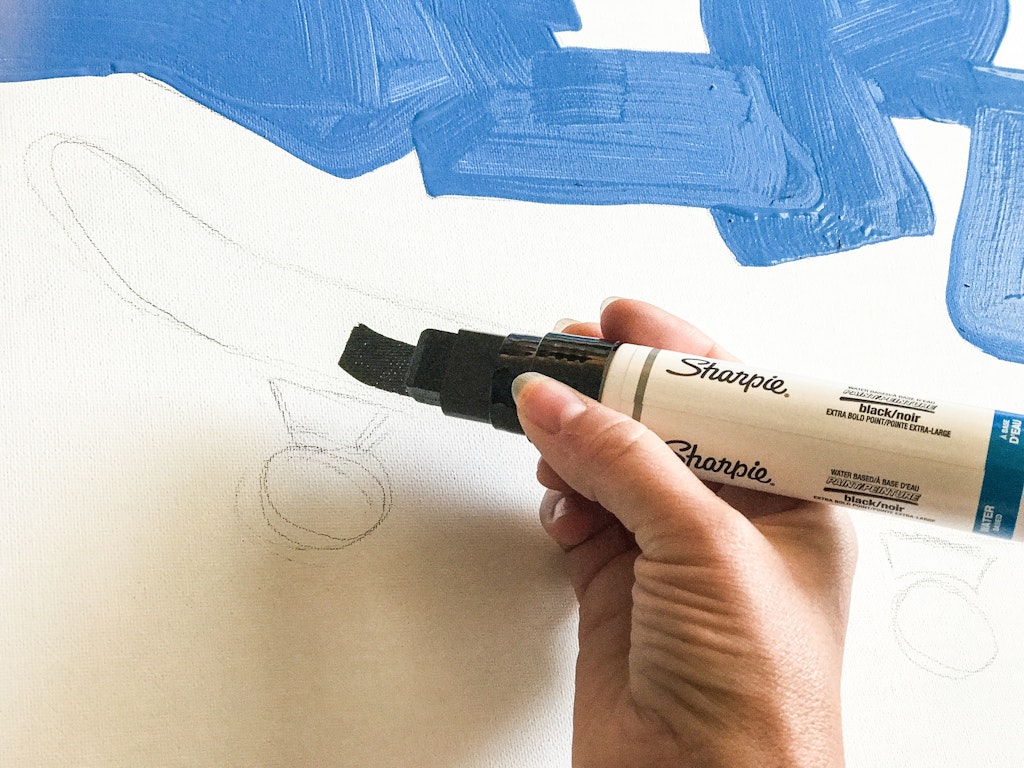
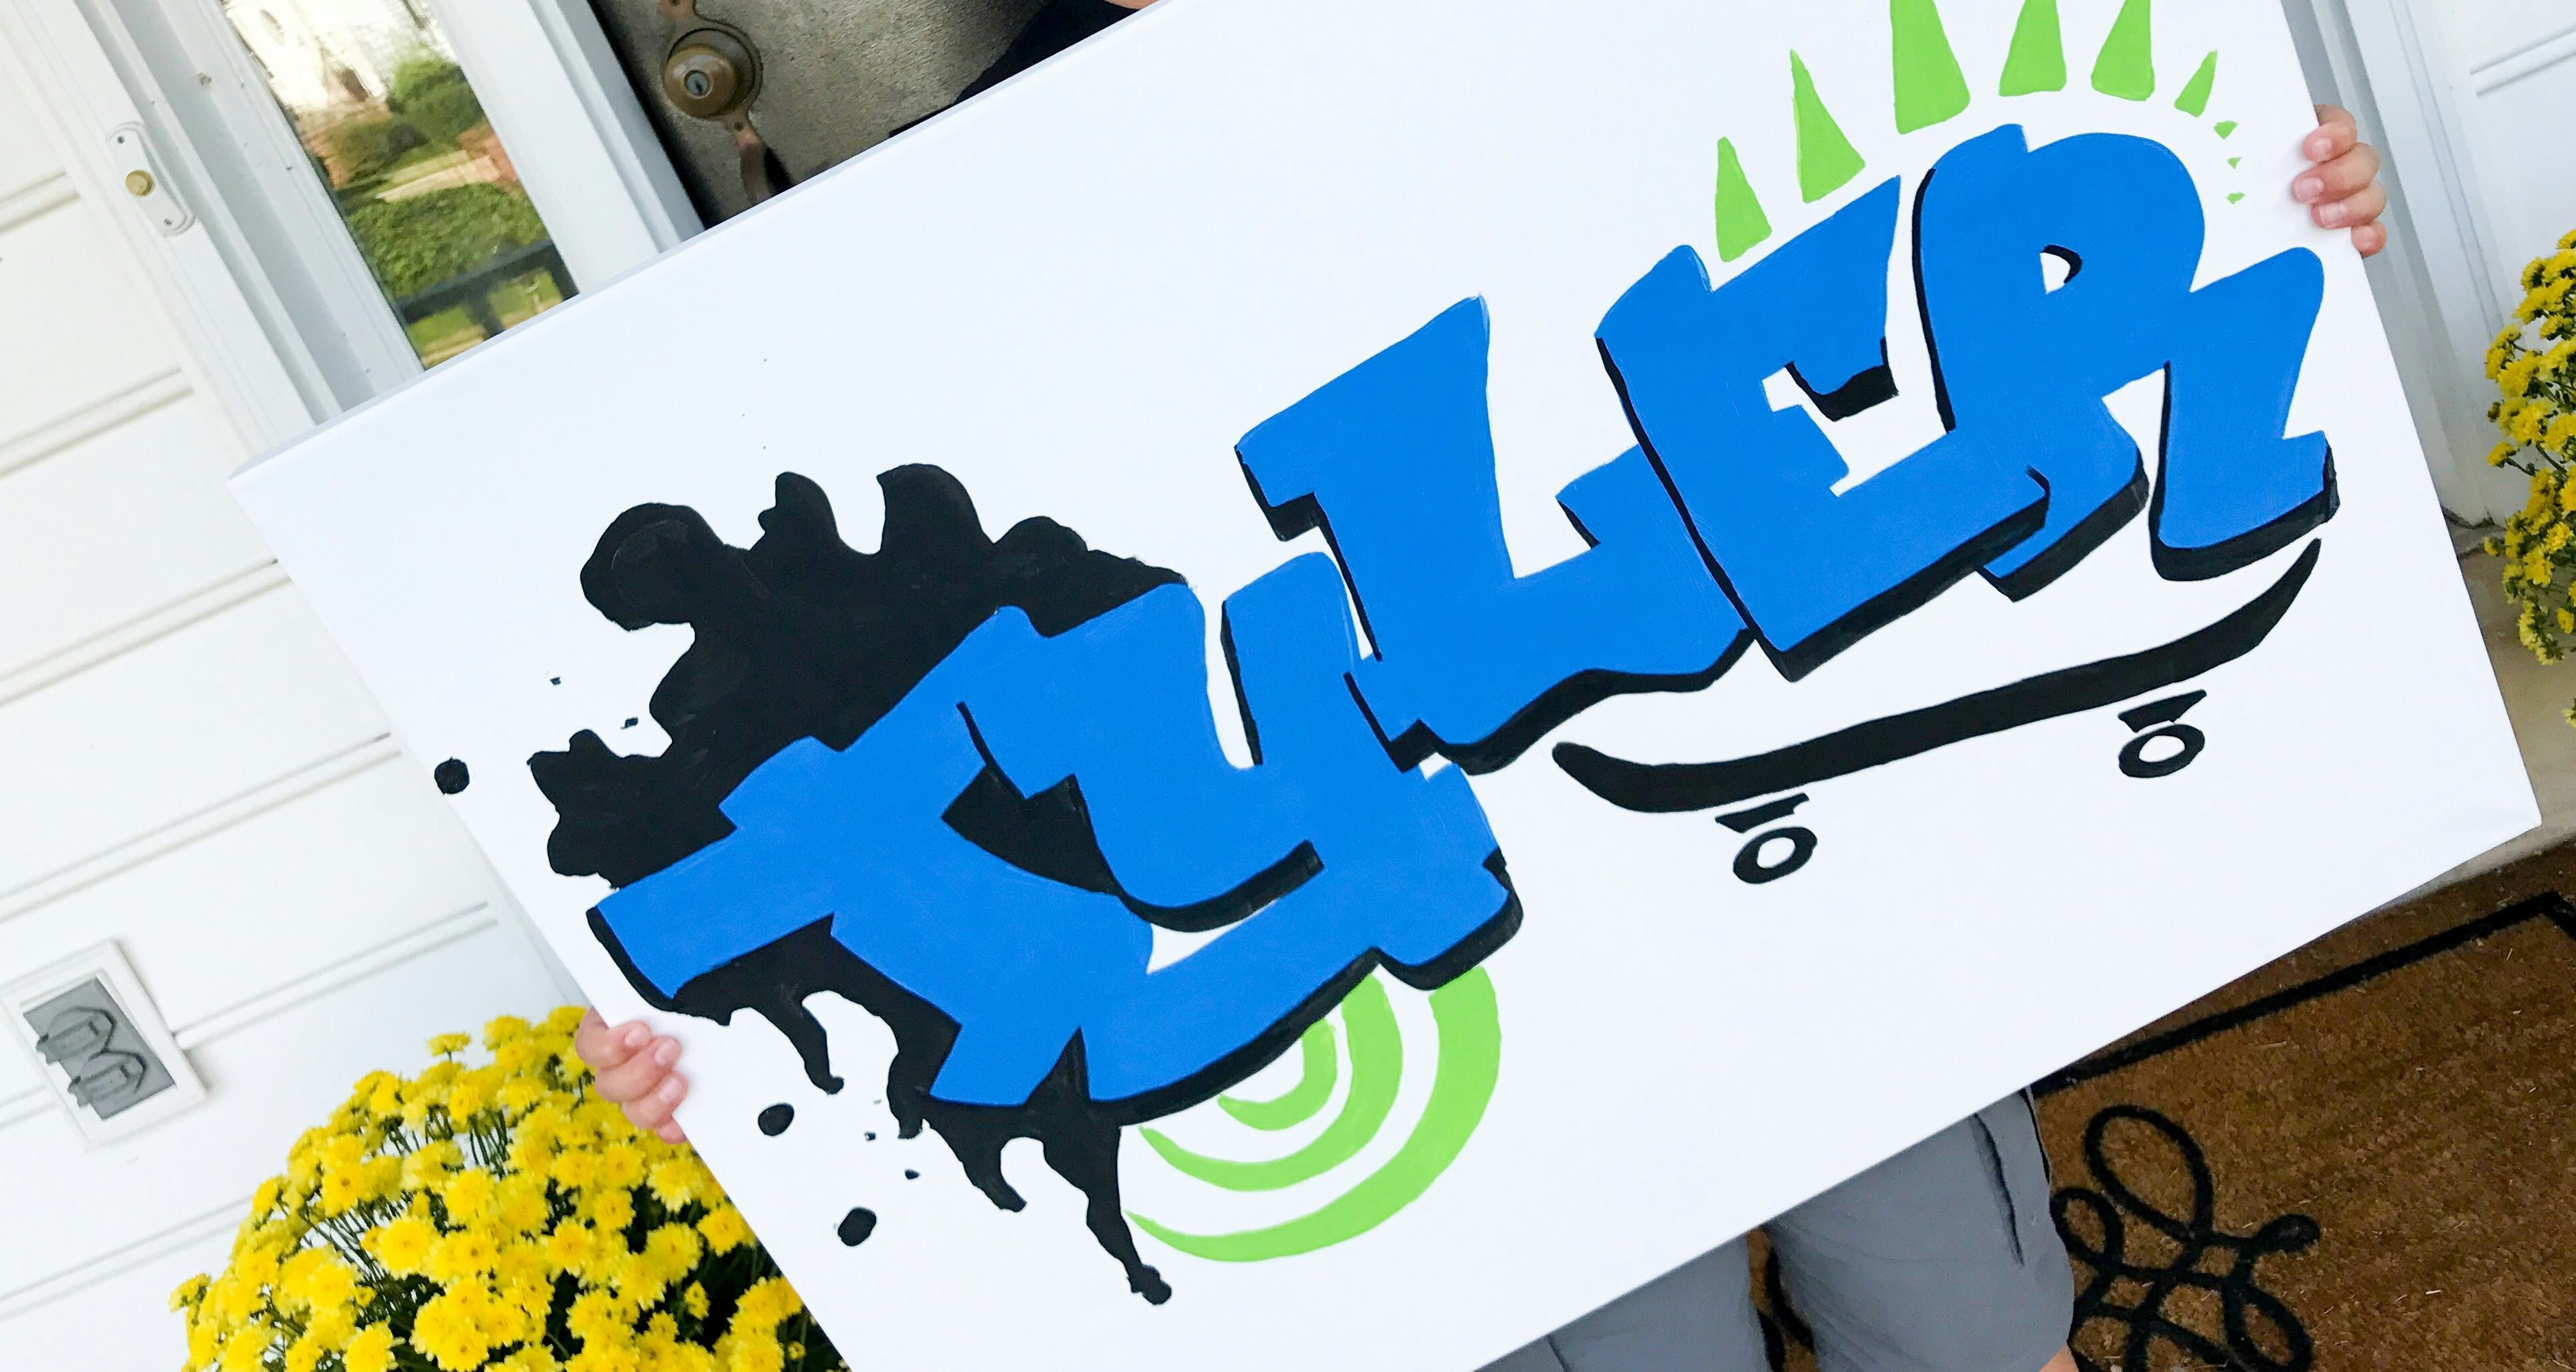
While the letters are drying, start working on the surrounding details. Since my son is into skateboards right now, I added one under his name using the large sharpie. It was a little easier to control and get a straight line then the foam paint brushes.
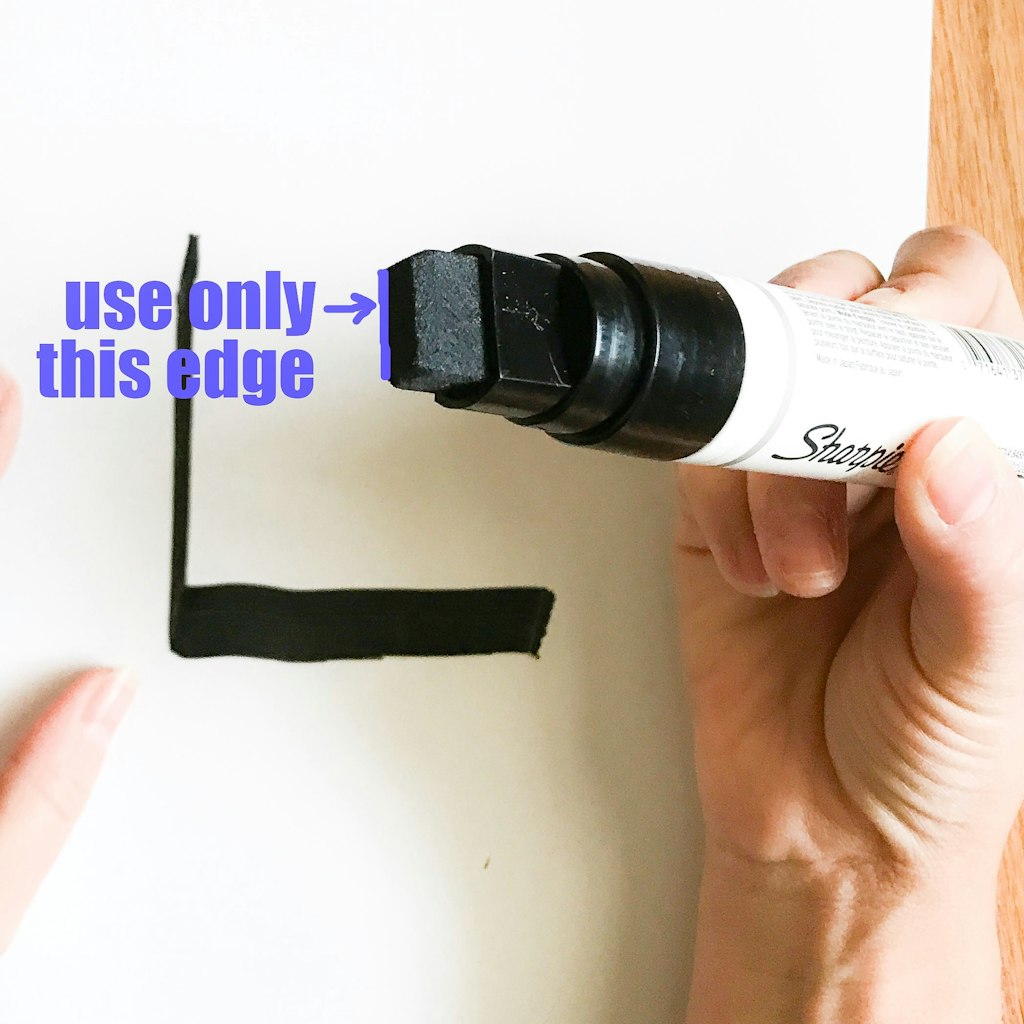
Once the letters dry, it’s time to highlight them. Using the long edge of the sharpie (see image above), keep it in the same position as you draw down and then sideways. It will automatically create a small line down and large line going sideways.
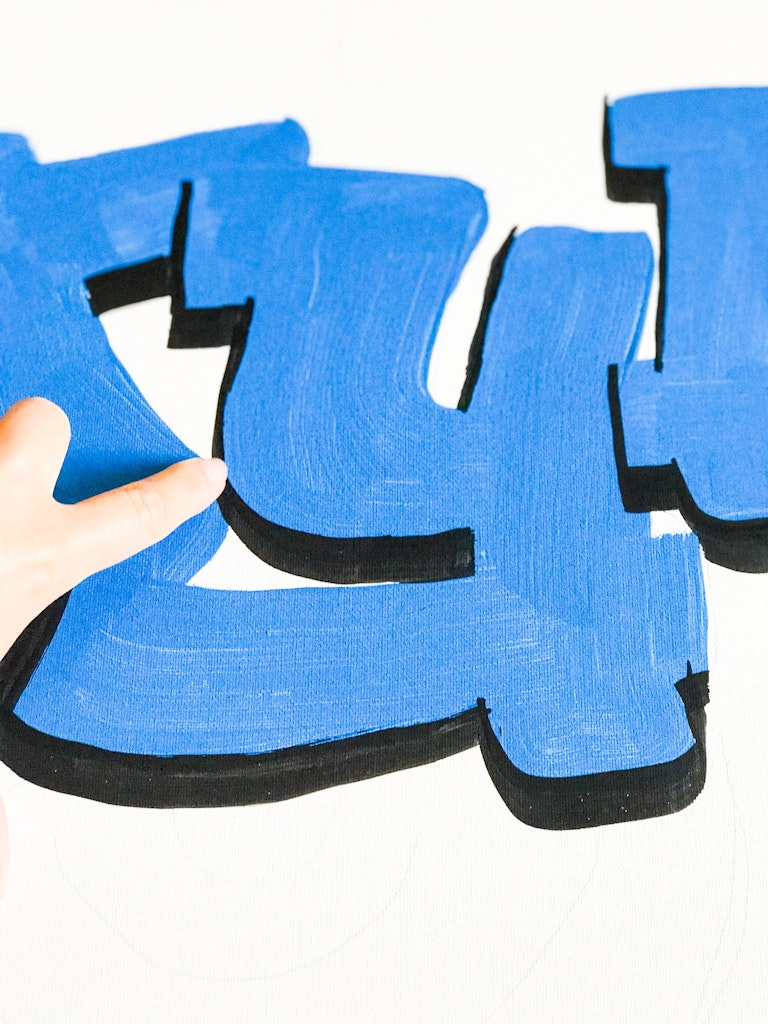
Always do the highlight on the same side of each letter. For our picture, I did the small line on the left hand side of the letter and a large line on the bottom portion of the letter’s open spaces.
The video above demonstrates keeping your sharpie in the same position and using the long edge to create both the thin vertical lines and the wide horizontal lines.
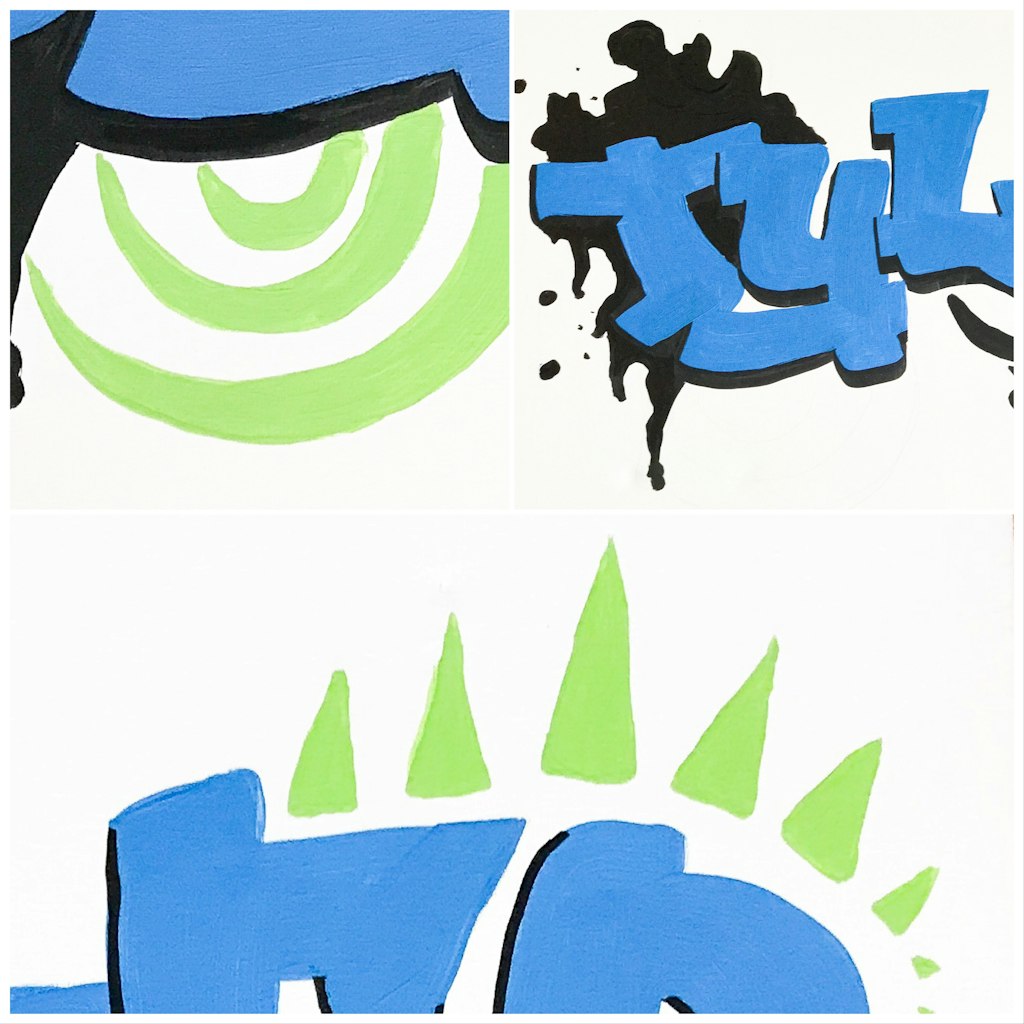
Finish up with a few extra details to add interest to the work of art. I added a splat of paint and mohawk to Tyler’s masterpiece. But let your imagination lead the way! When you are done, and the paint is completely dry, go through with an eraser to remove any left over pencil marks. It’s important to wait until it’s completely dry so the eraser crumbs don’t get stuck in the surrounding paint (I learned the hard way, ha.)
Happy Birthday to this skater dude!

Awesome! Thank you so much for the detailed tutorial! Can’t wait to create an original design for my son’s room!