
How To Transfer An Inkjet Photograph Onto Wood
You can make these custom vintage looking photo ornaments at home with a few supplies and your inkjet printer. We will show you how to transfer a photograph onto wood to create one of a kind ornaments, gifts and keepsakes. These are perfect to give as gifts to friends or family members or to decorate your own tree with special memories. Let’s get started!
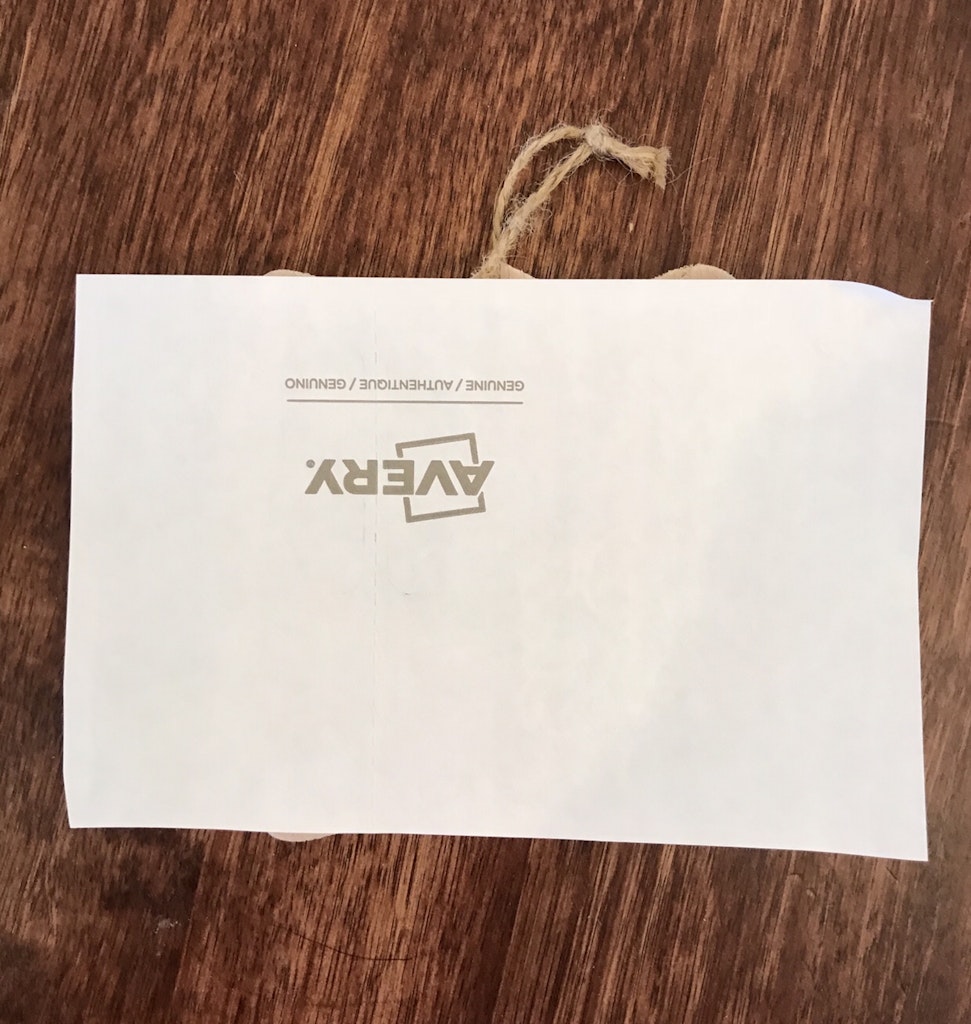
Sheet of Mailing Labels – If you are sending out holiday cards this year, save those label sheets! Print off all of your address or return labels and save the backing! You’ll be printing directly onto the full sheet that all of the labels are stuck to once the labels have been removed.
If you’re not mailing off cards you can just peel off the stickers and give them to your preschooler to color and stick down elsewhere while you keep chugging along on the rest of the project 🙂
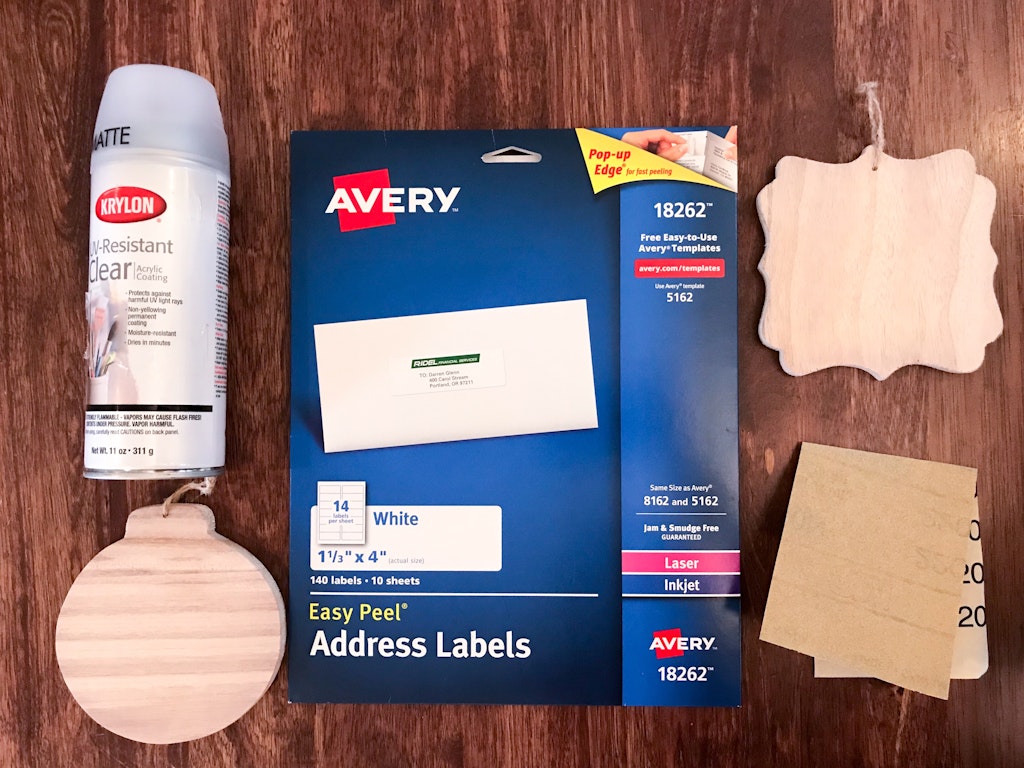
Unfinished Wood Ornaments – We found ours at Michaels, but there are a ton available online as well. If you can’t find the unfinished wood ornaments, you can also look in the wood aisle at the craft store for different shapes of unfinished wood like circles or hearts then hot glue a ribbon to the back once you’ve finished the ornament. We suggest buying a few extra when you’re at the store. I had a couple of goof-ups along the way and it was nice to not have to run back out to the store to finish up.
We also found these unfinished wood ornaments available on Amazon. They offer them in bulk quantities like 10, 30, 50 and 100.

There are a bunch of different sliced natural wood ornaments available on Amazon as well.
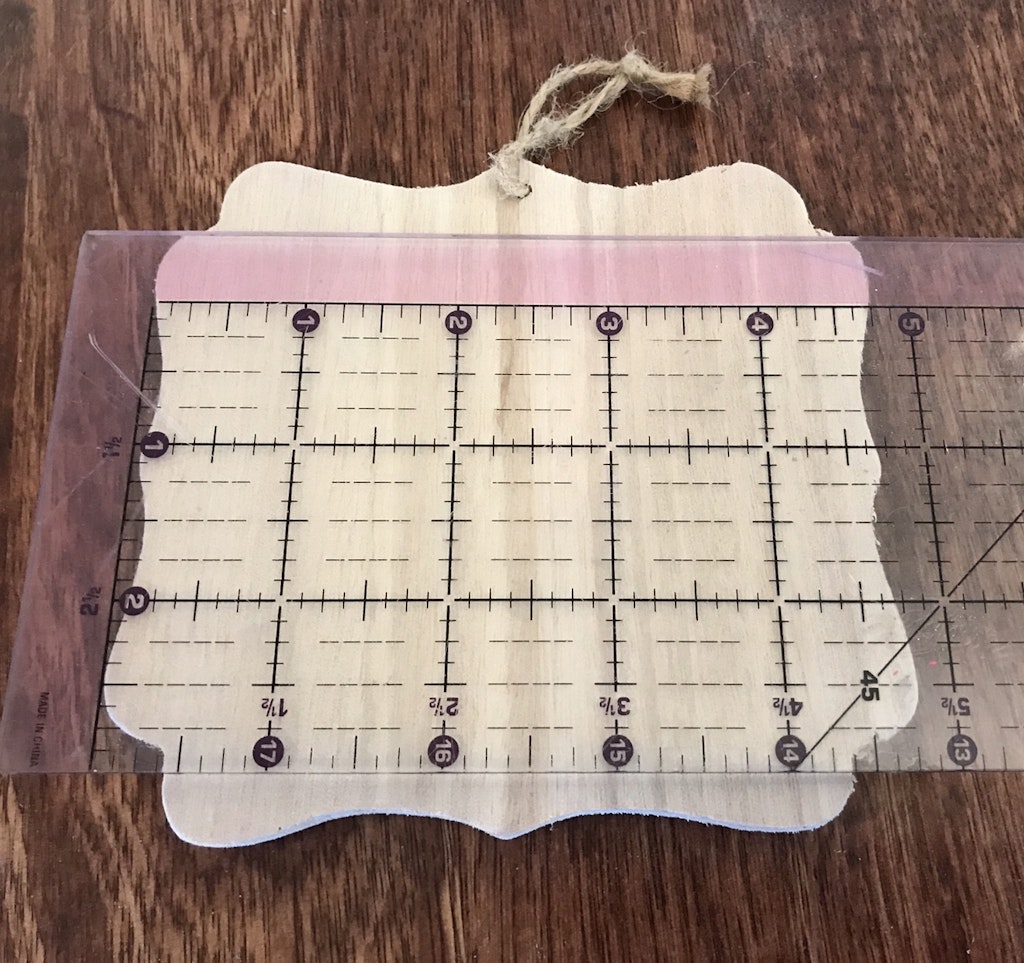
Sizing The Image
Measure out the width and length of the ornaments you’re using. This will be helpful to know when choosing which images you want to use and how you will crop those images.
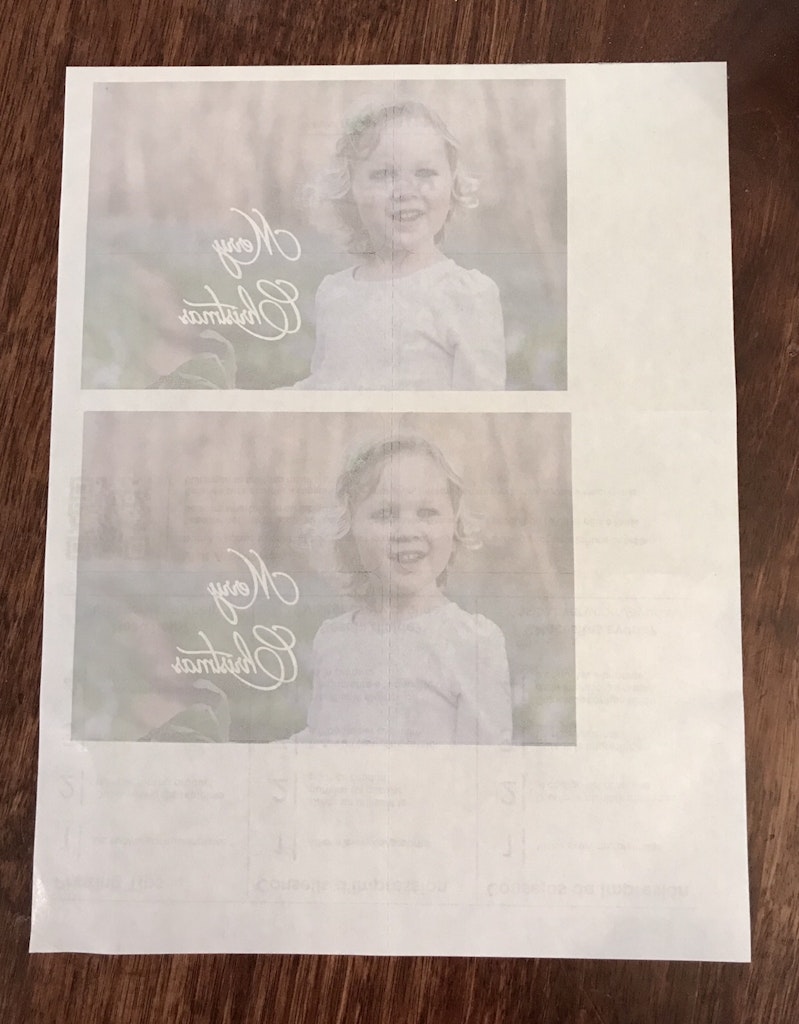
I kept my image a little larger than the size of the ornament so there are no harsh lines and the image appears to go run off of the top of the piece of wood. If you are adding text to your image, you will need to flip it horizontally or “mirror the text” so it will show up correctly when you transfer the image to your ornament.
Everyone’s printer will be a little different. Mine had a very difficult time using black ink. It seemed to bead up more on the waxy paper and not transfer well onto the wood. If you’re using an older black and white photo you might want to try printing it in navy or sepia tone if you’re having the same issue.
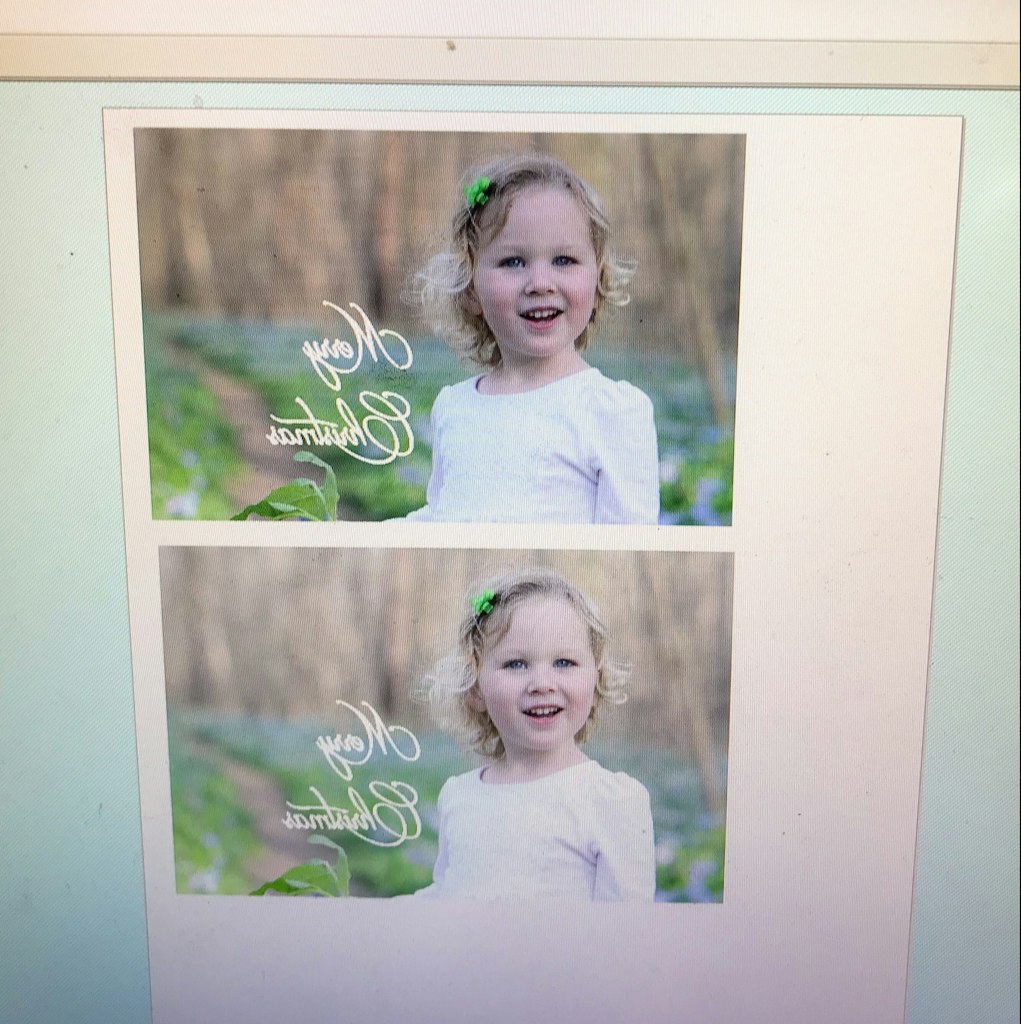
You can include more then one image on each sheet of transfer paper but make sure to leave yourself room around the edges to handle the paper and cut out the image. The ink just sits on top of the waxy paper surface and smudges as soon as it’s touched.
You might want to print the image out on regular paper first and see how it lines up on your ornaments. It is a lot easier to make adjustments on regular paper then using up all of your waxy label paper.
Prep The Wood
Before you print out your images, let’s get the wood ready. We used 220 Grit for this project but you can also use something like this sand sponge we found on Amazon.
Gently sand the top layer of the surface in the SAME direction as the wood grain. Try to do it as evenly as possible since the ink from your image will highlight any imperfections in the wood, but that adds character and more vintage flair so don’t stress about it. 🙂
Print The Images
Get your label sheets ready by removing all of the sticky labels. You are going to print on the waxy side of the paper so load it into your printer accordingly. We fed the sheet into the tray of the back of the printer where you load different sized media. I was worried about it getting stuck in the rollers if i put it in the cassette.
Print one at a time. Remember that the ink will be sitting on top of the waxy surface and will smudge as soon as it touches anything so you don’t want multiple sheets stacking up in the tray.
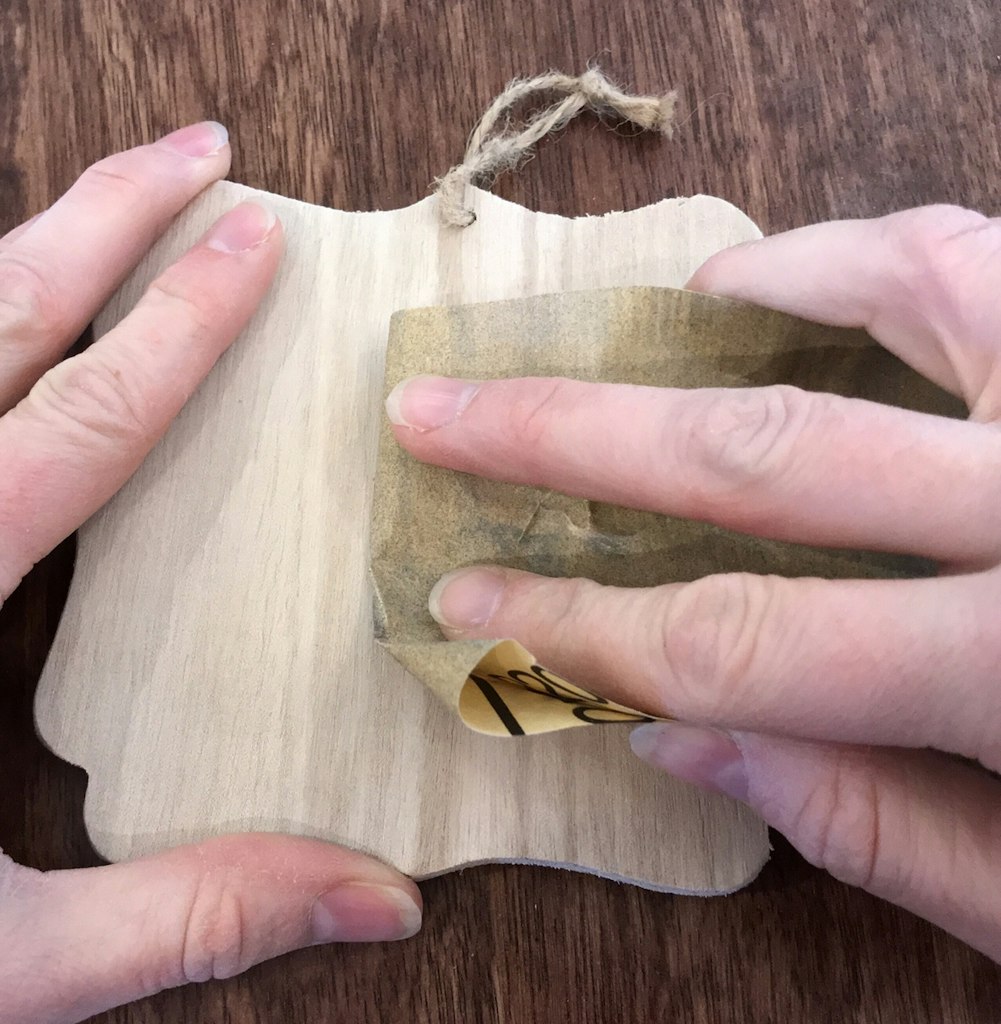
Press Your Photo Onto The Wood Ornament
The colors will look slightly more muted when you take it off the printer, but that’s ok. Carefully cut around the edges of your image. Flip the paper over and lay it on top of your sanded ornament to transfer the inkjet photo to the wood.
Being extremely careful not to slide the paper around, hold it down in the center with a couple of fingers and gently start pressing and smoothing out the paper. Move from the center where you are holding it down toward the edges of the ornament.
You can carefully lift the edge while holding down the center of the paper to check on your progress and see which sections need to be rubbed more. If there is a perforated seam in the paper you might want to pay extra attention to this area and use your finger nail to transfer a little harder. But start gently, then check and try again.

Add The Topcoat
Since the ink does come off of the wood onto your fingers after you transfer the image you’re going to want to finish the project with a spray topcoat of some kind. We used the Krylon UV Resistant Clear Acrylic Coating.
Take the ornaments into a well ventilated area and put a piece of cardboard or paper bag down to protect the area around your workspace. Spray the topcoat according to the directions. We did two very thin layers of topcoat, letting it dry in between layers.
It dried super fast so we were able to do a two coats in a short amount of time.
I tried brushing on a thin layer of modge podge, but that did not work. The colors all bled together so I would stick with a spray topcoat of some kind.

Let the topcoat dry completely before handling it. Be sure to also check out our DIY Glitter Ornament Tutorial.
We hope you enjoy! Happy crafting!!
Hi Kelly, thank you for sharing this post. got new ideas here for Christmas decors.
I’m so glad!! Hope you had a great holiday!