
How To Make A Wood Bead Garland
Learn how to make this DIY wood bead garland in no time at all. Garland isn’t just for the holidays anymore! After finding these fun geometric shape wooden beads recently at Michaels, I thought they’d look great as a natural wood bead garland for the cabin. This would also look great if you painted the different shaped beads all the same color or even different coordinating colors. I chose to keep them natural wood and have the different shades of the stain and shape of the bead set them apart.
What You’ll Need To Make A Wood Bead Garland
I used these Wooden Geometric Shape Beads, but you can also use different sized round beads that are available online here.

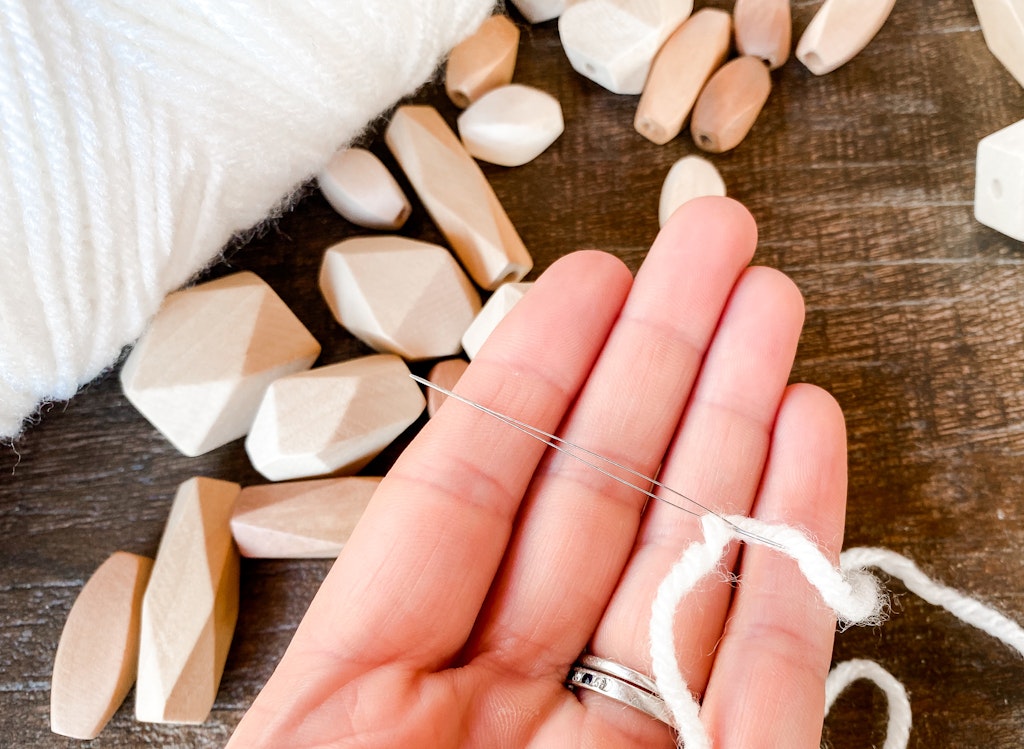
Big Eye Beading Needle – I use these for other beading projects and they work great! They made threading the long cylinder wooden beads a lot easier.
String, Yarn, something thin enough to fit through all the little center holes. I tried using 3mm macrame cord to string them but some of the beads had really tiny centers and the macrame wouldn’t fit through all of them. I found some thin yarn in the craft room and used that instead because I had it on hand. It did fuzz a little more than I would have liked though. Something like this 1mm cotton twine would be great I think. A thin jute twine would also work great, but as ya’ll know sometimes you just want to use what you have on hand. 🙂
For the tassels I used macrame cord. We only had 3mm macrame cord on hand which was too thick to thread through the beads but thinner macrame cord or cotton twine could double as the material you use to thread your beads and the tassel material.
How To Make The Wood Bead Garland
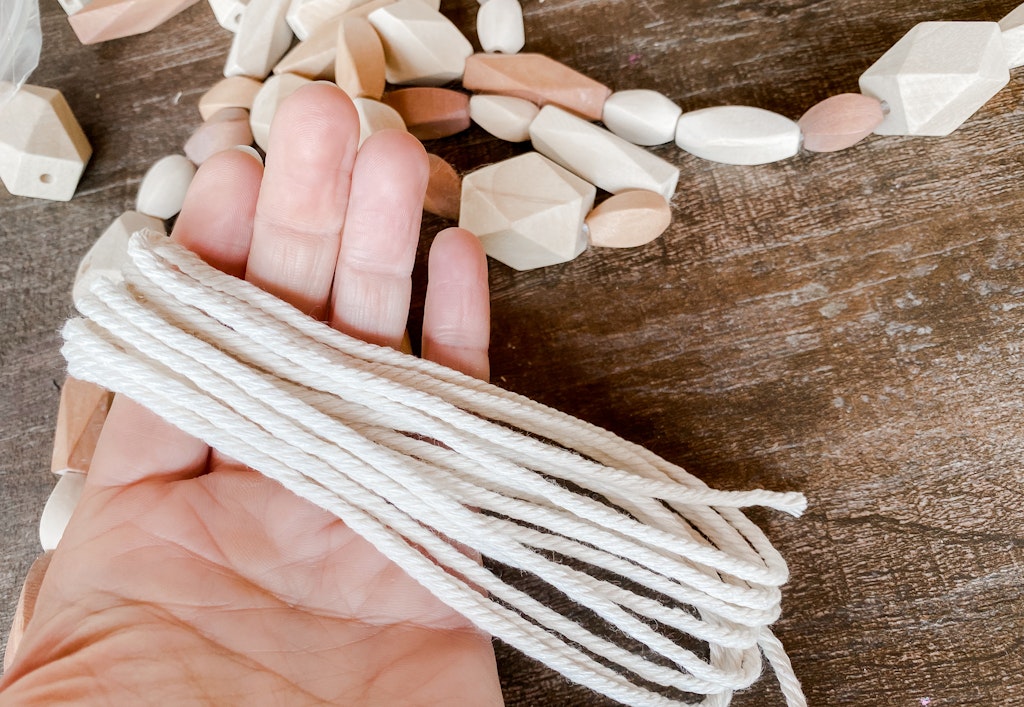
Cut a piece of yarn, twine, or whatever you’re using to string the beads, a few inches longer than your desired finished length of garland. Tie a knot in one end of it leaving a few inches to tie on the tassel after you’re done.
Thread the beading needle onto the other end of the yarn. Begin adding the wooden beads to the garland. I didn’t use a pattern just tried to vary the stain colors, shapes and sizes as i went to keep it visually interesting. Once you’ve filled your garland with beads, tie a knot at the end. Make sure to leave a few inches extra string to tie on the other tassel.
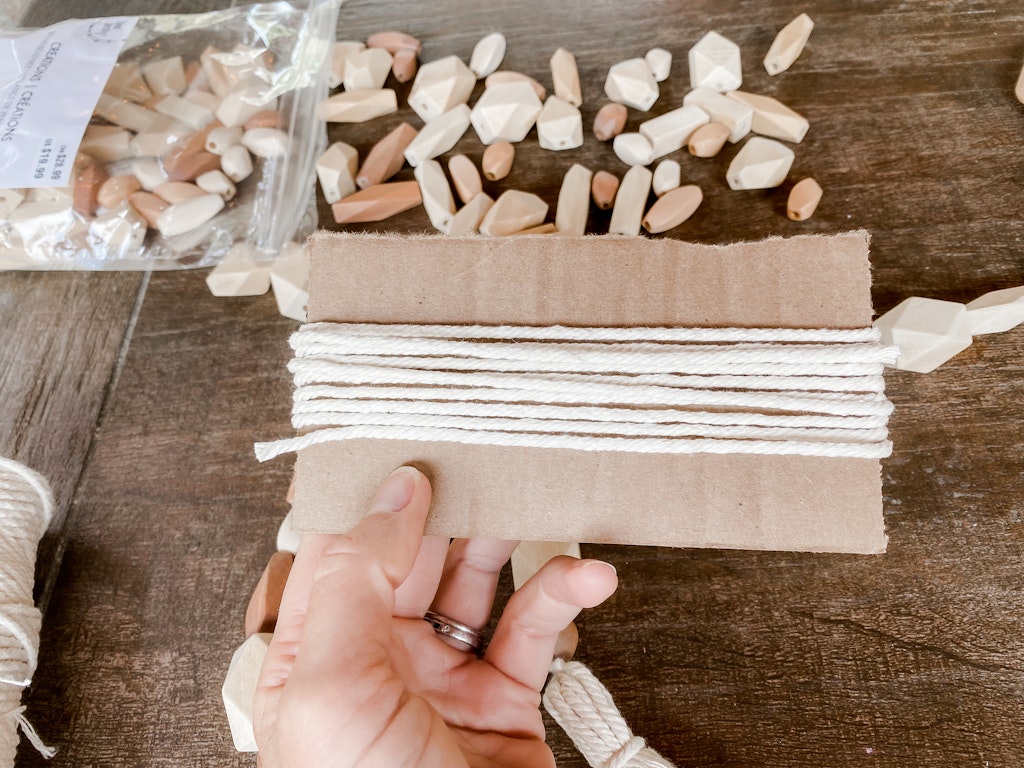
Now we’re going to make the two tassels. I cut a small rectangle out of cardboard about 4 or 5 inches long. Wrap your tassel material around the long side of the cardboard around 10 times. More times will create a thicker tassel and fewer times will yield a thinner tassel. Cut the string from the spool and slide the wrapped cord off of the cardboard. Cut a small piece of cord from your spool. Wrap the cut cord around the top of the folded string about a half of an inch down from the top. Secure with a knot.

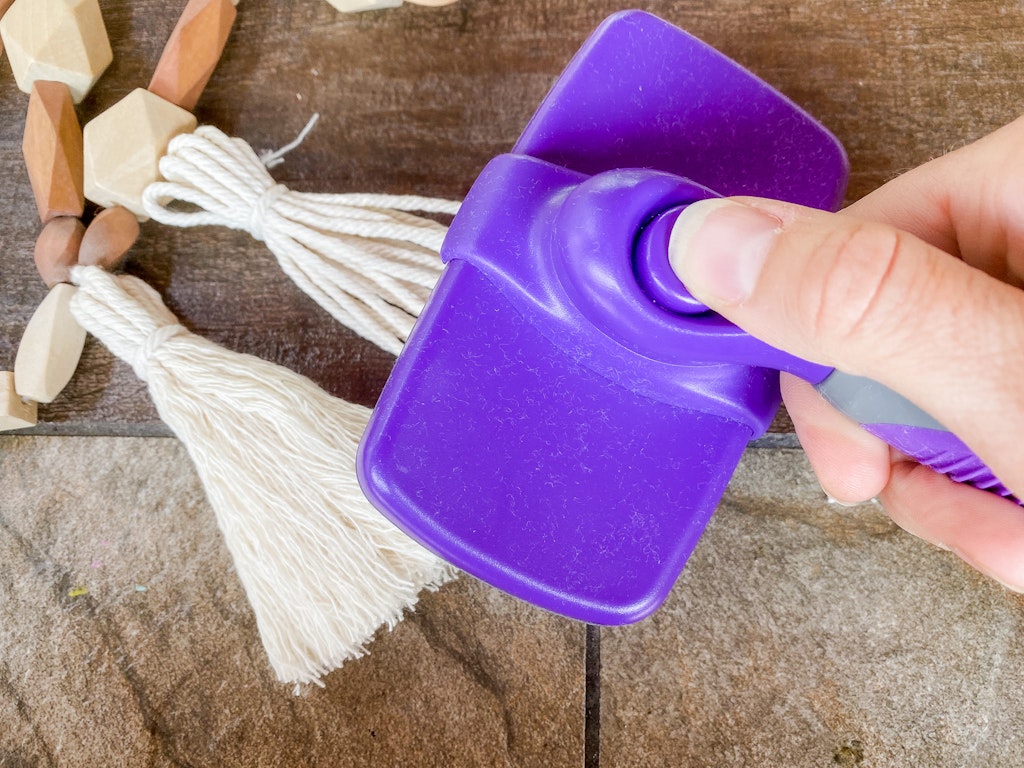
Snip the ends of the other end of the tassel. If you’re using macrame cord you can brush out the cord using a macrame brush to create a softer look. A comb or even a pet brush from the dollar store will also work.
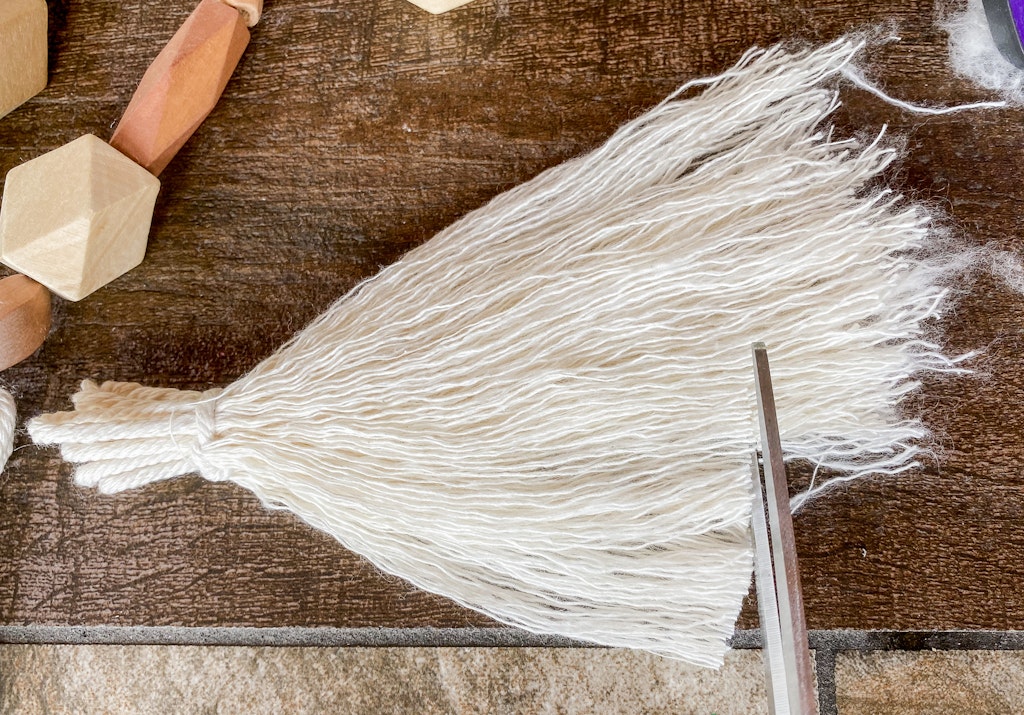
Trim the ends of the tassel so that they are uniform. Repeat these steps to create the second tassel.
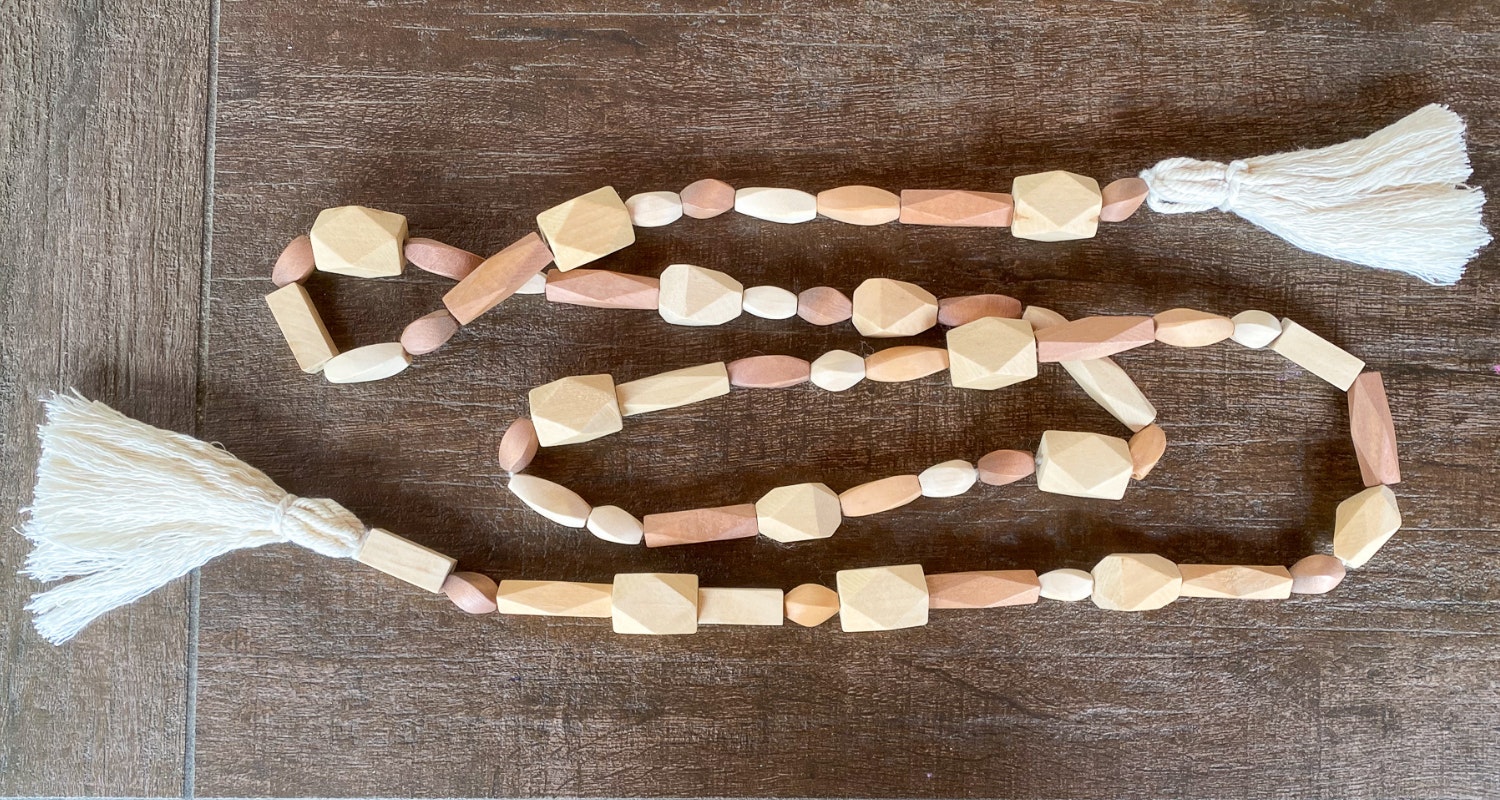
Tie on a tassel to each end and trim any excess strings.

Now you have a fun geometric wooden bead garland decoration!