

These are a super quick and easy project that will add a fun wow factor to your kiddo’s Halloween costume this year and keep them quite visible in the dark … win-win!!
I’ve always wanted to create a highly visible trick-or-treat bag for the kids. After seeing a similar design by Megan of Not Martha, I wanted to create a no-sew version making it pretty easy to whip out a few of them quickly.
You can attach these glow panels to a store bought tote bag, an old reusable fabric tote bag or follow our DIY No Sew Halloween Treat Bag Tutorial to make a simple tote out of a king sized pillowcase!
Glow Panel Supplies
– White felt – Michaels $.39 each
– Black felt – Michaels $.39 each
– Sheets of foam sticker paper, glitter foam sticker sheets or adhesive backed felt. You’ll need 1 per glow panel to be safe. Can also use pumpkin decorating foam stickers.
– Glow bracelets – need 10 of same color – you can find these just about anywhere around Halloween. We found a pack of five single color bracelets at Walmart for $.97 each. They had red, pink, blue and green.
– Glue gun (works well with cool temp ones too) and glue sticks
– Piece of chalk for marking on felt
– Glue stick
– Ruler
– Tote Bag – store bought fabric tote bag or our no-sew pillowcase tote bag
Glow Panel Instructions
Let’s talk supplies first.
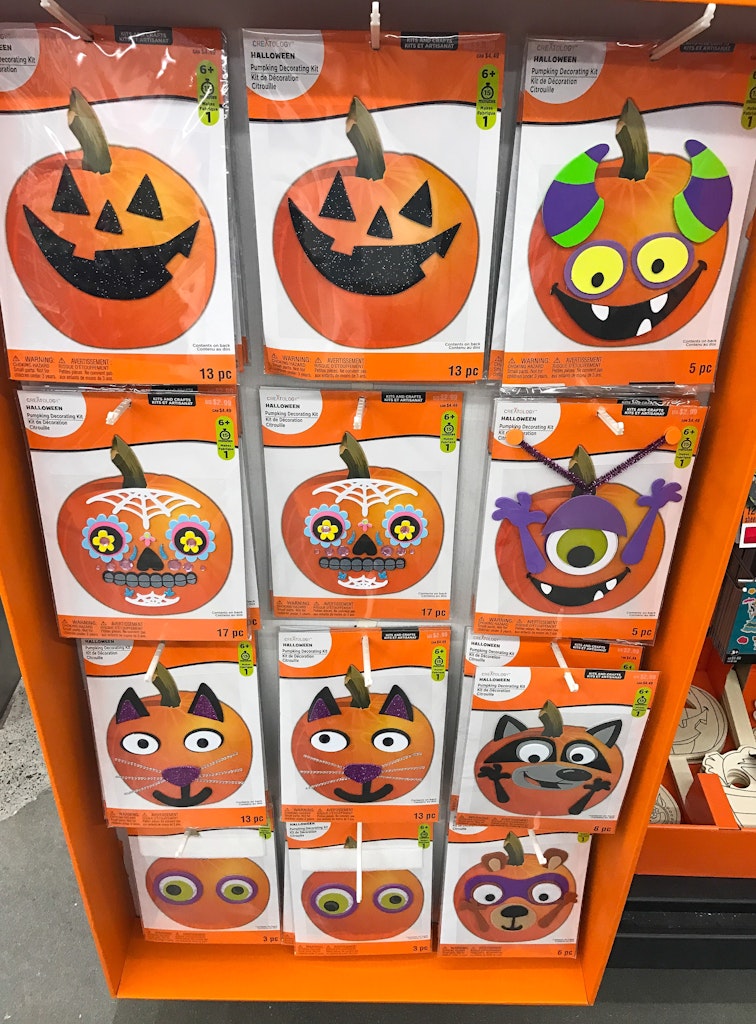
For the front design you can pick up something like these Pumpkin Decorating Kits that we found at Michaels. All of the pieces are precut and you just peel and stick them to the front of your finished glow panel.
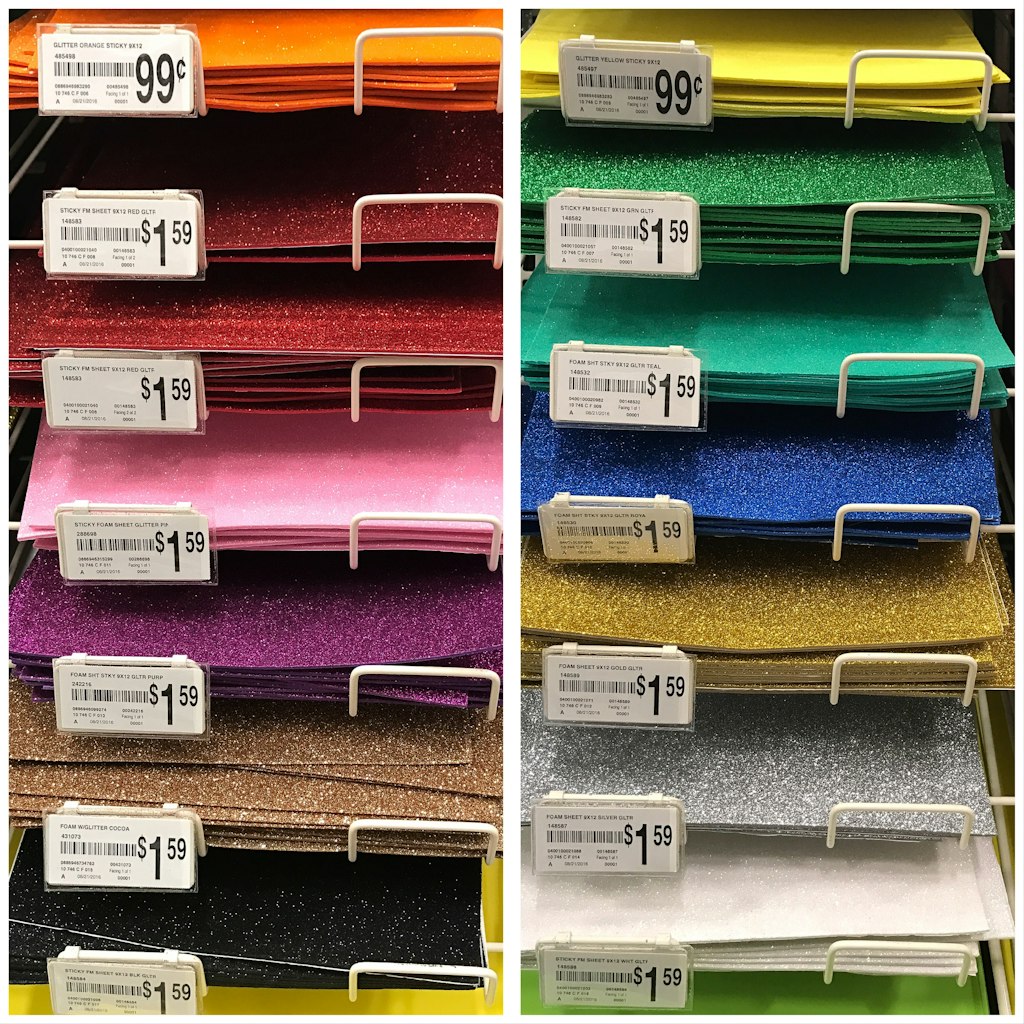
If you want to get a little more creative, pick up a few sheets of the adhesive backed foam sheets or adhesive backed felt sheets. We suggest using a dark color to block out the most light and help show off your design better. You’ll need one sheet per glow panel, but I would get a couple extra just in case you have a whoops moment 😉
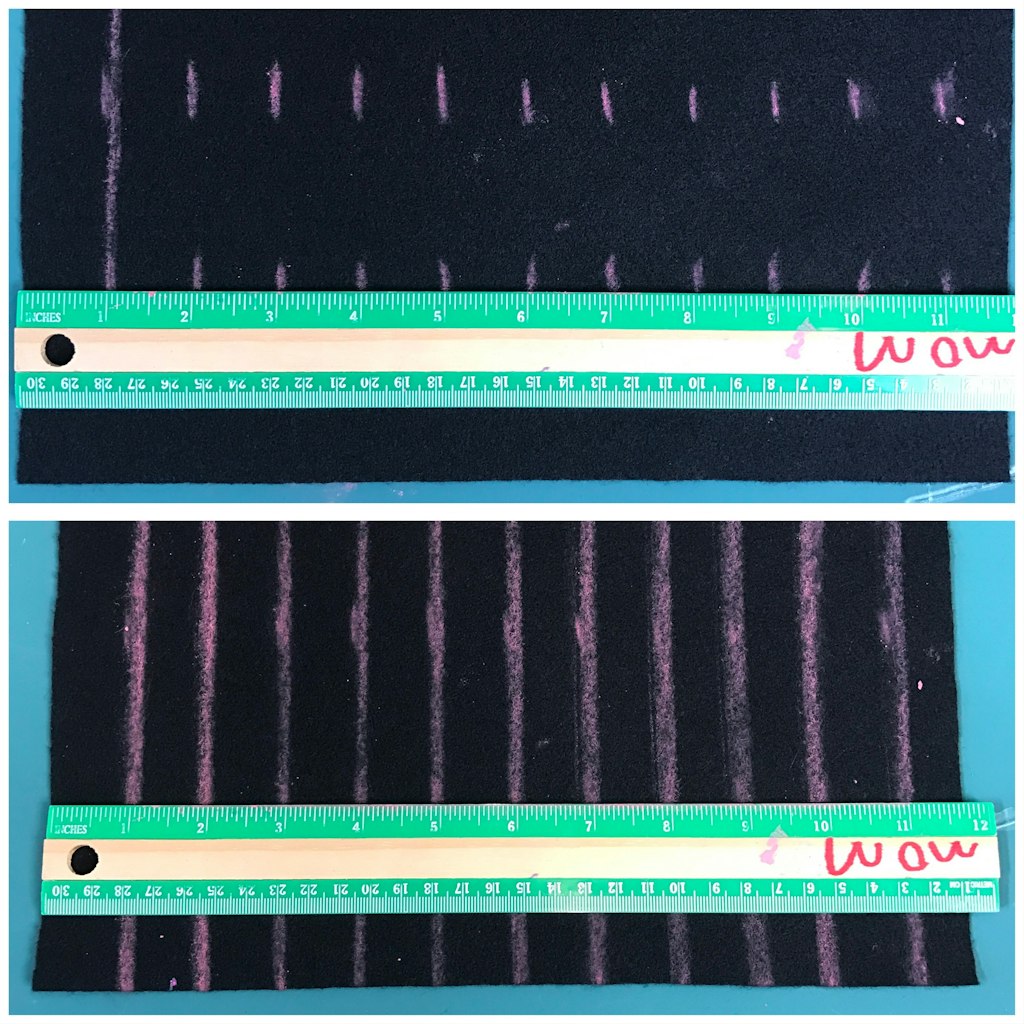
Grab your black felt, chalk and ruler. If your ruler isn’t tagged with mom/wow that’s ok, but it won’t be as cool as mine 😉
Mark on the felt lines an inch apart across the entire sheet of felt. Then connect the marks to create vertical lines that will create your pockets for your glow bracelets.
As you can see you in the video, you can use your felt panel that you just marked with chalk to “stamp” any additional panels that you’re working on. Take your other black pieces of felt and gently press it on top of the chalk marked one you just finished. And voila! it’s marked now too 🙂
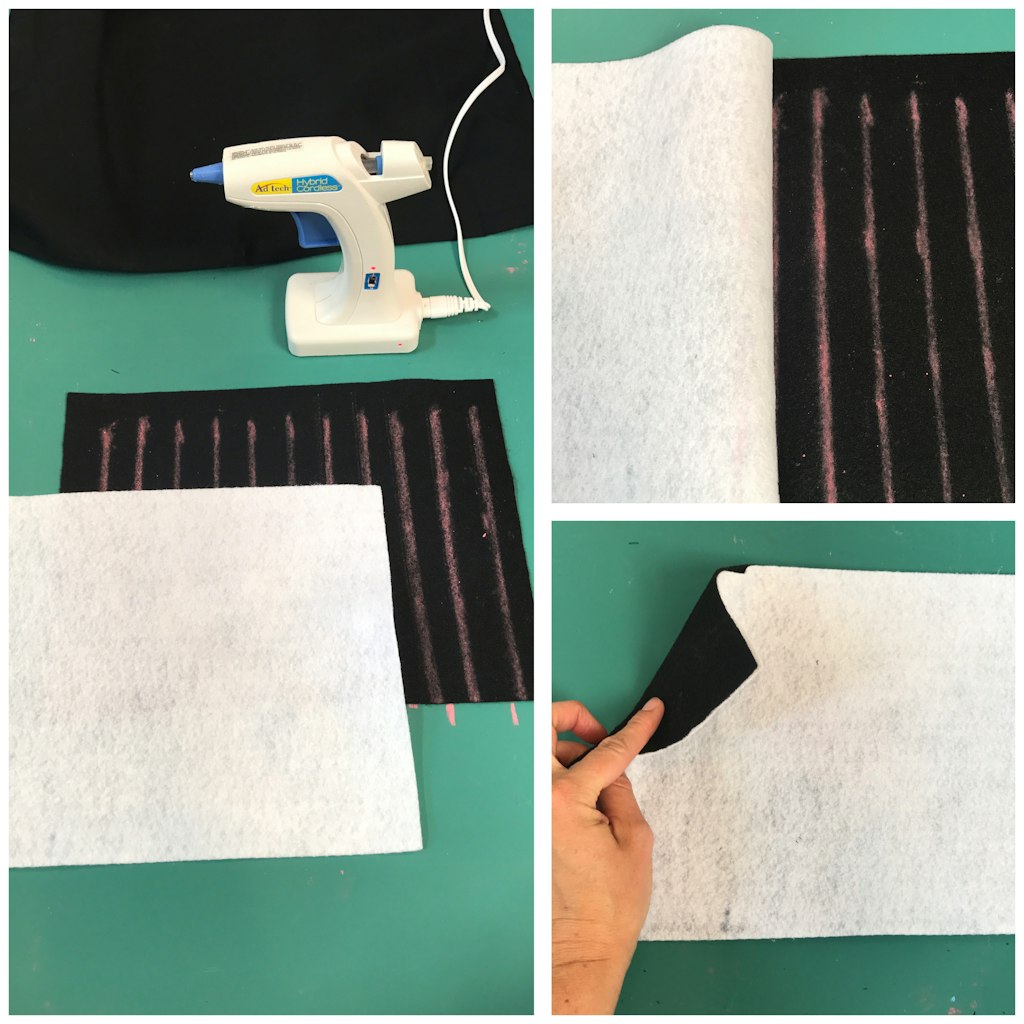
Grab your glue gun and working two rows at a time, glue along the bottom of the felt panel (not all the way across the bottom) then up and down the marked lines. Press your white piece of felt on top of the glued lines and smooth it out to adhere. Fold back the unglued portion of the white felt and repeat this step all the way across.
I would finish this step for all of the panels you’re making at the same time. If you’re using the pumpkin decorating kit faces, then you’re now ready to adhere those to the front of your white panel.
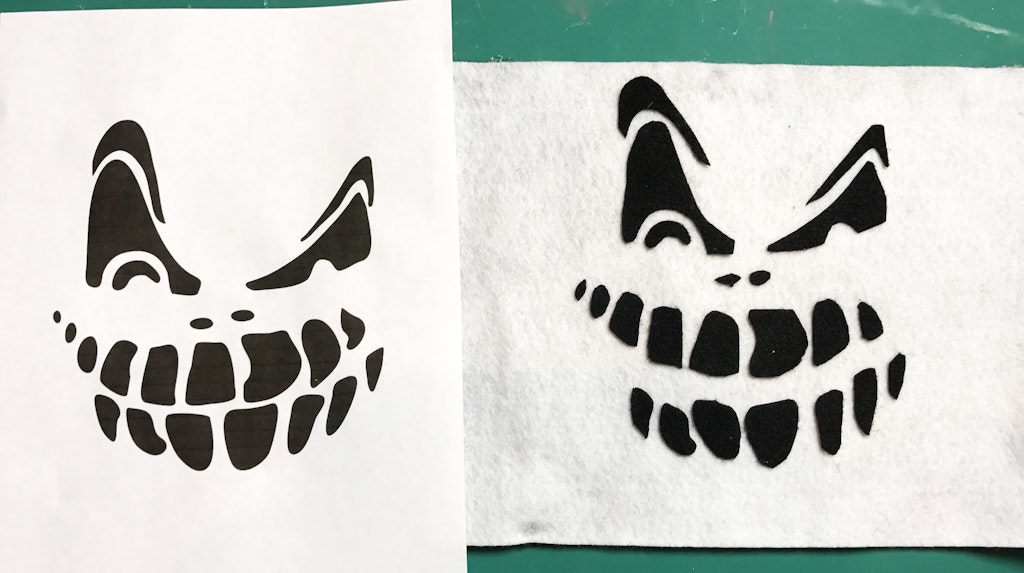
If you’d rather make your own decoration for the front, you can search for pumpkin carving stencils online or print out an image that coordinated with your child’s costume. My daughter is going to be Glinda the good witch this year so we found this image online and printed it out.
Keep in mind that large silhouette images work best.
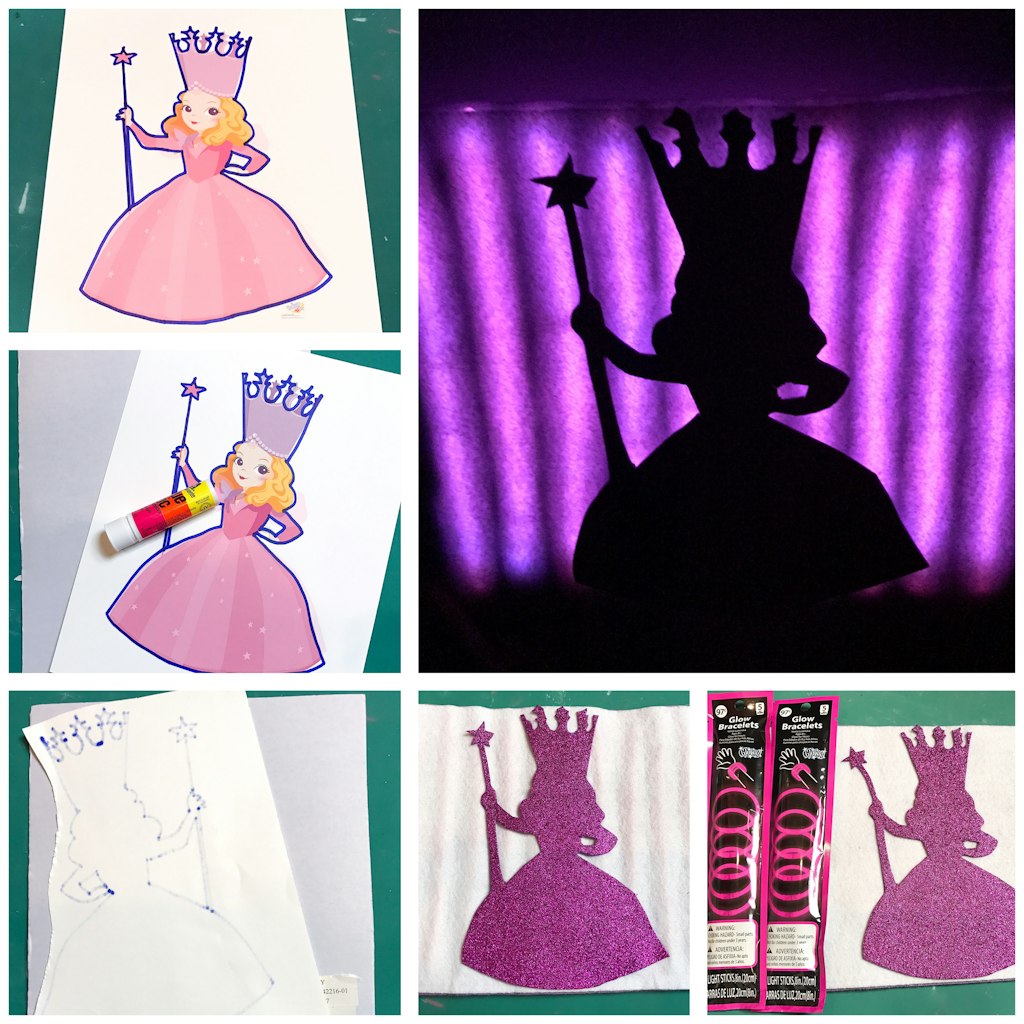
Trace your image with a sharpie. Using your glue stick, apply glue to the front of your image and adhere it to the BACK of the sheet of adhesive backed foam or adhesive backed felt.
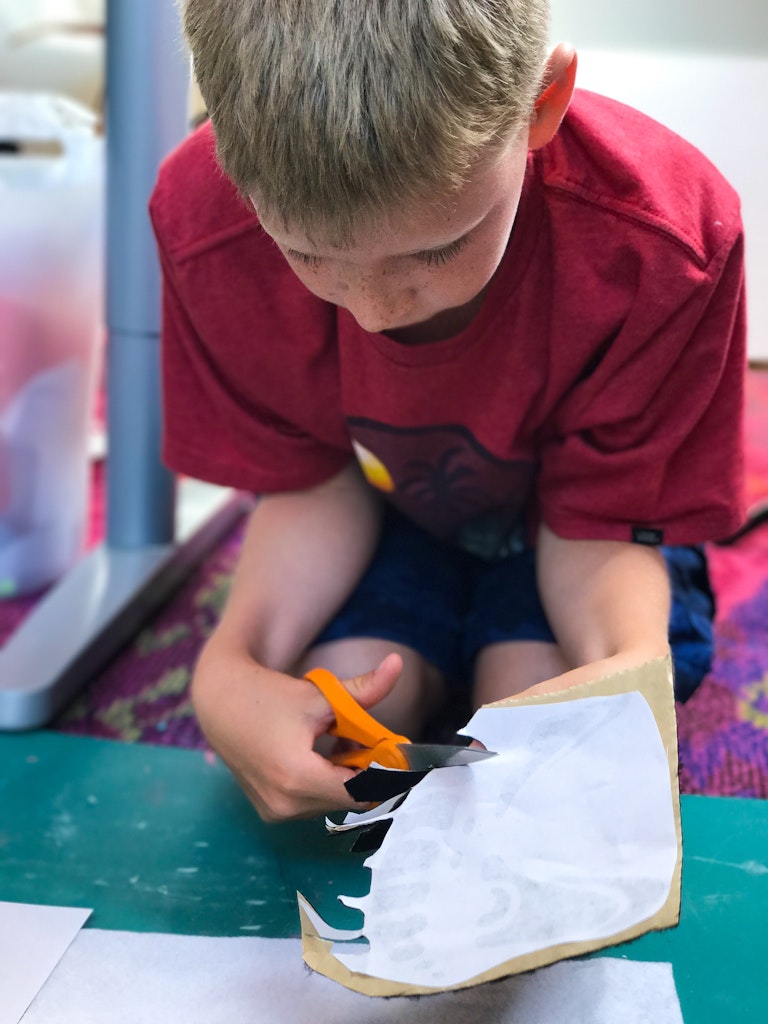
Cut out your image from the felt or foam.
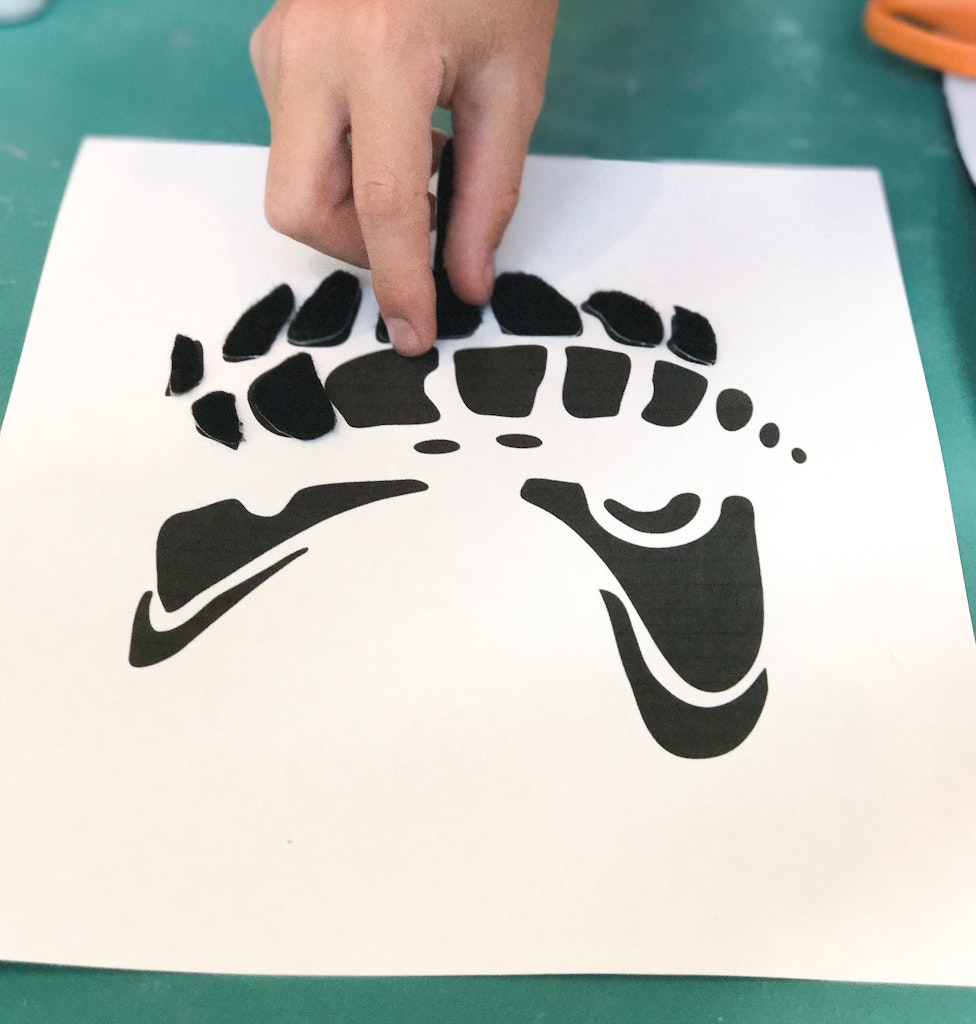
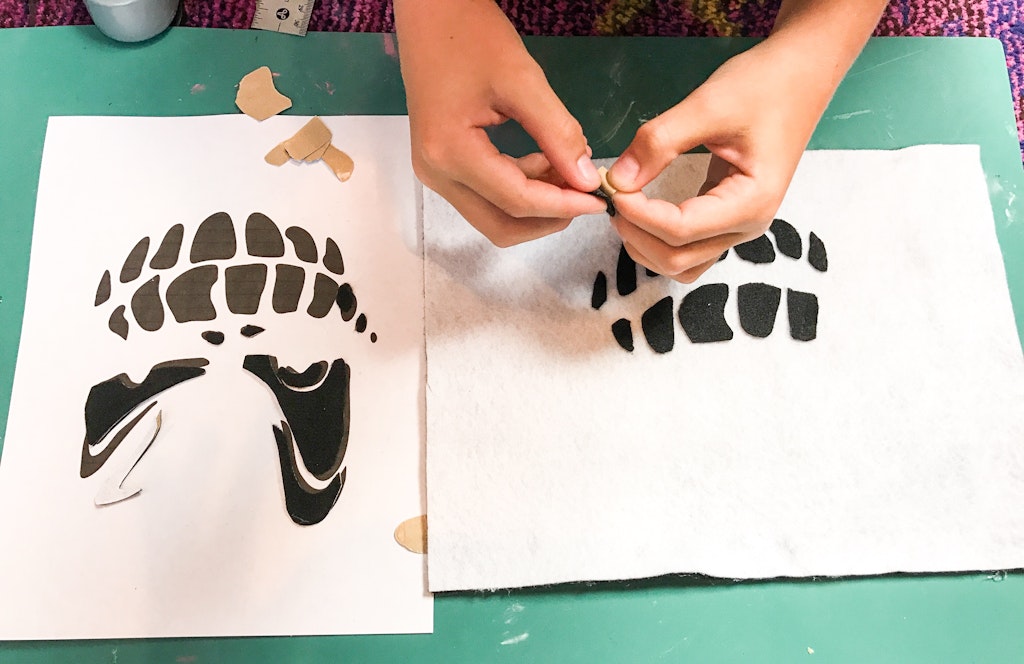
The boys found this spooky face online and wanted to use it for their bags. If your image has this much detail I would suggest printing out two copies. One copy was glued to the back of the felt sticker sheet to cut out. The other one we used to lay the pieces he cut out on top of to remember where everything was supposed to go.
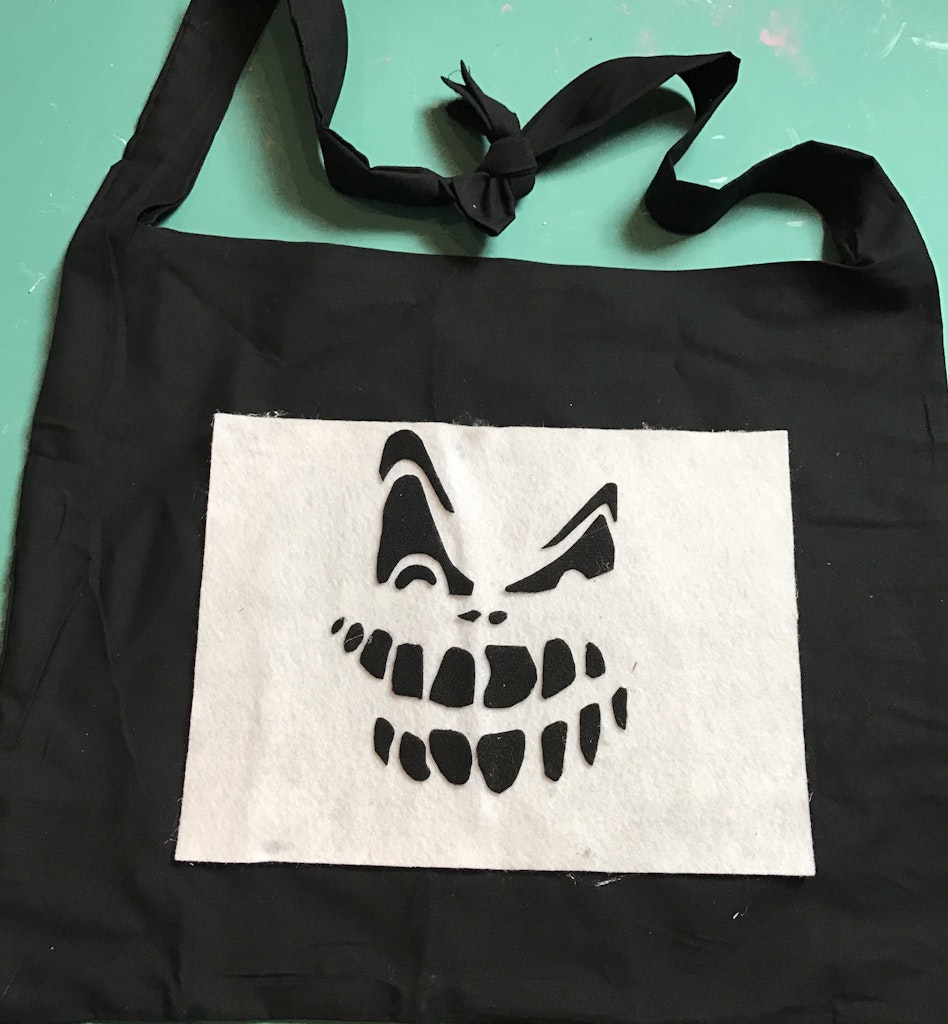
Remove the backing from the back of your cut out and place it on the front of the white side of your glow panel.
Now you’re ready to attach your glow panel to your bag. You can attach it to a store bought tote bag, an old reusable fabric tote bag or to our super simple DIY No Sew Pillowcase Tote.
When you’re ready to glow, snap your glowsticks and slide one into each of the 10 little pockets you created on your felt panel.
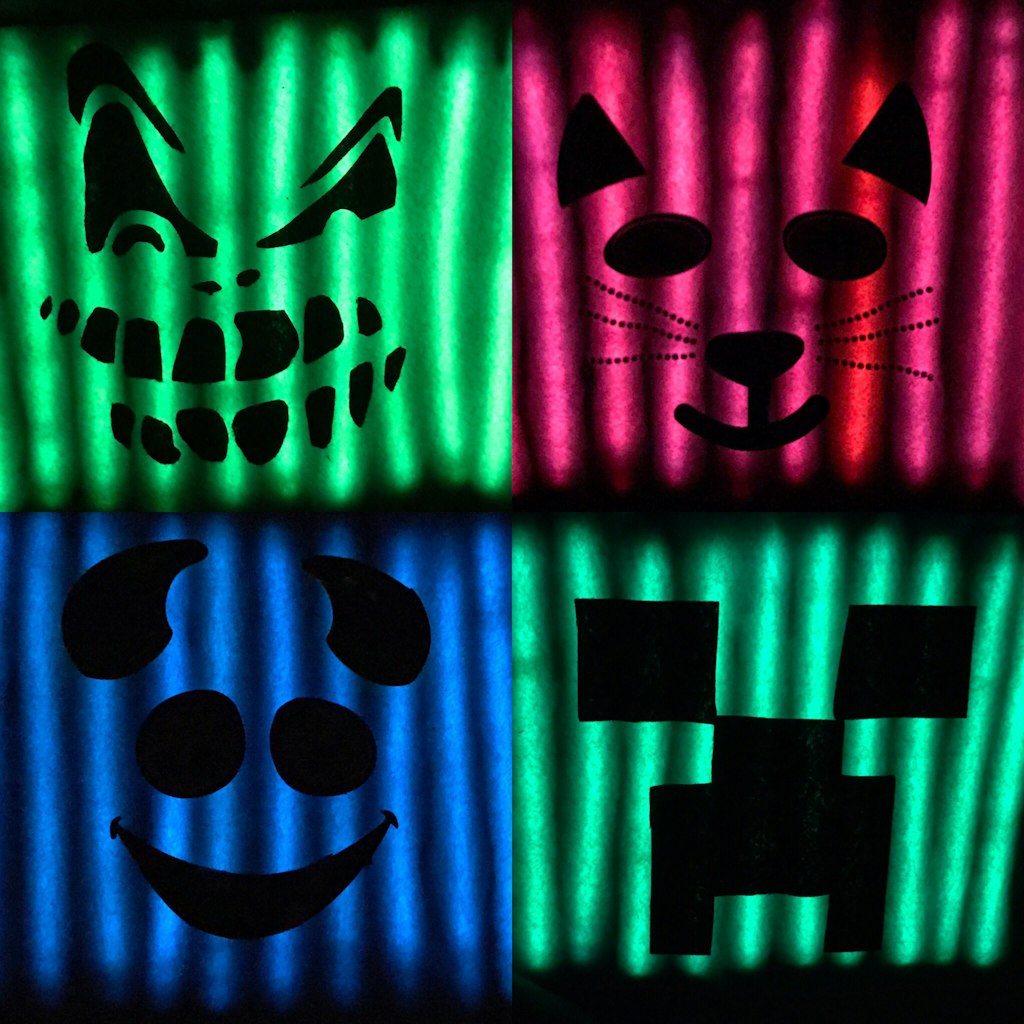
Now your little ghosts and goblins, pirates and princess can safely be seen on Halloween night.